

You need to get drawer slide installation right the first time. Most people rush through measuring or skip critical alignment steps, then wonder why drawers bind or sag. Let’s walk through the process that separates smooth-operating drawers from frustrating failures. You’ll learn the measurement tricks pros use and the sequence that prevents common mistakes.
Pick the Best Slide for Your Drawer Type
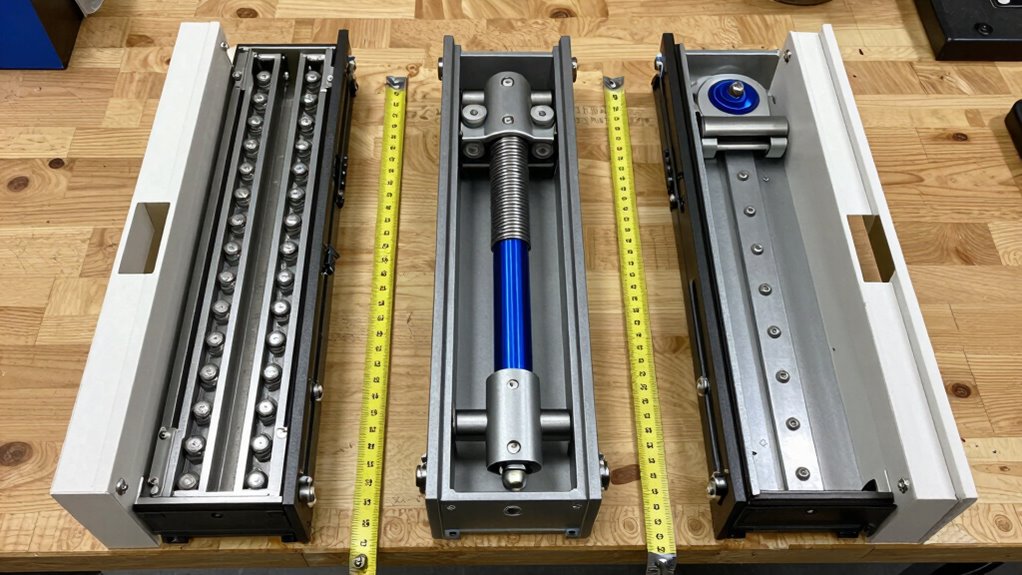
When you’re replacing or installing new drawer slides, choosing the right type depends on your drawer’s weight capacity, installation space, and usage requirements.
You need ball-bearing slides for heavy-duty applications, typically handling 75-150 pounds. Soft-close mechanisms prevent slamming and reduce noise.
Side-mount slides work best when you have adequate clearance beside the drawer box. Undermount slides maximize drawer space but require specific cabinet dimensions.
Consider full-extension slides for complete access to drawer contents. Overlay slides accommodate face-frame cabinets where drawers sit flush with cabinet fronts.
Always match slide strength to your drawer’s typical load. Wooden drawers might need additional reinforcement. Metal drawers usually handle heavier loads naturally.
Your installation method affects slide compatibility. Existing hole patterns limit your options unless you modify the drawer or cabinet.
Choose slides that align with your cabinet’s construction style and your daily usage patterns.
How to Measure for Drawer Slides Without Guesswork
Accurate measurements eliminate guesswork and guarantee your drawer slides function properly.
You’ll avoid costly mistakes and confirm smooth operation when you take precise measurements from the start.
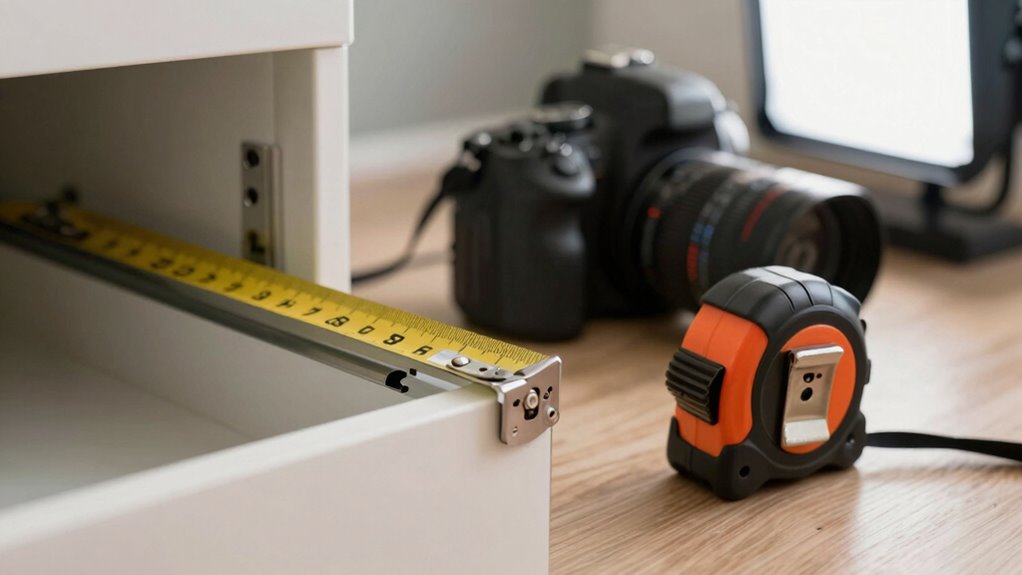
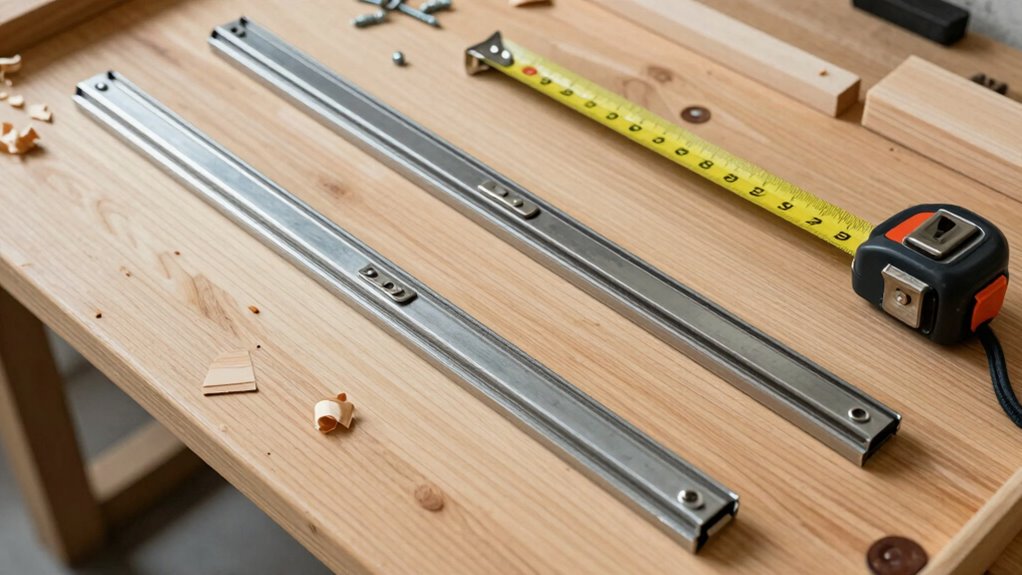
- Measure drawer width – Use a tape measure to determine the exact width of your drawer box, measuring from inside edge to inside edge of the drawer sides.
- Determine cabinet depth – Measure from the back of the cabinet to the front opening, confirming you account for any obstructions or molding that might affect slide extension.
- Check clearance requirements – Verify you have adequate space for slide mechanisms by measuring the gap between drawer and cabinet sides, typically requiring 1/2 inch minimum clearance.
Install Your Drawer Slides Step-by-Step
Installing drawer slides requires careful attention to detail and proper technique to guarantee smooth operation.
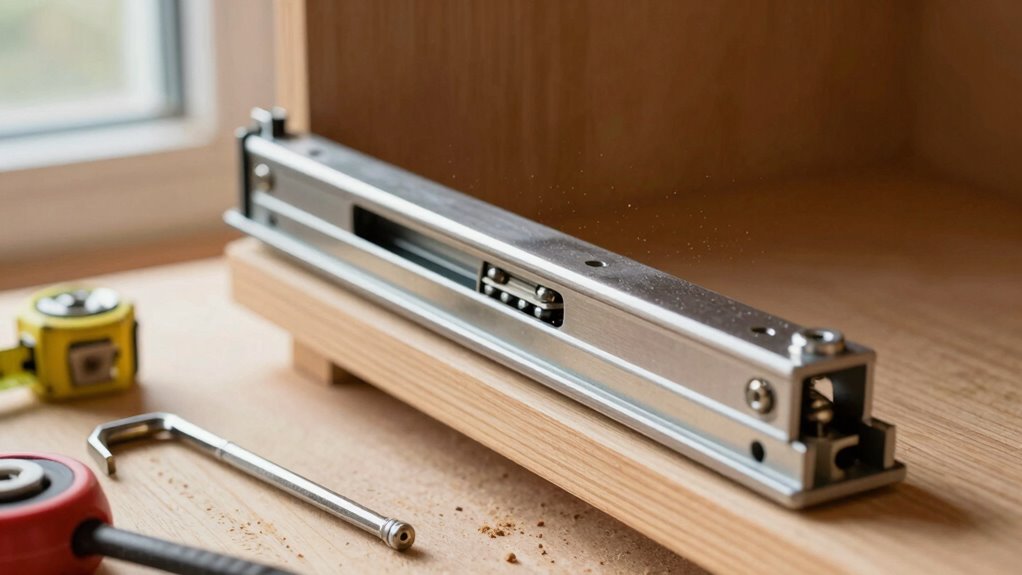
Start by attaching the slide brackets to the drawer sides, ensuring they’re perfectly aligned with your earlier measurements. Use a level to verify everything sits straight.
Next, mount the corresponding slides to the cabinet frame, matching the hole patterns precisely. Don’t overtighten screws initially – leave them slightly loose for minor adjustments.
Make sure both slides align perfectly before fully securing them. Check that the drawer slides extend and retract smoothly without binding. Verify the drawer sits level and doesn’t rock or bind at any point during movement.
Proper alignment now prevents frustrating adjustments later.
Test Slides and Make Final Adjustments
With the drawer slides mounted and初步 aligned, you’re ready to verify their operation and fine-tune the installation.
Test the drawer’s movement by pulling it out smoothly and letting it close completely. Make micro-adjustments to eliminate any gaps or misalignment.
- Check extension – Pull the drawer fully out and confirm it extends completely without binding or catching on cabinet sides.
- Test closing action – Close the drawer several times, ensuring it latches properly and doesn’t hang up or require excessive force.
- Verify level operation – Slide the drawer back and forth, confirming it moves horizontally without tilting up or drooping down during operation.
5 Critical Mistakes That Cause Sticky or Wonky Drawers
Even experienced woodworkers make mistakes that lead to drawer problems. You’ll mess up if you don’t measure twice before cutting mounting holes. Misaligned slides create binding that makes drawers stick.
Don’t rush through leveling steps – uneven installation causes wonky movement every time. You must check that both sides align perfectly before securing hardware.
Skipping proper spacing between drawer boxes and cabinet faces creates interference points. Incorrect slide length selection happens when you don’t account for drawer depth properly.
You’ll experience binding if mounting surfaces aren’t perfectly flat and square. Over-tightening screws distorts slide geometry instantly.
Cheap slides fail prematurely regardless of installation quality. You need quality components matched to your drawer’s weight capacity.
Remember these common errors so your drawers operate smoothly for years.
Conclusion
You’ve nailed the fundamentals, but don’t let loose screws torpedo your progress now. Think of drawer slides like a精密 orchestra—every component must be perfectly synchronized. Your cabinet’s integrity hinges on these final moments. Don’t rush through testing; instead, methodically fine-tune each adjustment until your drawer glides smoother than silk. Remember, precision isn’t about speed; it’s about making every millimeter count.
