

You’re more likely to replace a wooden workbench within five years if you neglect basic maintenance. Don’t let your investment deteriorate faster than necessary. Your workbench needs consistent care tailored to its specific wood type. You’ll want to know exactly how often to clean it, what tools are essential for upkeep, and when humidity control becomes critical. Let’s explore the practical steps that’ll keep your bench functional and durable.
Why Regular Maintenance Extends Bench Life

Regular maintenance isn’t just about keeping your wooden workbench looking good—it’s what prevents minor issues from becoming major repairs.
You’ll catch loose joints before they wobble apart completely. Small cracks won’t spread into splitting nightmares. Regular oiling keeps wood from drying out and warping. You’re not just preserving a tool—you’re protecting countless future projects.
Neglect accelerates deterioration faster than you realize. Weekly inspections save hours later.
Tighten bolts before they strip. Sand splinters smooth before they damage your work. Apply finish regularly—don’t wait until dullness becomes deep staining.
Your workbench deserves consistent attention because it’s earned its place as your trusted companion. Treat it right, and it’ll serve you faithfully for decades.
Identify Your Wood Type for Targeted Care
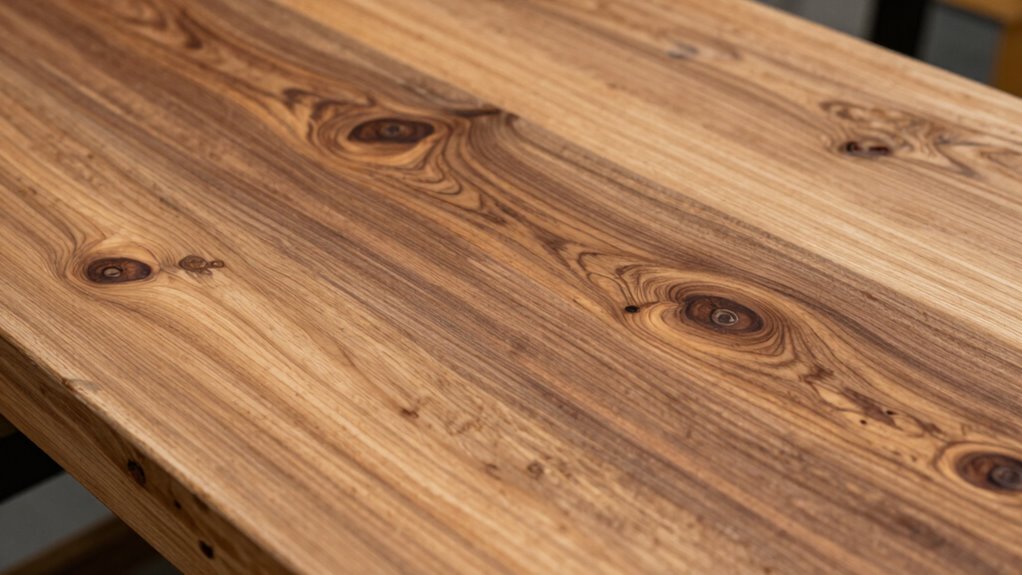
You need to identify whether your workbench is made from hardwood or softwood because each type requires different maintenance approaches.
Hardwoods like oak and maple are denser and more durable, while softwoods such as pine and cedar are more prone to dents and scratches.
Understanding your specific wood species helps you choose the right finishing products and maintenance schedule.
Hardwood Versus Softwood Characteristics
Because you’re working with different wood species, understanding whether your workbench is made from hardwood or softwood directly affects how you’ll maintain it.
Hardwoods like oak, maple, and cherry are denser, more durable, and resist dents better than softwoods. They’re ideal for heavy-duty work but require more effort to shape and repair.
Softwoods such as pine and cedar are easier to work with, more affordable, and readily available. However, they’re more prone to dents, scratches, and wear over time.
Your maintenance approach should match your wood’s characteristics.
Hardwoods can handle aggressive sanding and heavy use without showing damage quickly. Softwoods need gentler treatment and more frequent attention to prevent deep gouges.
Check your workbench’s grain pattern and weight to identify its type.
Hardwoods feel heavier and have tighter, more complex grain patterns. Softwoods are lighter and show broader, simpler grain lines.
Finishing Requirements By Wood Species
While identifying your workbench’s wood species takes some detective work, knowing whether you’re dealing with hardwood or softwood directly determines your finishing approach. Hardwoods like oak, maple, and cherry accept finishes beautifully but require pre-conditioning to prevent blotching.
You should use grain-raising techniques and apply thin coats. Softwoods like pine and fir absorb finishes quickly but often need sealing first. Test your wood’s reaction by applying finish to an inconspicuous area.
Dense hardwoods need sanding up to 220-grit, while softer woods respond better to 150-grit. Apply penetrating oils like tung or linseed oil to enhance grain patterns.
Don’t skip wood conditioning steps. Your finishing choices directly impact durability and appearance, so match your approach to your specific wood type rather than guessing.
How Often Should You Clean Your Wooden Workbench?
You should wipe down your wooden workbench daily with a clean cloth to remove sawdust, debris, and moisture that can damage the surface.
Weekly deep cleaning involves using appropriate wood cleaners and conditioners to maintain the finish and prevent buildup.
Establishing this cleaning schedule keeps your workbench in peak condition while extending its lifespan.
Daily Cleaning Routine
Although maintaining a wooden workbench doesn’t require constant attention, establishing a consistent daily cleaning routine prevents buildup that’s harder to remove later.
You should wipe down your benchtop immediately after each use with a dry cloth to remove sawdust, wood chips, and debris. Don’t let moisture sit on the surface overnight. Sweep away any accumulated dust from corners and crevices using a soft brush.
Check for stray screws, nails, or metal shavings that could rust and stain the wood. Store your cleaning cloth nearby so you’re not tempted to skip this step. Keeping your workspace tidy daily makes weekly deep cleaning much easier.
Pay special attention to areas where glue or finish might’ve spilled. Quick daily maintenance keeps your bench looking professional and extends its lifespan considerably.
Weekly Deep Cleaning
Since daily cleaning prevents most buildup, you’ll find that weekly deep cleaning becomes a more manageable task that only requires attention when daily maintenance has been inconsistent. You should deep clean your workbench every week if you use it heavily, or bi-weekly for light usage.
Grab a stiff brush to remove sawdust and debris from corners and joints. Mix warm water with mild dish soap for stubborn grime. Scrub all surfaces thoroughly, paying extra attention to areas with glue or finish residues. Rinse with clean water and dry immediately to prevent water damage.
Sand any rough spots lightly with fine-grit paper. Apply mineral oil or your preferred wood conditioner afterward to maintain the surface. Regular weekly cleaning keeps your bench in top condition while extending its lifespan considerably.
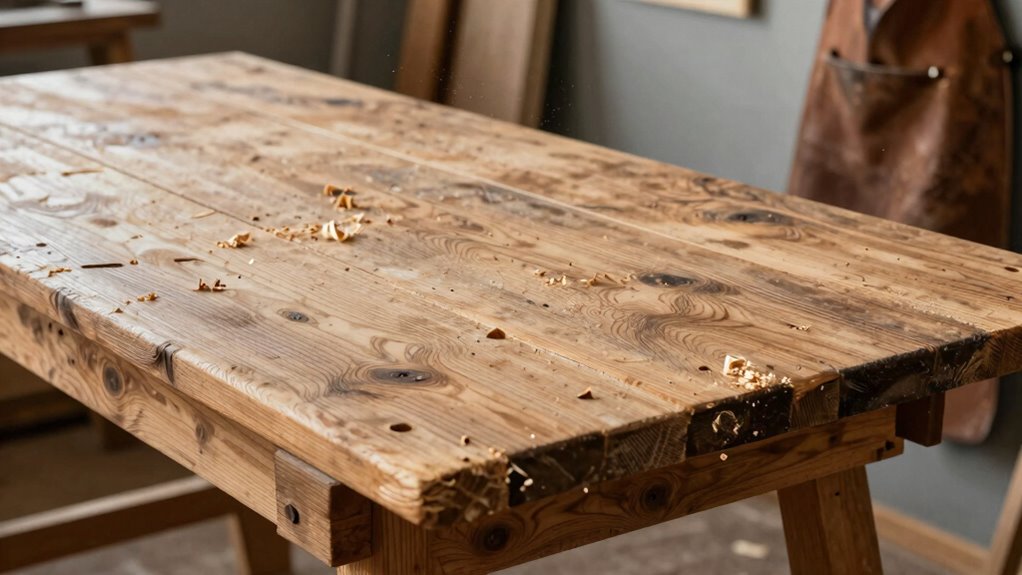
Clean Your Bench After Each Project
One essential habit separates seasoned woodworkers from beginners: immediately cleaning your bench after each project prevents glue, sawdust, and finish overspray from becoming permanent fixtures.
You should scrape off dried glue with a chisel before it hardens completely. Wipe away sawdust using a tack cloth or damp rag, working with the grain to avoid scratching.
Remove finish overspray quickly while it’s still tacky. Pay special attention to bench dogs, vises, and corners where debris accumulates. Don’t forget to clean your benchtop’s edges and underside.
This routine takes five minutes but saves hours of restoration work later. Make this cleanup part of your project workflow, not an afterthought. Your bench will thank you with decades of reliable service.
Essential Tools for Bench Maintenance
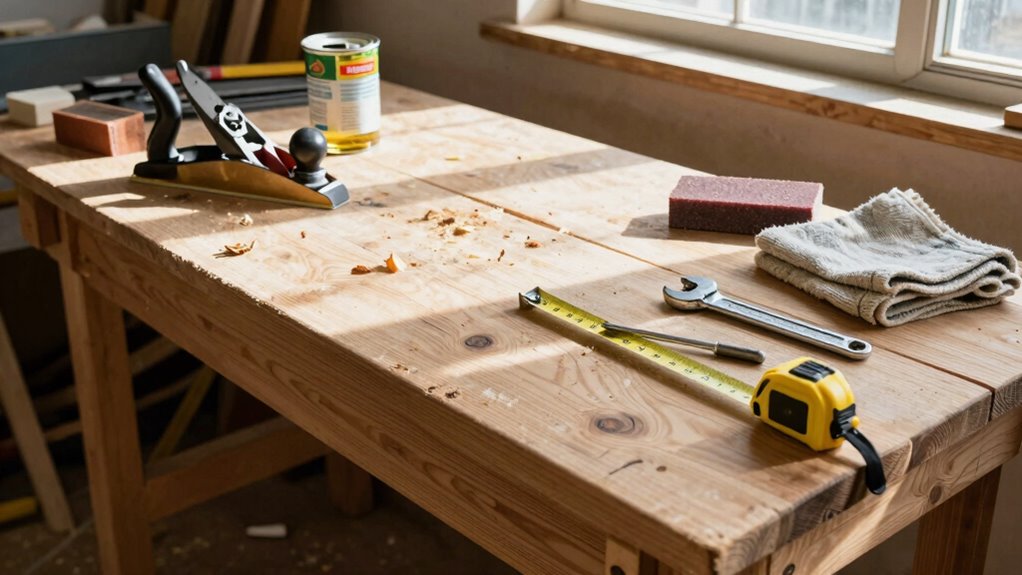
You’ll need a few reliable hand tools and proper cleaning equipment to keep your workbench in top condition.
Start with essential items like a block plane, sanding block, and brass brush for smoothing surfaces and removing debris.
These basic tools, combined with clean rags and appropriate wood cleaner, form the foundation of effective bench maintenance.
Essential Hand Tools for Woodworking
Every woodworker needs a core set of hand tools that will keep your workbench in top condition.
Start with quality chisels for precise joinery work and surface smoothing. A reliable hand plane system, including a block plane and smoothing plane, handles most bench maintenance tasks.
Choose sharp, durable saws like a tenon saw and coping saw for accurate cuts. Invest in good marking tools: a combination square, marking gauge, and sharp pencil guarantee precision.
Keep a set of quality screwdrivers and a leather mallet handy for assembly work. Don’t overlook essential measuring tools like a tape measure and ruler.
These fundamental hand tools form your woodworking foundation, giving you control and accuracy while building the intimate connection every craftsman craves with their craft.
Proper Cleaning and Sanding Equipment
A well-maintained workbench requires specific cleaning and sanding tools that’ll keep your woodworking surface in ideal condition.
You’ll need quality sandpaper in various grits, from 80 to 220, for smoothing surfaces and removing old finish. A reliable belt sander speeds up heavy material removal, while orbital sanders prevent swirl marks.
Keep stiff-bristled brushes handy for removing sawdust and debris from joints. Microfiber cloths work best for wiping down surfaces without leaving lint.
Don’t overlook a good scraper for removing stubborn adhesive or old finish. A vacuum with wood attachments keeps your workspace clean. You’ll also need tack cloths for final dust removal before applying finishes.
These tools become extensions of your craft, helping you achieve professional results consistently.
Remove Glue and Gunk Buildup Quickly
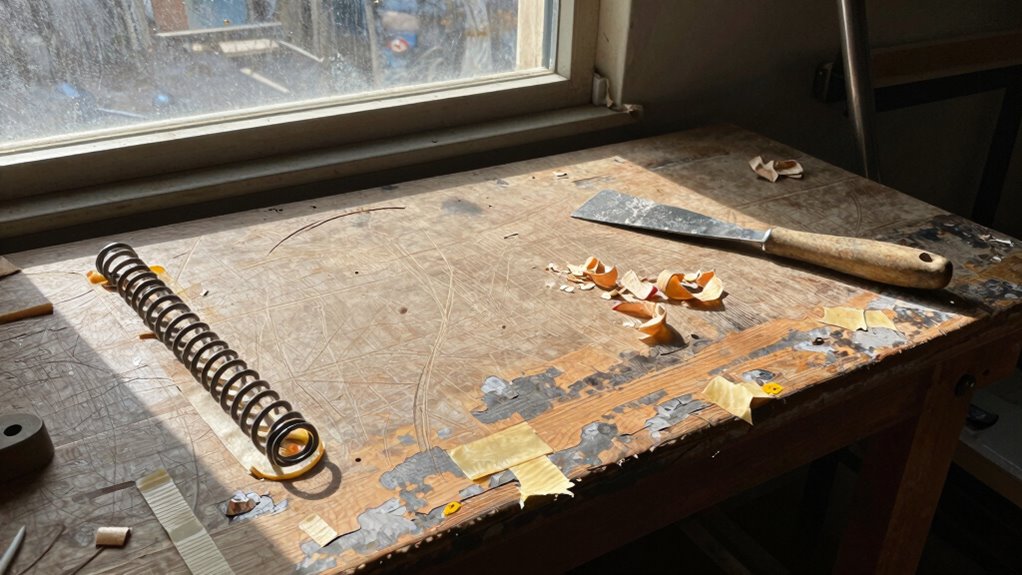
Several effective methods exist for removing stubborn glue and gunk buildup from your wooden workbench surface.
Start by scraping away loose debris with a putty knife or paint scraper. For dried adhesive, apply warm vinegar or rubbing alcohol directly onto the residue and let it soak for ten minutes. Scrub gently with steel wool or a stiff brush.
Heat works wonders too – use a hair dryer to soften stubborn glue before scraping. For epoxy or super glue, acetone or nail polish remover breaks it down quickly.
Sanding helps remove remaining spots, but avoid deep gouges in the wood. Clean the area thoroughly afterward with mineral spirits to remove any chemical residue.
Test solutions on an inconspicuous area first to verify they won’t damage your bench’s finish.
Prevent and Fix Moisture Damage

You’ll want to keep water from pooling on your workbench surface by promptly wiping up spills and ensuring proper drainage.
When wood starts warping from moisture exposure, you can often flatten it by applying steady pressure with clamps while the wood dries slowly in a controlled environment.
Don’t forget to apply a quality sealant annually to create a protective barrier that’ll repel water and prevent future damage.
Prevent Water Accumulation
Why does water pooling on your workbench lead to warping and rot? Standing water seeps into wood grain, causing fibers to swell and contract unevenly. This creates stress that bends your bench surface over time.
You’ll notice cups, bows, or twists developing where moisture lingers longest.
Prevent this damage by keeping your workbench dry. Wipe spills immediately with a clean cloth. Store wet tools away from the surface. Install proper drainage holes if you frequently work with liquids.
Use waterproof finishes like polyurethane or marine varnish on vulnerable areas. Keep your workspace well-ventilated to encourage rapid drying. Check for standing water after each use, especially around vices and tool holders where puddles hide.
Regular maintenance prevents costly repairs later.
Fix Warped Wood Surfaces
Even with diligent water prevention, wooden workbenches sometimes develop warping from moisture exposure. Don’t let this common problem defeat you – you’re not alone in facing this challenge.
- Assess the damage immediately – Check for cupping, bowing, or twisting across your workbench surface before it worsens.
- Create a moisture sandwich – Place wet towels on the concave side while applying weights to the convex side for 48-72 hours.
- Use heat strategically – Apply controlled warmth with a hair dryer or heat lamp to the cupped underside, accelerating moisture evaporation.
- Apply steady pressure – Clamp warped sections between straight boards using C-clamps, checking progress daily until flat.
Your workbench can regain its strength with patience and proper technique.
Apply Protective Sealants
One essential step in protecting your wooden workbench involves applying high-quality sealants that prevent moisture penetration and address existing water damage.
You should choose marine-grade varnish or polyurethane for maximum protection. Start by sanding the entire surface with 220-grit paper to create proper adhesion.
Clean away all dust before applying thin, even coats with a quality brush. Allow each coat to dry completely between applications.
Don’t skip the end grain sealing, as this prevents cupping and splitting. For existing moisture damage, sand affected areas smooth before resealing.
Apply annual maintenance coats to maintain protection. Your bench will thank you for this preventive care.
Know When to Sand Your Wooden Bench
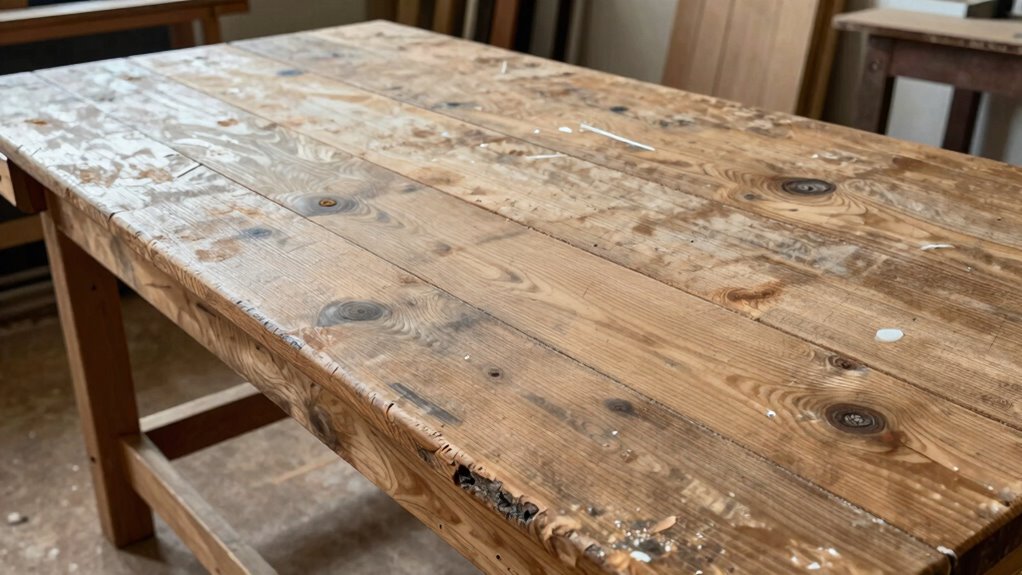
When should you consider sanding your wooden workbench? You’ll know it’s time when the surface feels rough, shows deep scratches, or the finish has worn away unevenly. Regular inspection reveals when your bench needs attention before minor issues become major problems.
- Visible gouges and scratches tell you the wood’s integrity is compromised.
- Rough texture under your hands signals surface deterioration.
- Water rings or stains show the protective layer has failed.
- Uneven finish creates an unprofessional workspace you shouldn’t accept.
Sand systematically, starting with coarser grits and working to finer ones. This restores both appearance and functionality, ensuring your workbench remains a reliable companion for every project.
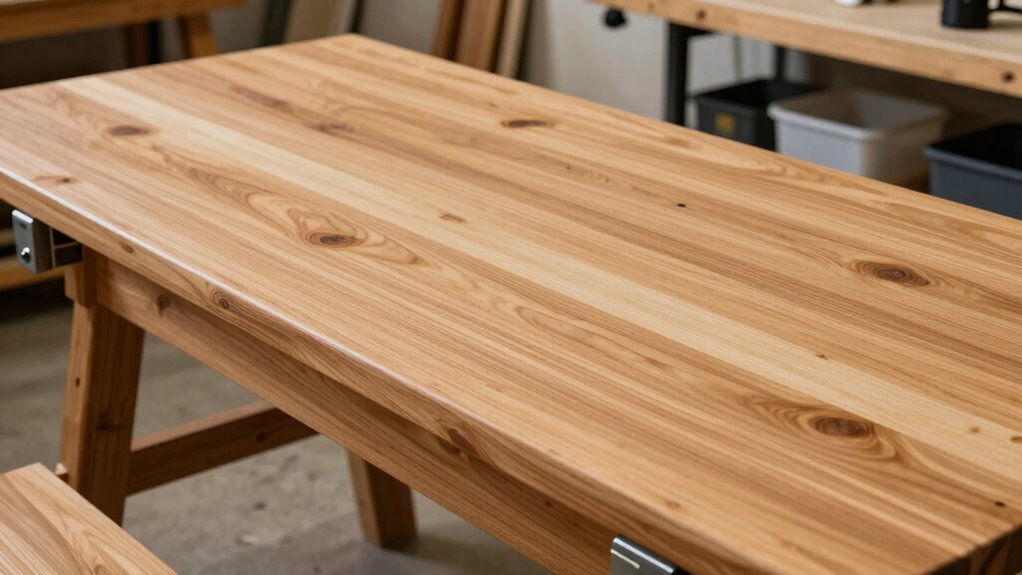
Choose the Best Finish for Durability
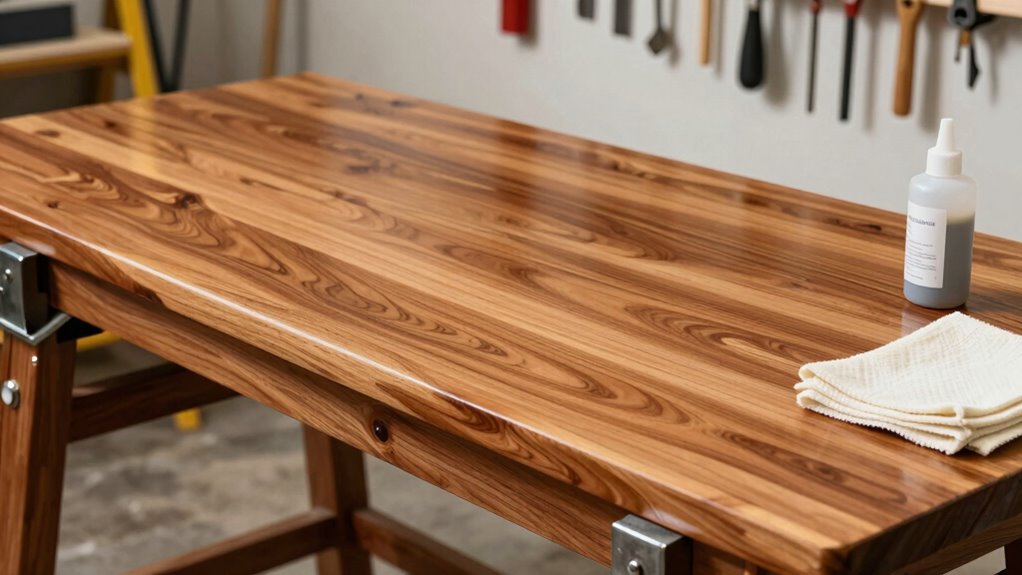
Choosing the right finish for your wooden workbench directly impacts its longevity and performance. You need a finish that withstands constant use, moisture, and temperature changes.
Polyurethane offers excellent protection and durability, creating a hard surface that resists scratches and stains. Apply three thin coats for maximum protection.
Shellac works well for traditional benches and dries quickly, though it’s less moisture-resistant.
Lacquer provides a professional finish but requires more skill to apply properly.
Consider your workshop environment when choosing. High-moisture areas need water-resistant finishes. Test finishes on scrap wood first.
Your bench deserves protection that matches your craftsmanship dedication. Don’t compromise on quality finish selection.
Oil vs. Wax: Which Works Better?
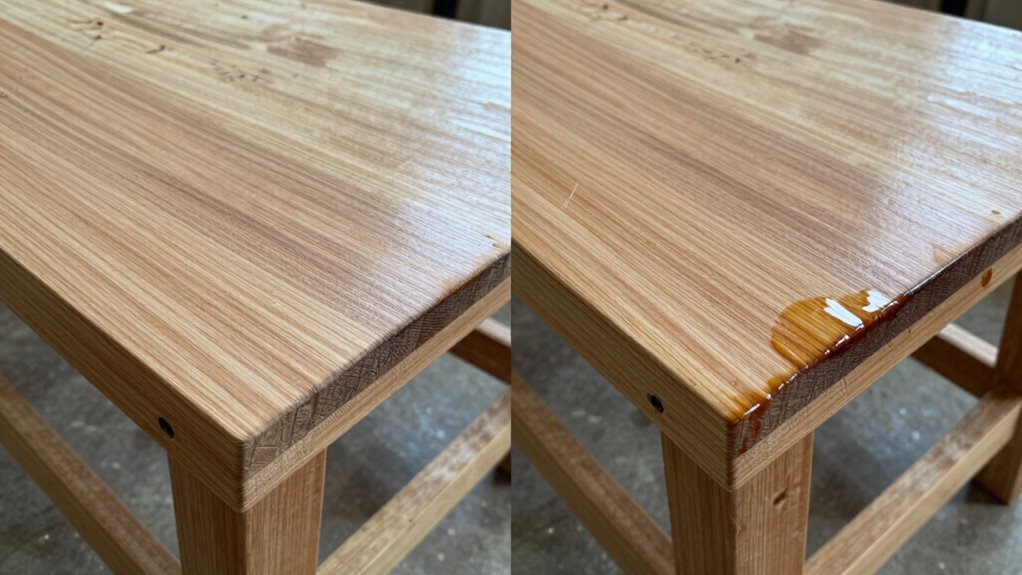
You’ll find that oil penetrates deeper into the wood grain, while wax sits on the surface to repel moisture and dirt.
Both require regular maintenance, but oil needs reapplication every few months whereas wax can last six months to a year depending on usage.
Your choice depends on whether you prioritize deep wood nourishment or surface-level protection for your workbench.
Oil Penetration Depth
Oil penetrates deeper into wood fibers than wax, making it the superior choice for protecting your workbench from moisture and wear.
You’ll achieve better long-term protection when you choose oil-based finishes that soak into the wood structure rather than sitting on top.
- Feel the difference: Run your hand over an oiled surface and experience how the wood feels nourished and supple, not brittle.
- See the transformation: Watch oil rejuvenate tired, dried-out wood like magic restoring life to your workbench.
- Trust the process: Know that deep penetration means your bench won’t crack or split from seasonal changes.
- Join the craftsman’s tradition: Master woodworkers have relied on oil penetration for generations because it works.
Your workbench deserves protection that reaches its heart, not just its surface.
Wax Surface Protection
While oil penetrates deep into wood fibers for long-term protection, wax creates a durable surface barrier that shields your workbench from immediate threats.
You’ll find wax especially effective against water spots, food stains, and minor scratches that occur during daily use. Unlike oil, wax doesn’t soak into the wood but forms a protective layer on top. This means you get instant protection after application.
Wax also enhances the wood’s natural beauty with a subtle sheen. However, wax requires more frequent reapplication since it wears away through use. You’ll need to buff it regularly to maintain effectiveness.
For heavy-use workbenches, wax might demand too much maintenance. Consider your specific needs and usage patterns when choosing between these protective methods.
Maintenance Frequency Comparison
When deciding between oil and wax for your workbench protection, consider how often each method demands your attention.
Oil treatments typically require monthly applications, while wax needs attention every three to six months. Your choice affects your workshop routine markedly.
- Oil penetration – You’ll feel the wood absorbing protection deeply with each monthly session
- Wax buildup – You’ll experience that satisfying thick protective layer forming over time
- Time investment – You’ll spend less frequent but longer sessions with wax compared to regular oiling
- Protection longevity – You’ll gain confidence knowing wax provides longer-lasting surface defense
Both methods work effectively, but oil demands more regular attention while wax offers extended protection periods.
Choose based on your workshop usage frequency and maintenance preferences.
Tighten Loose Joints Safely
Loose joints in your wooden workbench can compromise both safety and functionality if left unaddressed. You should regularly check all connections, especially where the legs meet the top and aprons connect to posts. Grab a screwdriver or wrench and tighten any wobbly bolts, but don’t over-tighten – you’ll strip threads or crack the wood.
For traditional mortise-and-tenon joints, use wooden wedges or small shims driven into kerfed shoulders. Apply gentle pressure until snug.
Metal brackets work well for reinforcing loose corner joints. Check glue joints by pressing firmly around seams. If movement occurs, disassemble carefully, clean old adhesive, then reapply quality wood glue. Clamp securely while drying overnight. This maintains your bench’s integrity and keeps your workspace reliable.
Repair Cracks Before They Spread
Small cracks in your wooden workbench might seem minor, but they’ll only grow larger with continued use and seasonal wood movement.
Don’t let these issues compromise your workspace integrity.
- Clean cracks thoroughly – Remove dirt and debris with a stiff brush. You want perfect adhesion, not a messy sandwich.
- Choose the right glue – Yellow carpenter’s glue works best for most hardwoods. Apply it sparingly but completely.
- Clamp properly – Use cauls and even pressure. Tighten until glue squeezes out uniformly.
- Sand smooth afterward – Once cured, sand flush. Your repaired bench should feel seamless, like it was never damaged.
Address cracks immediately. Your bench deserves proper care.
Keep Your Bench Flat and Warp-Free
While you’re addressing cracks and other damage, you should also monitor your workbench’s overall flatness since warping can compromise both accuracy and safety during projects.
Check your bench regularly using a straightedge or level across multiple directions. Tighten any loose bolts or screws that might cause uneven stress.
If you notice minor warping, apply controlled moisture to the concave side or use clamps with padding to gradually flatten warped areas.
Store your bench in climate-controlled environments whenever possible. Rotate heavy tools and materials placement periodically to prevent consistent pressure on single spots.
Consider adding adjustable supports underneath if your bench sits on uneven floors. Regular seasonal checks help you catch warping early before it becomes permanent.
Prevention beats repair every time.
Avoid Heat and Chemical Stains
Because wood readily absorbs heat and chemical exposure, you must protect your workbench surface from these damaging elements to maintain its structural integrity and appearance.
Hot tools, spills, and harsh chemicals create permanent damage that ruins both functionality and beauty.
- Place hot soldering irons and tools on heat-resistant mats – don’t trust your bench’s finish to withstand burning temperatures
- Wipe chemical spills immediately – acids and solvents penetrate wood grain within seconds, leaving irreversible stains
- Use protective barriers under projects – spare your bench from paint, glue, and oil stains that scream “amateur hour”
- Store chemicals away from your workspace – prevent accidental spills that transform your pride-and-joy bench into a sorry mess
Store Your Bench in a Stable Environment
Wood workbench storage requires careful attention to environmental conditions since temperature and humidity fluctuations directly impact your bench’s longevity and performance.
You should keep your bench away from direct sunlight, heating vents, and exterior walls that experience temperature swings. These areas cause wood expansion and contraction, leading to cracks and joint failures.
Store your bench in an interior space with consistent room temperature, ideally between 65-75°F. Avoid garages or workshops that freeze during winter months. You’ll want to position your bench at least three feet from any heat source.
Basements often provide stable conditions, but make sure they don’t flood or become damp. Choose locations with minimal foot traffic to prevent accidental bumps.
Proper storage prevents costly repairs and maintains your bench’s structural integrity for years.
Humidity Control: Seasonal Bench Care
Seasonal changes demand proactive humidity management to protect your wooden workbench from warping and cracking.
You’ll want to stay ahead of moisture fluctuations that threaten your bench’s integrity throughout the year.
- Monitor humidity levels – Check your workspace regularly with a hygrometer; aim for 40-50% relative humidity to keep your bench stable and prevent seasonal expansion issues.
- Adjust your workspace – Add moisture during dry winter months with humidifiers, and use dehumidifiers when summer humidity spikes to maintain consistent conditions.
- Seal end grain properly – Apply moisture barriers to vulnerable areas where water absorption happens fastest, protecting your investment.
- Move with purpose – Relocate your bench away from heat sources and drafty areas that create microclimates, ensuring it ages gracefully alongside you.
Signs It’s Time for a Full Refinish
When should you consider a complete refinish for your wooden workbench? Look for deep scratches that catch your tools or splinters that irritate your hands during work.
Check if the wood feels rough or has lost its smooth working surface. Water rings, stains, or dark spots that won’t buff out indicate finish failure.
If your bench top looks dull or gray despite regular cleaning, the protective coating has degraded.
Visible wood grain raising or swelling shows moisture penetration. Cracked or peeling finish around vices or clamps needs attention.
Don’t wait until structural integrity suffers – address these signs promptly. A full refinish restores both functionality and appearance, ensuring your workbench remains a reliable companion for projects ahead.
Maintain Bench Surface to Protect Tools
A smooth, well-maintained bench surface directly impacts your tools’ performance and longevity.
Your workbench becomes an extension of your craft when properly cared for.
- Sand regularly with 220-grit paper – You’ll feel the difference immediately as your plane glides smoothly across the surface.
- Apply mineral oil monthly – Watch your wood transform from dull to richly nourished, protecting it from moisture damage.
- Remove rust stains instantly – Use steel wool with oil to eliminate those frustrating marks that compromise your work quality.
- Check for loose joints quarterly – Tighten everything before it becomes a safety hazard that could ruin your project.
These habits separate serious woodworkers from weekend hobbyists.
Your tools deserve better than a neglected surface.
Conclusion
Don’t let your workbench become a sawdust graveyard for your tools. Keep it clean, dry, and properly finished – your projects will thank you, and your wood won’t stage a revolt. Regular maintenance isn’t just smart; it’s the difference between a reliable workhorse and a warped, cracked disappointment. Your future self will either curse your laziness or praise your diligence every time you lay a project on that bench.
