

Building a wooden storage box might seem simple, but getting the right measurements and joints makes all the difference between a sturdy box and a wobbly mess. You’ll need basic tools like a saw, drill, and sandpaper, along with wood that suits your skill level and budget. Before cutting anything, you should plan your box dimensions carefully—measure twice, cut once, and always leave a little extra room for error. Ready to turn rough lumber into a smooth, functional storage solution? Let’s get started.
How to Build a Wooden Storage Box: Step-by-Step Overview
Building a wooden storage box requires careful planning and attention to safety throughout the process.
You’ll want to measure twice and cut once to avoid mistakes that frustrate beginners.
Start by deciding your box dimensions and sketching a simple plan.
Always wear safety glasses when cutting wood and keep your fingers away from blade paths.
Work in a well-ventilated area when sanding or applying finishes.
Choose wood that’s straight and free from major defects.
Check that all pieces fit together properly before permanent assembly.
Don’t rush – taking time guarantees better results.
Keep your workspace organized and clean.
Having a buddy help with tricky steps makes the project more enjoyable and safer.
Gather Your Tools and Materials
Before you begin cutting any wood, you’ll need to gather all the necessary tools and materials for your storage box project.
Start by collecting your measuring tape, pencil, and square for accurate markings. You’ll need a saw, drill, and screws for assembly.
Don’t forget sandpaper for smooth finishes and wood glue for extra strength. Grab your safety glasses and work gloves before starting any cutting or drilling.
Having these ready keeps you safe and your project moving smoothly. Make sure you have adequate workspace and good lighting.
Taking time to organize everything beforehand prevents interruptions and frustration later. You’re setting yourself up for success by being prepared.
Double-check that you have all essential items before proceeding to the next steps.
Choose the Right Wood Type
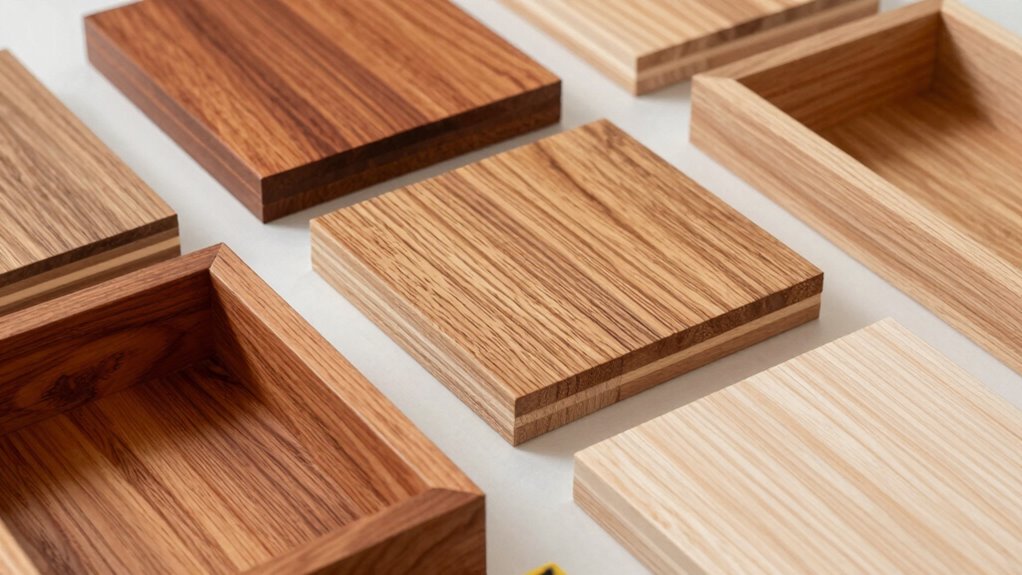
Selecting the proper wood type determines your storage box’s durability and appearance. You should choose hardwoods like oak, maple, or cherry for long-lasting projects that resist wear. These woods handle daily use better than softwoods. Pine works fine for lightweight storage needs.
Consider your skill level when picking wood. Softwoods are easier to cut and nail, making them beginner-friendly. Hardwoods require more effort but create sturdier boxes.
Check wood quality before buying. Look for straight grains, minimal knots, and no cracks. Measure your planned box dimensions to calculate how much wood you need.
Don’t forget safety gear when working with any wood type.
Plan Your Box Dimensions and Layout
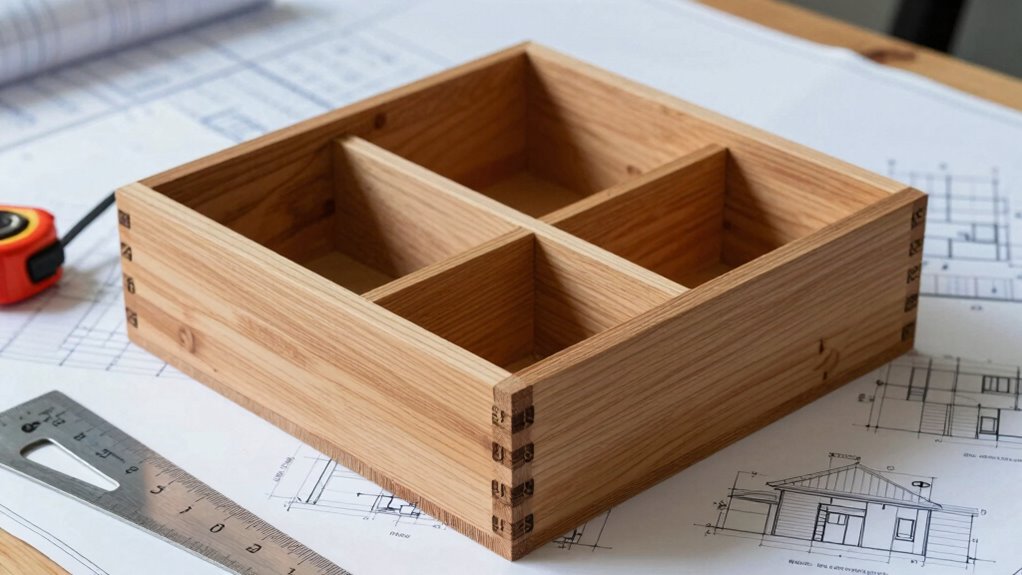
Your storage box needs careful planning before cutting any wood. Start by measuring the items you plan to store, adding two inches to each dimension for comfortable fit.
Decide on your box’s height, width, and depth based on these measurements. Consider where you’ll place the box and guarantee your chosen dimensions work in that space.
Sketch a simple diagram showing all sides with measurements. Don’t forget to plan for wood thickness in your calculations. Account for the bottom piece and side panels fitting together properly.
Think about whether you want a lid and how it will attach. Planning now prevents costly mistakes later and guarantees your finished box meets your needs perfectly.
Measure and Cut Your Wood Pieces
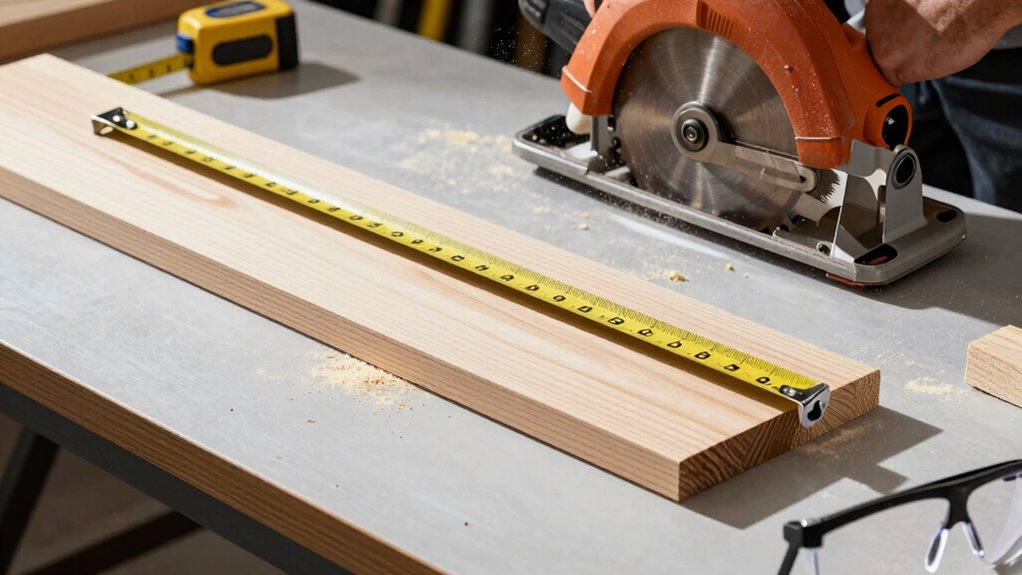
Now you’ll measure and cut your wood pieces to match your planned dimensions.
Grab your tape measure, mark your cuts clearly, and use a miter saw or circular saw with a straight edge guide for clean, accurate cuts.
Always wear safety glasses and keep your fingers away from the blade.
Measure Wood Dimensions
Before you cut any wood, measure twice and cut once to guarantee your storage box pieces fit together properly. Grab your tape measure and pencil to mark all dimensions clearly. Measure your planned box height, width, and depth carefully.
Don’t forget to account for wood thickness when calculating final sizes. Mark each piece’s length and width with precise lines. Double-check every measurement before moving forward. Your future self will thank you for taking time now.
Woodworking beginners often rush this step, but accurate measuring prevents frustrating mistakes. Keep your workspace well-lit so you can see measurements clearly. Write down each dimension as you go.
Take your time with this process. Rushing leads to crooked boxes and wasted materials. Proper measuring makes assembly much smoother.
Cut Wood Pieces Accurately
With your measurements marked clearly on each piece, you’re ready to cut your wood pieces accurately. Position your saw blade directly on the measurement line, not behind it.
Take your time and let the tool do the work—rushing causes mistakes. Keep your fingers away from the cutting path and wear safety glasses. For straight cuts, use a miter box or guide fence.
Check that your blade is sharp; dull blades wander and create rough edges. Cut slowly through the wood, maintaining steady pressure.
Double-check each piece after cutting against your original measurements. If a piece is slightly long, you can trim it. Remember, accurate cuts now prevent fitting problems later.
You’ve got this—one precise cut at a time.
Sand Wood Smoothly
A smooth finish starts with proper sanding of your cut wood pieces. Grab 120-grit sandpaper and sand all surfaces evenly, following wood grain direction.
Don’t press too hard – let the paper do work. Wipe away dust frequently with cloth. Switch to 220-grit paper for finer smoothing. Sand edges carefully to avoid splinters.
Always wear safety glasses and dust mask. Check surfaces by running hand over them – they should feel smooth, not rough. Pay attention to corners and hard-to-reach spots. Remove all pencil marks and imperfections.
Proper sanding guarantees paint or stain adheres well. Take time here; rushing causes poor results. Clean wood thoroughly after sanding.
You’re creating something beautiful, so make every surface perfect. Good sanding makes assembly easier and creates professional-looking joints.
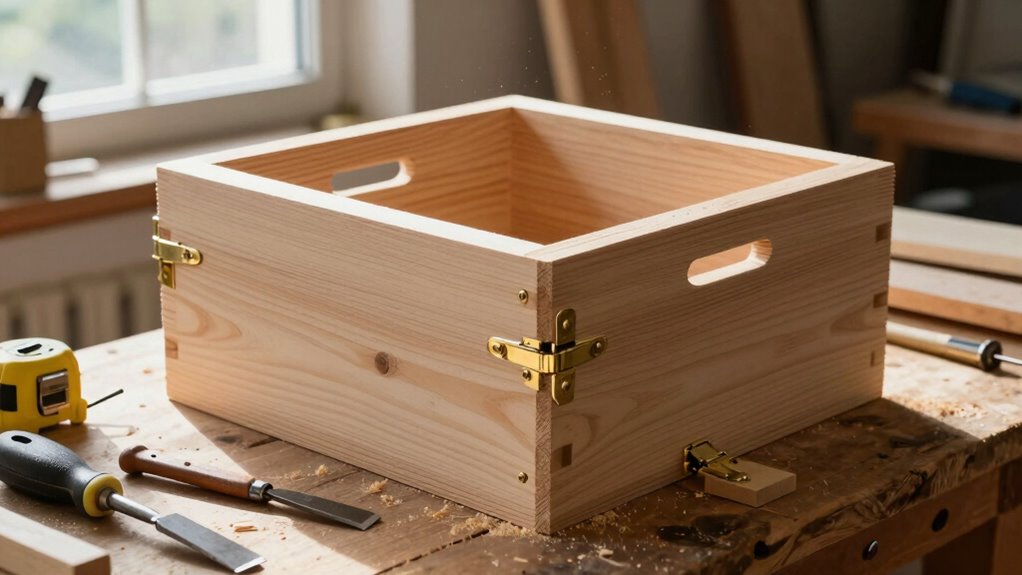
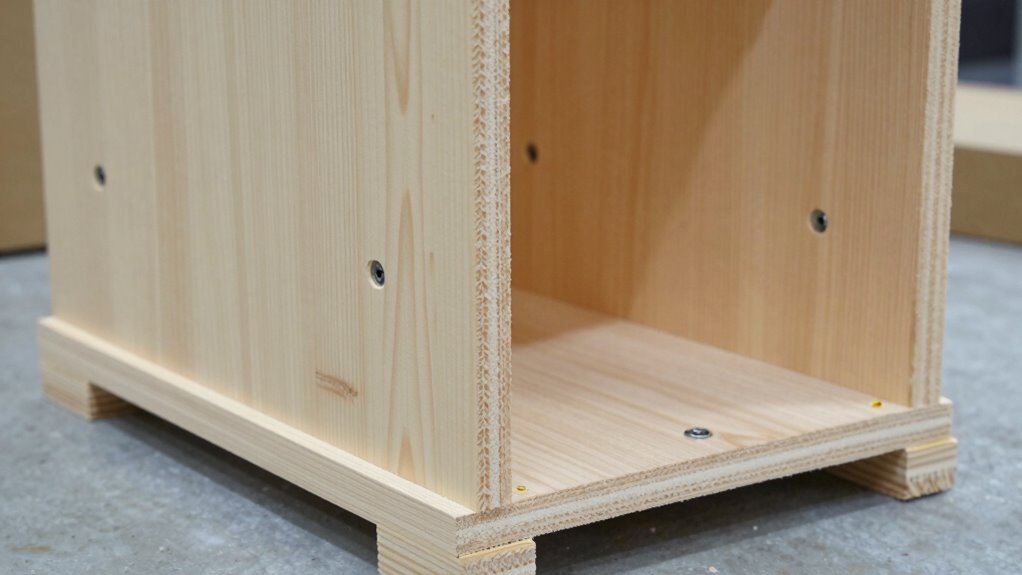
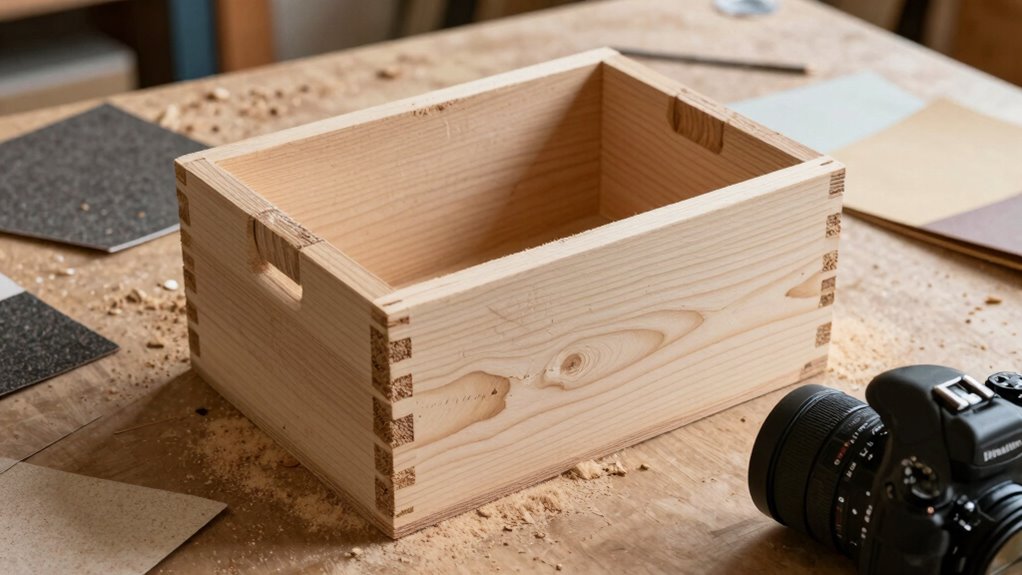
Assemble the Bottom and Sides
Take your time positioning the bottom piece flat on your work surface and align the side panels around its perimeter. Make sure everything sits square and even before proceeding.
Apply wood glue to the edges where the sides meet the bottom, then clamp them together firmly. Check that all corners are aligned properly – this step matters for your box’s strength and appearance.
Wear safety glasses when using clamps to prevent injury. Let the glue set according to package directions, typically fifteen to twenty minutes. Don’t rush this part; proper assembly prevents future problems.
Your bottom and sides should now form a solid rectangular frame. Double-check all measurements match your plans exactly.
Attach the Front and Back Panels
Position the front and back panels between the side pieces so they’re flush with the bottom panel’s edge. Confirm everything lines up perfectly before you start securing them.
You’ll want to use wood glue along the joints where the panels meet the sides and bottom. Apply steady pressure while the glue sets – this confirms tight seams that won’t gap later.
Grab your clamps and hold everything together firmly. Check that your box stays square by measuring corner to corner diagonally – both measurements should match exactly.
Let the glue cure completely according to package directions. This creates strong, durable joints that’ll serve you well.
Work carefully and take your time confirming proper alignment. Your future self will thank you for building it right the first time.
Safety matters here too.
Create and Install the Lid
You’ll need to measure and cut your lid pieces to fit the box opening precisely.
Make certain your measurements account for the wood thickness so the lid sits flush.
Once cut, attach the hinges securely to guarantee the lid opens and closes smoothly without wobbling.
Measure And Cut Lid Pieces
One essential step in creating your wooden storage box lid involves measuring and cutting the lid pieces accurately.
Grab your measuring tape and mark the dimensions on your wood plank. Remember, measure twice and cut once to avoid mistakes. Use a sharp pencil for precise marks.
Set your saw blade to the correct depth before cutting. Keep your fingers away from the blade path and wear safety glasses. Cut along your marked lines slowly and steadily.
Check that your lid pieces fit properly over the box opening. Sand any rough edges smooth with fine-grit sandpaper. Accurate measurements guarantee your lid fits snugly later.
Double-check all dimensions before moving forward with assembly.
Attach Hinges Securely
With your lid pieces cut and sanded smooth, it’s time to attach the hinges that will let your storage box open and close properly.
Position the lid face-down on your work surface. Place hinges evenly along the back edge, spacing them according to your box size. Mark screw holes with a pencil.
Pre-drill holes carefully to prevent wood splitting. This step guarantees clean, straight screws that won’t strip or crack your wood. Attach hinges using appropriate screws, driving them straight and secure.
Check that hinges sit flush against both lid and box back.
Test the lid swing before final tightening. Adjust if needed. Proper hinge placement makes your storage box function smoothly, giving you that satisfying click when it closes perfectly.
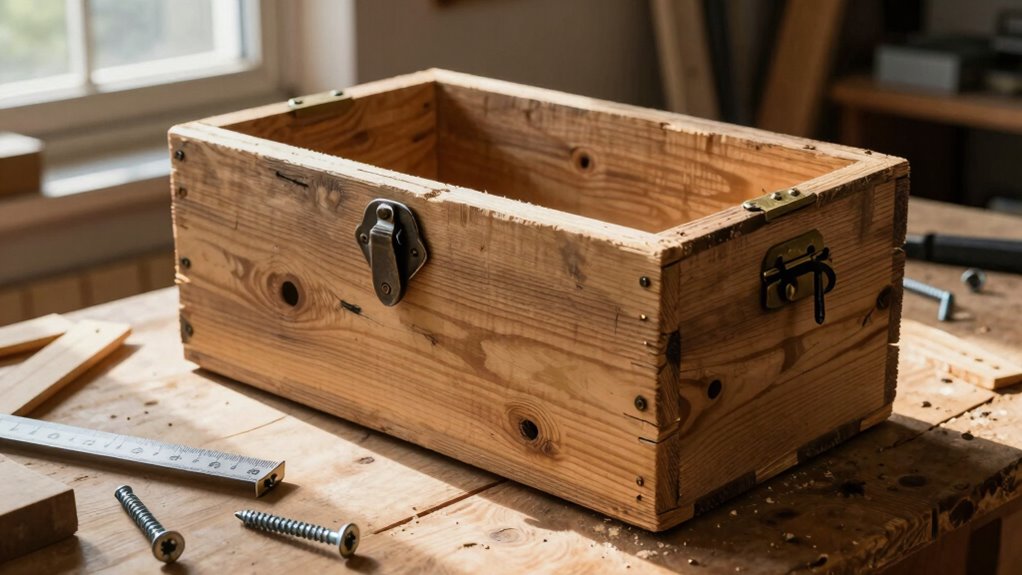
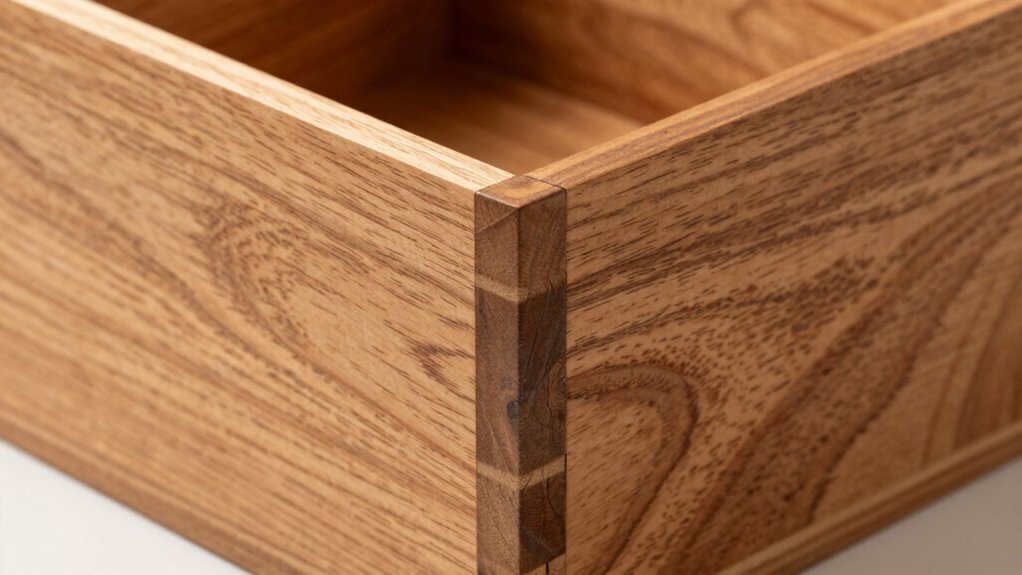
Reinforce Joints for Durability
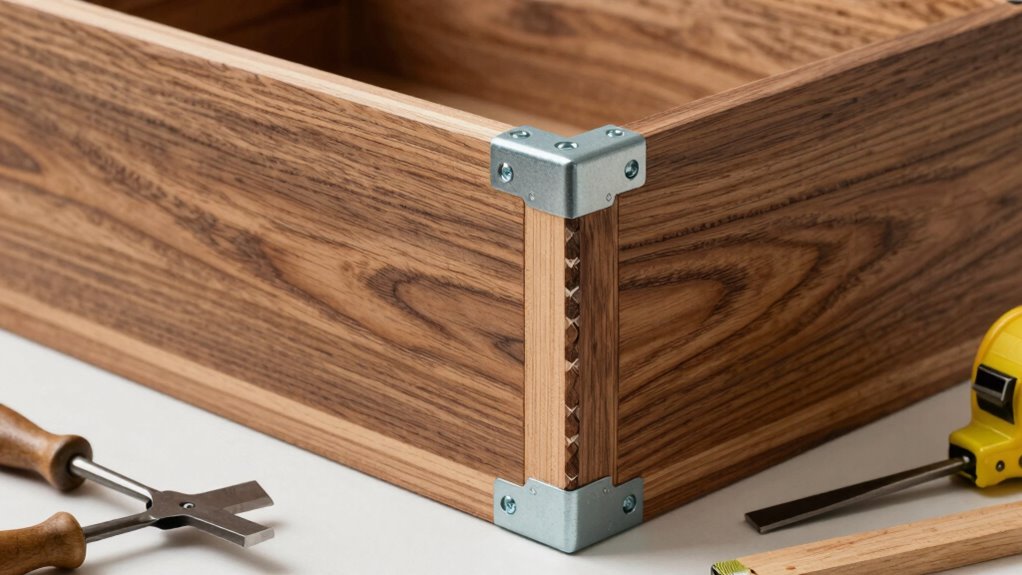
Strengthen each joint connection before proceeding to guarantee your wooden storage box can withstand regular use and heavy loads.
Apply wood glue to all mitered corners and butt joints for maximum adhesion. Clamp each joint tightly and let dry completely according to manufacturer’s instructions.
Reinforce corner joints with wood screws, drilling pilot holes first to prevent splitting. Use 1¼-inch screws for thinner wood, 2-inch for thicker materials. Drive screws at different angles for ideal strength.
Add corner blocks cut from scrap wood for extra support. Position these triangular braces inside each corner, securing with wood glue and screws. These blocks distribute weight evenly and prevent joint failure.
Check all connections are secure before moving forward. Tighten any loose screws and add additional reinforcement where needed. Your box now has professional-grade durability.
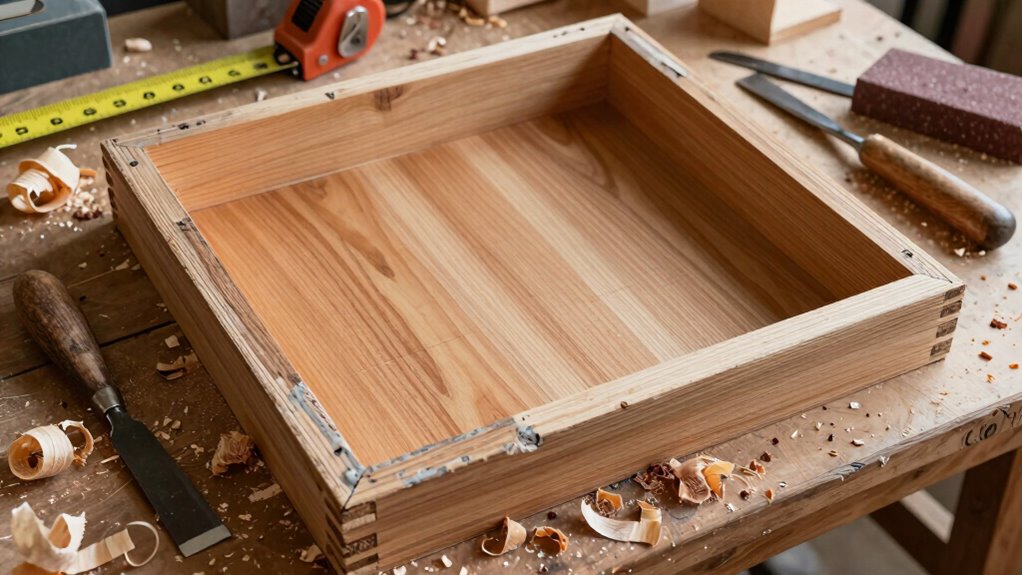
Sand and Smooth the Box Surface
You’ll want to choose the right sandpaper grit for your wooden storage box, starting with 80-grit for rough surfaces and finishing with 220-grit for a smooth feel.
Make sure to sand in the direction of the wood grain to avoid scratches and always wear a dust mask to protect your lungs.
Keep your work surface clean and flat so you can easily spot any rough spots that need extra attention.
Sandpaper Selection Guide
Choosing the right sandpaper grit makes all the difference in achieving a smooth, professional finish on your wooden storage box.
Start with 80-120 grit to remove rough spots and imperfections. Progress to 150-180 grit for medium smoothing. Finish with 220-320 grit for your final polish. Always wear safety glasses and a dust mask when sanding.
Sand with the wood grain to avoid scratches. Test your chosen grit on scrap wood first. Don’t rush through grit levels – each step builds on the previous one. Feel the surface frequently to check progress.
Switch to finer grits when scratch marks disappear. Keep your sandpaper clean and flat against the wood surface. Proper grit selection guarantees your box feels smooth and looks professional.
Surface Preparation Techniques
Now that you’ve selected your sandpaper grits, it’s time to prepare your wooden storage box surface for finishing.
Start with your coarsest grit and sand in the direction of the wood grain. Apply even pressure and avoid gouging the surface. Progress through each grit incrementally, sanding until the previous grit’s scratches disappear.
Wipe away dust frequently with a tack cloth. Pay special attention to corners and edges where splinters might hide. Always wear a dust mask and work in a well-ventilated area.
Feel the surface with your fingertips to detect any remaining rough spots. Your goal is glass-smooth wood that’s ready for staining or painting.
Don’t rush this step – proper surface preparation makes the difference between amateur and professional results.
Choose the Best Box Finish
Before applying any finish to your wooden storage box, consider the environment where it will be used and how much wear it will endure.
For indoor boxes with light use, choose wipe-on polyurethane or furniture wax. These finishes are beginner-friendly and provide adequate protection.
If your box will face moisture or heavy use, select marine varnish or spar urethane. These offer superior durability but require more skill.
Always check manufacturer labels for safety warnings and application instructions.
Test your chosen finish on scrap wood first to ascertain you like the appearance.
Consider the wood species too – softwoods might need extra protection.
Oil-based finishes penetrate deeper but take longer to dry. Water-based options dry faster but mightn’t penetrate as well.
Your choice creates the final look and protection level.
Apply the Protective Finish
After you’ve selected the appropriate finish for your wooden storage box, it’s time to apply it properly.
Start by sanding your box smooth with fine-grit sandpaper, then wipe away all dust with a tack cloth.
Work in a well-ventilated area and wear protective gloves.
Apply your first coat using long, smooth strokes following the wood grain.
Don’t rush – let each coat dry completely according to manufacturer’s instructions.
Lightly sand between coats for best results.
Most finishes require two to three coats for adequate protection.
Apply thin, even layers rather than thick ones to prevent drips and bubbles.
Keep your workspace clean and dust-free during application.
Wait twenty-four hours after the final coat before handling your box regularly.
Troubleshooting Common Box Building Issues
While building your wooden storage box, you might encounter several common problems that can affect both the construction process and final appearance.
If your pieces don’t fit together properly, check your measurements twice and sand down any rough spots. Gaps between joints mean you need more clamps or better alignment.
When wood splits during drilling, pre-drill pilot holes to prevent tear-out. Uneven staining happens when you don’t sand consistently or apply finish too heavily.
If your box wobbles, verify all corners are square and legs are even.
Safety first: always wear safety glasses when cutting or drilling, and keep your workspace clean to avoid accidents.
Don’t rush—measure twice, cut once.
Conclusion
Like a carpenter’s journey from rough timber to polished treasure, your wooden storage box transforms from simple planks into a functional masterpiece. You’ve measured twice, cut once, and assembled with care. Now your creation stands ready to protect and organize your belongings, a proof of your craftsmanship and patience.
