

Most people don’t realize that wood’s natural moisture content must drop below 15% before sealing for ideal results. You’ll need to test this with a moisture meter, not just rely on visual inspection. Surface preparation makes or breaks your seal’s longevity, yet many skip essential steps like proper sanding and cleaning. Understanding how different wood species react to various sealers will save you from costly mistakes later.
Why Proper Wood Sealing Matters for Outdoor Projects
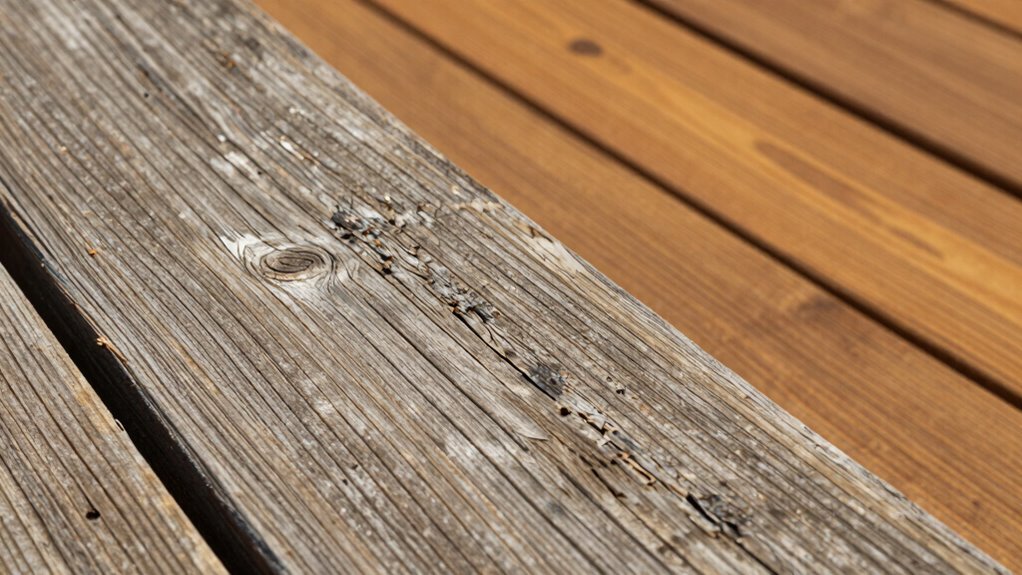
When you expose wood to outdoor conditions without proper sealing, moisture infiltration and UV radiation quickly degrade the material’s structural integrity.
Water penetrates wood fibers, causing swelling, warping, and eventual rot. UV rays break down lignin, weakening cellular structure and creating cracks. You’ll notice cupping, splitting, and discoloration within months.
Proper sealing creates a protective barrier against these destructive forces. Sealers block moisture absorption while UV inhibitors prevent photodegradation. Your outdoor furniture, decks, and structures maintain dimensional stability and appearance longer.
Without protection, wood deteriorates rapidly, compromising safety and requiring costly replacements. You’re not just preserving wood aesthetics—you’re protecting your investment and ensuring structural reliability.
Effective sealing extends wood lifespan by years, making it essential for any outdoor woodworking project.
How to Choose the Best Sealer for Your Wood Type
Choosing the best sealer for your wood type requires understanding how different wood species interact with various protective formulations.
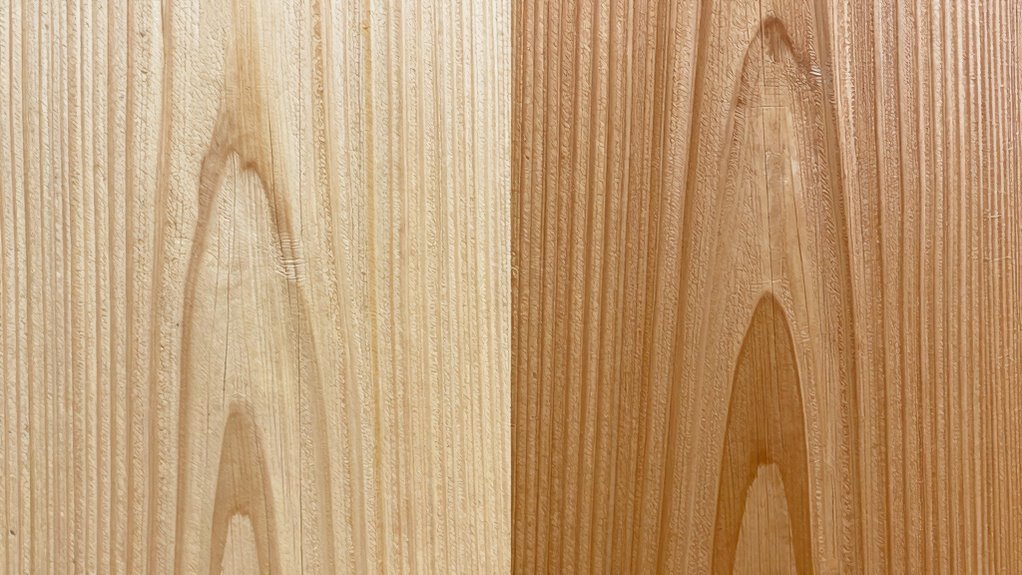
Softwoods like pine and cedar need sealers that penetrate deeply into their open grain structure. Hardwoods such as oak and teak require film-forming sealers that sit on the surface due to their dense grain.
You should match oil-based sealers with naturally oily woods like teak, while water-based products work better on less oily species. Test your wood’s absorption rate first – drop water on the surface and observe how quickly it soaks in.
Woods with high tannin content, like redwood, react poorly with certain chemicals, so choose pH-neutral sealers. Don’t ignore the wood’s natural characteristics when selecting protection.
Step-by-Step Guide to Prepping Wood Before Sealing
Proper wood preparation requires several critical steps that determine your sealer’s effectiveness and longevity.
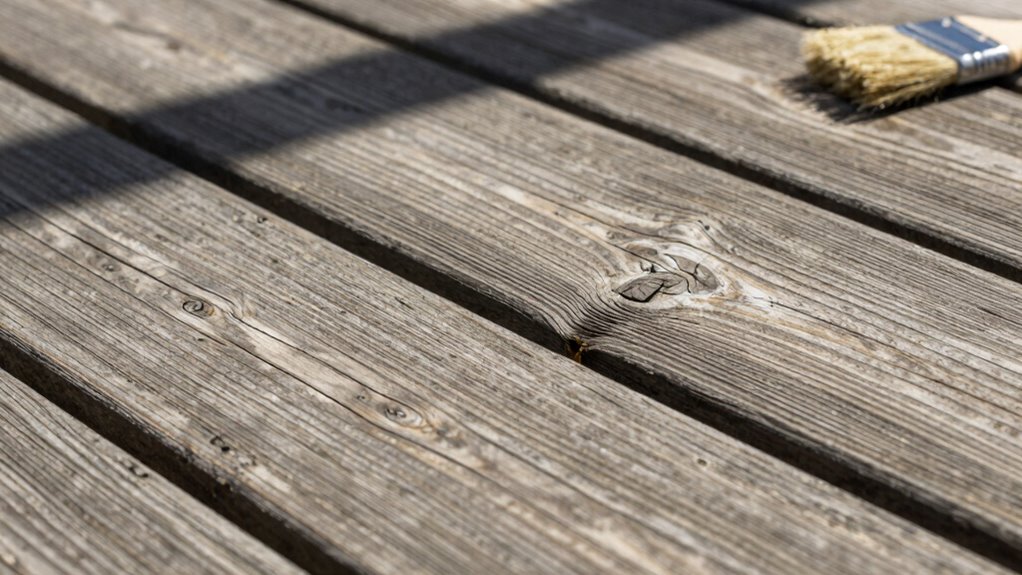
Start by cleaning the surface thoroughly using a stiff brush or power washer to remove dirt, mildew, and loose debris. Allow wood to dry completely for at least 48 hours.
Sand rough areas and smooth any splinters using 80-grit followed by 120-grit sandpaper. Remove all dust with a tack cloth or vacuum.
Inspect for damaged areas and repair cracks or holes with wood filler. Check moisture content using a moisture meter; readings should be below 15%.
If you’re working with previously sealed wood, remove old finish completely through sanding or chemical stripping. Freshly cut lumber needs additional drying time.
Test a small area first to ascertain proper adhesion and compatibility with your chosen sealer product.
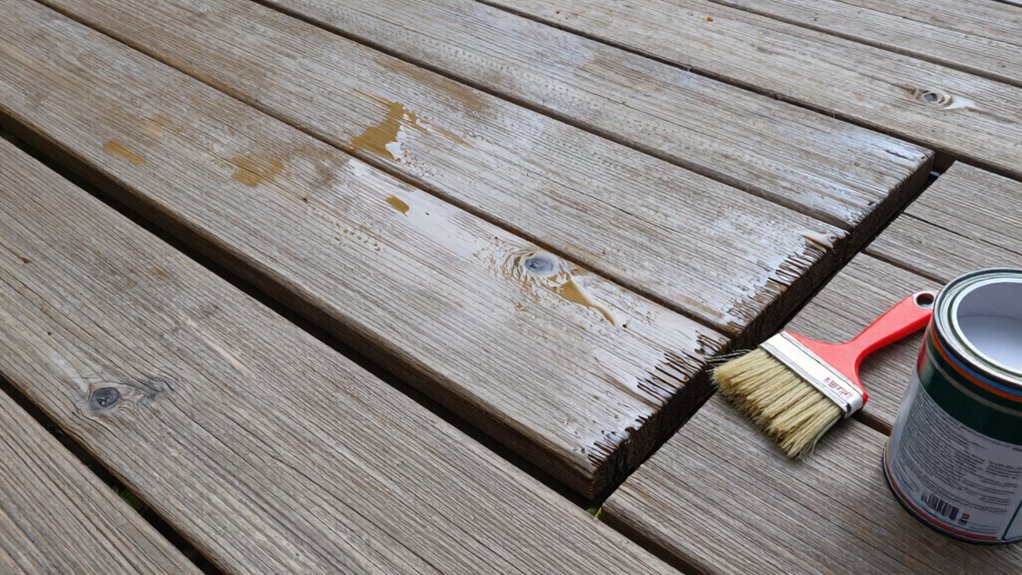
Application Tips for Long-Lasting Outdoor Protection
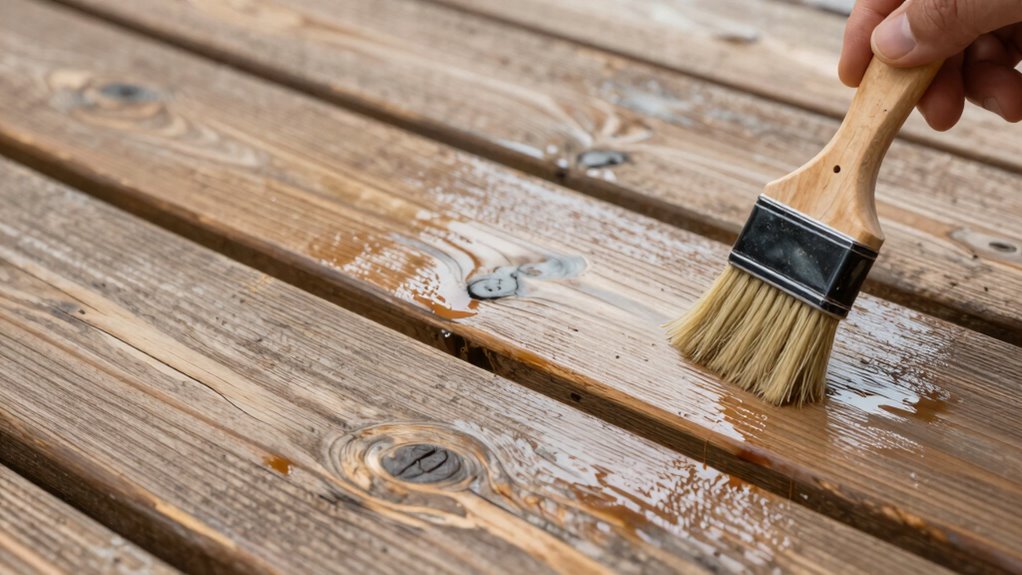
Once you’ve properly prepared your wood surface, apply your chosen sealer using long, smooth strokes that follow the wood grain to guarantee even coverage and prevent lap marks.
Work in small sections, maintaining consistent pressure on your brush or roller. Don’t overload your tool with sealer, as this causes drips and uneven application.
Apply thin, even coats rather than thick layers that won’t penetrate properly. Allow each coat to dry completely before applying the next one.
For vertical surfaces, work from bottom to top to prevent runs. Use a quality brush with synthetic bristles for oil-based sealers or natural bristles for water-based products.
Maintain steady hand pressure and keep your tool moving continuously across the surface for professional results.
Common Sealing Mistakes and How to Avoid Them
While you’re applying sealer to outdoor wood surfaces, several common errors can compromise your project’s longevity and appearance.
You shouldn’t apply sealer to dirty or wet wood, as this prevents proper adhesion. Always clean surfaces thoroughly and allow complete drying before sealing.
Don’t skip sanding between coats, which creates smooth, even layers. You’ll achieve better results by applying thin, consistent coats rather than thick applications that drip and bubble.
Timing matters—avoid sealing in direct sunlight or extreme temperatures. You should also resist the urge to rush the process; allow adequate curing time between coats.
Finally, don’t ignore manufacturer’s instructions about application conditions and drying times. These guidelines exist for good reason. Your project’s success depends on following proper techniques and allowing sufficient time for each step.
Conclusion
You’d think sealing wood outdoors would be simple—just slap on some goo and call it done. Surprise! Your “weatherproof” project could be toast without proper prep work. Don’t let cheap shortcuts ruin expensive wood. Temperature, humidity, wood moisture content, and sealer type actually matter. Skip these details and watch your outdoor furniture, deck, or siding fail prematurely. Proper sealing isn’t sexy, but it’s what separates professional results from expensive disasters. Your future self will thank you for doing it right the first time.
