

You’re about to discover why 80% of woodworking finish failures trace back to improper surface preparation. Don’t let your project become another statistic. Sanding isn’t just about removing material; it’s about creating the precise foundation that determines whether your finish will last years or months. You’ll need to understand grit progression, proper technique, and timing to avoid common mistakes that even experienced woodworkers make.
Why Proper Sanding Is Essential for a Durable Finish
Proper sanding creates the foundation for any durable wood finish, and skipping this step guarantees premature failure of your protective coating.
You’re not just smoothing wood – you’re creating microscopic valleys and peaks that allow finish to grip permanently. Without adequate sanding, coatings peel, flake, and deteriorate rapidly under normal use.
Surface preparation removes machine marks, tear-out, and imperfections that compromise adhesion. You’ll eliminate loose fibers, raised grain, and contaminants that prevent proper bonding.
Experienced woodworkers know that rushed sanding equals failed finishes. You’re building confidence with every deliberate pass, knowing your finish will withstand years of service.
Proper sanding technique separates amateurs from craftsmen who take pride in work that lasts.
Which Sandpaper Grits Do You Need?
While you might assume that grabbing any sandpaper grit will suffice, selecting the correct sequence of grits determines whether your finish adheres properly or fails prematurely.
Start with 80-100 grit to remove mill marks and imperfections. Progress to 120-150 grit for smoothing surfaces. Finish with 180-220 grit for scratch-free preparation. Don’t skip grits or jump too quickly; each step builds a proper foundation. For fine furniture, consider 320 grit final pass before finishing.
You need coarse grits for rapid material removal, medium grits for surface leveling, and fine grits for smooth finishing. Stick to aluminum oxide or ceramic abrasives.
Cheap sandpaper tears wood fibers. Quality grits cut cleaner, last longer, and produce professional results that fellow craftsmen recognize. Your choice directly impacts project success.
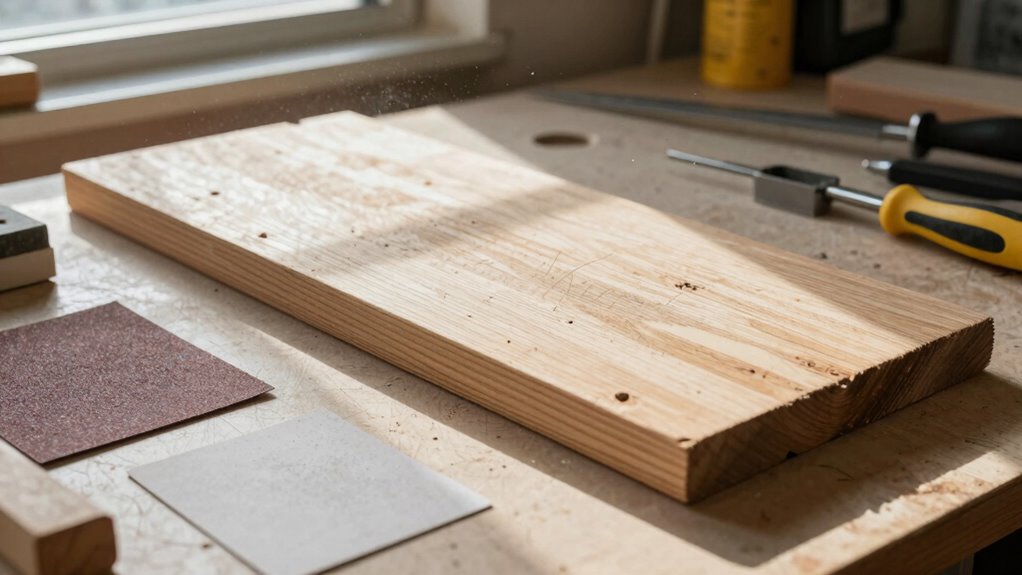
How to Prep Wood Before Sanding
You’ll need to clean the wood surface thoroughly before sanding to remove dirt, oils, and debris that can interfere with proper abrasion.
Remove any existing finish completely using chemical strippers or mechanical methods to guarantee uniform sanding results.
Check the wood grain direction carefully so you can sand with the grain and avoid creating scratches that will show through your final finish.
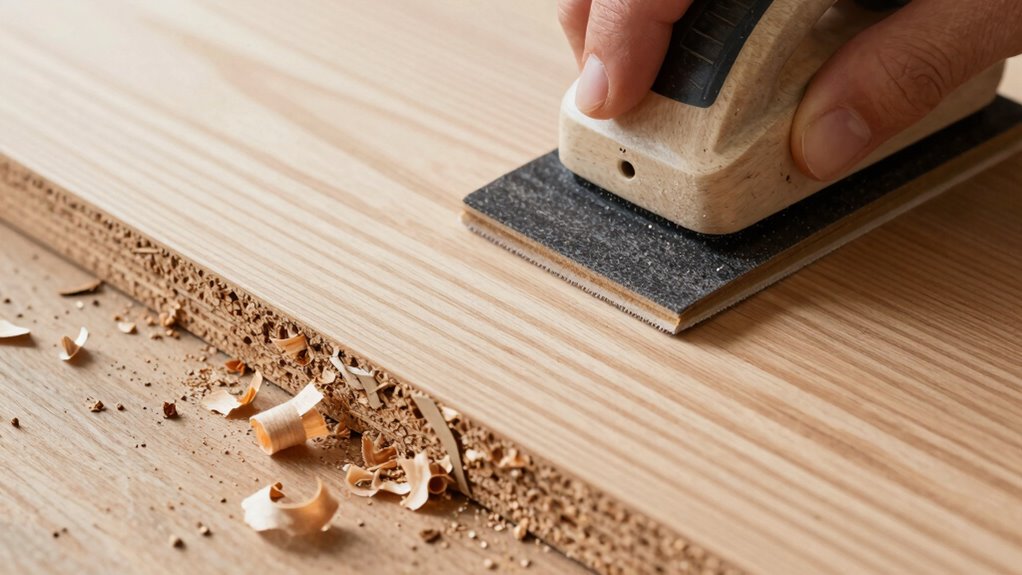
Clean Wood Surface
One essential step before sanding wood involves removing dirt, oil, and debris from the surface.
You’ll achieve better results when you start with a clean slate. Use a tack cloth or damp rag to wipe away surface contaminants. Don’t skip this step, as particles will interfere with proper sanding and finishing.
- Wipe with mineral spirits – Remove oils and stubborn residue using a lint-free cloth dampened with mineral spirits
- Vacuum crevices – Use a narrow nozzle to extract dust and debris from joints, corners, and intricate details
- Inspect under good lighting – Check for missed spots or remaining contaminants that could affect sanding performance
Clean wood guarantees consistent grit contact and prevents finishing defects. Your project deserves this attention to detail.
Remove Old Finish
Removing old finish is a necessary step before sanding wood, especially when working with previously finished surfaces. You’ll need chemical strippers or mechanical methods depending on the finish type.
Apply gel-based strippers according to manufacturer instructions, allowing them to dwell until the finish softens. Scrape systematically with putty knives, working against the grain initially. For stubborn areas, use coarse sandpaper or sanding discs.
Always test stripper compatibility on inconspicuous areas first. Remove all residue with mineral spirits or recommended solvents. Don’t skip neutralizing steps when required.
Mechanical removal works well for thick finishes but requires more effort. You should wear proper protective equipment including respirators and gloves. Ascertain adequate ventilation throughout the process.
Verify complete finish removal by examining the surface under good lighting before proceeding to subsequent sanding operations.
Check Wood Grain
Before sanding wood, examine the grain pattern to determine the best approach for achieving a smooth, even surface. You’ll want to identify whether the wood features straight, curly, or interlocked grain patterns. This inspection helps you choose the proper sanding direction and grit progression.
Straight grains sand easily with the grain, while curly grains require cross-grain techniques to prevent tear-out. Interlocked grains demand careful attention to changing directions.
- Run your hand along the grain to feel any raised fibers or irregularities
- Look for areas where the grain changes direction abruptly
- Check for knots, sapwood, or mineral streaks that require special handling
Understanding grain direction prevents sanding mistakes that ruin your finish. You’ll achieve professional results when you work with the wood’s natural characteristics rather than against them.
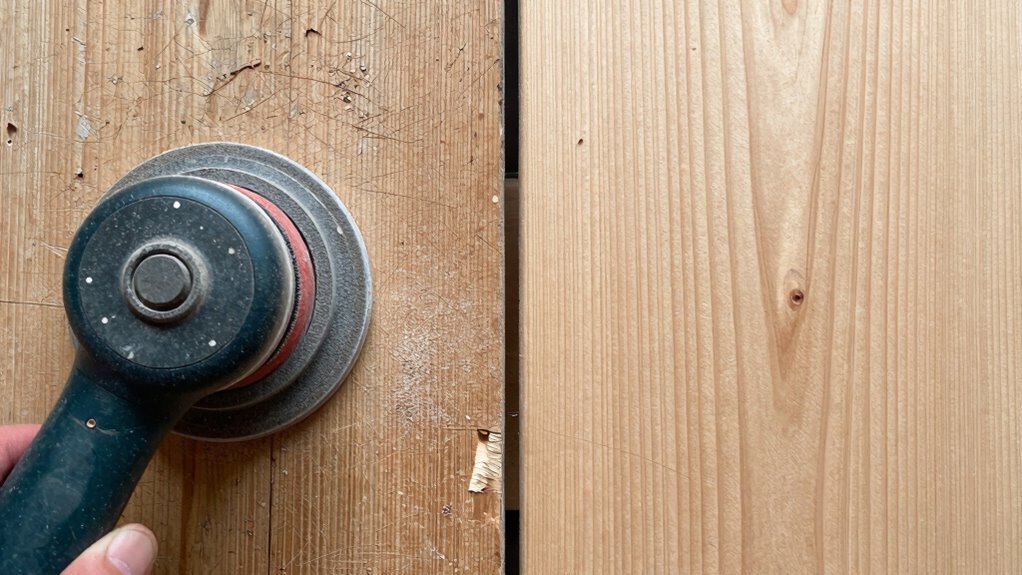
Best Tools for Sanding Wood
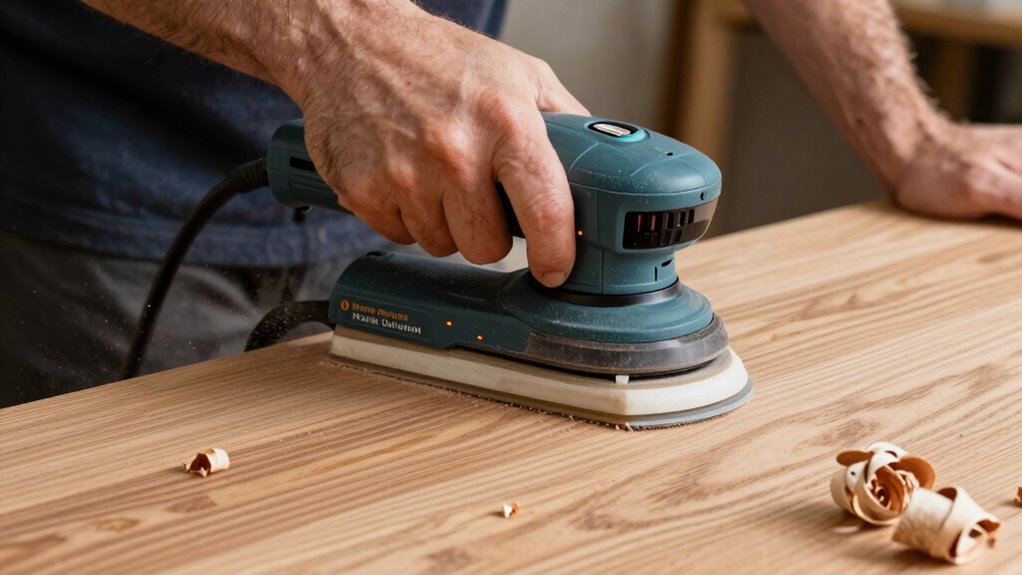
Choosing the right sanding tools makes all the difference in achieving a smooth, professional finish on your woodworking projects.
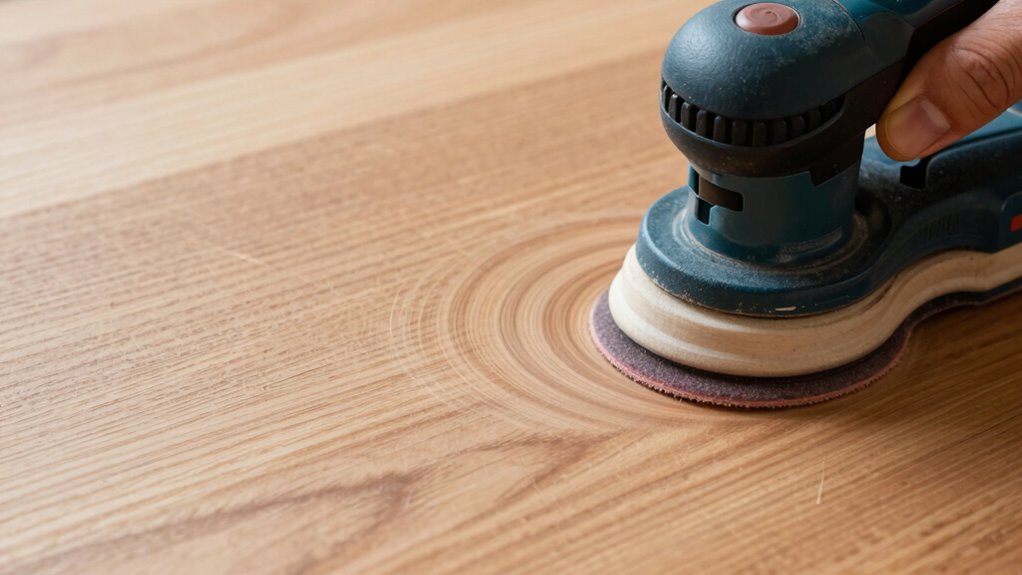
You’ll want quality sandpaper with sharp, consistent grits that won’t clog easily. Orbital sanders deliver even pressure distribution, while belt sanders tackle heavy material removal quickly.
Random orbital sanders prevent swirl marks better than traditional models. For detailed work, palm sanders and sanding blocks give you precise control.
Don’t overlook sanding sponges for curved surfaces and intricate profiles. Quality sanding pads and discs should be part of your arsenal too.
You’ll achieve better results when you match the right tool to each specific sanding task, ensuring you’re working efficiently and effectively.
When to Start With Coarse Grit Sandpaper
You should start with coarse grit sandpaper when you’re dealing with rough saw marks, deep scratches, or uneven surfaces that need aggressive material removal.
Your coarse grit selection depends on the wood’s condition and your specific project requirements.
Once you’ve addressed the major imperfections, you’ll progress systematically through finer grits to achieve the smooth finish you want.
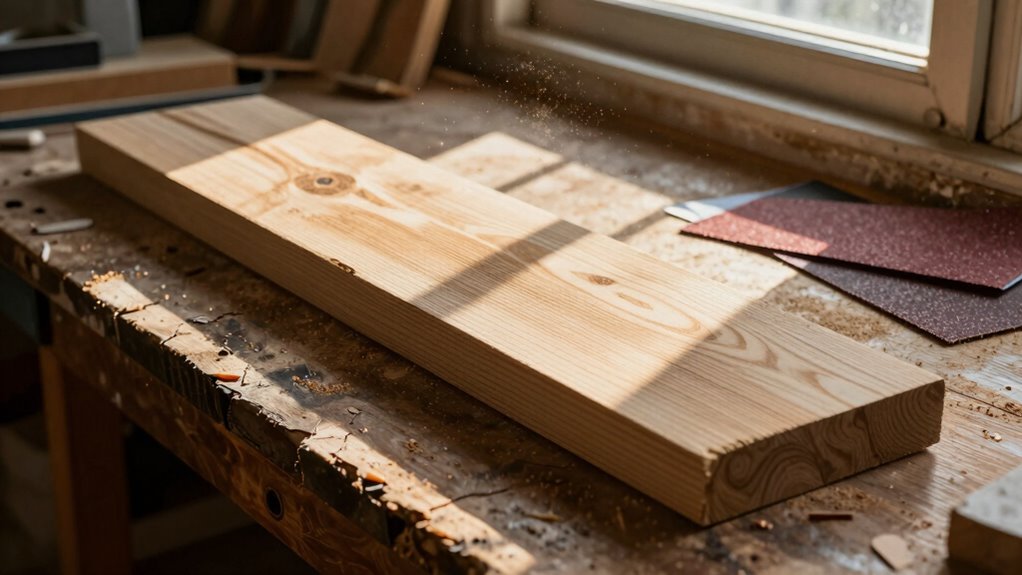
Coarse Grit Selection Tips
Coarse grit sandpaper serves as your foundation for wood preparation when surfaces demand significant material removal or smoothing.
You’ll want to start with 60-80 grit when tackling deep scratches, stains, or uneven surfaces that require heavy stock removal.
Choose your coarse grit based on these vital factors:
- Wood condition: Severely damaged or weathered wood needs 60-80 grit to restore平整度
- Defect severity: Deep gouges and stains require aggressive cutting power from lower grits
- Project requirements: Furniture restoration often starts at 80 grit, while construction-grade wood might need 60 grit
Your coarse grit selection determines how efficiently you’ll progress through finer stages.
Don’t skip this vital step thinking you’ll save time – inadequate coarse grit usage creates uneven surfaces that fine grits can’t fix properly.
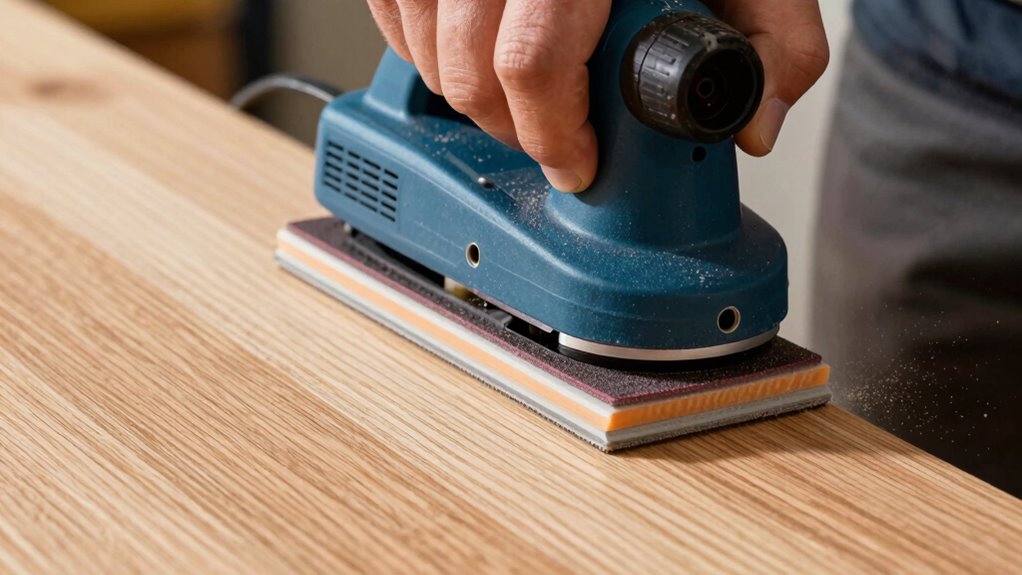
Sanding Techniques For Rough Surfaces
Starting with coarse grit sandpaper becomes necessary when rough surfaces demand immediate attention to remove deep imperfections.
You should begin with 60-80 grit when dealing with heavy scratches, gouges, or uneven wood grain. Apply consistent pressure while moving the sander in straight lines parallel to wood grain. Don’t rush this critical step – coarse grits remove material quickly but require careful control to avoid creating new problems.
Maintain even strokes and check progress frequently. Angle your sander slightly when working corners or edges. Keep the sandpaper flat against surface irregularities. Coarse grits generate heat, so work in sections and allow cooling periods.
You’ll know when to stop when major defects disappear and surface feels uniformly smooth to touch.
Progressing To Finer Grits
When rough surfaces demand immediate attention, starting with coarse grit sandpaper becomes essential for removing deep imperfections effectively. You’ll want to begin with 60-80 grit when dealing with significant scratches, dents, or uneven textures that finer papers can’t handle efficiently.
- Start coarse, finish fine: Begin with 80-grit for heavy stock removal, then systematically progress through 120, 150, and 220-grit for smooth results.
- Feel the surface evolution: You’re ready to move up when scratches from the current grit disappear completely under proper lighting.
- Maintain consistent pressure: Apply even force across the wood grain to avoid creating new imperfections during progression.
Progressive grit escalation guarantees you don’t waste time with inappropriate abrasives while achieving professional-grade smoothness efficiently.
How to Progress Smoothly Through Medium Grits
You’ll want to move through medium grits systematically, typically beginning with 120-grit sandpaper and progressing to 150 or 180-grit for most projects.
Maintain consistent pressure and sand with the grain to avoid cross-hatching. Check your progress frequently by running your hand over the surface – you should feel the scratches gradually smooth out. Don’t rush this stage; proper medium grit work eliminates deep scratches that finer papers can’t handle efficiently.
If you’re working on hardwood, consider spending extra time here. Softwoods may need less attention. Always remove dust between grit changes using a tack cloth or vacuum. Keep your sandpaper flat and avoid creating low spots.
Trust the process – each grit prepares the foundation for the next. Your patience now determines your finish quality later.
How to Achieve a Glass-Smooth Finish
Once you’ve completed the medium grit progression and eliminated all visible scratches, achieving a glass-smooth finish requires switching to fine grit sandpaper ranging from 220 to 400 grit.
You’ll want to sand systematically, following the grain direction while maintaining consistent pressure.
- Use 220-grit to remove any remaining scratches, then progress to 320-grit for refinement.
- Apply 400-grit sandpaper with lighter pressure, making smooth, even passes across the surface.
- Check your progress by running your hand over the wood or using a bright light at different angles.
Maintain clean sandpaper throughout this process. Clogged paper won’t cut effectively and can leave swirl marks.
Keep your workspace dust-free and inspect the surface frequently. This fine grit work determines your final finish quality, so don’t rush through these critical steps.
Do You Really Need Sanding Primer on Bare Wood?
While sanding primer isn’t always mandatory on bare wood, applying it greatly improves adhesion and creates a uniform base for your topcoat. You’ll achieve better coverage and durability when you use primer, especially on porous or uneven wood surfaces.
Primer fills minor imperfections and creates consistent absorption rates across the entire surface.
Skipping primer might seem like a time-saver, but you’ll often end up with blotchy finishes and poor stain penetration. You’re fundamentally gambling with your project’s success.
Experienced finishers always prime bare wood because it eliminates guesswork and delivers professional results every time.
Your topcoat adheres notably better to primed surfaces, reducing peeling and flaking risks.
Don’t skip this vital step if you want finishes that last.
Common Sanding Mistakes and How to Avoid Them
Sanding mistakes can ruin your finish before you even apply the first coat.
You need to avoid these common errors that plague woodworkers of all levels.
- Skipping grit progression: Jumping from 80 to 220-grit leaves deep scratches that telegraph through your finish. Progress through each grit systematically, spending adequate time on every grade.
- Applying excessive pressure: Let the abrasive do the work. Heavy-handed sanding creates uneven surfaces and premature wear on your sandpaper while generating heat that can damage wood fibers.
- Neglecting sanding direction: Always follow the wood grain. Sanding against grain raises stubborn fibers and creates visible scratches that compromise your final appearance.
Master these fundamentals and you’ll achieve professional results every time.
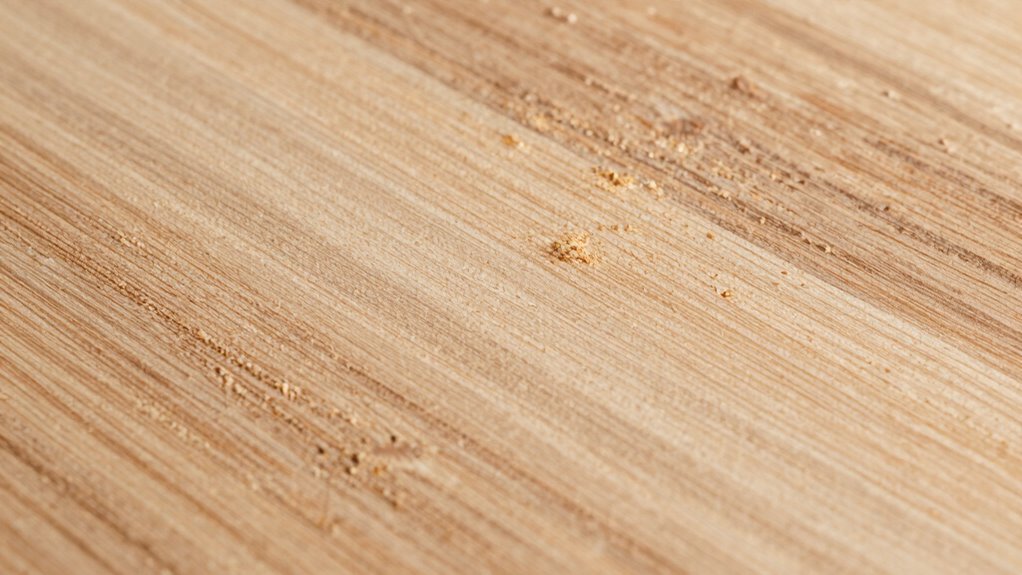
What Causes Wood Grain to Raise During Sanding?
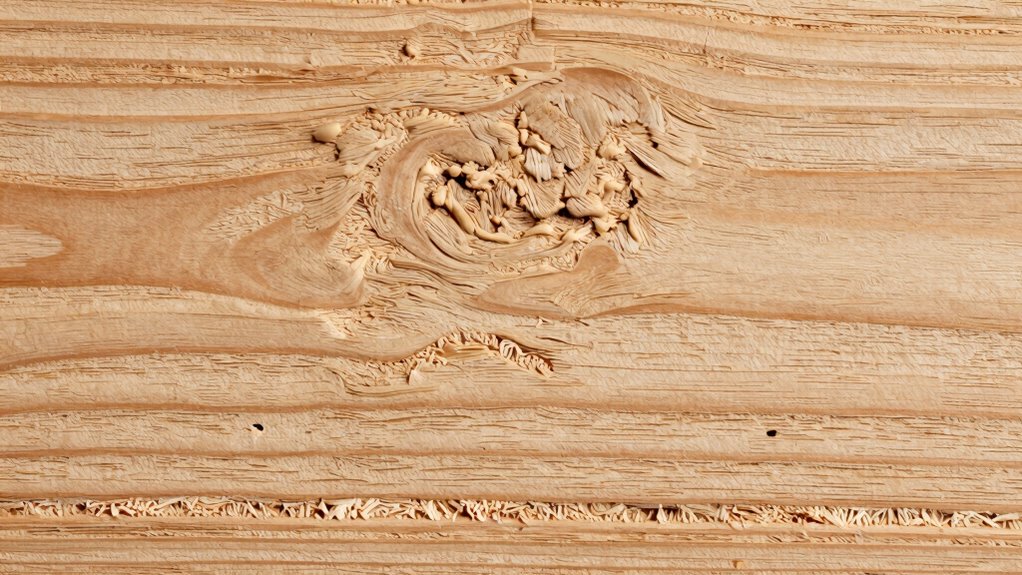
When you sand wood against the grain, you tear up wood fibers and create raised grain that ruins your finish.
You’re fundamentally cutting through the wood’s natural structure rather than following its intended direction. This aggressive action lifts individual fibers, creating a fuzzy texture that won’t accept stain or finish properly.
Wood grain raises primarily due to improper sanding technique and using grits that’re too coarse for your wood type.
You’ll notice this problem more with softwoods and open-grained species. Your sandpaper acts like a cutting tool when misused, shredding fibers instead of smoothing them.
Always sand with the grain using appropriate grit progression.
You’ll achieve professional results and avoid the frustration of dealing with raised fibers that compromise your project’s final appearance.
How Wet Sanding Improves Your Finish
Wet sanding takes your finishing game to the next level by eliminating the raised grain issues you’ve just learned about.
You’ll achieve glass-smooth surfaces that dry sanders simply can’t match. This technique uses water as a lubricant, preventing clogging and heat buildup that ruins your sandpaper.
- Better surface flatness – Water flushes away debris, revealing true high spots you need to remove
- Reduced sanding marks – Lubrication minimizes scratches, giving you cleaner wood pores
- Enhanced finish adhesion – Smooth surfaces accept stains and sealers uniformly
You’re not just sanding when you wet sand – you’re engineering the perfect foundation.
Master this technique and you’ll join the ranks of craftsmen who demand flawless results. Your finishes will thank you.
Special Sanding Tips for Different Wood Types
While you’re preparing to sand various wood species, each type demands specific techniques to achieve ideal results.
You’ll need to adjust your approach based on wood density and grain patterns. Softwoods like pine require lighter pressure and finer grits to avoid tear-out.
Hardwoods such as oak and maple can handle aggressive sanding but need consistent grain-following motions. Exotic woods like teak demand patience with progressive grit escalation.
You should always sand with the grain direction, never across it. Dense hardwoods benefit from power sanding with orbital motions, while softer species respond better to hand sanding control.
Test your technique on scrap pieces first.
You’ll discover that understanding each wood’s character makes you part of an experienced craftsman group who consistently achieves professional results through proper species-specific sanding methods.
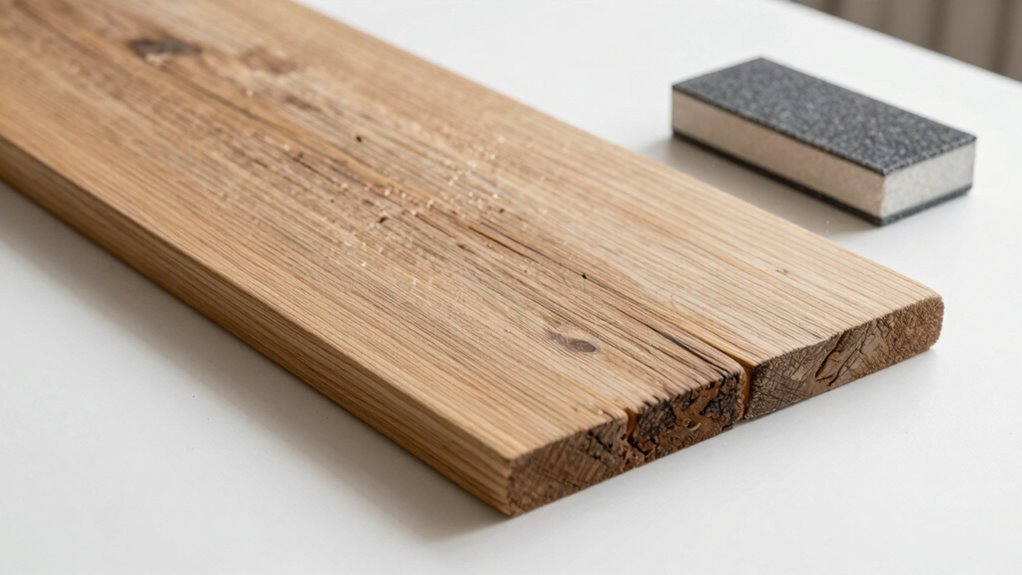
How to Sand Out Stains and Deep Scratches
Unless you’re dealing with surface-level imperfections, removing stains and deep scratches requires a systematic approach that starts with coarse grit sandpaper. You’ll need to sand aggressively to penetrate below the damaged wood fibers.
- Start with 80-grit paper to cut through tough stains and deep gouges effectively, working systematically across grain direction.
- Progress through intermediate grits methodically – 120, then 150 – ensuring you remove all scratch marks from previous sanding stages.
- Use cross-grain sanding techniques with orbital or belt sanders, maintaining consistent pressure while overlapping passes for uniform removal.
Deep scratches demand patience and proper technique. Don’t rush through grit progressions. Each stage must completely remove previous scratches before advancing.
Keep sandpaper fresh – dull paper tears wood fibers. Check your progress frequently under good lighting. When stains disappear and surfaces feel smooth, you’re ready for finer grit work.
How Long to Wait Before Applying Finish
You must wait for proper dry time after sanding before applying your finish, typically 24-48 hours depending on humidity and wood type.
Surface preparation timing is critical because applying finish to damp or uncured wood creates adhesion problems and finish failures.
These dry time requirements guarantee your wood reaches ideal moisture content for successful finishing.
Dry Time Requirements
After sanding wood, you must wait for the surface to dry completely before applying any finish, typically allowing 24 to 48 hours depending on humidity and wood type.
Don’t rush this critical step – moisture trapped beneath finish creates bubbles, peeling, and uneven absorption.
- Check wood moisture content using a moisture meter; readings should be below 12% for ideal results
- Feel the surface with your palm; if it feels cool or damp, wait longer
- Test-spray a small area with your intended finish; if it beads up or looks milky, the wood isn’t dry enough
Hardwoods like oak require longer drying times than softwoods.
Humid conditions demand patience – extend waiting time accordingly. Your finish will thank you for proper preparation.
Surface Preparation Timing
While proper drying time guarantees successful finish adhesion, timing your surface preparation correctly prevents common finishing disasters.
You must wait twenty-four hours minimum after final sanding before applying any finish. This waiting period allows wood fibers to settle and any residual moisture to evaporate completely. Rushing this step causes finish failure, bubbling, or peeling.
Environmental conditions matter greatly – high humidity extends required waiting times. You should also consider wood species and density variations. Dense hardwoods typically need longer preparation timing than softwoods.
Temperature fluctuations affect curing processes too. Experienced woodworkers always test moisture content before finishing. Use moisture meters to verify wood readiness.
Proper surface preparation timing separates professional results from amateur mistakes. Your patience during this critical phase determines final project success. Don’t skip this essential waiting period.
When to Sand Between Coat Applications
Although sanding between coats isn’t always necessary, understanding when to do so will greatly improve your finish quality. You should sand between applications when you notice raised grain, surface imperfections, or when shifting between different finish types.
This intermediate sanding creates better adhesion and eliminates defects that compromise your final result.
- Sand between coats when you feel rough spots or uneven texture with your fingernail
- Always sand after the first coat when working with wood that raises grain easily
- Skip sanding between coats when applying multiple layers of the same finish type on smooth surfaces
You’ll achieve professional results by recognizing these key moments. Your finish will look flawless because you’ve mastered this critical timing.
Conclusion
You’ve got this sanding technique down pat—don’t let mediocre prep ruin your masterpiece. Remember: coarse grits are your heavy artillery for major flaws, fine grits are your finishing polish, and patience is your secret weapon. Sand with the grain like you’re conducting a symphony, let it dry longer than you think necessary, and watch your finish transform from good to gallery-quality. Your future self will thank you for this flawless foundation.
