

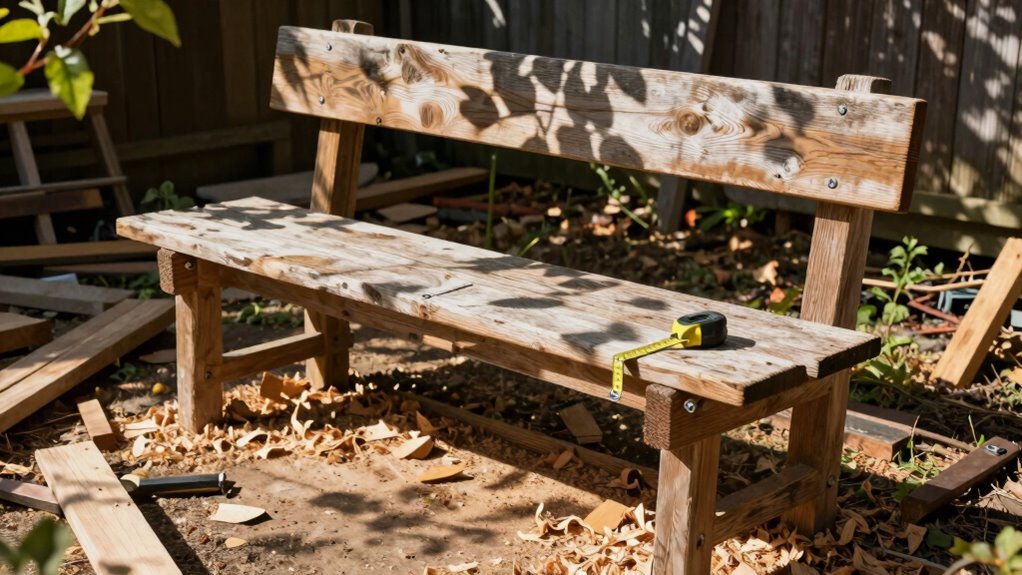
You can build a sturdy garden bench with basic tools and pressure-treated lumber. Start by gathering your materials and cutting them to precise measurements. Assemble the frame using wood screws and waterproof glue for durability. Add seat slats, sand smooth, and apply outdoor varnish. This straightforward project requires attention to detail but rewards you with a long-lasting outdoor seating solution. What steps should you prioritize for the strongest frame?
Why Build Your Own Garden Bench?
Building your own garden bench offers several compelling advantages that make it worth your time and effort. You customize every aspect to match your outdoor space perfectly, ensuring proper dimensions for your body type and existing furniture.
Homemade benches cost noticeably less than store-bought options, letting you allocate savings toward quality materials or additional garden projects. You gain valuable carpentry skills while creating something uniquely yours that friends and family will admire.
The satisfaction of completing a functional project boosts your confidence and sense of accomplishment. Your bench becomes a conversation piece that reflects your personal style and craftsmanship.
You control the build quality, selecting durable materials that withstand weather conditions in your specific climate zone.
Gather the Right Materials
Before you begin constructing your garden bench, you’ll need to gather all the necessary materials and tools to assure a smooth building process. Stock up on pressure-treated lumber for weather resistance—typically four 2x4s and two 2x6s work well.
You’ll also need galvanized screws, wood glue, and sandpaper for finishing touches. Don’t forget concrete blocks if you plan to anchor the bench permanently.
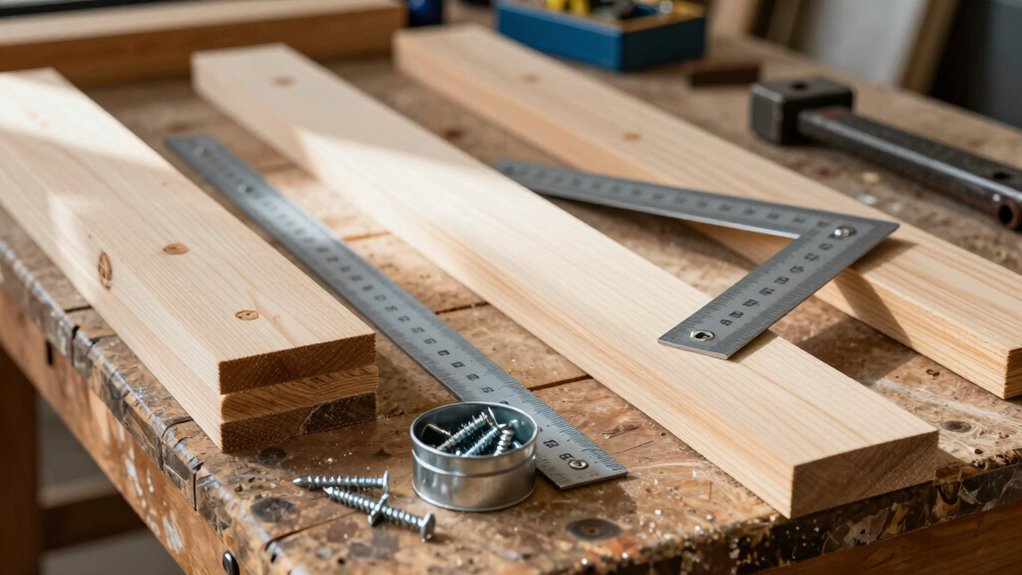
Gather essential tools including a drill, measuring tape, level, and circular saw. Having a square guarantees accurate cuts and proper assembly.
Consider purchasing wood stain or paint to match your outdoor decor. Check your hardware store for pre-cut lumber packages designed specifically for bench projects—they simplify material selection and assure you have everything needed.
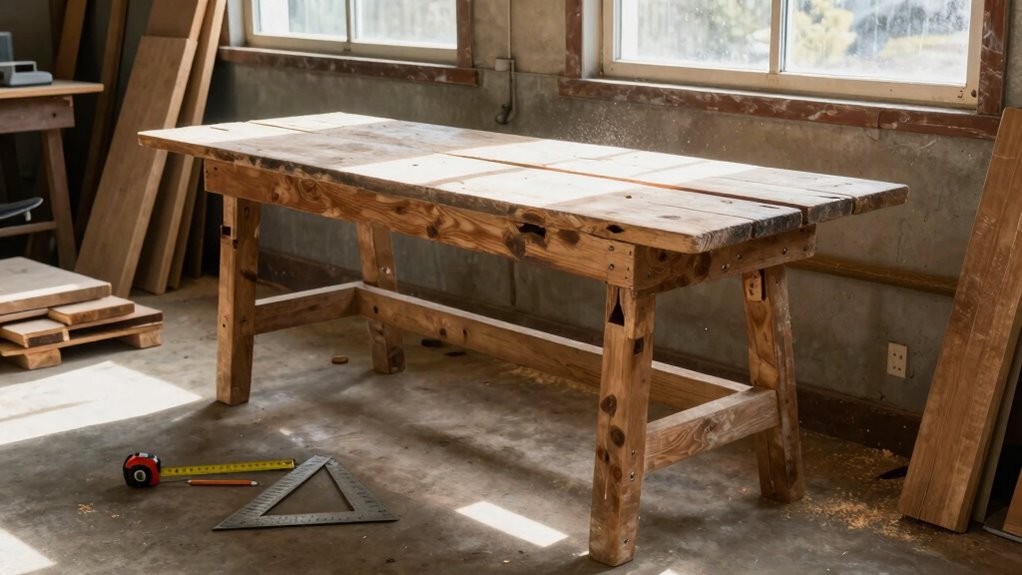
Cut Lumber to Exact Measurements
You’ll need to measure twice and cut once to guarantee your garden bench components fit together perfectly.
Use a combination square and tape measure to mark precise cut lines on your lumber, accounting for the width of your saw blade.
Make clean, straight cuts using a miter saw or circular saw with a guide to maintain accuracy throughout the entire cutting process.
Precise Measurement Techniques
When you’re cutting lumber for your garden bench, accurate measurements are essential since even small errors can compromise the entire structure’s stability and appearance.
You’ll want to measure twice and cut once, but precision goes beyond this basic principle. Use a quality tape measure with clear markings and verify it’s fully extended against the lumber. Mark your cutting lines with a sharp pencil, making tiny tick marks rather than heavy lines that can throw off accuracy.
Always measure from the same reference point to maintain consistency across all pieces. Check that your lumber is square before measuring, as warped or twisted boards will give false readings. Keep your measuring tools clean and sharp for the most reliable results.
Lumber Cutting Methods
Having established accurate measurements, you’re now ready to cut your lumber to those exact specifications.
Use a miter saw or circular saw with a straight edge guide for clean, precise cuts. Mark your measurements clearly with a carpenter’s pencil, ensuring lines are visible but not too heavy. Position your lumber firmly against the saw’s fence or guide, aligning your mark with the blade.
Make slow, steady cuts through the full length of the board in one smooth motion. Avoid forcing the saw, which causes binding and inaccurate cuts.
Check each piece immediately after cutting against your measurements to verify accuracy. If cuts are slightly off, you can often correct minor discrepancies through careful sanding or planning.
Assemble the Garden Bench Frame
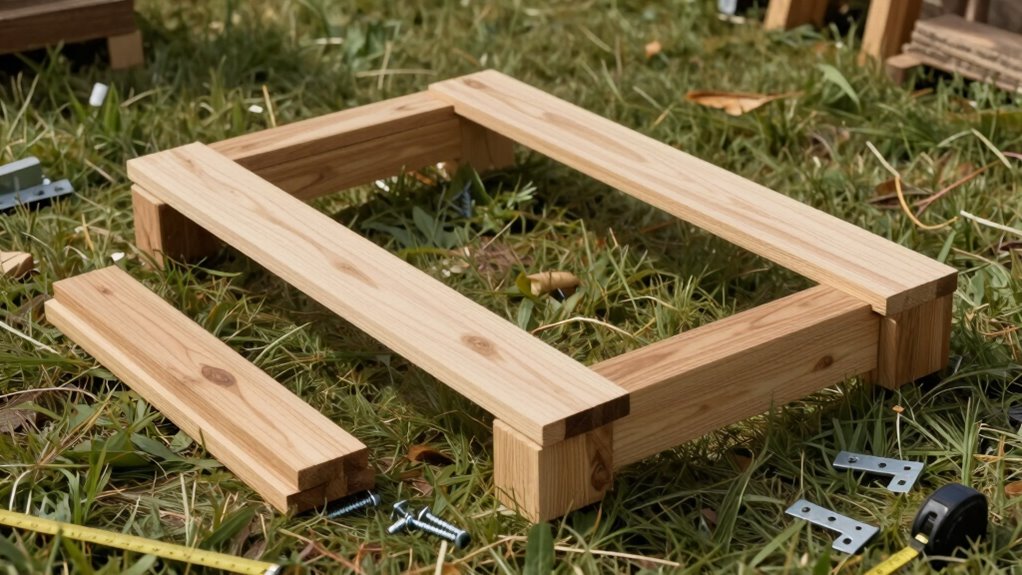
You’ll now assemble the garden bench frame using the precisely cut lumber from the previous step.
Start by laying out all frame components according to the measurements you’ve prepared, ensuring each piece aligns correctly before securing connections.
Follow the step-by-step assembly sequence carefully to build a sturdy foundation that will support the entire bench structure.
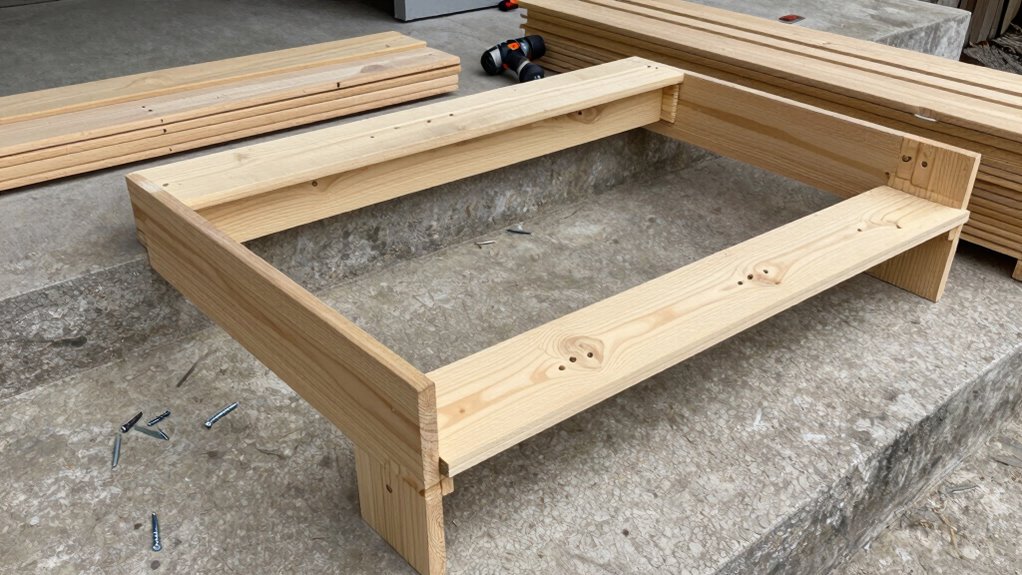
Frame Assembly Steps
The frame assembly process requires careful attention to detail and proper alignment of all components.
You’ll start by laying out the side panels and seat supports according to your measurements. Connect the front and back rails between the side panels, ensuring everything sits square. Use clamps to hold pieces in place while you drill pilot holes.
Attach joints with wood screws, checking alignment as you work. Make sure all corners are level and flush. Tighten connections securely but avoid over-tightening which can split the wood.
Double-check measurements periodically to maintain accuracy. Your frame should feel solid and stable before proceeding. Take your time with each connection point. Proper frame assembly creates the foundation for your entire bench project.
Bench Frame Construction
One critical step in building your garden bench involves assembling the frame components with precision and care. You’ll want to guarantee all joints are square and secure before proceeding.
Start by laying out your cut pieces according to the plans, checking measurements twice to avoid costly mistakes.
- Use waterproof wood glue between all joints for extra strength and durability against outdoor elements
- Pre-drill holes before inserting screws to prevent wood splitting and guarantee clean, professional results
- Check frame stability by applying gentle pressure to all corners after assembly
Take your time during this phase because a solid foundation determines your bench’s longevity.
Don’t rush—measure, mark, and verify each connection. Your future self will appreciate the extra effort when you’re enjoying years of comfortable outdoor seating with family and friends.
Attach Garden Bench Seat Slats
Several screws and a drill will help you quickly secure the seat slats to your garden bench frame.
Position each slat evenly across the frame’s width, maintaining consistent gaps between them for drainage and comfort. Pre-drill holes through the slats into the frame to prevent wood splitting. Use galvanized screws for weather resistance.
Start with the center slat, then work outward to maintain even spacing. Check that each slat sits flat and secure before moving to the next.
Tighten all connections firmly but avoid over-tightening which can strip threads. This creates a solid, attractive seating surface that’ll provide years of outdoor enjoyment. Your bench seat should feel sturdy and look professional once all slats are attached properly.
Install Back Support Slats for Comfort
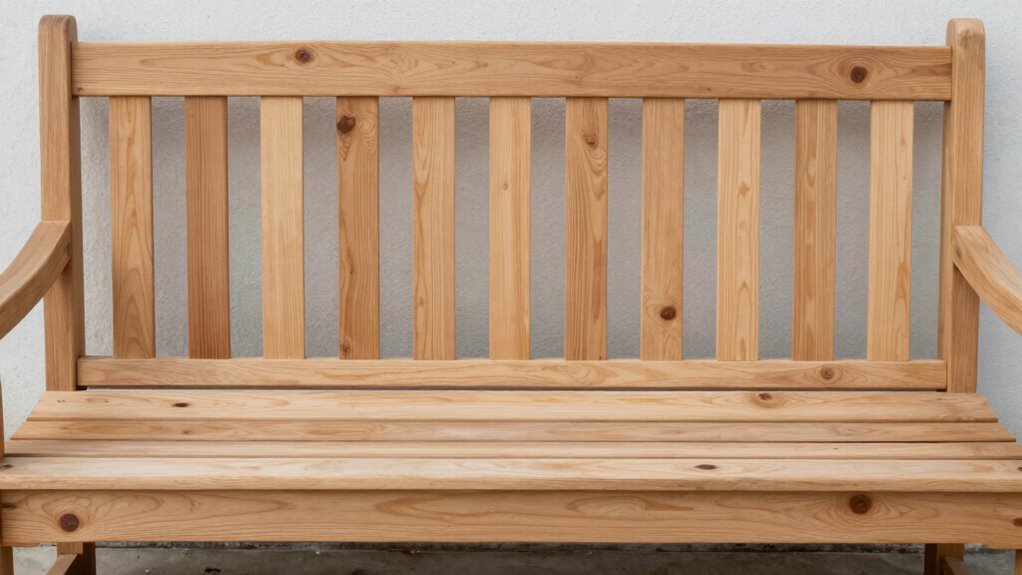
Now that your seat slats are securely attached, you’ll want to add back support slats to complete your garden bench’s comfort features.
These slats provide essential lumbar support and transform your bench from functional to inviting.
Position the back slats vertically between the rear legs, maintaining consistent spacing for both comfort and aesthetic appeal. Use corrosion-resistant screws to attach each slat directly to the frame, ensuring they’re perfectly aligned and won’t wobble.
- Spacing matters: Leave ¼-inch gaps between slats for expansion and comfortable seating
- Angle correctly: Tilt slats slightly backward for natural lumbar support
- Height consideration: Install slats at varying heights to accommodate different body types
Your bench is nearly complete, and these back supports will make it genuinely welcoming for anyone who sits.
Smooth and Sand All Surfaces
Sand every surface of your garden bench thoroughly to eliminate rough edges and splinters that could mar your seating experience.
Start with coarse-grit sandpaper to remove major imperfections, then progress to finer grits for smoothness. Work systematically across all wooden surfaces, including edges and corners where splinters commonly lurk.
Pay special attention to areas where wood meets, sanding these joints until they feel seamless under your fingers. Don’t forget hidden spots like undersides and back surfaces that might contact clothing or skin.
Wipe away dust frequently with a tack cloth to check your progress. Proper sanding creates professional results that friends and family will appreciate during backyard gatherings.
Take time to guarantee every surface feels smooth and welcoming.
Apply Weatherproof Coating for Durability
You’ll want to select weatherproof materials that can withstand outdoor conditions year-round.
Apply a protective coating evenly across all surfaces to shield the wood from moisture and UV damage.
This finishing process guarantees your garden bench maintains its appearance and structural integrity for years to come.
Choose Weatherproof Materials
Weatherproof materials form the foundation of any durable garden bench that will withstand outdoor conditions year after year.
You need to select materials that handle moisture, UV exposure, and temperature changes without deteriorating. Your choices directly impact your bench’s longevity and maintenance requirements.
Consider these essential materials:
- Cedar or redwood lumber naturally resists decay and insects
- Marine-grade plywood offers superior moisture resistance
- Stainless steel or galvanized hardware prevents rust and corrosion
Don’t overlook composite materials that mimic wood while offering enhanced durability.
Your community of gardeners will appreciate advice that helps them build benches lasting decades, not seasons.
Choose wisely and your bench becomes a gathering spot for years.
Apply Protective Coating
Protect your investment by applying a high-quality protective coating that shields your garden bench from the elements.
You’ll want to choose marine-grade varnish or exterior polyurethane for maximum durability.
Sand your assembled bench lightly with 220-grit paper to create a smooth surface for coating adhesion. Clean away all dust with a tack cloth before applying your first coat.
Apply thin, even coats following manufacturer’s directions, allowing each layer to dry completely.
Don’t rush this process – proper drying time between coats guarantees longevity.
Two to three coats typically provide adequate protection. Pay special attention to corners and joints where weather damage occurs most frequently.
Your bench deserves this extra care to maintain its beauty for years of outdoor enjoyment.
Maintain Long-Lasting Finish
A single annual application of weatherproof coating guarantees your garden bench maintains its durable finish and resists moisture penetration.
You’ll protect your investment while extending the bench’s lifespan considerably.
Don’t wait for visible damage to appear before reapplying protective treatments.
Environmental factors constantly degrade wood surfaces, so proactive maintenance prevents costly repairs or replacements.
- Choose marine-grade spar urethane for maximum UV resistance and water protection
- Sand lightly between coats to verify proper adhesion and smooth finish quality
- Apply thin, even coats during dry weather to avoid drips and achieve professional results
Your well-maintained bench becomes a neighborhood conversation piece that reflects your craftsmanship dedication.
Regular coating applications show you care about outdoor furniture longevity.
Enhance With Armrests or Hidden Storage
Adding armrests or hidden storage to your garden bench transforms it from a simple seating option into a functional outdoor furniture piece.
You’ll discover how these additions create a sense of belonging in your outdoor space while serving practical needs. Armrests provide comfortable support and define the seating area, making your bench feel more inviting.
Hidden storage compartments underneath offer convenient space for cushions, gardening tools, or outdoor accessories. You can build simple removable panels or integrate hinged lids directly into the bench frame.
These enhancements require basic carpentry skills and minimal additional materials. Measure your bench dimensions carefully before starting.
Consider using weather-resistant hardware and finishes that match your existing bench. The result will be a personalized seating solution that reflects your practical approach to outdoor living.
Avoid These Common Bench-Building Mistakes
When you rush through planning or skip important steps, you’ll likely encounter frustrating problems that could have been easily avoided.
Taking time to understand common pitfalls helps you build a sturdy, lasting garden bench that you’ll be proud to showcase.
- Incorrect measurements: Double-check all dimensions before cutting wood. Even small miscalculations compound quickly, leaving you with uneven legs or gaps that compromise stability and appearance.
- Skipping weatherproofing: Don’t assume pressure-treated lumber alone protects against moisture. Apply proper sealant or stain to prevent warping, cracking, and rot that ruins your investment.
- Weak joint connections: Use adequate fasteners and consider pocket hole joinery or mortise-and-tenon techniques instead of relying solely on screws that loosen over time.
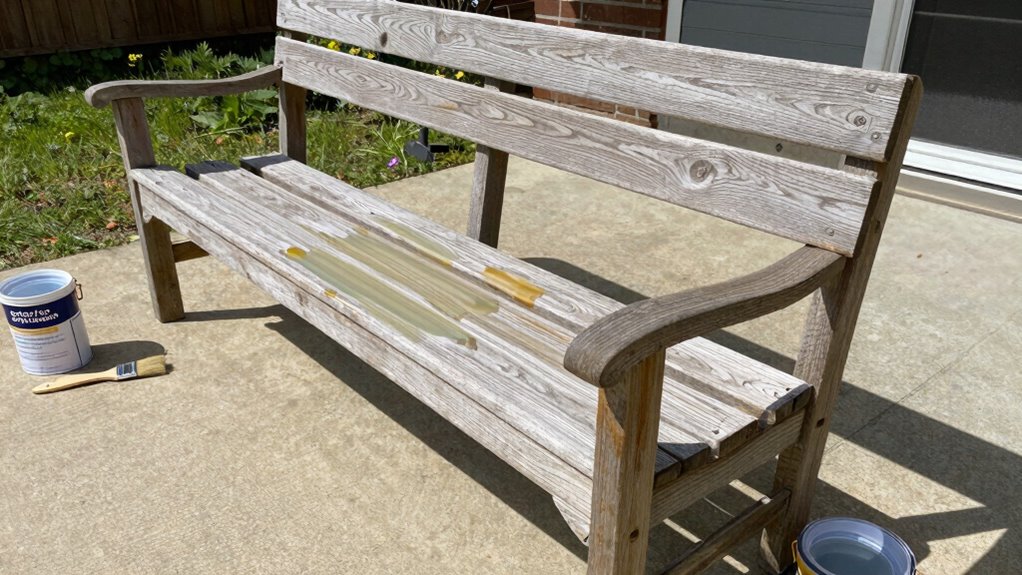
Care for Your Bench: Maintenance Tips
Proper upkeep keeps your garden bench looking great and extends its lifespan far beyond the initial build.
You should inspect your bench quarterly for loose joints, worn finish, or weather damage. Tighten any loose screws or bolts immediately to prevent wobbling.
Apply wood preservative annually if your bench is wooden, focusing on end grains and joints. Clean fabric cushions with mild soap and water, ensuring thorough drying to prevent mold. Store cushions indoors during harsh weather.
Sand and re-stain wooden surfaces every two to three years, or when you notice fading. Check metal benches for rust spots and touch up with appropriate paint.
Keep your bench dry by positioning it under cover when possible, and use weatherproof covers during extended absences.
Regular maintenance prevents costly repairs and keeps your outdoor seating looking inviting.
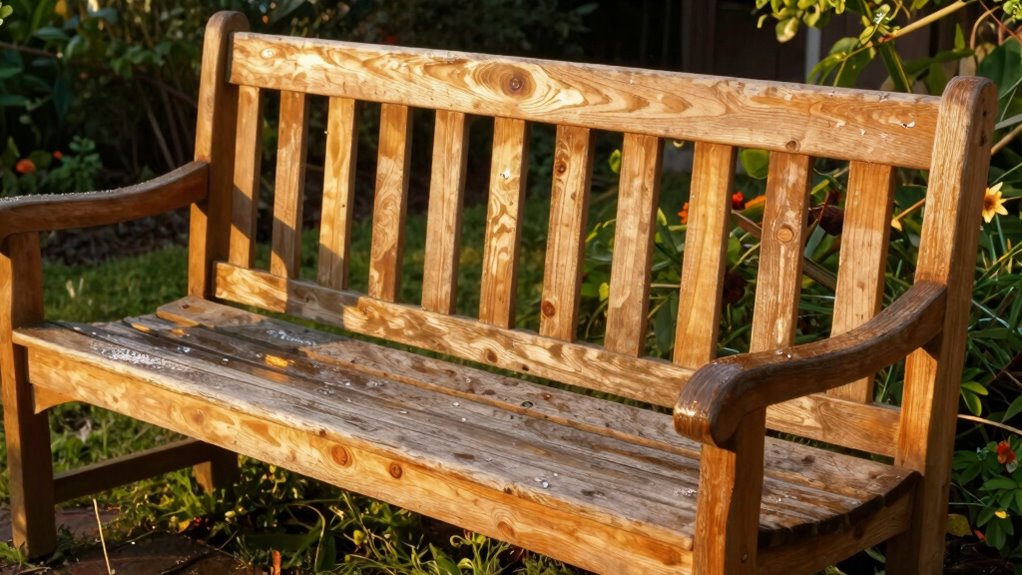
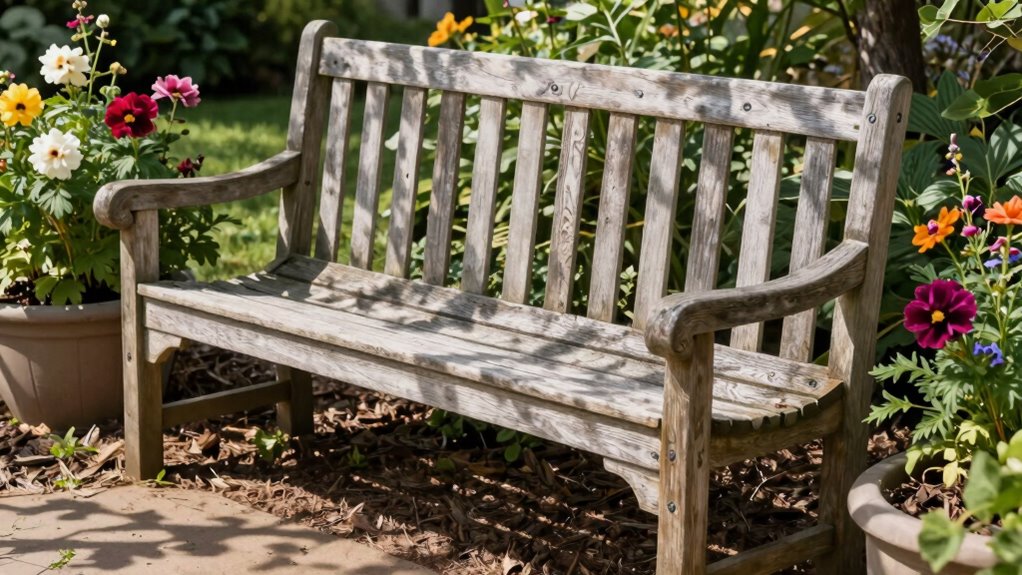
Conclusion
Your garden bench stands as a tribute to craftsmanship and care, its weathered slats telling stories of countless seasons. Like a faithful companion, it’ll welcome visitors with quiet dignity, its sturdy frame a symbol of your dedication. Protect it well, and this humble seat will become a cherished sanctuary where memories take root and friendships bloom.
