

You probably don’t realize that blade selection affects cut quality more than technique alone. Choosing the wrong blade can cause binding, burning, or dangerous kickback even with perfect form. Before making any cut, you need to understand how tooth count, material, and kerf width determine your results. Let’s break down the critical factors that separate clean cuts from costly mistakes.
Pick the Best Blade for Your Cut
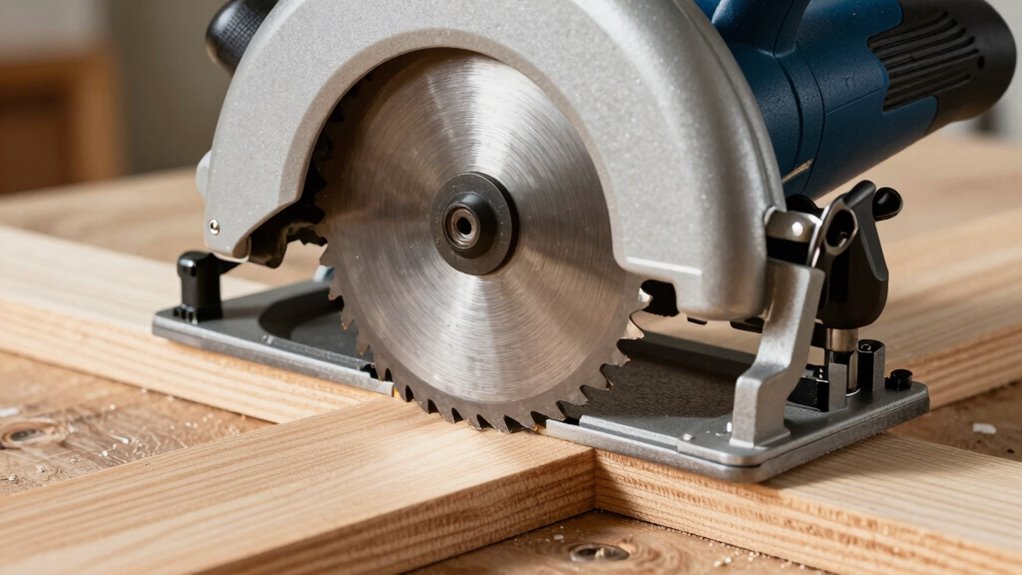
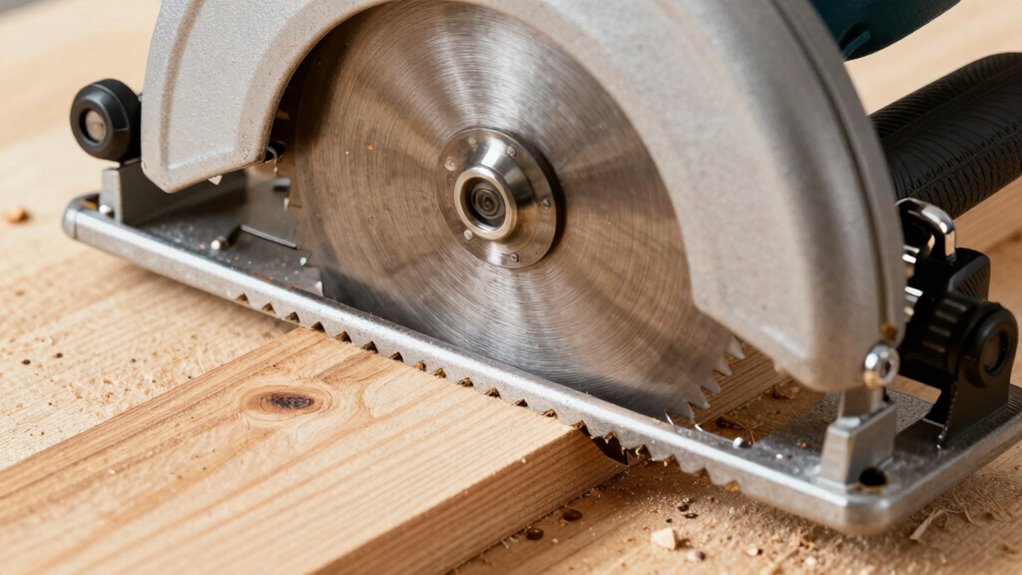
Blade selection determines cut quality and material compatibility. You must match blade type to your specific cutting task.
Carbide-tipped blades handle hardwoods and composite materials effectively. Fine-tooth blades deliver smoother cuts but remove material slower. Coarse-tooth blades cut faster through softwoods and rough framing lumber.
Rip-cut blades feature fewer teeth and aggressive gullets for quick material removal along grain direction. Crosscut blades use more teeth for cleaner perpendicular cuts.
Plywood requires fine-tooth blades to prevent tear-out on veneer surfaces. Metal-cutting blades exist for occasional steel work, though dedicated metal saws perform better.
Check blade diameter compatibility with your saw’s arbor size. Inspect teeth regularly for damage or dullness. You should always verify blade sharpness before starting cuts.
Proper blade choice prevents burning, tear-out, and unsafe kickback conditions during operation.
Mark and Align for Precision Cuts
Several key steps guarantee accurate cuts when using a circular saw. You must mark your cut line clearly with a pencil or marking knife, ensuring visibility throughout the process.
Use a straightedge or framing square to create precise reference points. Align your saw’s blade with the marked line, checking that the blade isn’t tilted or skewed. Position your cutting guide parallel to your intended path, securing it firmly if needed.
Double-check your measurements before making any cuts. Verify that your saw’s depth adjustment allows the blade to extend slightly past your material’s thickness.
Keep your marked line visible during cutting, and maintain consistent alignment as you progress through the cut for professional results.
Use Stance and Grip for Safe Control
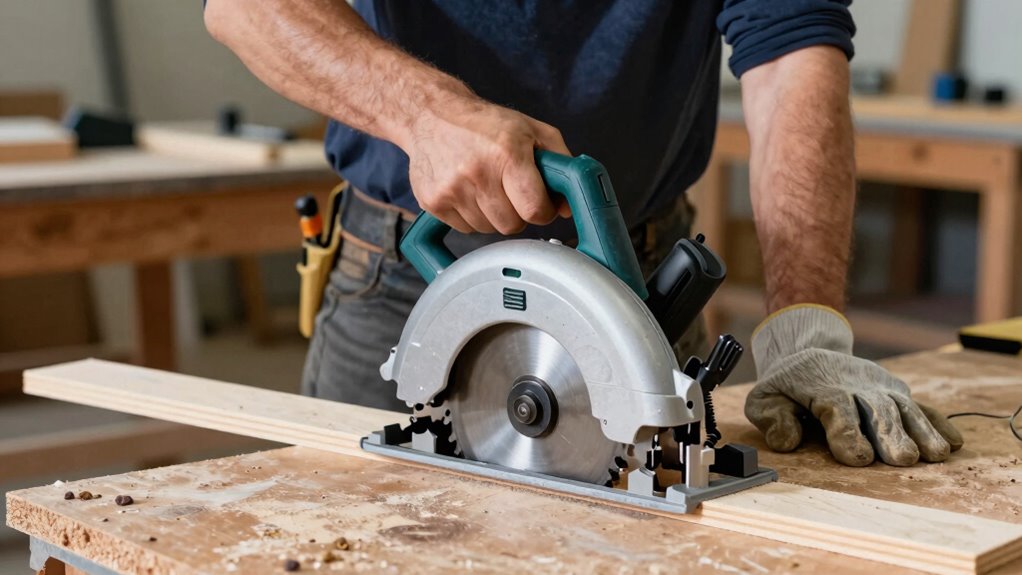
Proper body positioning and hand placement are critical for maintaining control during circular saw operations. You need stable footing and secure grip to prevent accidents and achieve clean cuts.
- Stand with feet shoulder-width apart – Plant your dominant foot slightly forward while keeping weight evenly distributed for maximum stability.
- Grip the handle firmly with your dominant hand – Position it near the trigger guard, wrap fingers securely around the handle, and maintain constant contact throughout the cut.
- Support the saw base with your non-dominant hand – Place it on the front edge of the shoe, keep fingers away from the blade path, and use this hand to guide the saw’s direction.
Maintain this stance throughout every cut. Your body position directly affects cut quality and safety.
Never compromise your grip or stance for convenience – these fundamentals separate experienced users from beginners.
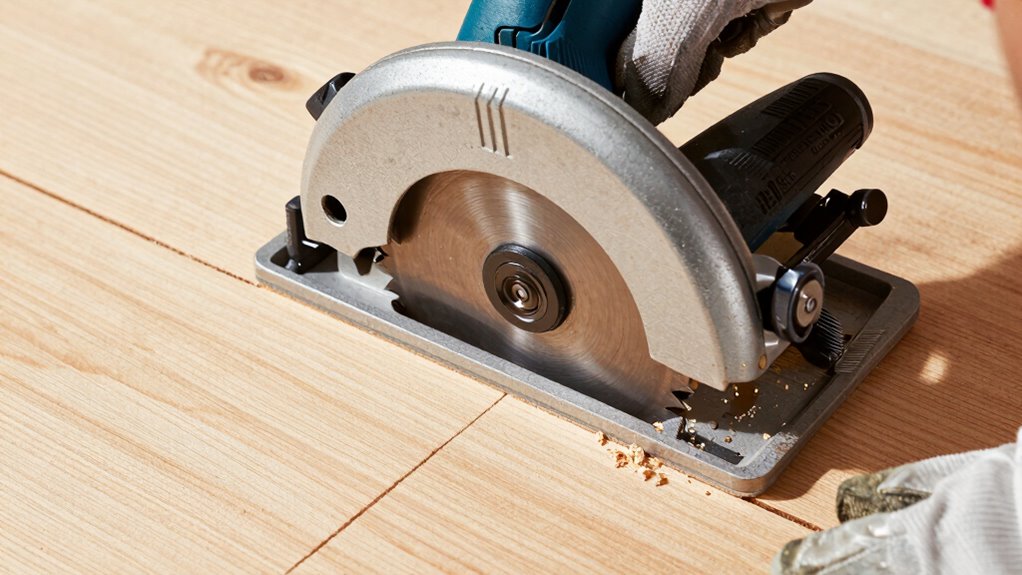
Guide the Saw for Smooth, Straight Lines
Once you’ve established proper stance and grip, guiding the saw becomes essential for achieving clean, accurate cuts. Keep your dominant hand firm on the trigger while maintaining consistent pressure.
Your non-dominant hand should grip the shoe plate securely. Align the blade with your marked cut line before starting. Move steadily through the material, letting the saw do the work rather than forcing it.
Maintain constant contact between the shoe and your cutting surface. Watch the blade’s path, not just the handle movement.
Keep your body positioned so you can see both the cutting line and blade simultaneously. Don’t rush or hesitate mid-cut. Trust your setup and maintain smooth, controlled motion from start to finish for professional results every time.
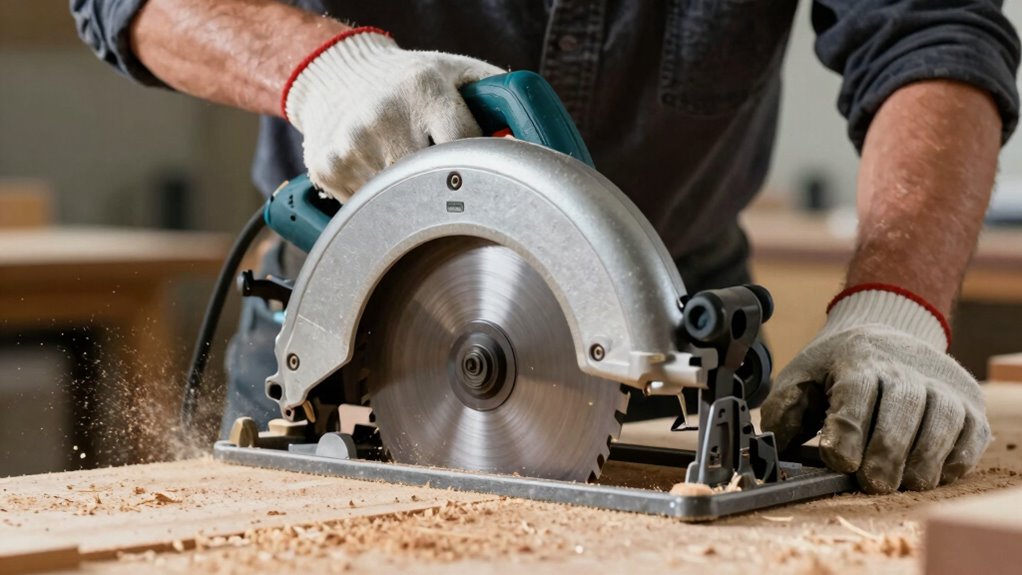
Fix Jagged Cuts, Drift, and Splintering
When your circular saw produces jagged cuts, drifts off course, or causes splintering, you’ll need to address these common issues immediately.
These problems stem from technique and equipment flaws that frustrate every woodworker.
1. Blade quality matters – Dull or wrong blades cause tear-out.
Switch to carbide-tipped blades with 40+ teeth for clean cuts through plywood and hardwoods.
2. Control your cutting motion – Let the blade do the work.
Don’t force it. Maintain steady pressure and follow your marked line precisely. Rushing creates drift and splintering.
3. Support your material properly – Unstable workpieces shift during cuts.
Use sawhorses or clamps to secure stock. Back-support thin materials to prevent breakout on exit cuts.
Conclusion
You might think straight cuts are simple, but even experienced woodworkers struggle with wander and tear-out. Don’t let that stop you—use the right blade, mark clearly, and let the saw do the work. Keep steady pressure, follow your line, and address any issues immediately. Your cuts will be clean, precise, and professional every time.
