

Nearly 70% of homeowners attempt DIY repairs on cracked tiles, yet most lack proper knowledge of the techniques that actually work. You can fix those unsightly hairline cracks and minor chips yourself, but doing it right requires more than just basic supplies. Before you start, understand that matching grout colors perfectly and choosing the correct epoxy adhesive makes all the difference between a professional-looking repair and a visible patch job that stands out. Let’s explore the essential methods that’ll save you money while restoring your tiles’ appearance.
DIY Methods to Repair Cracked Tiles at Home
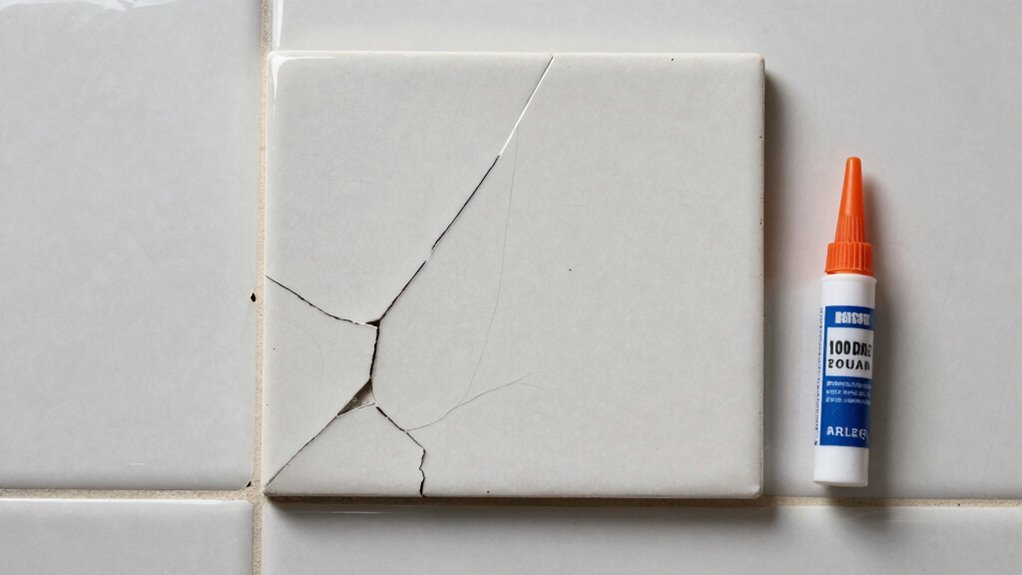
Several effective DIY methods can restore cracked tiles without requiring professional assistance.
You’ll need epoxy adhesive, tile filler, or clear nail polish for hairline cracks. Start by cleaning the damaged area thoroughly with alcohol to remove dirt and grease.
For small cracks, apply clear epoxy directly into the fracture using a fine applicator. Work the epoxy deep into the crack by gently pressing and releasing.
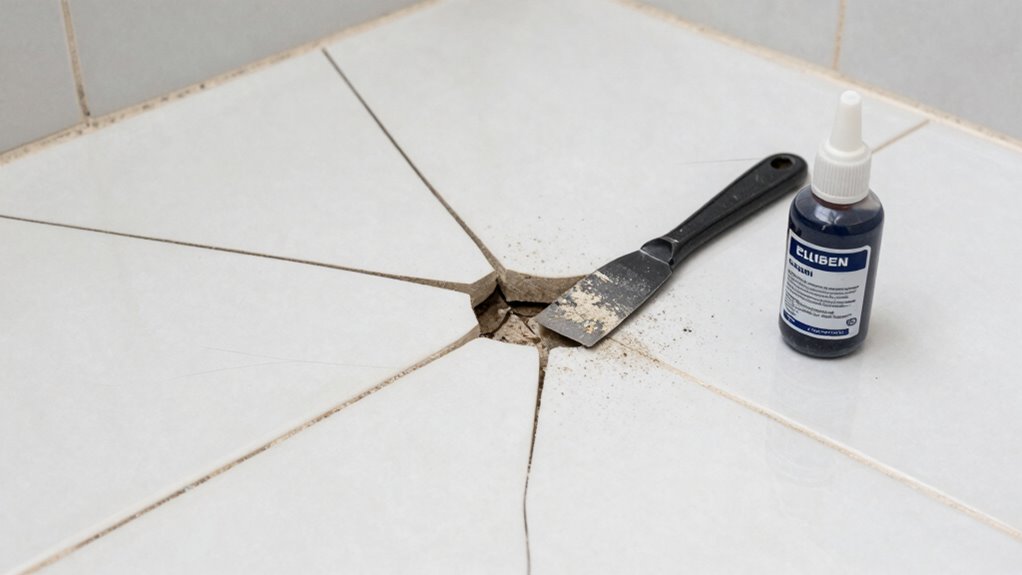
Larger cracks require tile filler that matches your tile color. Mix the filler according to package directions, then press it firmly into the damaged area with a putty knife. Remove excess material immediately.
Allow adequate drying time between applications. You’re restoring your tiles successfully when you follow these precise steps.
Types of Tile Damage You Can Fix Yourself
Understanding which types of tile damage you can address yourself builds on the repair techniques discussed earlier.
You can tackle hairline cracks effectively using epoxy or grout repair methods. Surface scratches and minor chips respond well to specialized fillers and touch-up techniques. Discoloration from wear or stains often requires cleaning solutions or refinishing approaches you can manage at home.
Loose tiles that haven’t completely detached can be reattached using appropriate adhesives. Missing grout lines need replacement with fresh material.
These repairs require patience and proper preparation, but they’re definitely within your capabilities. Focus on damage that doesn’t compromise structural integrity or waterproofing barriers.
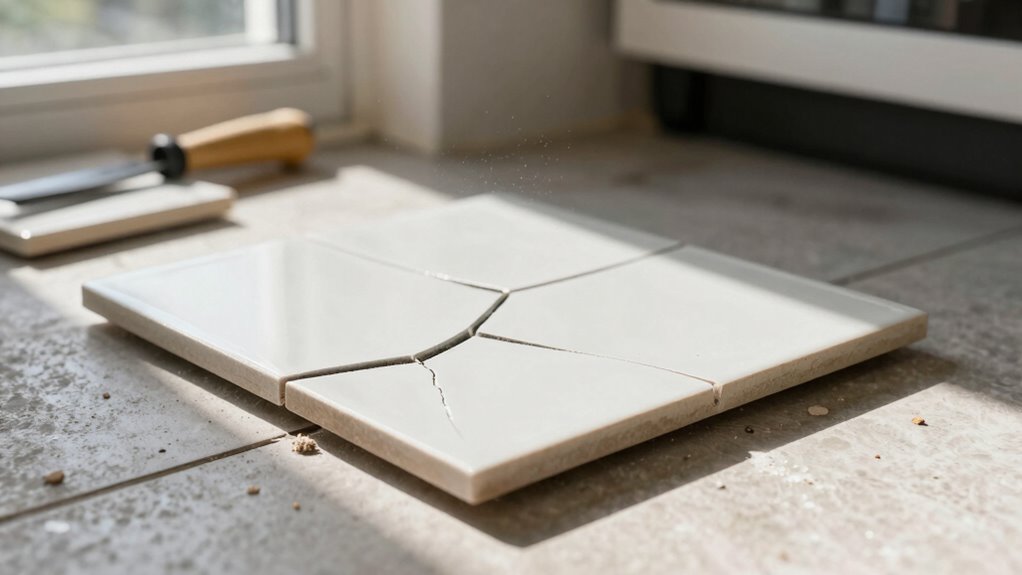
Skip major fractures running through entire tiles or damage affecting multiple adjacent pieces, as these typically need professional replacement rather than simple fixes.
Materials and Tools Needed for Basic Fixes
Before you begin any tile repair project, gathering the right materials and tools guarantees professional results.
You’ll need ceramic or porcelain tiles matching your existing ones, tile adhesive, grout, and a grout float.
Essential tools include a utility knife, putty knife, rubber mallet, level, measuring tape, and safety glasses. Don’t forget sandpaper for smoothing rough edges and a damp sponge for cleanup.
Having a bucket, mixing tools, and drop cloths protects your workspace. You should also purchase epoxy adhesive for hairline cracks and paintable caulk for larger gaps.
Keep plastic sheeting handy to protect surrounding areas.
Selecting quality materials secures your repair blends seamlessly with original tiles, giving you that professional finish you’re aiming for.
Step-by-Step Guide to Fixing Hairline Cracks
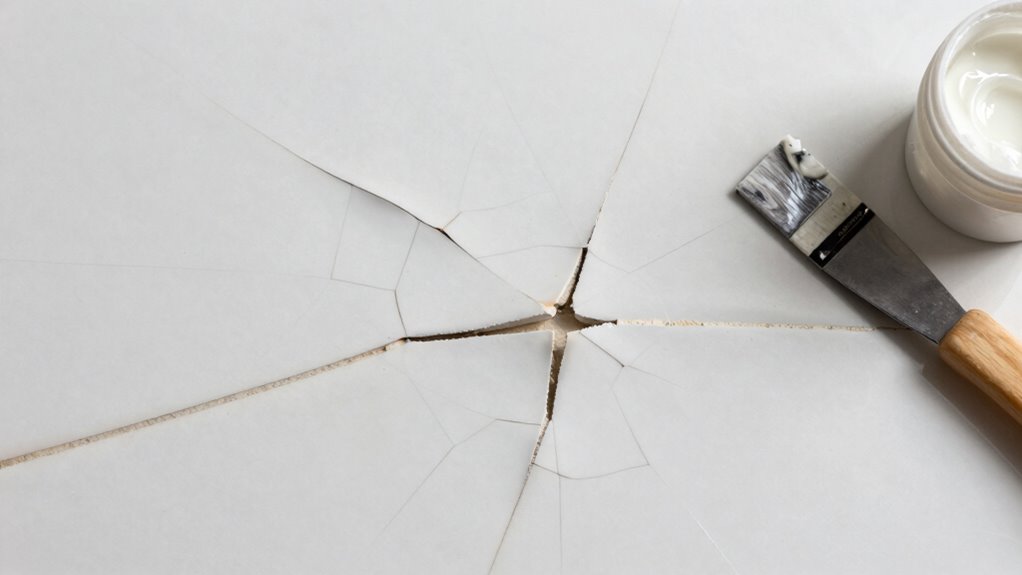
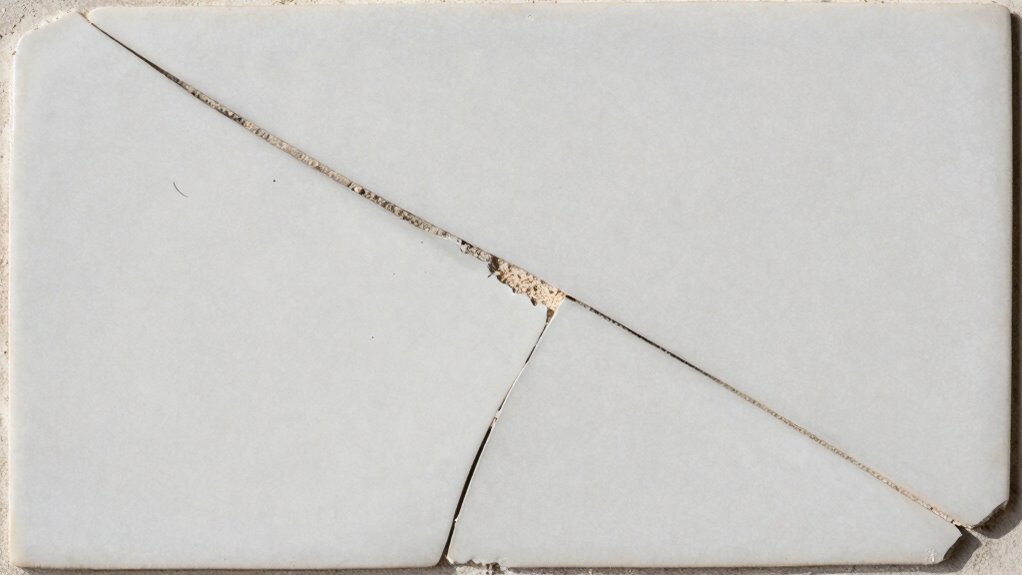
Hairline cracks require immediate attention to prevent them from spreading further across your tile surface.
Start by cleaning the cracked area thoroughly with a damp cloth to remove any dirt or debris. Apply painter’s tape around the crack to protect adjacent tiles from excess adhesive.
Mix your epoxy adhesive according to manufacturer instructions, then use a small syringe or applicator to inject the epoxy directly into the crack.
Work the adhesive deep into the fissure, ensuring complete penetration. Wipe away excess epoxy immediately with a damp cloth.
Allow the epoxy to cure completely, typically twenty-four hours. Remove the painter’s tape carefully once curing finishes.
Your repaired tile will now resist further cracking while maintaining its structural integrity and appearance.
Matching Grout Colors Like a Pro
You’ll need to carefully examine your existing grout’s undertones and lighting conditions before selecting a matching color, as even slight variations can create visible discrepancies.
Start by testing potential grout colors in different areas of your tile surface, paying attention to how natural and artificial light affects the appearance throughout the day.
Mastering these blending techniques guarantees your repaired tiles seamlessly integrate with the surrounding installation without creating unsightly color mismatches.
Grout Color Selection Tips
Matching grout colors requires careful consideration of your tile’s undertones and the overall aesthetic you want to achieve.
You should examine your tiles under different lighting conditions to understand their true colors and how they interact with potential grout choices.
- Test grout samples in small sections before committing to full application
- Consider your room’s natural and artificial lighting when evaluating color matches
- Choose grout colors that complement rather than clash with your tile’s dominant hues
- Account for color variations between grout batches by purchasing extra material
- Evaluate how grout color affects the perceived size and brightness of your space
Your grout selection should enhance your tiles while creating visual harmony throughout your room.
Blending Techniques For Seamless Results
Having selected your grout color thoughtfully, you’ll now focus on achieving seamless blending that makes your repair work virtually invisible.
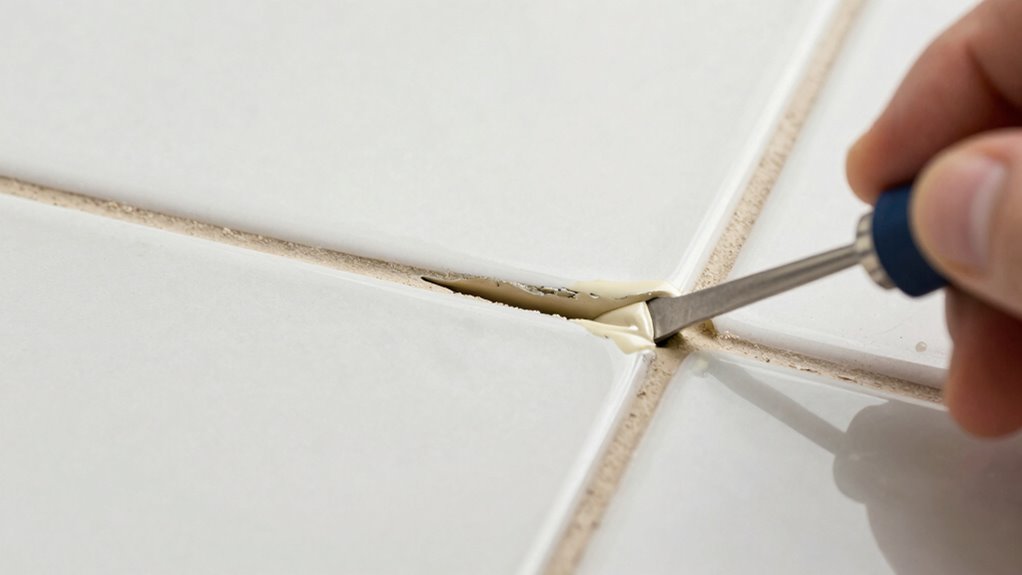
Start by cleaning the existing grout lines thoroughly, removing any dirt or debris that could interfere with color matching. Apply your new grout using a rubber float at a 45-degree angle, working it firmly into the joints. Wipe excess grout immediately with a damp sponge, using circular motions to smooth the surface.
For perfect blending, feather the edges of your repair work into the surrounding grout lines. Allow the grout to set for ten minutes, then use a clean, damp cloth to remove any haze.
Practice these techniques on inconspicuous areas first to build confidence and guarantee color consistency throughout your tile repair project.
Signs It’s Time to Hire a Professional
While small cracks might seem manageable as a DIY project, certain indicators suggest it’s time to call in professional help.
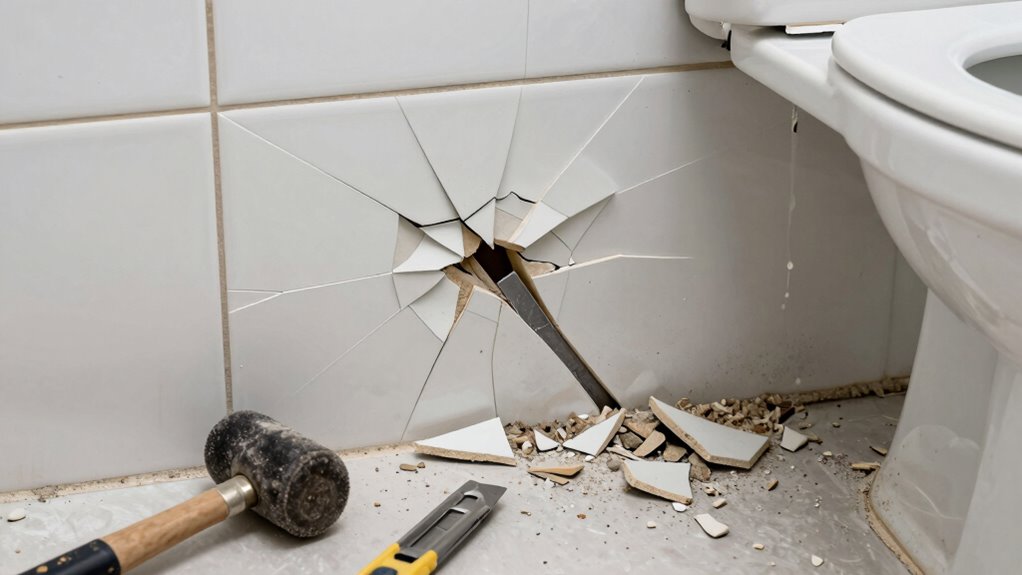
You’re dealing with structural issues when multiple tiles crack simultaneously or when cracks spread rapidly across your flooring. Don’t risk worsening the problem by attempting repairs beyond your skill level.
Consider these warning signs that mean you should hire a professional:
- Cracks extend beyond surface level into underlying mortar or concrete
- Water penetration beneath tiles causes lifting or hollow sounds when walked on
- Cracks appear in high-traffic areas where structural integrity is essential
- Multiple tiles show spider-web cracking patterns indicating foundation movement
- Previous DIY repair attempts have failed within a short timeframe
Professional tile repair guarantees lasting results and prevents costly mistakes that could compromise your home’s value and safety.
Tips to Keep Your Tiles Crack-Free Longer
You must master proper installation techniques from the beginning, ensuring tiles sit flat and grout lines remain consistent to prevent future cracking.
Regular maintenance becomes your first line of defense—cleaning spills immediately and using appropriate cleaning solutions stops deterioration before it starts.
These foundational practices work together to extend your tiles’ lifespan markedly when applied consistently.
Proper Tile Installation Techniques
One essential technique for preventing cracked tiles involves maintaining consistent spacing between tiles during installation. You must use tile spacers to guarantee uniform gaps, typically 1/8 inch for most applications. Proper substrate preparation prevents future cracking issues.
- Use backer board instead of drywall for wet areas
- Apply thin-set mortar evenly with proper trowel size
- Allow adequate curing time before grouting tiles
- Choose appropriate tile adhesive for your specific surface type
- Maintain room temperature between 50-80°F during installation
You should check tile alignment frequently using a level and straightedge. Cutting tiles properly with suitable tools prevents stress points that lead to cracks.
Ascertain corners and edges have adequate support beneath them. These precise installation methods create professional results that last years while preventing costly repairs later. Your attention to detail determines long-term success.
Regular Maintenance and Cleaning
Regular maintenance and cleaning play an essential role in preserving your tiles’ structural integrity over time. You should seal grout lines annually to prevent moisture penetration that causes cracking.
Clean tiles weekly with pH-neutral cleaners, avoiding harsh chemicals that damage surfaces. Remove spills immediately, especially acidic substances like wine or citrus juice. Use soft-bristled brushes for scrubbing to avoid scratching.
Inspect tiles monthly for hairline cracks or loose pieces that need attention. Address grout discoloration promptly with appropriate cleaners. Avoid using vinegar or bleach regularly, as these weaken grout bonds.
Place mats in high-traffic areas to reduce wear. You’ll extend tile lifespan considerably by maintaining consistent cleaning routines and addressing minor issues before they become major problems requiring replacement.
Conclusion
You’ve mastered mending minor tile damage with methodical moves and proper preparation. Remember, regular repair work prevents pesky problems from progressing. Keep your tiles looking their best by addressing cracks quickly, choosing correct colors carefully, and maintaining them meticulously. Don’t delay dealing with damage – tackle troubles promptly before they become costly catastrophes requiring professional intervention instead of simple solutions.
