

You might think that tear out only happens with dull blades, but even sharp tools can cause splintering if you don’t understand the wood’s grain direction. Tear out occurs when fibers tear away instead of cutting cleanly, leaving rough edges that compromise your project’s finish. While scoring seems like extra work, it actually prevents this frustrating issue. The real question is: are you using the right combination of blade, technique, and support for your specific wood type?
What Causes Tear Out in Wood?
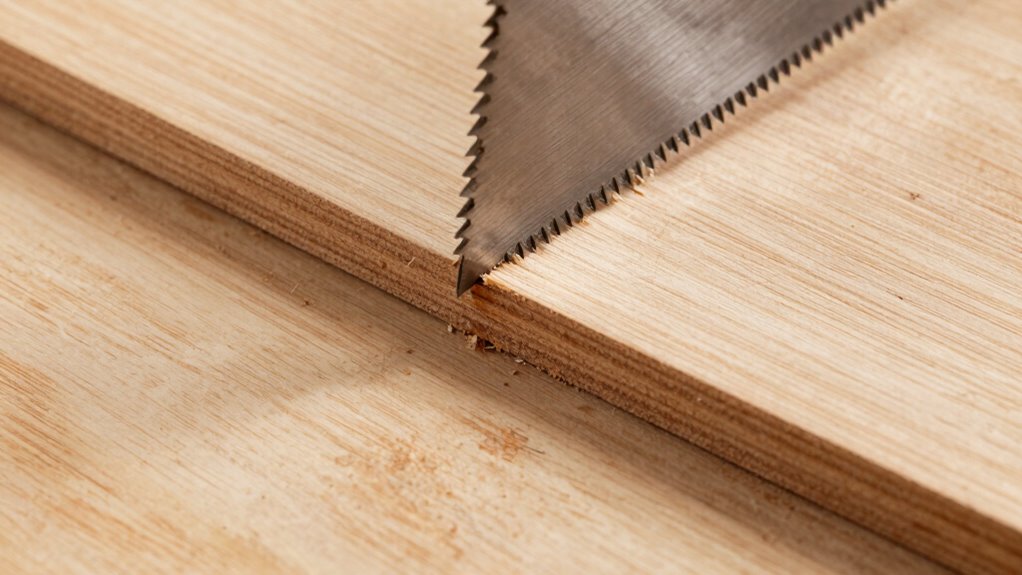
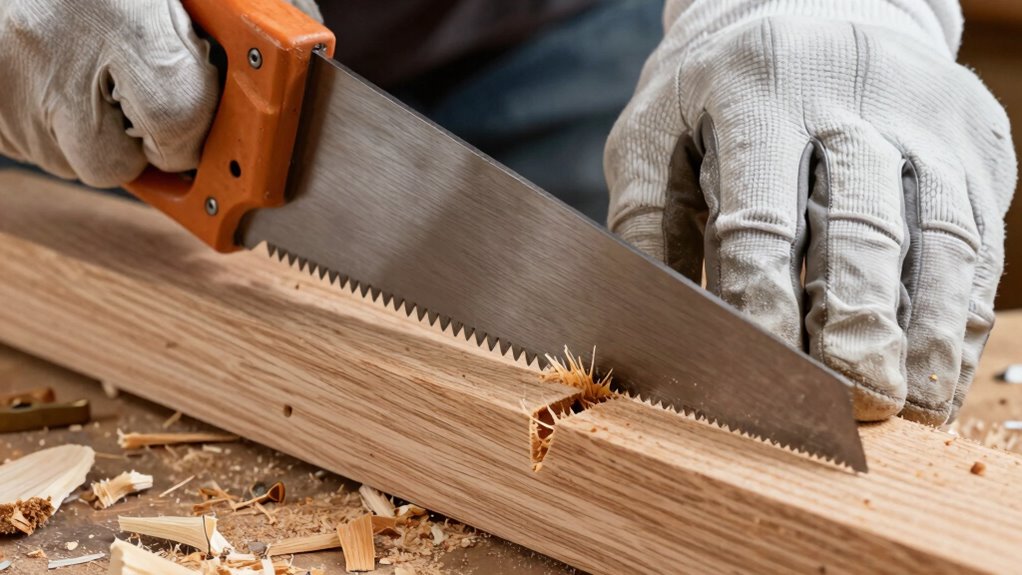
Tear out occurs when wood fibers tear away from the surface rather than cutting cleanly, typically happening as you approach the edge of a board or when cutting against the grain.
You’ll notice this problem when your blade exits the wood, especially on softer woods or those with irregular grain patterns. The issue stems from inadequate support for wood fibers as they’re being cut.
Your cutting technique directly influences tear out. Moving too fast or using dull blades increases the likelihood.
You should also consider the wood’s moisture content, as green wood tears more easily. Material defects like knots or bird’s mouth create weak points where fibers separate unpredictably.
Understanding these causes helps you anticipate problems before they happen, making you feel more confident and skilled in your woodworking projects.
How Does Grain Direction Influence Cuts?

You need to understand how grain orientation affects your cuts because wood fibers aligned against your cutting direction will tear out instead of cutting cleanly.
When you cut with the grain, your blade follows the natural fiber alignment and produces smooth results.
Cutting against the grain direction forces wood fibers to splinter and break irregularly, creating the tear out you want to avoid.
Grain Orientation Effects
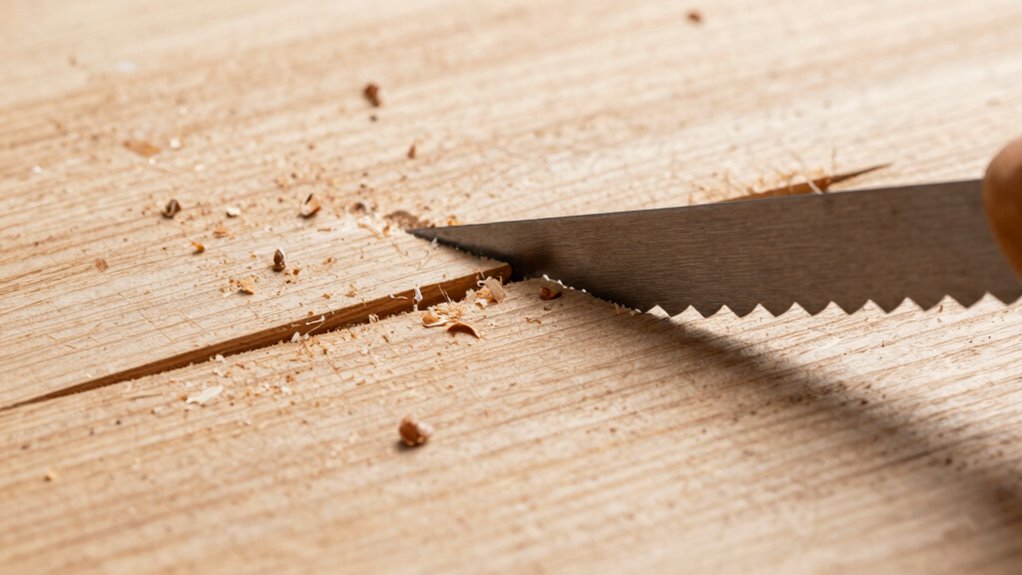
When cutting against the grain, the wood fibers tear out instead of shearing cleanly, which creates rough, splintered edges that require additional sanding or finishing work.
You’ll notice this happens because the blade pulls fibers upward rather than cutting through them smoothly.
Cutting with the grain allows the blade to follow the natural fiber direction, resulting in clean, smooth cuts.
You should always examine your wood’s grain pattern before making any cuts. Look for the direction the fibers run and plan your cuts accordingly.
Face grain cuts behave differently than end grain cuts. You’ll achieve better results when you understand how each orientation responds to different cutting techniques and blade types.
Wood Fiber Alignment Impact
Understanding how wood fibers align directly affects your cutting success and determines whether you’ll achieve clean edges or rough, splintered surfaces. You must recognize that wood fibers run in specific directions, creating natural weak points where tear-out occurs.
When you cut against the grain, you’re fundamentally pulling fibers away from their natural alignment, causing them to splinter rather than slice cleanly.
Always identify the grain direction before making your cut. You’ll notice how fibers flow in waves or straight lines throughout the board. Cutting with the grain means following these natural fiber paths, allowing your blade to separate fibers smoothly instead of breaking them. This approach gives you cleaner results every time.
Pay attention to grain changes within the same board, as these changes often cause unexpected tear-out when you’re not prepared.
Which Wood Species Are Worst for Tear Out?
You’ll encounter the most tear out problems with softwoods that splinter easily and hardwoods featuring interlocked grain patterns.
These species demand extra care during cutting since their fiber structure actively fights against clean shearing.
Understanding which woods pose the greatest challenges helps you prepare proper cutting strategies beforehand.
Softwoods Prone To Splintering
Several softwood species are notorious for their tendency to splinter and tear out during cutting operations. Pine, especially southern yellow pine, tops this list due to its brittle cell structure and prominent grain patterns.
Cedar follows closely, particularly aromatic cedar, which fractures easily along its growth rings.
Spruce varieties, including Sitka and white spruce, present similar challenges with their straight but weak fiber bonds.
Fir species, especially Douglas fir, can catch you off guard with unexpected tear out.
These woods demand sharp blades and careful technique. You’ll notice they splinter worse when cutting against the grain or using dull tools.
Understanding these tendencies helps you choose appropriate cutting strategies and blade selections for cleaner results.
Hardwoods With Interlocked Grain
Interlocked grain patterns create the most challenging cutting conditions for woodworkers.
You’ll struggle most with mahogany, sapele, and ribbon-stripe woods where fibers twist and turn unpredictably. These species fight your cutting direction, causing brutal tear out regardless of your technique.
You’re not alone in this frustration—every woodworker battles these grain patterns. The key is understanding that interlocked grain demands respect, not force. You’ll need to work with the wood’s natural movement rather than against it.
Sharp tools become your best allies here. Dull blades will only exacerbate the problem.
You should expect to make multiple test cuts before finding the right approach. Don’t blame yourself when these woods misbehave—they’re notorious for challenging even experienced craftspeople.
Should You Score Before Cutting Lumber?
Scoring lumber before cutting can prevent tear out, but it’s not always necessary. You should score when working with hardwoods that have interlocked grain patterns, particularly maple, cherry, and walnut.
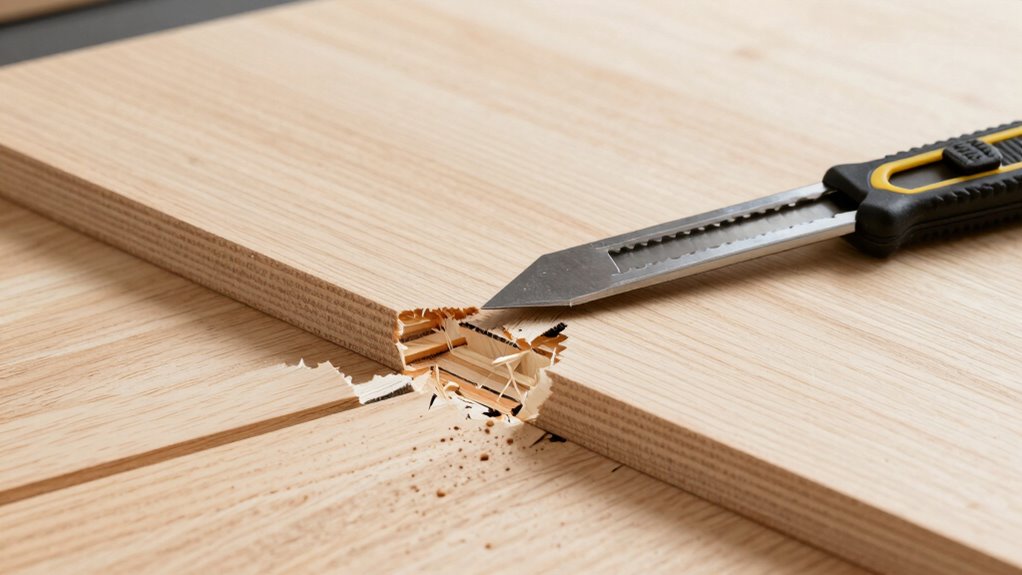
These woods tend to splinter unpredictably when cut without scoring. Score along your cut line using a utility knife or marking gauge before running your blade through. This creates a clean break line that guides your saw blade.
You’ll find scoring especially helpful when making crosscuts or cutting against the grain direction. Don’t bother scoring softwoods like pine or cedar, as they’re less prone to tear out.
Skip scoring when using a sharp blade on well-supported lumber. Your cuts will be cleaner, and you’ll save time. Test scoring on scrap pieces first to see if it makes a difference with your specific wood and tools.
What Tools Help Prevent Tear Out?

While scoring helps prevent tear out in many situations, you’ll find that having the right tools makes an even bigger difference in achieving clean cuts.
A backing board supports wood fibers and prevents splintering on exit cuts. Use sacrificial plywood under your workpiece when possible.
Zero-clearance inserts on table saws and routers eliminate gaps where tear out occurs. For hand tools, choose planes with sharp, properly adjusted blades.
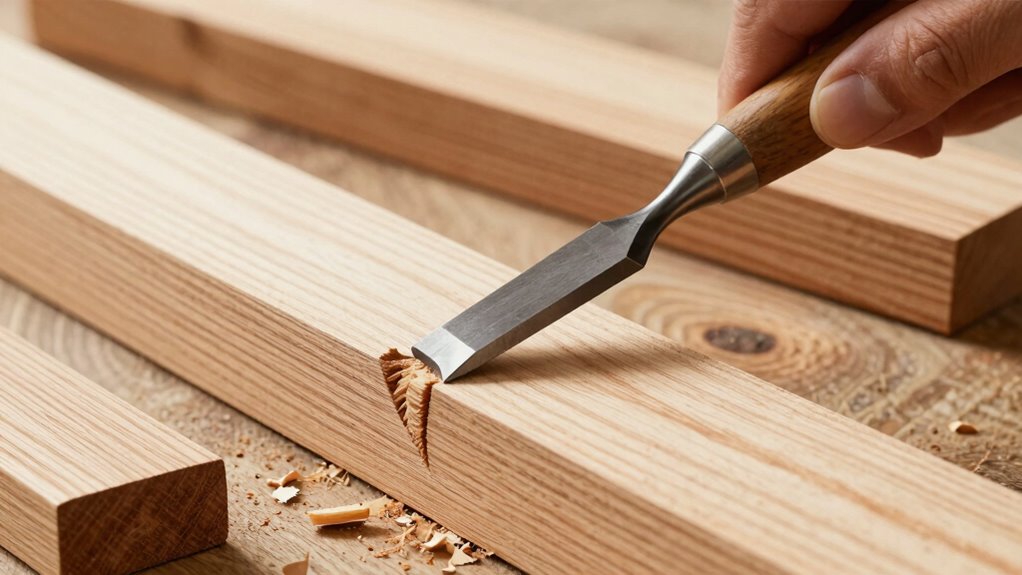
Carbide-tipped blades with more teeth create smoother cuts than standard steel blades. Micro-adjustable chisels give you precise control when paring end grain.
You’ll want to keep these essential tools sharp and well-maintained. Quality cutting tools aren’t just about preventing tear out; they’re about creating professional results every time.
Invest in the right equipment, and you’ll notice immediate improvements in your woodworking projects.
Is a Sharp Blade Really That Important?
You might think a dull blade saves you trouble, but it actually causes more tear out than you’d expect.
Sharp blades give you cleaner cuts and reduce wood splintering, while proper maintenance keeps your tools performing at their best.
Your cutting technique matters less when you’re working with a blade that’s actually sharp.
Sharp Blade Benefits
A sharp blade makes all the difference when cutting wood. You’ll notice immediately how clean, precise cuts become effortless. Sharp blades slice through wood fibers instead of crushing them, preventing unsightly tear out that ruins your project’s appearance. Your cuts stay straighter and more accurate, giving you better control over the final result.
Wood responds differently to sharp versus dull edges. Dull blades create friction and heat, causing wood to splinter and chip unpredictably. Sharp blades work smoothly, reducing tear out considerably.
You’ll spend less time sanding and fixing mistakes, making your woodworking more efficient and enjoyable. The confidence you gain from using sharp blades transforms your entire approach to cutting wood.
Blade Maintenance Tips
Sharpen your blades regularly and you’ll wonder why you ever tolerated dull ones. Maintaining sharp cutting edges prevents tear out and makes every cut cleaner and easier.
- Check blades weekly – Dullness sneaks up on you, so inspect edges before each project.
- Clean resin buildup – Use appropriate solvents to remove pitch and sap that dulls cutting surfaces.
- Store properly – Keep blades in protective cases or slots to prevent nicks and damage.
- Sharpen promptly – Don’t wait until cuts look ragged; fresh sharp edges transform your woodworking experience.
Your tools perform best when you treat them right. Sharp blades aren’t luxuries – they’re necessities that separate serious woodworkers from beginners.
You deserve tools that work as hard as you do.
Cutting Technique Impact
Proper cutting technique amplifies blade performance, but even the sharpest edge won’t prevent tear out if you’re forcing wood fibers to splinter.
You need to understand grain direction before making any cut. Always cut with the grain whenever possible, not against it.
When crosscutting, make relief cuts from both sides to meet in the middle. Don’t rush through cuts – let the blade do the work at its own pace.
Maintain steady, consistent pressure rather than applying excessive force. Support your workpiece properly underneath to eliminate vibration and movement.
Keep your blade depth adjusted appropriately, exposing only what’s necessary.
These fundamental techniques matter more than you think. Master them, and you’ll achieve clean, professional results every time while preventing frustrating tear out.
Does Blade Type Affect Edge Quality?
While you’re cutting wood, the type of blade you use directly determines the quality of your edge and whether you’ll experience tear out. Your blade choice matters more than you might think.
- Sharpness counts everything – Dull blades crush fibers instead of slicing cleanly, guaranteeing tear out every time.
- Tooth configuration changes everything – Blades with more teeth create smoother cuts but remove material slowly compared to aggressive rip blades.
- Hook angle affects performance – Positive hook angles work faster but increase tear out risk on delicate woods.
- Material removal rate matters – Carbide-tipped blades maintain sharpness longer, reducing heat buildup that causes splintering.
Choose blades matching your wood type and cut direction.
Softwoods need different treatment than hardwoods. Your workshop friends will notice the difference immediately when you switch to proper blades.
Does Shallowing Your Cut Depth Reduce Tear Out?
How much does cutting depth really influence tear out?
You’ll notice significant improvement when you reduce your cut depth. Shallower cuts mean less wood fiber compression, which directly reduces tear out occurrence. Your blade encounters less resistance and stress on the wood surface.
When you cut deeper, you’re fundamentally asking your blade to remove more material at once. This creates increased pressure that forces wood fibers to splinter and break irregularly.
You’ll experience more tear out on the exit side especially.
Why Feed Rate Matters During Cutting?
You need to match your feed rate to the material thickness and cutting speed to prevent tear out effectively.
Too fast a feed rate forces the blade to grab and tear the wood fibers rather than cut cleanly through them.
Adjusting your speed settings based on the wood’s thickness guarantees smoother cuts and reduces the likelihood of splintering.
Proper Speed Settings
Because feed rate directly affects how cleanly your blade cuts through wood, you’ll want to match your speed to the material and blade type. Too fast causes burning and tear out, while too slow creates rough cuts.
- Softwoods demand slower speeds – Reduce feed rate for pine and cedar to prevent splintering and burning.
- Hardwoods need faster cutting – Increase speed when working with oak or maple to maintain clean shearing action.
- Carbide blades handle higher speeds – These premium blades cut cleanly at faster rates than standard steel blades.
- Listen to your machine – Adjust speed when you hear strained motor sounds or notice excessive dust buildup.
Master these settings and you’ll achieve professional results every time.
Material Thickness Considerations
Feed rate becomes even more critical when you’re working with different material thicknesses, building on the speed settings you’ve already mastered.
Thin materials require slower feed rates to prevent tear out, while thicker pieces can handle faster cuts. You’ll want to reduce your feed rate by half when working with wood under 1/4 inch thick.
Thicker materials, over 3/4 inch, allow you to maintain consistent feed rates without compromising surface quality.
Pay attention to how your material responds during cutting. If you notice chipping or splintering, slow down immediately. Your router bits work best when they’re not overworked.
Matching feed rate to material thickness guarantees clean cuts every time. Remember, patience and proper technique create professional results that make you proud of your craftsmanship.
Do Backer Boards Really Help Prevent Splintering?

Why bother with backer boards when cutting wood, and do they actually prevent splintering? You’re right to question if this extra step helps your projects look cleaner. Backer boards work by supporting wood fibers as your blade exits the cut.
- Place a sacrificial board beneath your workpiece to catch splinters.
- Use plywood or MDF as effective backer materials.
- Position the backer board directly under your cutting line.
- Clamp both pieces together securely before cutting.
This simple technique prevents ugly tear-out on visible surfaces. You’ll achieve professional results every time. Your finished projects will look crisp and clean when you implement this method.
Don’t skip this easy step – your woodworking skills deserve this polish.
Does Using Tape Actually Prevent Tear Out?
How well does tape really work to prevent tear out when cutting wood?
You’ll find it actually works surprisingly well. Regular masking tape or painter’s tape creates a barrier that supports wood fibers as your blade exits the cut. The adhesive holds surface fibers in place, preventing them from splintering upward.
Apply tape along your cut line before starting. You’re not looking for perfect adhesion – just enough grip to support the wood surface. The tape absorbs some cutting forces and distributes them across a wider area.
Don’t expect miracles though. Tape won’t eliminate tear out completely, especially on difficult grain patterns or thin veneers.
You’ll still need sharp blades and proper technique. Think of tape as an extra layer of insurance rather than a standalone solution.
It’s cheap, quick, and definitely helps.
How to Prevent Tear Out on Plywood Edges
When you’re cutting plywood, tear out often occurs because the thin veneer layers can easily splinter as your blade exits the cut.
You’ll want to implement these proven techniques:
- Score your cut line with a utility knife before cutting to sever the veneer fibers cleanly.
- Use a fine-tooth blade with 80+ teeth designed specifically for plywood.
- Support the plywood edge with sacrificial backing material like MDF or particleboard.
- Cut from the finished side so tear out happens on the waste portion instead of your visible edge.
These methods work because they either strengthen the veneer support or redirect the cutting forces away from critical surfaces.
Mastering these techniques will make you feel confident in any woodworking project.
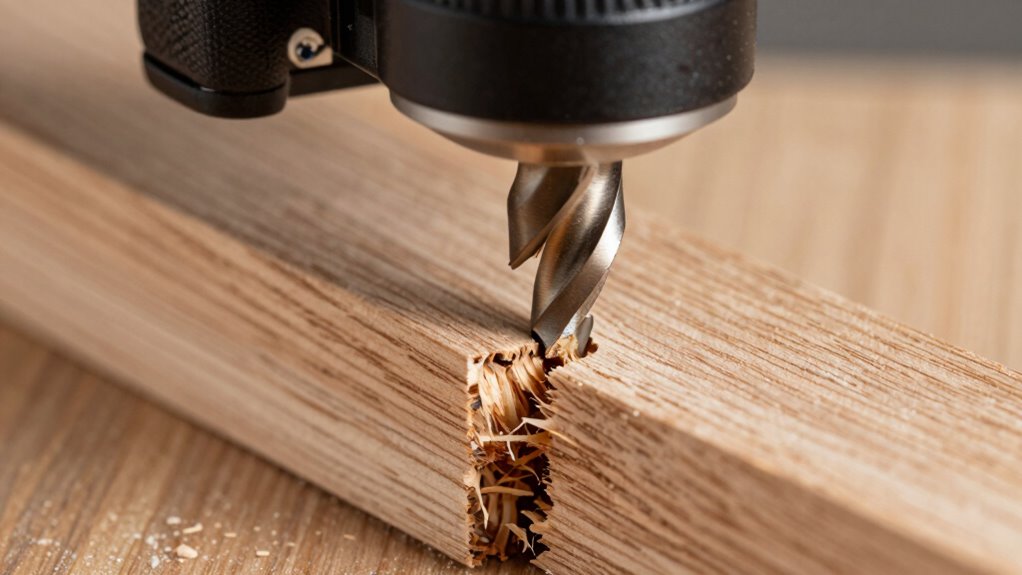
How to Handle Tear Out in End Grain
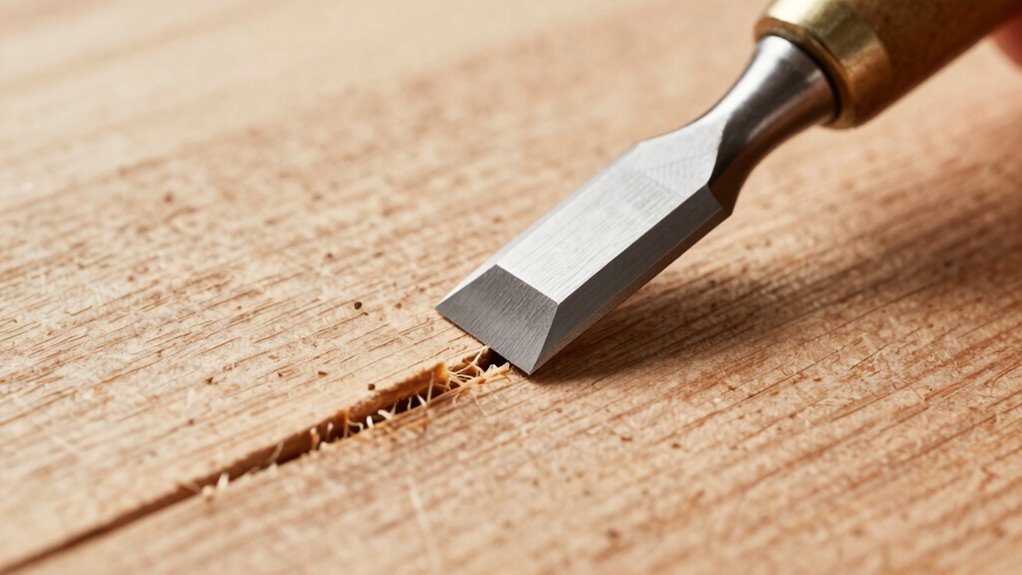
End grain tear out happens because wood fibers run perpendicular to your cutting direction, making them prone to splintering as your blade exits the cut. You can prevent this by scoring your cut line first with a sharp knife or razor blade. This severs the fibers before your saw blade reaches them.
Use a fine-tooth blade designed for crosscutting, and slow down your feed rate as you approach the exit point. Support the wood properly underneath to prevent breakout. Clamp a backing board beneath your workpiece to provide additional support.
Keep your blade sharp and clean, as dull blades increase tear out greatly. These techniques work because they minimize fiber bending and provide proper support during cutting.
How to Repair Tear Out After It Happens
Repairing tear out requires immediate attention to prevent further damage and restore your wood’s smooth surface.
You’ll want to address these unsightly gaps quickly before they become permanent blemishes.
- Sand the damaged area with fine-grit sandpaper, working parallel to the wood grain until smooth.
- Apply wood filler that matches your project’s species and color, pressing firmly into gaps.
- Allow filler to dry completely according to manufacturer’s instructions before sanding smooth.
- Finish with matching stain and protective coating to blend repairs seamlessly.
These steps help you maintain professional-looking results while building confidence in your woodworking skills.
Don’t let tear out discourage you – it’s a common issue that’s easily fixed with proper technique.
Conclusion
You’ve learned the essential techniques to prevent tear out while cutting wood. By understanding grain direction, using sharp carbide-tipped blades, scoring cut lines, and supporting your workpiece properly, you’ll achieve clean, professional results. Don’t forget that controlling your feed rate and choosing the right tools for each wood species makes all the difference. Isn’t it remarkable how these simple practices can transform your woodworking outcomes?
