

You probably think preparing land for backyard farming is just digging up some dirt and planting seeds. Think again. Proper land preparation requires careful soil analysis, strategic planning, and methodical execution to create ideal growing conditions. Before you touch a shovel, you need to understand your soil’s pH levels, drainage capacity, and nutrient deficiencies. Skip these essential steps, and you’ll waste months of effort growing struggling plants instead of thriving crops. Want to know the exact sequence that separates amateur gardeners from successful backyard farmers?
Check Your Backyard Soil Quality First
Why should you test your soil before planting? You need to understand your soil’s pH level, nutrient content, and composition to guarantee successful crop growth.
Soil testing reveals whether your dirt is acidic, neutral, or alkaline, directly affecting plant health. You’ll discover deficiencies in nitrogen, phosphorus, or potassium that prevent peak yields. Testing kits are affordable and easy to use. Collect samples from multiple areas, mix them thoroughly, and follow package instructions.
Your local extension office often provides testing services too. Don’t guess about soil conditions. Plants struggle in unsuitable environments, leading to poor harvests and wasted effort.
You belong among successful backyard farmers who make informed decisions. Test results guide fertilizer choices, pH adjustments, and planting strategies. Smart gardeners check soil quality first because it’s the foundation supporting all future growth.
Clear Debris and Remove Existing Weeds
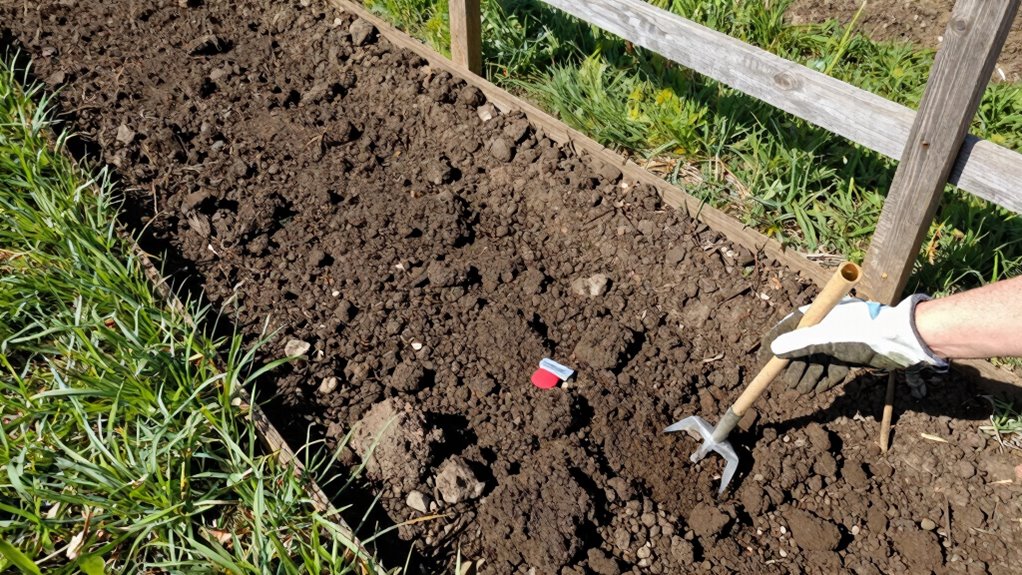
Having established your soil’s condition through testing, you’ll now prepare the physical environment for planting. Clear all debris including rocks, branches, and construction materials from your designated farming area. Use a rake or shovel to remove larger obstacles that could interfere with planting or cultivation.
Remove existing weeds completely, including roots and seed heads. Pull annual weeds by hand when soil is moist for easier root extraction. For perennial weeds with deep root systems, use a spade or hoe to dig them out entirely.
Don’t compost weeds that have gone to seed, as they’ll spread throughout your garden. Cut down tall grass and vegetation with a weed whacker or scythe before clearing. This prevents weeds from competing with your crops for nutrients and water.
Work systematically across your plot, ensuring no weed patches remain. Proper debris removal creates clean growing conditions for your future plants.
Improve Your Soil’s Natural Nutrients

You should test your soil’s pH levels before adding organic matter to guarantee ideal nutrient absorption.
Most vegetables thrive in slightly acidic to neutral soil with a pH between 6.0 and 7.0.
Adding compost, aged manure, or leaf mold will boost your soil’s natural nutrient content and improve its structure for better root development.
Add Organic Matter
Adding organic matter to your soil considerably boosts its nutrient content and overall health. You should incorporate compost, aged manure, or leaf mold into the top six inches of soil. These materials decompose slowly, releasing essential nutrients your plants need.
Work organic matter into soil during fall preparation or early spring. You can also use grass clippings, kitchen scraps, or shredded newspaper. Avoid adding fresh wood chips or sawdust, as they deplete nitrogen while decomposing.
Test your soil’s texture first – sandy soils need more organic matter than clay soils. Mix materials thoroughly using a garden fork or tiller. Your soil should feel crumbly and dark when properly amended.
Regular additions of organic matter create fertile, well-draining soil that supports healthy plant growth.
Test Soil PH Levels
Testing your soil’s pH levels reveals how acidic or alkaline your soil is, which directly affects nutrient availability to plants. You need to understand your soil’s pH to optimize growing conditions for your backyard farm.
Most vegetables thrive in slightly acidic to neutral soil, typically pH 6.0-7.0. Test your soil using a home testing kit or send samples to your local agricultural extension office for professional analysis.
- Collect soil samples from multiple locations at 6-inch depth
- Mix samples thoroughly in a clean container before testing
- Test pH levels annually to monitor changes over time
- Adjust pH using lime to raise levels or sulfur to lower them
Your soil’s pH directly impacts nutrient uptake, so regular testing guarantees your plants access essential minerals effectively.
Select Your Tilling Depth and Method
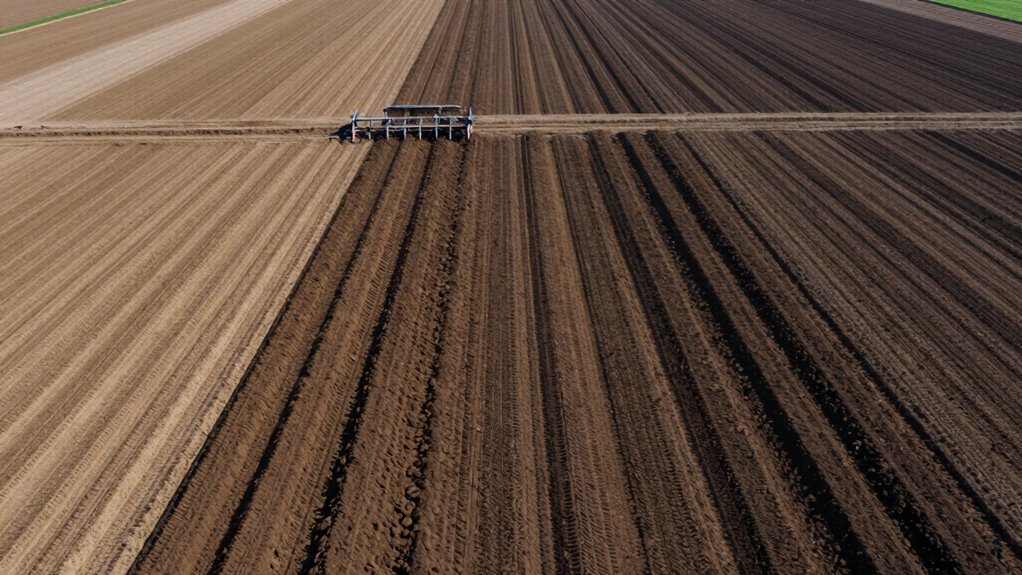
You’ll need to choose between shallow and deep tilling based on your soil conditions and crop requirements.
Shallow tilling works best for annual vegetables and helps maintain soil structure while reducing energy costs.
Consider your specific farming goals and soil type when selecting the most appropriate tilling method for ideal results.
Shallow Tilling Benefits
When preparing your land for backyard farming, selecting the appropriate tilling depth becomes essential for best soil health and crop productivity.
Shallow tilling, working the soil 4-8 inches deep, offers significant advantages for your growing space.
- Preserves soil structure by maintaining natural layering and preventing compaction deeper in the profile
- Protects beneficial microorganisms and earthworms that reside in lower soil layers from disruption
- Reduces energy costs since lighter equipment or manual tools handle shallow work efficiently
- Maintains moisture retention better than deep tilling by keeping subsoil intact and reducing evaporation
Shallow tilling works especially well for annual vegetable beds and established garden areas where deep soil modification isn’t necessary.
You’ll find this method supports healthier root development while preserving the soil ecosystem that makes your backyard farm thrive.
Deep Tilling Considerations
Why should you consider deep tilling for your backyard farm? Deep tilling breaks up compacted soil layers, allowing roots to penetrate deeper and access more nutrients.
You’ll want to till 8-12 inches deep for most crops, though some root vegetables need 12-18 inches. Soil texture matters – clay soils benefit more from deep tilling than sandy soils.
Test your soil’s compaction level first; use a shovel to check resistance depth. Don’t deep till wet soils, as this creates hardpan.
Consider your soil’s organic matter content – low organic matter soils need deeper intervention. Deep tilling isn’t always necessary if you’ve maintained good soil structure.
Evaluate your specific growing conditions and crop requirements before deciding on depth. Your soil’s health history determines whether deep tilling provides real benefits for your farming success.
Tilling Method Comparison
Having evaluated your soil’s compaction levels and determined whether deep tilling benefits your specific conditions, you can now choose the most appropriate method for preparing your land.
Different tilling approaches work better depending on your soil type, existing vegetation, and farming goals.
- Rototilling: Best for breaking up compacted soil and incorporating organic matter deeply; works well in clay or hardpan conditions.
- Garden tiller: Suitable for smaller areas and lighter soil preparation; less aggressive than rototillers.
- Broadforking: Maintains soil structure while loosening subsoil; ideal for minimal disturbance gardening.
- Hand digging: Provides precise control for small plots or raised beds; preserves beneficial soil organisms.
Select your method based on plot size, soil conditions, and desired disturbance level.
Design Your Garden Layout for Growing
After you’ve tested your soil and identified the best areas for cultivation, designing your garden layout becomes the foundation for maximizing yield and efficiency.
Start by mapping your space using graph paper, marking permanent structures and sun patterns. Position tall crops like corn or tomatoes on the north side to prevent shading shorter plants.
Group plants with similar water and nutrient needs together in blocks rather than rows. Plan companion planting zones where beneficial plants support each other’s growth. Allocate space for crop rotation, keeping track of plant families to maintain soil health.
Create buffer zones around edges for beneficial insects and pollinators. Designate areas for seedlings, mature plants, and harvested crops.
Your layout should facilitate easy maintenance while optimizing plant health and productivity throughout the growing season.
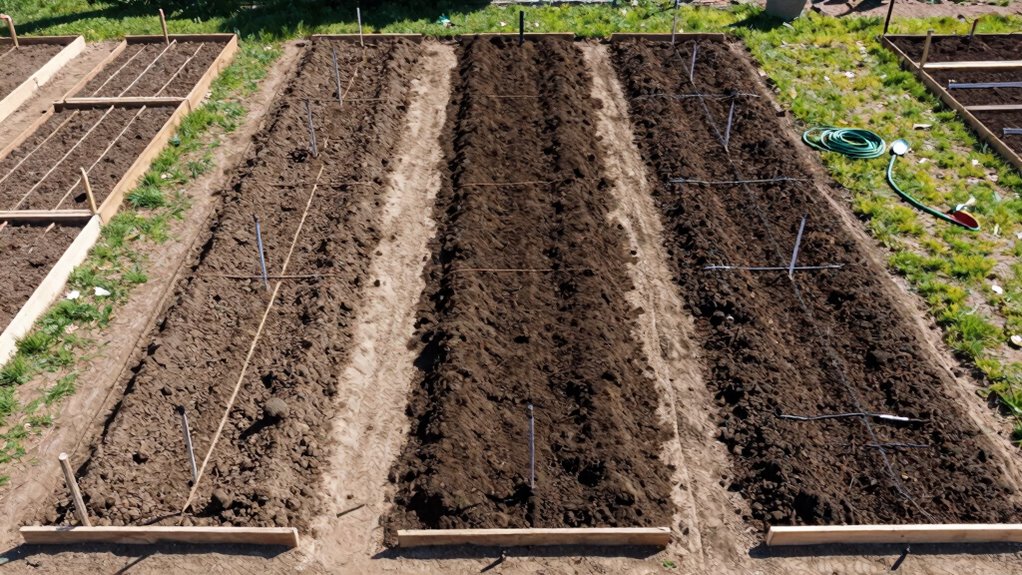
Set Up Water Access and Basic Paths
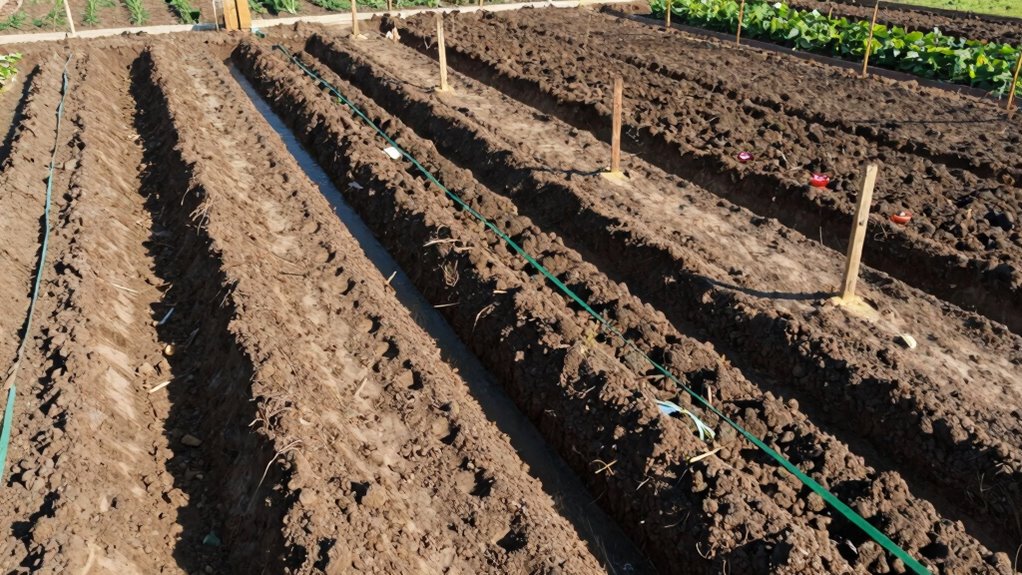
Proper water access and defined paths are fundamental elements that support the efficient execution of your planned garden layout.
You’ll need reliable irrigation systems and clear walkways to maintain your growing space effectively.
Consider these essential components:
- Install drip irrigation lines or soaker hoses along planting areas to deliver consistent moisture directly to root zones.
- Create 18-inch wide paths using organic mulch, gravel, or stepping stones placed every 3-4 feet throughout your garden.
- Position water spigots or hose connections within 50 feet of each garden section for easy access.
- Establish main pathways at least 3 feet wide to accommodate wheelbarrows and garden carts for transporting materials.
These preparations guarantee you’ll have the infrastructure needed for successful backyard farming.
Build Raised Beds or Edge Your Garden
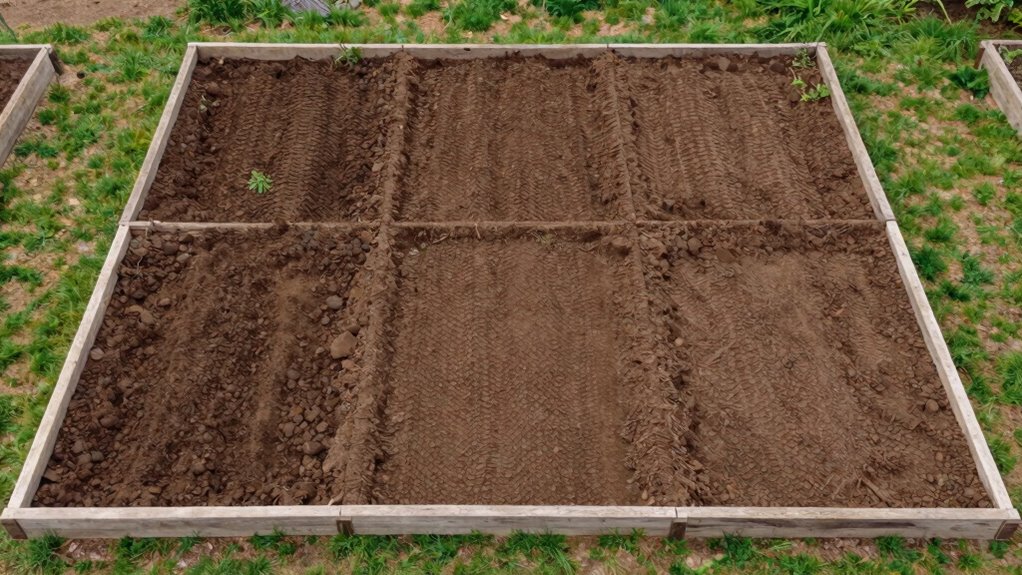
Raised beds and garden edging provide structure and definition that optimize your growing space while improving soil conditions and weed control.
You’ll want to construct raised beds using untreated lumber, concrete blocks, or recycled materials, ensuring they’re at least 6 inches deep for proper root development.
Space beds 18-24 inches apart to allow easy access for maintenance. Install edging around traditional garden plots using metal, plastic, or natural stone barriers to prevent grass encroachment.
Both methods improve drainage, reduce soil compaction, and create microclimates that extend your growing season. Raised beds warm up faster in spring, while edging keeps pathways clear and prevents invasive weeds from spreading into your crops.
These structures also make planting, watering, and harvesting more efficient. You’ll find that defined growing areas help you maximize yields while minimizing maintenance tasks.
Consider your soil type, climate, and available materials when choosing between these approaches. Both options create organized spaces that boost productivity.
Conclusion
Your backyard transformation begins with soil—nature’s foundation. Test, clear, and enrich like a gardener tending precious soil. Plan your layout with precision, install water pathways, and build raised beds or edges. Each step cultivates success. Like seeds sprouting through seasons, your preparation grows abundance. Start today; harvest tomorrow’s rewards.
