

You step into your garden early spring morning, frost still clinging to the soil like scattered diamonds. Before you plant a single seed, you need to understand your local growing conditions. Knowing your hardiness zone and frost dates isn’t just helpful—it’s essential. Without this foundation, even the most carefully tended crops can fail. Let’s explore how to build a solid seasonal planting strategy that maximizes your harvest potential year after year.
Find Your Local Growing Zone
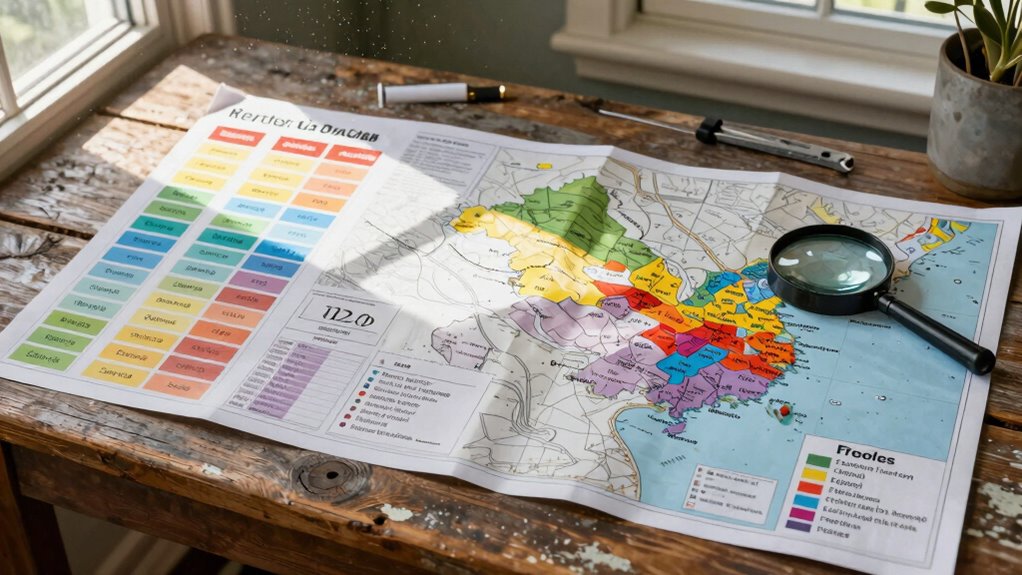
Before you plant your first seasonal crop, you’ll need to determine your local growing zone to understand which plants will thrive in your climate.
Check the USDA Plant Hardiness Zone Map online to find your specific zone designation. This information tells you the average minimum winter temperatures your area experiences.
Different crops have varying cold tolerance levels, so matching plants to your zone prevents disappointment. Annual vegetables like tomatoes and peppers require warmer zones, while hardy greens survive cooler conditions.
You’ll discover which varieties perform best in your region’s typical weather patterns. Garden centers and seed packets reference zone numbers, making this knowledge essential for successful planting.
Understanding your growing zone connects you to local gardening communities sharing similar challenges and opportunities. This foundational step guarantees you select appropriate crops for your climate.
Know First and Last Frost Dates
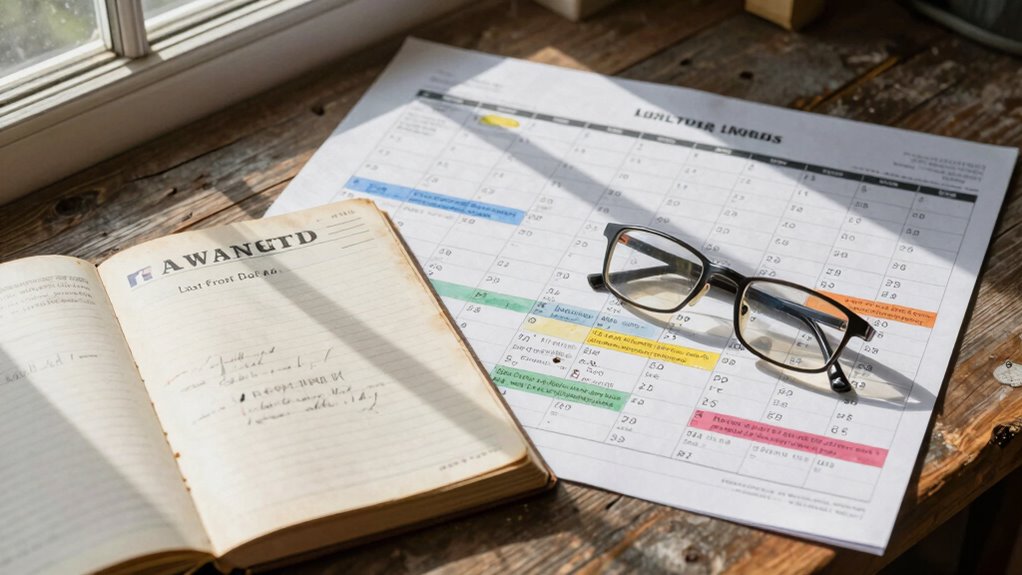
You’ll determine your area’s average first and last frost dates to calculate the length of your growing season.
Use this information to plan planting schedules that maximize crop success and avoid frost damage.
These dates become your foundation for making informed planting decisions throughout the year.
Determine Average Frost Dates
Because frost dates vary greatly by region, you’ll need to determine your area’s average first and last frost dates to plan seasonal crops effectively.
Check local agricultural extension offices, gardening centers, or online databases for historical frost data specific to your zip code. These sources provide reliable averages based on decades of weather records.
Don’t rely on neighboring areas’ dates, as microclimates can vastly differ. Your local first frost date typically occurs in fall, while the last frost happens in spring. Mark these dates in your planning calendar.
Consider climate change effects, which may shift traditional patterns. Urban heat islands might delay first frost dates compared to rural areas. You should also monitor local weather forecasts as your target dates approach.
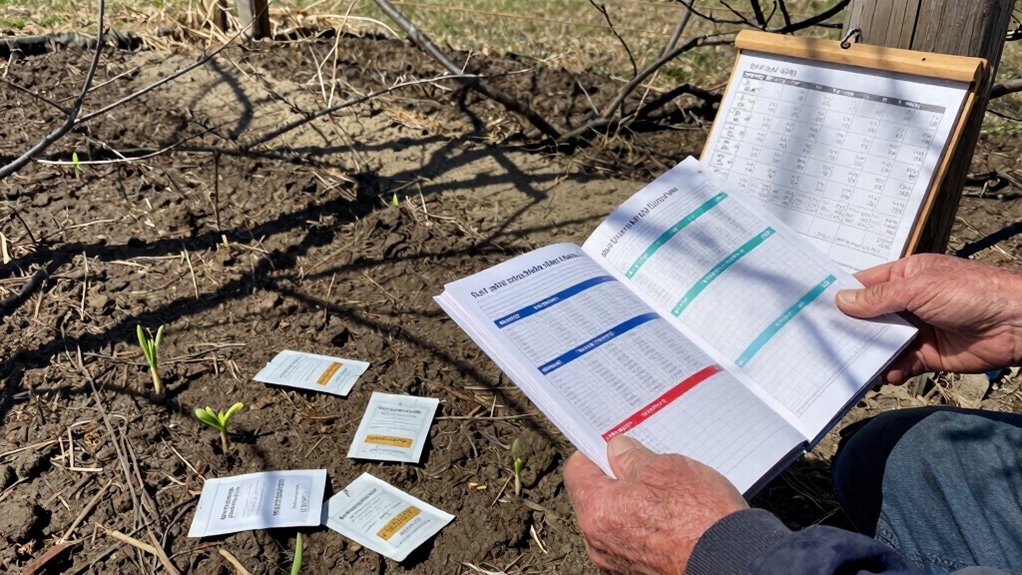
Keep detailed records of actual frost events over multiple years. This data helps refine your planting schedules and protects your investments.
Calculate Growing Season Length
Once you’ve identified your area’s average first and last frost dates, calculating your growing season length becomes straightforward. Count the days between these two dates to determine your total growing period.
For example, if your last spring frost occurs around April 15th and your first fall frost hits October 10th, you’ve got roughly 178 growing days.
Don’t forget to account for microclimates in your specific garden location. South-facing walls, slopes, and protected areas often extend your effective growing season. Conversely, low-lying spots may experience earlier frosts.
Track your local weather patterns over multiple years to refine these calculations. Your growing season length directly impacts which crops you can successfully cultivate, so accuracy matters.
Plan Planting Schedules
Knowing your area’s first and last frost dates directly influences when you should plant different crops throughout the growing season. You’ll maximize yields and avoid crop loss by timing plantings correctly.
- Check local agricultural extension office data for historical frost records
- Count backward from first frost date to determine latest planting windows
- Use last frost date as benchmark for spring planting schedules
- Stagger plantings every two weeks for continuous harvests
Cool-season crops tolerate light frost, so plant these four to six weeks before last expected frost.
Warm-season varieties need soil temperatures above 60°F, requiring planting after frost danger passes.
Calculate growing days required for each crop, then work backward from harvest goals.
Keep detailed records of planting dates and results to refine future schedules.
Test and Prep Soil Before Spring
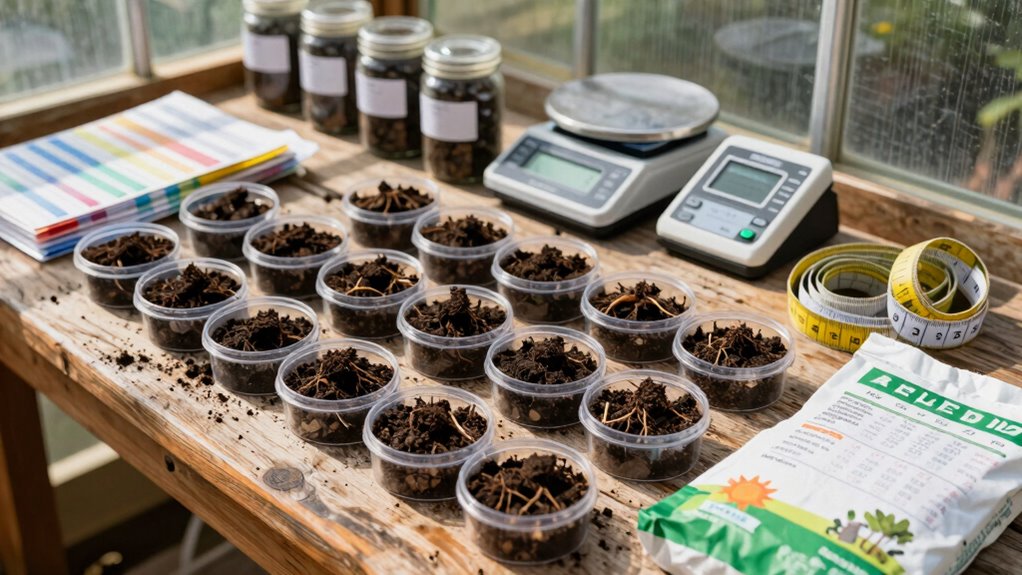
Testing your soil’s pH and nutrient levels before spring planting guarantees ideal growing conditions for seasonal crops.
You should collect samples from multiple locations in your garden, mixing them thoroughly for accurate results. Most vegetables thrive in slightly acidic to neutral soil with pH levels between 6.0 and 7.0.
Send samples to your local extension service or use home testing kits for immediate feedback. Amend soil based on test results by adding lime to raise pH or sulfur to lower it.
Incorporate organic matter like compost to improve soil structure and nutrient content. Test for nitrogen, phosphorus, and potassium levels specifically.
You’ll identify deficiencies early and apply appropriate fertilizers before planting begins, ensuring your seasonal crops start strong.
Match Crops to Your Regional Climate
You must identify your area’s last spring frost and first fall frost dates to determine viable growing windows.
Select crop varieties that match your hardiness zone and can mature within your region’s frost-free period.
Time your planting schedule according to these climate constraints to maximize harvest success.
Understanding Frost Dates
Frost dates determine when temperatures drop below 32°F, killing tender plants and ending growing seasons in most regions. You must know your area’s last spring frost and first fall frost dates to plan successful plantings.
- Check your county extension office for specific regional frost date information
- Use online frost date calculators as starting points, but verify locally
- Track historical weather data to understand average frost patterns in your area
- Monitor soil temperature and weather forecasts closely before planting
Understanding these critical dates helps you avoid crop loss while maximizing growing potential.
Don’t rely on guesswork when planning your garden timeline.
Selecting Climate-Appropriate Varieties
Matching crops to your regional climate builds directly on understanding frost dates, as temperature patterns dictate which plants will thrive in your specific growing conditions.
You must research your USDA hardiness zone and select varieties bred for your area’s heat tolerance, cold resistance, and daylight requirements. Consult local extension services for recommended cultivars that perform reliably in your microclimate.
Don’t assume northern varieties will work south of their recommended zones, or vice versa. Pay attention to days-to-maturity ratings, ensuring varieties can complete their growth cycle within your frost-free period.
Heat-loving crops like okra and sweet potatoes require consistent warm temperatures, while cool-season brassicas need ample cool weather. Soil temperature preferences matter too – some seeds won’t germinate in hot soil.
Your success depends on choosing varieties that align with your climate’s realities, not your wishes.
Timing Planting Seasons
While understanding your region’s frost dates is essential, timing your planting seasons requires careful coordination between crop requirements and your local climate patterns. You must match each crop’s ideal growing conditions with your area’s specific weather windows.
- Check your region’s last spring frost date and first fall frost date to determine safe planting periods.
- Plant cool-season crops like lettuce and peas when soil temperatures reach 40-50°F.
- Wait until after frost danger passes before planting warm-season vegetables like tomatoes and peppers.
- Stagger plantings of quick-growing crops like radishes and spinach every two weeks for continuous harvests.
Your success depends on watching local weather patterns, not just calendar dates.
Soil temperature matters more than air temperature for seed germination. Keep records of what works in your specific microclimate.
Plan Your Indoor Seed Starting Dates
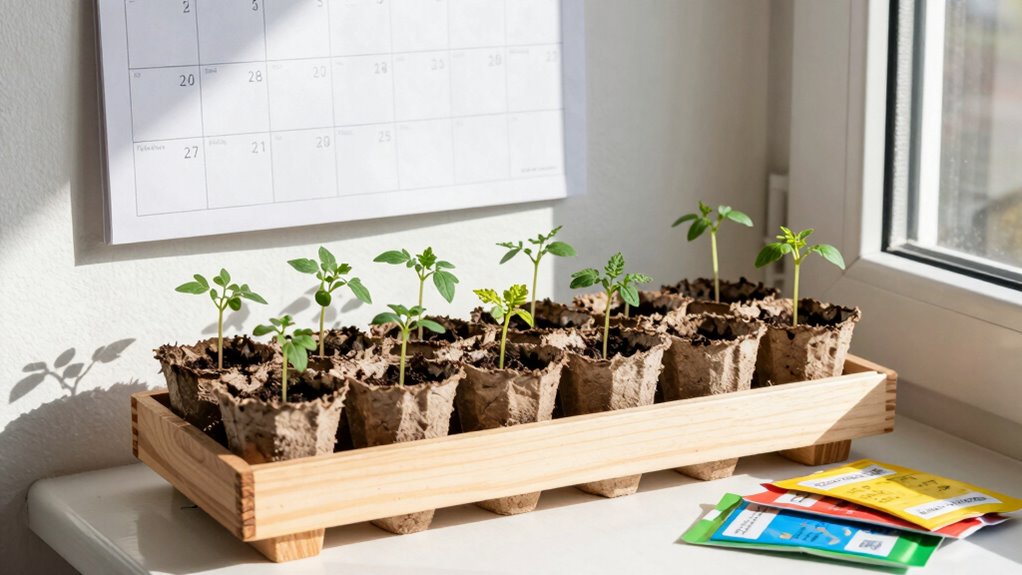
When you start seeds indoors depends on your local last frost date and the specific crop’s growth requirements. Check your seed packets for recommended weeks before transplanting outdoors.
Calculate backward from your area’s average last frost date to determine ideal indoor starting times. Tomatoes and peppers need 6-8 weeks, while lettuce and herbs require only 4-6 weeks. You’ll want to account for germination time plus growing period before outdoor planting.
Use a calendar to track multiple crops with different timelines. Starting too early creates leggy, root-bound plants that struggle after transplanting. Too late means smaller plants when garden season begins.
Mark your indoor starting dates prominently and prepare seeding trays, potting mix, and grow lights accordingly for successful seasonal planning.
Direct Sow Cold-Tolerant Crops Early
Why shouldn’t you wait for warm weather to plant certain vegetables?
Cold-tolerant crops actually thrive when sown directly in cool soil conditions. You’ll maximize your growing season by getting these hardy plants established early.
Don’t hesitate to plant these crops before the last frost date:
- Radishes germinate in soil as cold as 40°F and mature quickly
- Lettuce varieties handle light freezes and bolt slower in cool weather
- Peas fix nitrogen better in cooler temperatures and establish strong root systems
- Spinach actually tastes sweeter after light frost exposure
These vegetables aren’t just survivors—they’re performers in cool conditions.
You’re not taking risks; you’re using smart timing to your advantage. Your garden community knows that early planters harvest weeks ahead of others.
Start sowing these cold-tolerant crops directly in your garden now.
Build a Smart Planting Timeline
Planning your planting schedule requires understanding how cold-tolerant crops fit into your overall timeline. You should map backwards from your first expected frost date to determine ideal planting windows. Calculate growing days for each crop variety, adding buffer time for unexpected weather shifts.
Group plants by their temperature preferences and growth rates. Early spring crops like lettuce and peas need soil temperatures above 40°F, while warm-season crops require 60°F or higher. Track your local frost dates historically, but remain flexible for yearly variations.
Create separate timelines for direct-sown seeds versus transplants, since indoor-started plants need hardening-off periods. Factor in crop rotation principles to prevent soil depletion and disease buildup.
Your timeline becomes your roadmap for maximum yield and efficient garden management throughout changing seasons.
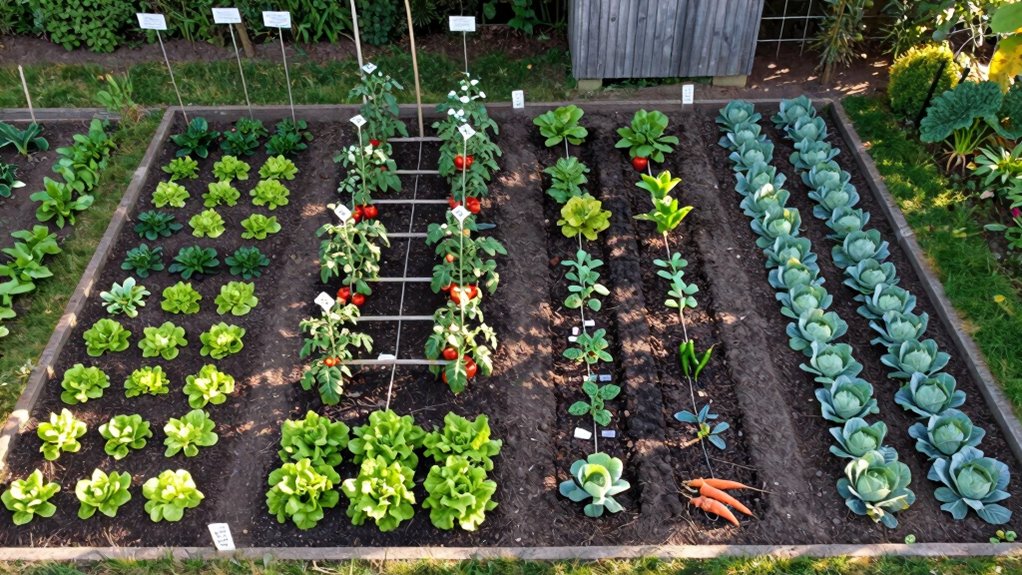
Use Succession Planting for More Yield
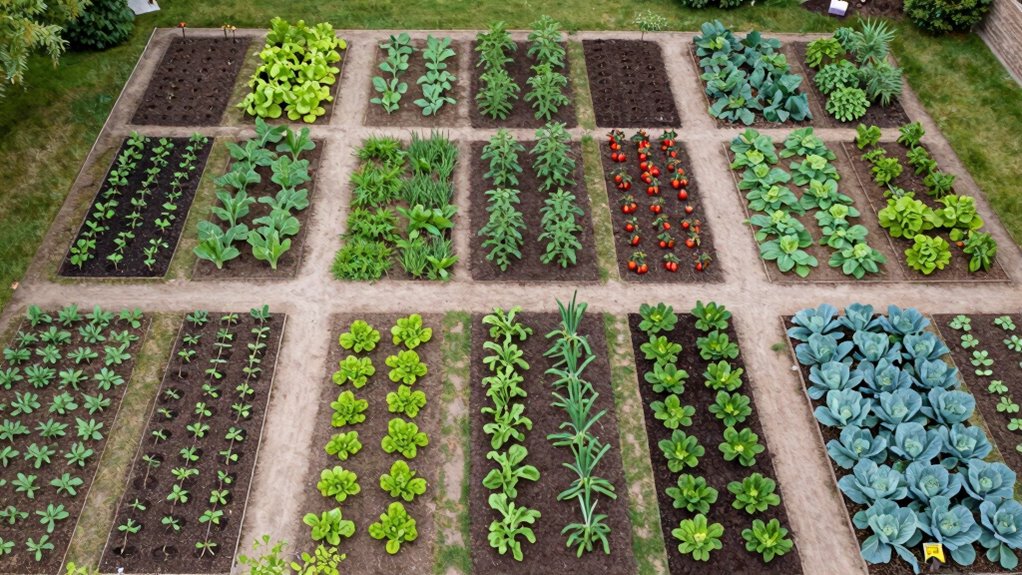
You should stagger your planting dates to guarantee continuous harvests throughout the growing season.
This technique maximizes your yield by preventing gaps in production and extending harvest periods considerably.
Plan successive sowings of fast-maturing crops like lettuce and radishes every 2-3 weeks for ideal results.
Stagger Planting Dates
Succession planting maximizes your harvest by scheduling new crops at regular intervals rather than planting everything at once.
You’ll maintain consistent yields throughout the growing season while avoiding overwhelming harvests.
- Plant lettuce every two weeks for continuous harvests from spring through fall
- Sow beans bi-weekly to guarantee steady pod production without gaps
- Start tomato transplants three weeks apart to extend fruiting periods
- Direct sow radishes weekly for constant fresh supplies
Stagger planting dates based on crop maturity times and your local frost dates.
Calculate intervals by dividing growing season length by crop maturity period.
Keep detailed planting records to track ideal timing for your specific climate zone and avoid missing perfect planting windows.
Maximize Harvest Periods
While staggering planting dates guarantees continuous production, maximizing your harvest periods requires strategic succession planting that extends yields well beyond typical growing windows.
You should plant new crops every two to three weeks for extended harvests. Cool-season vegetables like lettuce and spinach tolerate frost, so plant them early and late. Warm-season crops need soil temperatures above 60°F, limiting their growing window.
Calculate days to maturity plus harvest duration when planning. For example, bush beans mature in 50 days and produce for three weeks, so plant every two weeks for continuous picking.
Root vegetables store well, extending availability. You’re not just planning for now, but creating abundance that carries your garden community through seasons.
Succession planting transforms your growing space into a year-round productive system.
Shield Seedlings From Late Spring Frost
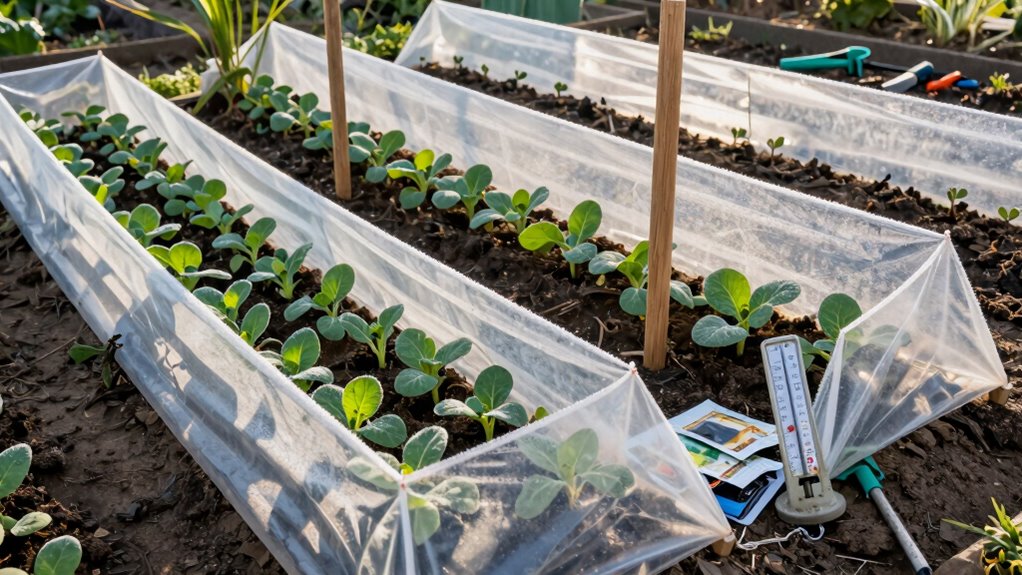
Late spring frost can devastate young seedlings just as they begin to establish, so protecting them is crucial for successful seasonal crop planning.
You’ll want to monitor weather forecasts closely and take immediate action when frost warnings appear.
- Use row covers or frost blankets – These lightweight fabrics trap heat while allowing light and water penetration.
- Create cold frames – Build simple wooden boxes with clear plastic or glass tops to create mini-greenhouses.
- Mulch heavily around plants – Apply 2-3 inches of straw or leaves to insulate roots and retain soil warmth.
- Water thoroughly before freeze – Moist soil holds more heat than dry soil, releasing warmth overnight.
These protection methods guarantee your carefully planned garden thrives despite unexpected temperature drops.
You’re not alone in facing these challenges.
Adjust Planting Around Summer Heat

After protecting your seedlings from late spring frost, you’ll need to shift focus toward managing summer’s intense heat to maintain healthy crop development.
Time your plantings so crops mature before peak temperatures hit. Start heat-sensitive vegetables like lettuce and spinach earlier, while planting heat-loving varieties like tomatoes and peppers after soil warms.
Use shade cloth or plant taller crops to create cooling microclimates for sensitive plants. Mulch heavily around bases to retain moisture and regulate soil temperature.
Water deeply but less frequently to encourage strong root systems. Consider succession planting every two weeks to guarantee continuous harvests.
Monitor weather forecasts closely and adjust schedules accordingly. Your garden’s success depends on working with summer’s natural rhythm rather than against it.
Grow Cool-Weather Crops in Fall
As fall temperatures begin to drop, you’ll want to shift your gardening focus toward cool-weather crops that thrive in lower temperatures.
These plants actually improve in flavor after light frosts, making them perfect for autumn harvests.
Choose varieties that mature quickly since daylight hours decrease rapidly. Direct-sow seeds about 10-12 weeks before your first expected hard frost date.
Cool-weather crops need consistent moisture but less frequent watering as temperatures cool.
- Leafy greens like spinach, lettuce, and kale tolerate frost well
- Root vegetables including carrots, radishes, and beets store energy underground
- Brassicas such as broccoli, cabbage, and Brussels sprouts love cool conditions
- Peas and beans varieties specifically bred for fall planting
Monitor soil temperature regularly. Most cool-weather crops germinate best when soil temperatures remain between 45-70°F.
Plant succession crops every two weeks for continuous harvests through late fall.
Stretch Seasons With Row Covers
Row covers extend your growing season by protecting plants from frost and cold temperatures.
You should select lightweight fabric that allows sunlight and water penetration while trapping radiant heat. Install covers directly over plants or use hoops for taller crops. Secure edges with soil, rocks, or clips to prevent heat loss.
Remove covers during warm days to avoid overheating and allow pollination. You can use row covers in spring to protect early plantings and in fall to extend harvest periods.
Lightweight polypropylene fabric works best for season extension. Monitor temperature underneath regularly. You should ventilate during sunny days when temperatures rise above 70°F.
Row covers let you harvest fresh vegetables weeks longer than unprotected plants.
Water & Feed Based on Crop Needs
You must adjust watering frequency and volume based on each crop’s growth stage and seasonal requirements.
Your nutrient applications should match the specific demands of different plant families throughout their growing cycles.
These adjustments guarantee ideal resource use while preventing stress or overfeeding during critical development periods.
Optimize Watering Schedules
Effective watering schedules depend on understanding each crop’s specific moisture requirements throughout its growth cycle. You must match irrigation frequency and volume to your plants’ developmental stages for ideal yields.
- Seedlings need consistent moisture – Keep soil evenly damp but not waterlogged during germination and early growth phases.
- Established plants require deeper, less frequent watering – Encourage root development by allowing topsoil to dry slightly between irrigations.
- Flowering and fruiting stages demand increased moisture – Boost water delivery when plants begin producing flowers or fruits.
- Mature crops need reduced watering – Gradually decrease irrigation as harvest approaches to concentrate flavors and prevent splitting.
Monitor soil moisture regularly using simple tests like finger probing or moisture meters. Adjust timing based on weather conditions, soil type, and plant responses.
Adjust Nutrient Applications
Adjusting nutrient applications requires matching water and feed delivery to each crop’s specific demands throughout its growth cycle.
You must monitor plant development stages and adjust nitrogen, phosphorus, and potassium ratios accordingly. Young seedlings need lighter feeding with frequent, small applications. As plants mature, increase nutrient concentration while reducing frequency.
Track soil moisture levels daily and correlate feeding schedules with watering routines. Overfeeding causes nutrient burn and wasted resources. Underfeeding stunts growth and reduces yields.
Test soil pH regularly because it affects nutrient availability.
You should customize fertilizer blends based on crop type and local soil conditions. Leafy greens demand higher nitrogen during vegetative growth. Fruit-bearing plants require more phosphorus and potassium during flowering and fruiting stages.
Keep detailed records of application rates and timing. This approach guarantees ideal plant health while maximizing your seasonal harvest success.
Watch for Seasonal Pest Outbreaks
When do seasonal pest populations typically surge in your growing regions? You need to track these patterns closely for effective crop planning. Understanding pest cycles helps you prepare defenses before damage occurs.
- Monitor degree-day accumulations to predict insect emergence timing
- Scout fields weekly during changeover periods between seasons
- Keep detailed records of pest pressure dates from previous growing seasons
- Schedule preventive treatments based on historical outbreak data for your area
You’re not alone in this challenge—every serious grower faces similar pest pressure patterns. Local extension services often provide regional pest advisory updates you should follow.
Don’t wait for visible damage to act. Plan your integrated pest management strategy around these seasonal surges. Your crop protection schedule must align with pest population peaks.
Stay vigilant about monitoring trap catches and pheromone lure activity. These tools give you early warning signals.
Harvest at Peak Time for More Food
Timing determines everything—harvesting at peak maturity maximizes both yield and nutritional value.
You should monitor crops daily during their maturation period, looking for specific visual and tactile cues. Leafy greens reach peak when leaves feel firm and display vibrant coloration. Root vegetables signal readiness through tops pushing above soil line. You’ll notice fruits detach easily from stems and exhibit characteristic coloring.
Harvest cool-season crops in morning hours when moisture content is highest. Warm-season varieties perform better when collected during mid-morning after dew evaporates.
Don’t wait for overripeness—nutrients degrade rapidly post-maturity. You’re competing against natural decomposition processes.
Stagger harvest times across plantings to maintain continuous production. Proper timing guarantees you’re getting maximum return on your gardening investment while building confidence in your seasonal planning abilities.
Collect Seeds From Healthiest Plants
You should collect seeds from your healthiest, most disease-resistant plants to maintain strong genetic lines for future seasons.
Store these seeds in cool, dry conditions to preserve their viability and prevent mold or premature germination.
This practice guarantees you’ll have reliable seed stock that produces robust plants adapted to your growing conditions.
Select Disease-Resistant Varieties
One key strategy for maintaining healthy seasonal crops involves selecting disease-resistant varieties by collecting seeds from your healthiest plants. You’ll build stronger, more resilient gardens by focusing on natural resistance.
- Identify disease-free specimens – Choose plants showing no signs of fungal, bacterial, or viral infections throughout the growing season.
- Select vigorous growers – Pick specimens with robust stems, healthy foliage, and strong root systems that outperform others.
- Observe environmental stress tolerance – Save seeds from plants that withstand drought, heat, or poor soil conditions better than neighbors.
- Maintain genetic diversity – Collect from multiple healthy plants within the same variety to preserve beneficial traits across generations.
This approach creates garden resilience while reducing dependency on chemical treatments.
You’re actively participating in sustainable agriculture practices that benefit your local growing community.
Store Seeds In Cool, Dry Conditions
Once collected from your healthiest plants, seeds must be stored in cool, dry conditions to maintain viability and prevent deterioration.
You should place seeds in airtight containers with desiccant packets to absorb moisture. Ideal storage temperature ranges between 32-41°F with relative humidity below 50%.
Label containers clearly with seed type and collection date. Avoid storing seeds near heat sources or in fluctuating temperatures.
Check stored seeds periodically for signs of moisture or pest damage. Properly stored seeds retain germination rates for several years.
You’ll want to test older seeds before planting by placing ten seeds between damp paper towels. If less than eight germinate, it’s time to collect fresh seeds.
Keep detailed records of storage conditions and germination tests.
Keep a Garden Journal That Works
Keeping a garden journal that works requires selecting a format and structure that matches your gardening goals and habits.
You’ll find success when your journal becomes an extension of your growing routine, not another task.
Choose a journaling approach that fits seamlessly into your workflow:
- Digital apps let you quickly log observations on your phone between garden tasks
- Physical notebooks work better if you prefer writing detailed notes with soil samples or sketches
- Pre-printed templates help you track specific metrics like planting dates and harvest yields
- Simple notebooks give you flexibility to record whatever information matters most to your seasonal planning
Your journal should capture what works, what doesn’t, and when you planted each crop.
This creates belonging within the gardening community through shared knowledge.
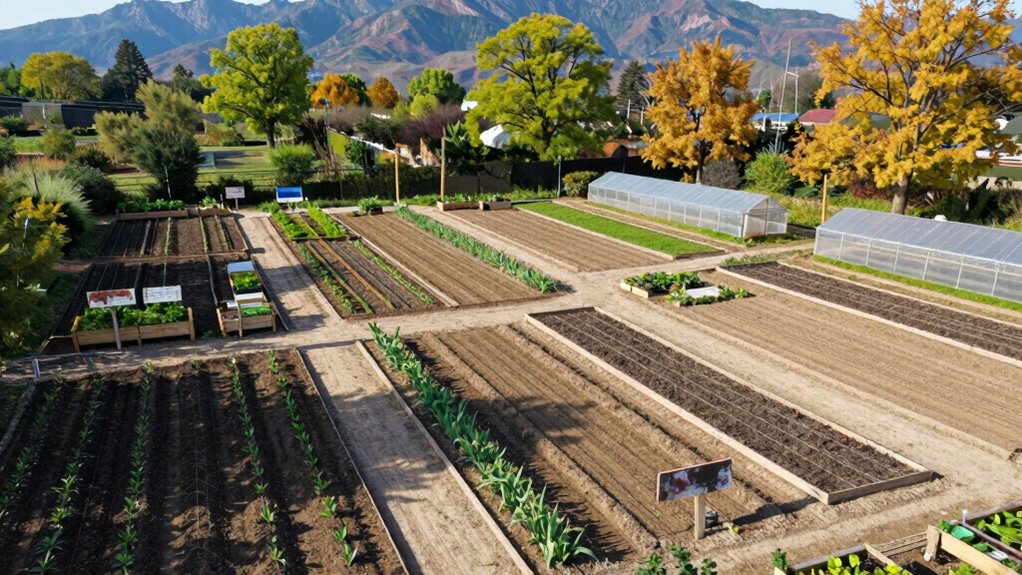
Rest Your Soil With Cover Crops
Cover crops offer a practical solution for maintaining soil health between growing seasons, building on the detailed records you’ve kept in your garden journal.
You should select cover crops based on your soil’s specific needs and your climate zone. Legumes like clover and vetch fix nitrogen, while grasses such as rye and buckwheat prevent erosion and add organic matter.
Plant cover crops immediately after harvesting your main crops to maximize soil protection. You’ll need to terminate cover crops before they go to seed, typically by mowing or tilling them under.
This process adds valuable organic matter back into your soil, improving its structure and nutrient content. Don’t skip this essential step if you want healthy, productive soil year after year.
Your garden’s success depends on consistent soil care practices.
Conclusion
You’ve now mastered the essential steps for planning seasonal crops. Like a skilled conductor orchestrating nature’s symphony, you’ll synchronize your planting with local conditions, soil readiness, and crop requirements. Keep detailed records, start seeds indoors at precise intervals, and harvest at ideal moments. This systematic approach transforms gardening from guesswork into a predictable, abundant harvest cycle. Your garden journal becomes the score sheet for future seasons’ success.
