

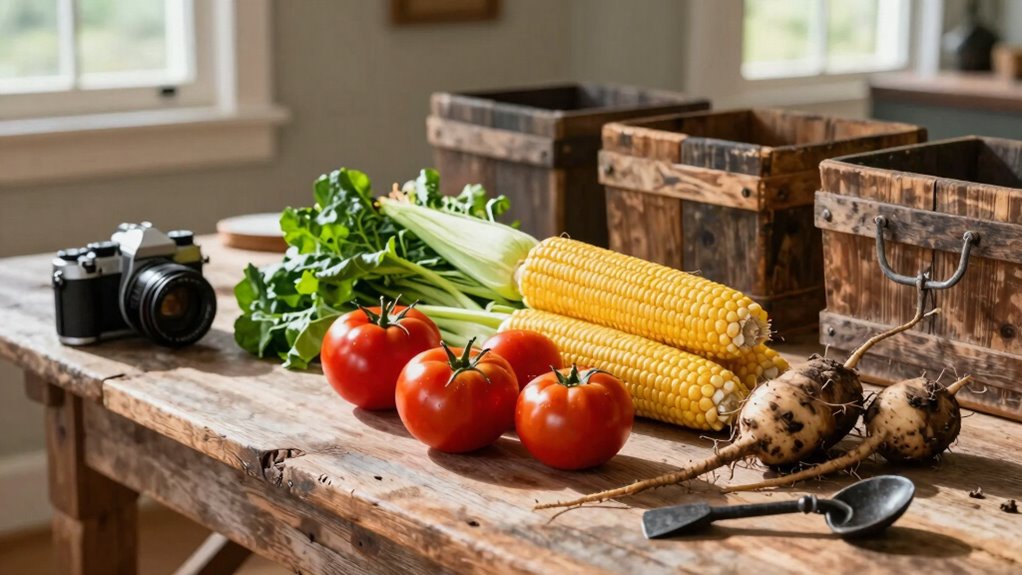
You’ve worked hard growing your garden, but harvesting and storing produce properly makes all the difference in flavor and shelf life. Pick crops at peak ripeness, use the right tools, and handle items gently to avoid bruising. Store vegetables in the correct conditions – some need cool darkness while others prefer humidity. Learn how to maximize your harvest so nothing goes to waste.
Know When to Harvest Each Crop
Each crop has its own ideal harvest time, and recognizing these windows guarantees you get the best flavor and nutritional value from your garden produce.
You’ll know tomatoes are ready when they’re fully colored and slightly soft to the touch. Pick cucumbers before they become bitter, ideally when they’re still firm and bright green.
Leafy greens taste best when harvested young and tender, usually within 45-60 days of planting. Root vegetables like carrots and radishes should come out when they’ve reached desirable size – don’t wait too long or they’ll become woody.
Herbs are most flavorful just before flowering, so harvest them promptly. Beans taste sweeter when picked regularly, encouraging continued production.
Pay attention to your plants’ signals; they’ll tell you when they’re ready.
Tools Every Gardener Needs for Harvesting
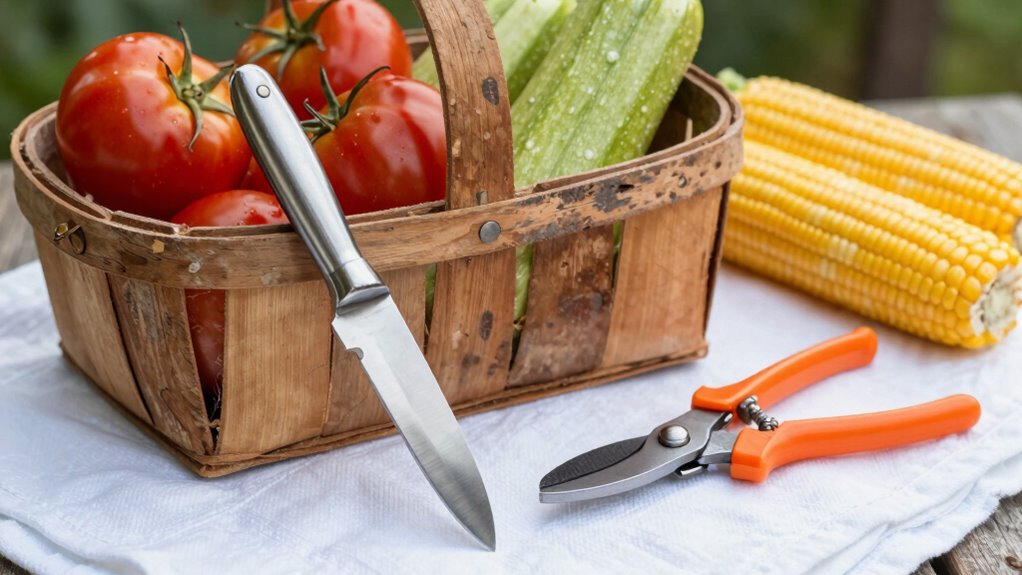
You’ll want to gather the right tools before heading out to harvest your crops. A sharp pair of garden shears or pruners should be your first investment—they’ll make clean cuts without crushing stems.
Don’t forget a harvesting knife for tougher jobs like cutting corn stalks or slicing through woody herb stems.
A sturdy basket or harvest bag keeps your produce contained while you work. Look for ones with good ventilation to prevent bruising.
Small hand trowels help dig up root vegetables like carrots and beets.
Rubber bands or twist ties are handy for bundling herbs together.
Keep a clean cloth or old towel nearby to wipe dirt off vegetables before storing them.
These basic tools will make your harvesting efficient and enjoyable.
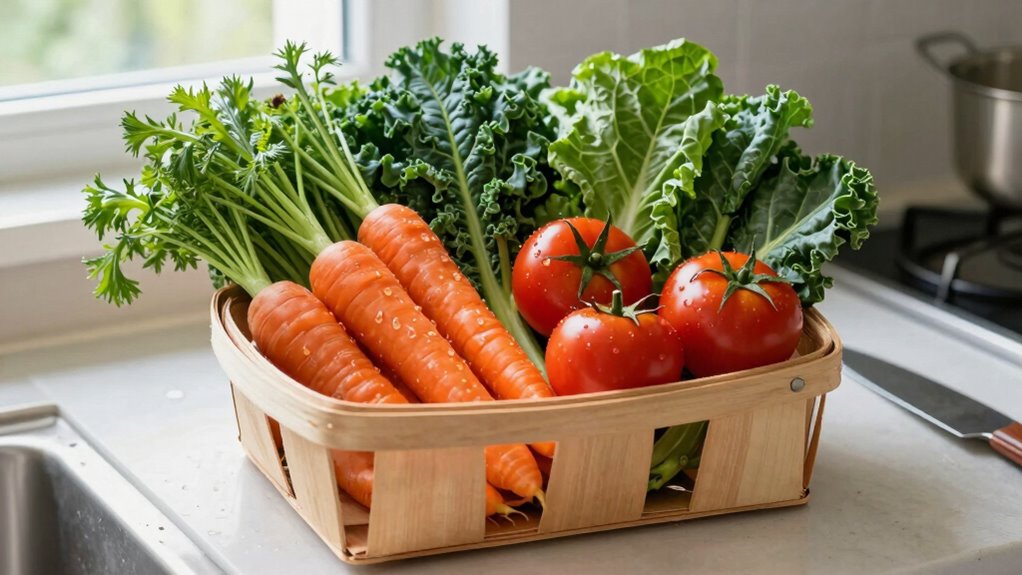
Harvest Leafy Greens Without Damaging Plants
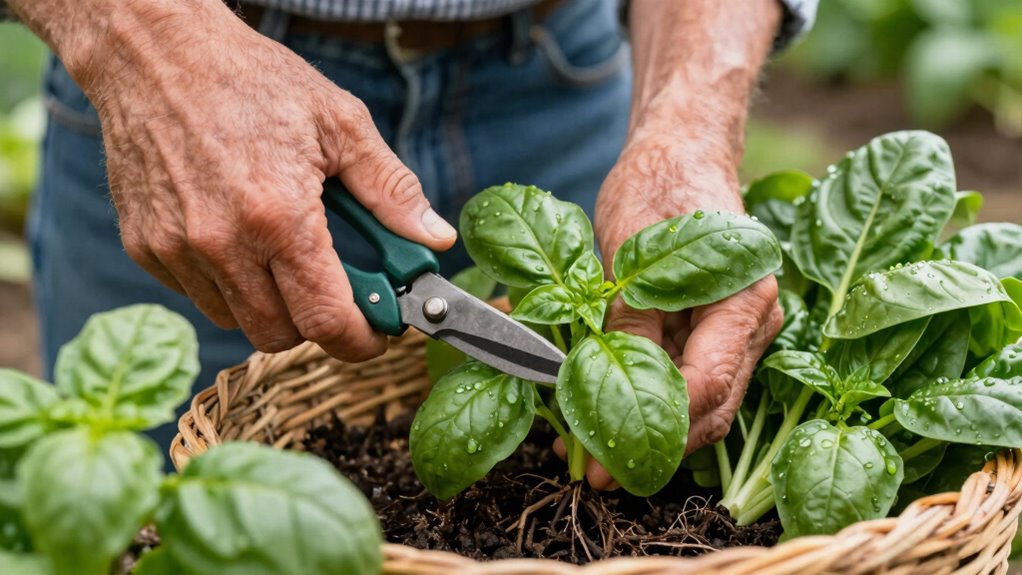
You should harvest leafy greens by cutting outer leaves first, which lets the plant keep growing and producing more foliage.
Store your fresh greens in perforated plastic bags in the refrigerator, where they’ll stay crisp for several days.
These simple techniques help you enjoy continuous harvests without harming your plants.
Harvesting Techniques For Leafy Greens
Cut leafy greens strategically to keep your plants thriving throughout the growing season.
Use sharp scissors or pruning shears to make clean cuts at the base of outer leaves, leaving inner leaves intact.
Harvest in the morning when leaves are crisp and full of moisture. For lettuce and spinach, cut stems about an inch above the soil line.
With kale and chard, remove only mature outer leaves while preserving younger inner growth.
Pinch basil flowers to encourage leaf production.
Always leave at least two-thirds of the plant intact for continued growth.
Avoid tearing leaves, which creates entry points for disease.
Regular harvesting actually promotes healthier plant development and prevents bolting.
You’ll enjoy continuous fresh greens while your garden keeps producing.
Storage Methods For Fresh Greens
Store freshly harvested leafy greens properly to maintain crispness and extend shelf life.
You should wash greens gently in cold water, then dry them thoroughly using a salad spinner or clean towels. Remove any wilted or damaged leaves before storing.
Wrap greens in paper towels to absorb excess moisture, then place them in perforated plastic bags. Store in your refrigerator’s crisper drawer at 32-40°F with high humidity settings.
Don’t overcrowd containers, as this causes bruising and spoilage. Check greens every few days and remove any slimy or yellowing leaves immediately.
Most leafy greens stay fresh for 3-7 days when stored correctly. You’ll enjoy crisp, nutritious greens that taste garden-fresh longer.
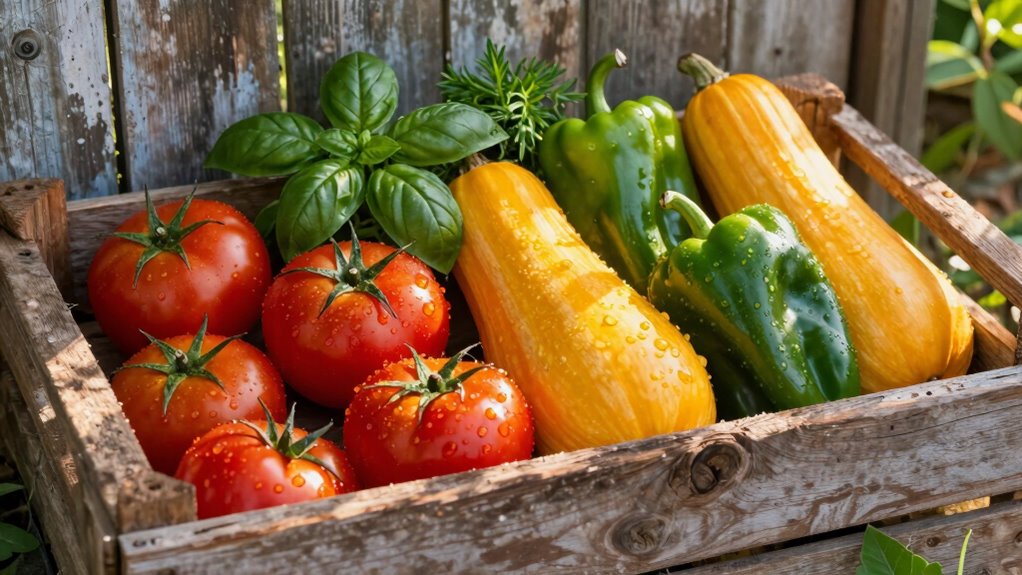
Pick Tomatoes and Peppers at Peak Ripeness
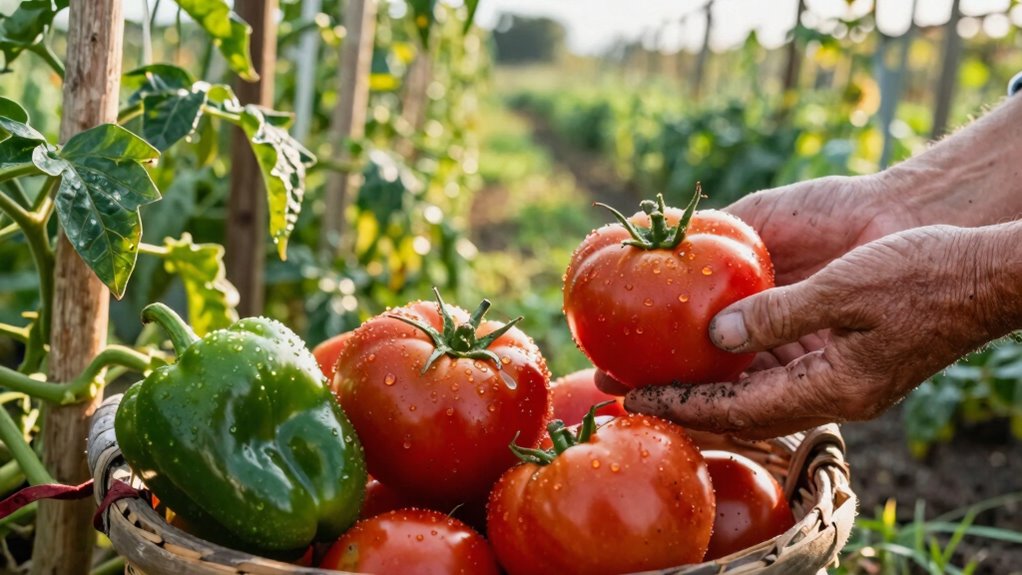
When harvesting tomatoes and peppers, timing matters most for ideal flavor and texture. You want to pick them when they’ve reached their peak ripeness for the best eating experience.
1. Check color daily – Tomatoes should show full color change from green to red, yellow, or purple.
Peppers should display their final mature color.
2. Test firmness gently – Ripe tomatoes feel slightly soft when lightly pressed.
Peppers should be firm but not hard.
3. Harvest in morning – Pick your produce early when temperatures are cooler for better flavor retention.
4. Use clean shears – Cut stems cleanly to avoid damaging plants and other developing fruits.
You’re becoming part of the growing community when you follow these simple practices.
Handle and Cure Root Vegetables After Digging
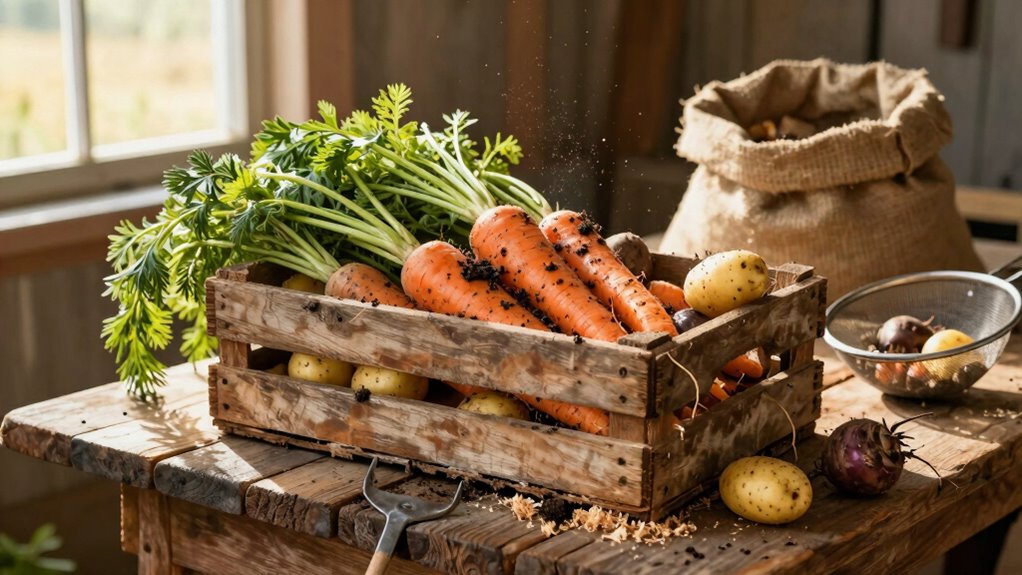
After you dig up root vegetables like carrots, potatoes, and onions, you’ll need to clean them properly to remove dirt and debris.
Next, you should cure them in ideal conditions with proper humidity and temperature control to extend their storage life.
Finally, you’ll want to store them using best practices that maintain their quality and prevent spoilage throughout the winter months.
Proper Cleaning Techniques
Root vegetables need careful handling immediately after you dig them from the soil. Proper cleaning preserves their quality and extends storage life.
- Remove excess dirt gently – Use your hands or a soft brush to loosen soil without damaging the skin. Don’t wash with water yet.
- Trim damaged areas – Cut away any bruised or wounded spots immediately to prevent decay from spreading during storage.
- Handle with care – Treat each vegetable like it’s fragile. Drop or bang them against each other and you’ll create entry points for bacteria.
- Sort by size and condition – Separate large from small ones, and healthy from damaged produce. This makes curing and storage more effective.
Clean roots properly and they’ll reward you with months of fresh eating.
Optimal Curing Conditions
Once you’ve cleaned your root vegetables, immediate attention to curing conditions makes the difference between produce that lasts weeks and ones that spoil quickly.
You need warm temperatures between 70-80°F and high humidity around 85-90% for proper curing. Place your vegetables in a well-ventilated area like a garage or covered porch where air circulates freely. Don’t stack them too closely together.
Cure onions and garlic for two to three weeks until outer skins become papery. Sweet potatoes need similar conditions for one to two weeks. Your carrots and beets require only a few days of curing.
Check them regularly and remove any that show signs of spoilage. Proper curing forms protective skins that prevent moisture loss and decay during storage.
Best Storage Practices
Proper storage practices make or break your harvest’s longevity, so handle your freshly dug vegetables with care. Your root vegetables need specific treatment to maximize their shelf life and maintain quality.
- Clean gently – Brush off excess dirt but don’t wash roots until ready to use. Moisture promotes rot and mold growth during storage.
- Cure properly – Store vegetables in a cool, humid environment (32-40°F, 85-95% humidity) for 1-2 weeks to heal any harvest wounds.
- Sort thoroughly – Remove damaged or diseased vegetables immediately. They’ll spread decay to healthy produce.
- Store strategically – Keep different vegetables separate since some release gases that accelerate spoilage in others. Use breathable containers like mesh bags or perforated plastic.
Ripen and Preserve Freshly Picked Garden Fruits
Garden fruits often need additional time to reach their peak flavor and texture after harvesting. You should place picked fruits like tomatoes, bananas, and avocados in paper bags at room temperature. Check them daily and remove any that show signs of overripening.
Ethylene-producing fruits ripen faster when stored together. Once fruits reach desired ripeness, move them to refrigerator crisper drawers to extend shelf life.
Don’t wash fruits until ready to eat, as moisture accelerates spoilage. Store apples separately since they release high ethylene levels that speed ripening in other fruits.
Soft fruits like berries should go straight to refrigerator without additional ripening. Monitor your fruits regularly and use them within their ideal window.
This approach guarantees you enjoy maximum flavor while minimizing waste in your kitchen.
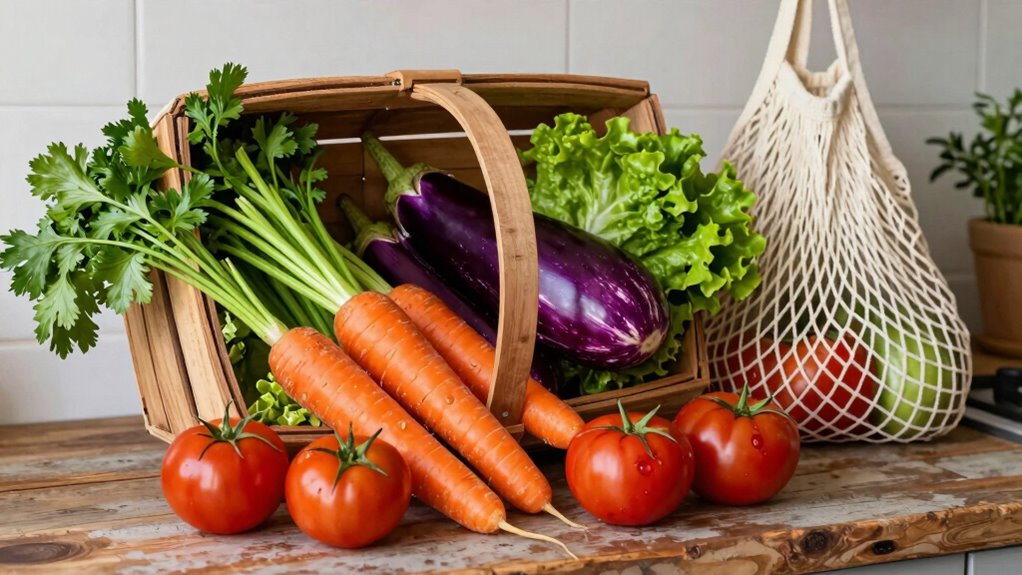
Clean and Prep Produce Before Long-Term Storage
You should wash your freshly harvested produce using cool water and a soft brush to remove dirt and bacteria that can cause spoilage.
Proper drying is essential—use clean towels or air-dry produce completely before storing to prevent moisture buildup.
Store your prepped produce in ideal conditions with correct temperature and humidity levels to maximize shelf life.
Washing Techniques For Longevity
Cleaning your freshly harvested produce properly can greatly extend its shelf life and prevent spoilage during storage. You’ll want to handle each item carefully to maintain quality.
- Use cold running water – Rinse produce under gentle, cold water flow to remove dirt and bacteria without damaging delicate skins.
- Scrub firm items – Gently scrub root vegetables and sturdy fruits with a clean brush to eliminate stubborn debris from crevices.
- Remove damaged parts – Cut away any bruised or soft spots immediately, as these areas spoil quickly and spread decay.
- Separate leafy greens – Wash leaves individually under cool water, removing any wilted or yellowing sections before storing.
These simple steps guarantee your harvest stays fresh longer.
You’re creating ideal conditions for extended storage while maintaining nutritional value. Proper washing prevents mold growth and keeps your produce looking vibrant.
Take time to clean each item thoroughly – your future self will appreciate the extra effort when enjoying garden-fresh flavors months later.
Proper Drying Methods
Moisture is the enemy of long-term produce storage, so removing excess water after washing becomes essential for preventing mold and bacterial growth. You should pat produce dry with clean towels or paper towels immediately after washing.
For leafy greens, use a salad spinner to remove water efficiently. Shake root vegetables gently and let them air dry for a few minutes. Don’t skip this step, even for items you plan to use soon. Excess moisture creates perfect conditions for spoilage organisms.
Lay produce on clean surfaces while drying, and work quickly to minimize exposure time. Check that all surfaces feel dry to touch before moving to storage preparation. Proper drying extends shelf life considerably.
Optimal Storage Conditions
Before storing produce for extended periods, properly cleaning and preparing vegetables and fruits becomes essential for maximizing their longevity. You’ll want to handle each item carefully to prevent bruising and maintain freshness.
- Wash gently – Use cool water and soft brushes to remove dirt without damaging skins or creating cuts that invite spoilage.
- Dry thoroughly – Moisture accelerates decay, so pat produce dry with clean towels or let air dry completely before storage.
- Remove damaged pieces – Cut away soft spots, bruises, or moldy sections that could spread to nearby healthy produce.
- Store in proper containers – Use breathable bags, perforated plastic, or ventilated bins rather than airtight containers that trap moisture.
Which Veggies Belong in the Fridge?
Why do some vegetables thrive in the refrigerator while others deteriorate quickly in the same environment? You need to understand that cold-sensitive crops like tomatoes, cucumbers, and peppers suffer from chilling injury below 50°F.
Store these at room temperature instead.
Leafy greens, broccoli, and carrots love refrigerator conditions between 32-40°F. These vegetables maintain crispness and nutritional value when chilled properly.
Herbs like cilantro and parsley also benefit from cool storage.
Don’t refrigerate onions, garlic, or potatoes – they develop off-flavors and textures.
Keep them in cool, dark pantry spaces.
Remember that ethylene-producing fruits like apples accelerate ripening in nearby vegetables, so store them separately.
You’re creating ideal conditions when you match each vegetable’s natural storage preferences.
Store Root Crops and Winter Produce Properly
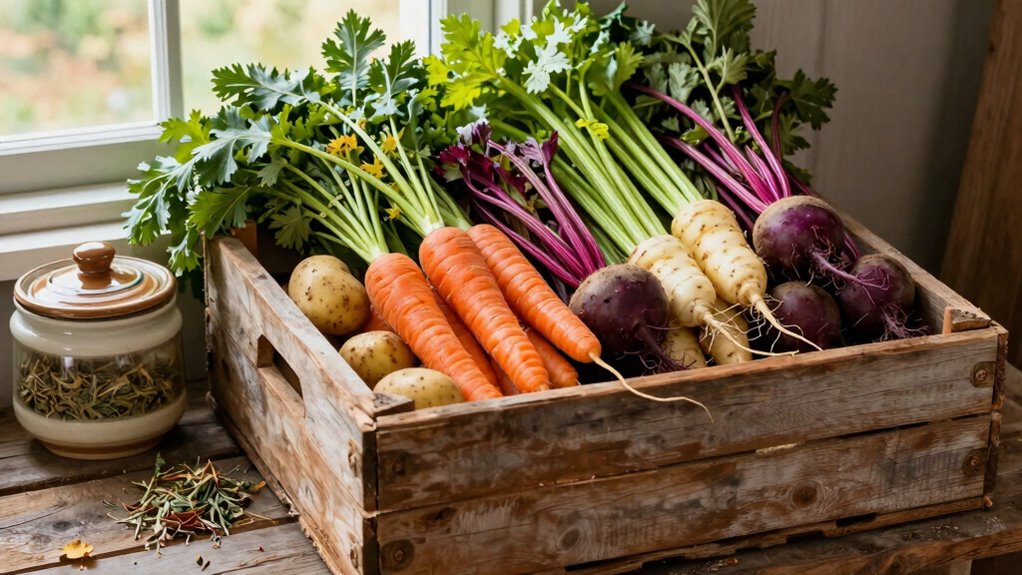
Root vegetables like carrots, beets, and parsnips store best in cool, humid environments where you can preserve their crisp texture and sweet flavor for months.
- Clean and dry your root crops thoroughly before storage to prevent mold and rot from developing during winter months.
- Remove green tops immediately after harvest since they draw moisture and nutrients away from the edible roots.
- Store in layers using sand, sawdust, or peat moss in wooden crates or bins to maintain consistent humidity levels.
- Check regularly for soft spots or sprouting, removing damaged vegetables quickly to protect neighboring crops.
Keep storage temperatures between 32-40°F with 90-95% humidity for ideal results.
Preserve Garden Herbs to Last All Year
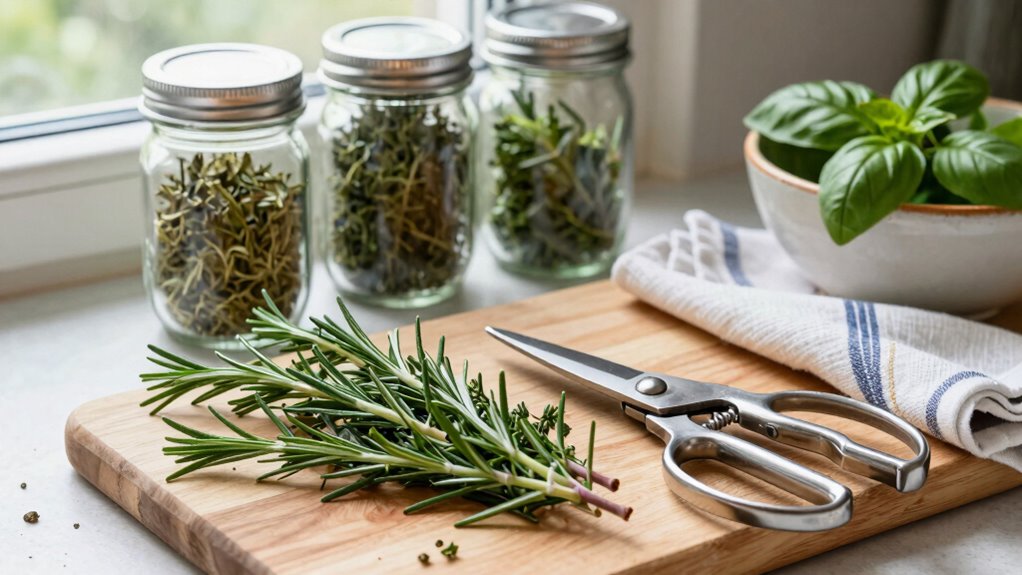
Although fresh herbs add incredible flavor to your meals, they don’t last long after harvest. You can preserve them easily through drying.
Cut herbs early morning after dew dries but before sun gets too hot. Remove flowers and damaged leaves. Tie small bunches with string and hang upside down in warm, dry, well-ventilated area away from direct sunlight.
Alternatively, spread leaves on baking sheet in single layer. Check regularly and remove any that look moldy. Drying takes one to two weeks depending on humidity.
Store dried herbs in airtight containers away from heat and light. Label containers with dates. Properly dried herbs retain flavor for up to one year.
You’ll save money and always have fresh-tasting herbs ready for cooking.
Freeze Garden Produce Like a Pro
Freezing garden produce lets you enjoy summer’s bounty all year long.
You’ll preserve nutrients and flavors while extending your harvest season markedly.
- Blanch vegetables first – Drop produce in boiling water for 2-3 minutes, then plunge into ice water to stop cooking and preserve texture.
- Use proper packaging – Store items in airtight containers or freezer bags, removing excess air to prevent freezer burn and maintain quality.
- Label everything – Mark containers with contents and dates so you’ll know what’s inside and when you froze it.
- Freeze in portions – Package produce in meal-sized amounts for easy thawing and to avoid waste when you’re ready to cook.
Avoid These Harvest Storage Mistakes
When you store fresh produce improperly, you’ll waste food and money while missing out on perfect flavor and nutrition.
Don’t mix ethylene-producing fruits like apples and bananas with ethylene-sensitive vegetables like leafy greens.
Store potatoes and onions separately since they’ll spoil faster together.
Avoid washing produce before storage – excess moisture promotes mold growth.
Don’t crowd your storage containers; poor air circulation leads to faster decay.
Keep tomatoes at room temperature, not in the refrigerator where they’ll lose flavor.
Don’t store herbs near ripening fruits that release ethylene gas.
Maintain proper humidity levels – too dry or too moist environments damage different produce types.
Check your storage areas regularly for temperature fluctuations.
Remember that different crops need specific conditions for best preservation.
Tell When Your Stored Crops Have Spoiled
How do you know if your stored crops have gone bad? You don’t want to waste food or risk getting sick, so recognizing spoilage signs early helps you and your family stay healthy while making the most of your harvest.
- Check for mold growth – Look for fuzzy spots, discoloration, or white patches that weren’t there before.
- Smell your produce – Trust your nose; spoiled crops often develop sour, rotten, or off-putting odors.
- Feel for texture changes – Soft spots, sliminess, or unusual firmness indicate deterioration.
- Watch for color changes – Unexpected darkening, yellowing, or browning means your crops are past their prime.
Regular inspection keeps your stored produce fresh longer.
Conclusion
You’ve learned the secrets to harvesting and storing fresh produce like a pro. Remember, timing is everything – pick at peak ripeness, handle with care, and store properly. Don’t let your hard work go to waste by skipping these essential steps. Your garden’s bounty should be the apple of your eye, not a forgotten afterthought. Keep these tips close, and you’ll enjoy garden-fresh flavor long after harvest season ends.
