

You should always respect the blade, maintain proper setup, and follow safety protocols when operating a table saw. Kickback happens fast and can cause serious injury, but it doesn’t have to catch you off guard. Understanding what causes this dangerous phenomenon is your first step toward preventing it. You’ll discover the critical adjustments and techniques that keep you safe while cutting.
What Causes Table Saw Kickback?
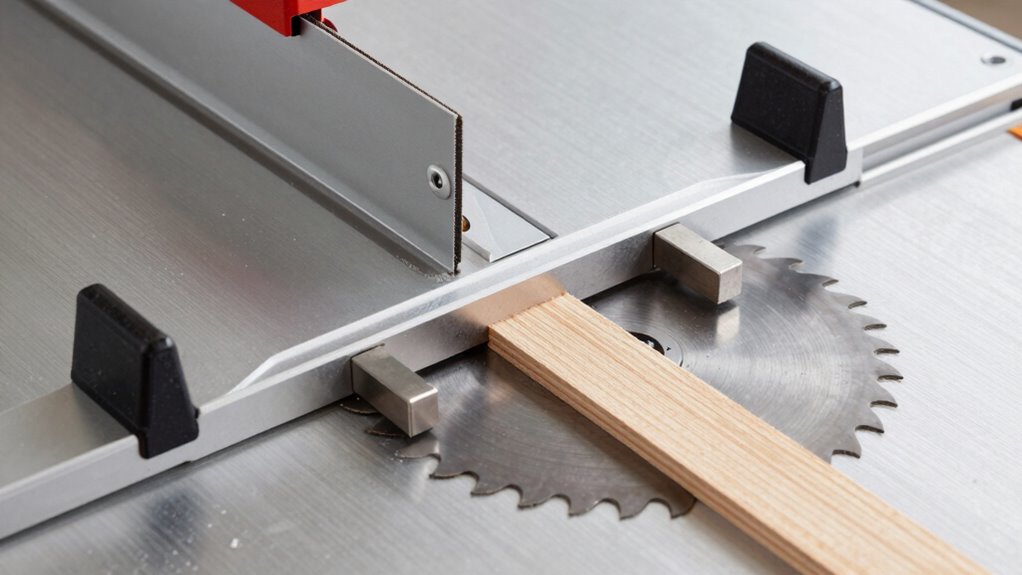
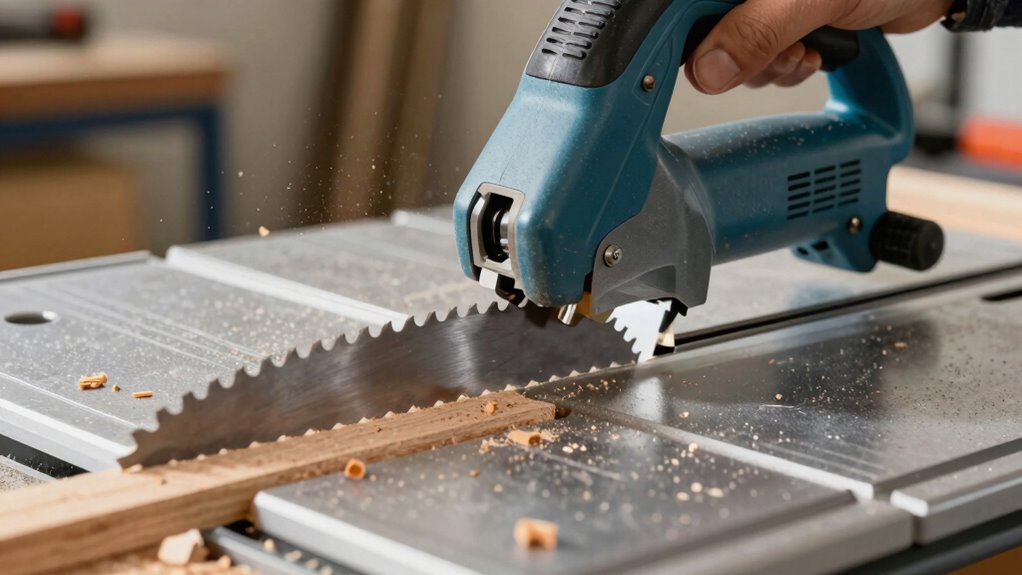
Kickback happens when the saw blade grabs the wood and violently throws it back toward you. You’ll experience this dangerous situation when the blade’s teeth catch the material unexpectedly.
Several factors cause this hazardous condition that every woodworker should understand.
Blade height matters greatly. When your blade extends too far above the wood, it increases the risk of catching and throwing material back.
Dull or damaged blades also contribute to kickback because they don’t cut cleanly through wood fibers.
Incorrect feed direction creates problems too. You must always push wood into the blade’s rotation, never against it.
Crosscutting without proper support causes unstable material movement that leads to kickback situations you want to avoid.
Use Your Riving Knife Correctly
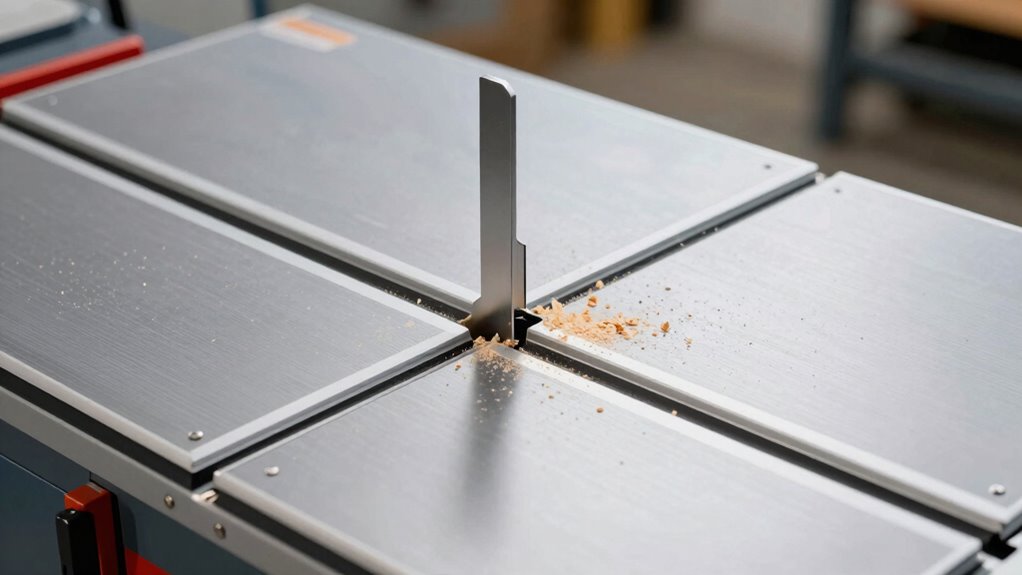
Your riving knife should sit directly behind the blade to prevent dangerous kickback incidents. This vital safety feature maintains proper alignment between the blade and the wood as it passes through the cut.
You must guarantee the riving knife remains properly installed and adjusted at all times during operation. The knife should move up and down with the blade when you adjust the cutting depth. Check that it sits parallel to the blade and maintains consistent distance throughout the cut.
Never remove or disable this safety mechanism, even for seemingly simple cuts. Keep the riving knife clean and free from debris that might interfere with its function. Remember, this device works continuously to protect you from serious injury.
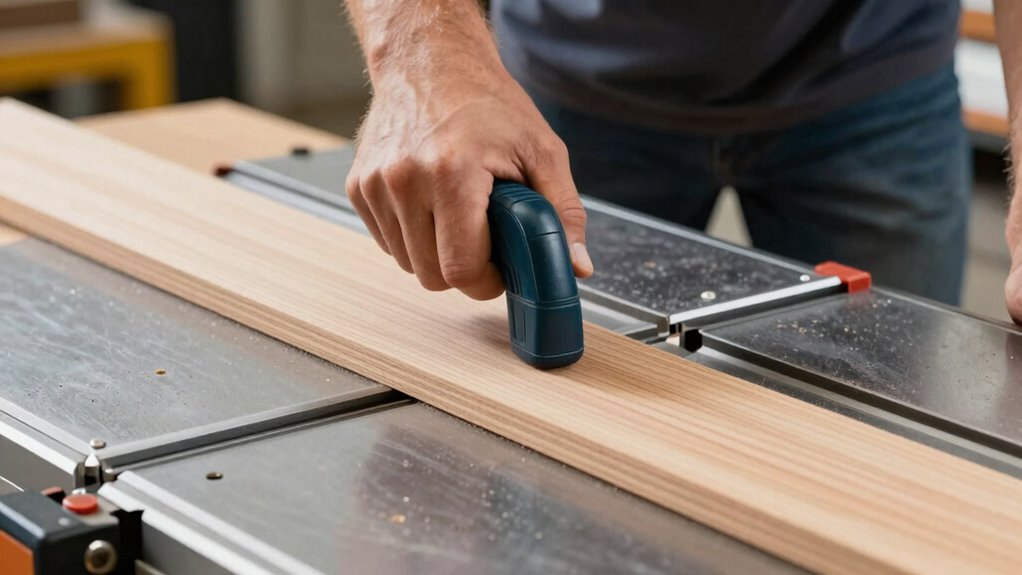
Always Reach With a Push Stick
You must always use a push stick to maintain proper control over your workpiece and keep your hands safely away from the blade.
Keep the push stick firmly against the wood as you guide it through the cut, ensuring you never reach around or over the blade.
Your push stick becomes the extension of your arm, letting you control wood movement while staying at a safe distance from the cutting edge.
Proper Push Stick Usage
When operating a table saw, always reach with a push stick to maintain proper hand positioning and prevent dangerous kickback incidents.
You must grip the push stick firmly with your dominant hand while keeping your fingers away from the blade edge.
Position the stick’s hook end securely against the workpiece, maintaining constant contact throughout the cut. Your push stick becomes an extension of your arm, allowing you to guide material safely without risking finger contact.
Never attempt to push material by hand once the cut begins – the push stick remains your primary safety tool. Keep extra push sticks nearby for immediate access.
You should never feel tempted to rush or take shortcuts with push stick usage. Proper technique keeps you protected and prevents costly accidents.
Maintaining Safe Distance
Safe distance from the blade becomes vital once you’ve established proper push stick technique. You must keep your hands at least six inches away from the cutting edge at all times. This creates a safety buffer that prevents accidental contact with the blade.
Your push stick extends your reach effectively while maintaining this vital distance. Never attempt to guide wood with your hands when you can reach the blade’s path. Position yourself so you’re always behind the cutting line.
Keep your body weight balanced and avoid leaning over the blade. These positioning habits become second nature with practice. You’ll develop muscle memory that keeps you safe automatically.
Remember that maintaining distance isn’t optional—it’s essential for preventing serious injury. Your push stick is your lifeline, but only when you use it correctly while staying back from danger zones.
Controlling Wood Movement
Control becomes paramount when managing wood movement during table saw operations.
You must always use a push stick to maintain control and keep your hands safely away from the blade. Don’t reach over or around the wood while cutting. Instead, position yourself properly and let the push stick do the work.
Keep constant pressure on the wood to prevent it from shifting or binding against the blade. Your push stick becomes your lifeline, giving you precise control over the cut. Never attempt to steady slipping wood with your hands.
Maintain firm, steady pressure throughout the entire cut. Stop immediately if you feel resistance or notice the wood starting to bind.
You’re not just protecting yourself; you’re demonstrating responsible woodworking that every craftsman should practice.
Set Up Your Table Saw Safely
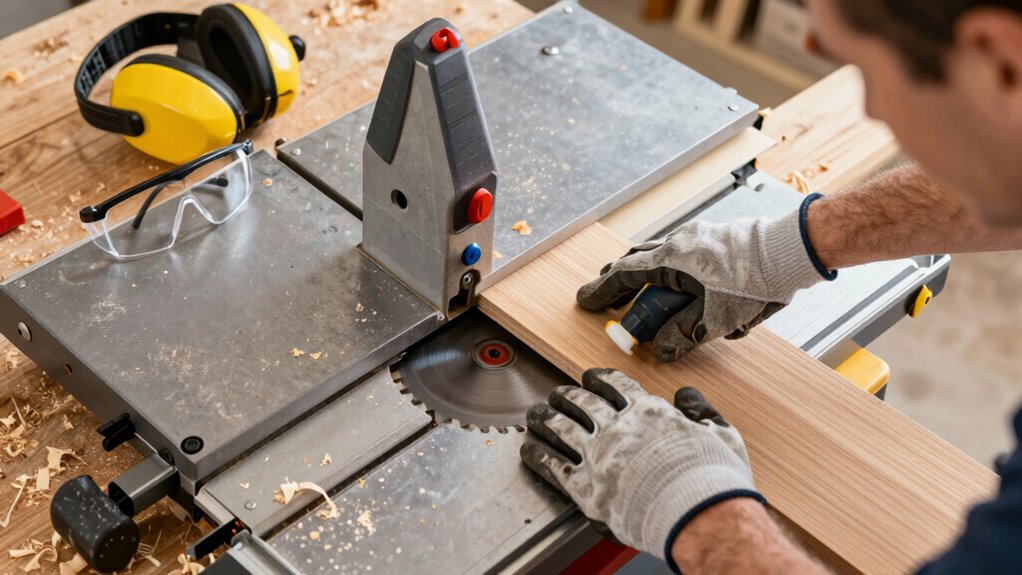
Proper table saw setup requires several critical safety measures that you must implement before making any cuts.
You need to position your saw on stable, level ground away from high-traffic areas. Check that all guards and safety devices function correctly before powering on. Ascertain adequate lighting illuminates your work area completely. Keep your workspace clean and free from clutter that could cause accidents. Verify your blade is sharp and properly secured.
Always wear safety glasses and hearing protection. Position yourself so you maintain three points of contact when adjusting settings. Never rush setup procedures or skip safety checks.
These precautions protect not just you, but everyone working nearby. Taking time for proper setup demonstrates respect for your craft and fellow woodworkers who share this workspace with you.
Adjust Blade Height to Reduce Risk
You must adjust your blade height correctly to minimize kickback risks.
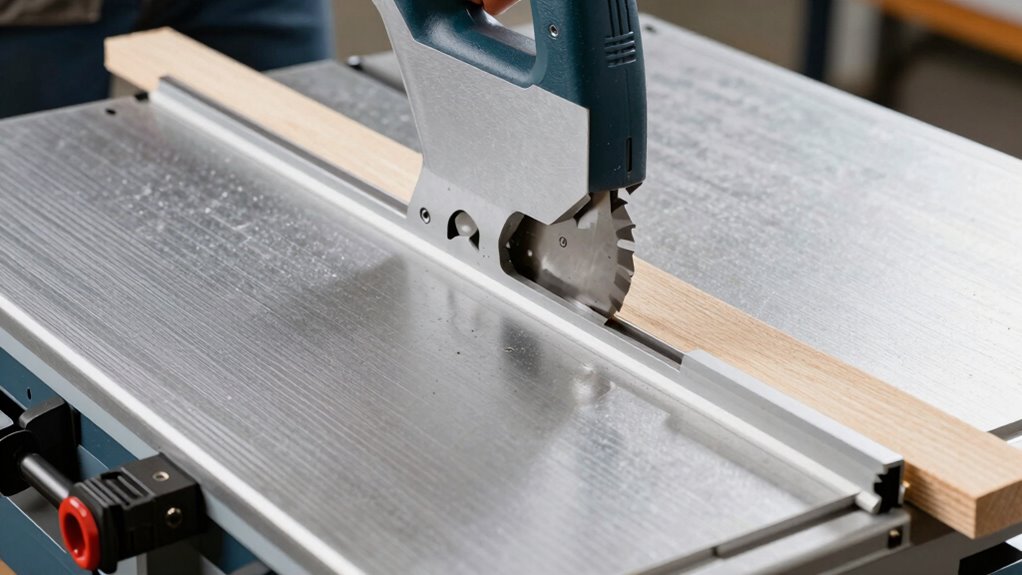
Set the blade so it extends only about 1/4 inch above your workpiece for maximum cutting depth.
Proper blade alignment guarantees clean cuts while reducing the chance of wood binding or jerking during operation.
Proper Blade Alignment
When adjusting your table saw’s blade height, keep the blade just high enough to complete the cut cleanly. You should only expose the minimum amount of blade necessary for your material’s thickness. This reduces the risk of kickback considerably.
Check your blade alignment regularly. Misaligned blades create dangerous conditions that can throw your workpiece back at you. Use a reliable square to verify the blade’s perpendicular relationship with the table surface.
Don’t forget to align the miter slots and fence parallel to the blade. These components work together to guarantee safe, accurate cuts. Proper alignment prevents binding and wandering cuts that lead to kickback incidents.
Your safety depends on these precise adjustments. Take time to get it right every time.
Optimal Cutting Depth Settings
While proper blade height adjustment seems simple, it directly impacts your table saw’s safety and performance.
You should set the blade height so only about one-quarter inch extends above your workpiece. This minimizes tear-out and reduces kickback risk considerably.
When you position the blade too high, you create more surface area for wood to catch and bind against. This increases dangerous kickback potential.
Keep your cuts clean and controlled by maintaining proper depth settings.
Adjust your blade height before each cut. Most table saws feature quick-adjustment mechanisms making this easy.
You’ll notice immediate improvements in cut quality and reduced noise when you get this right.
Install a Splitter to Prevent Pinch

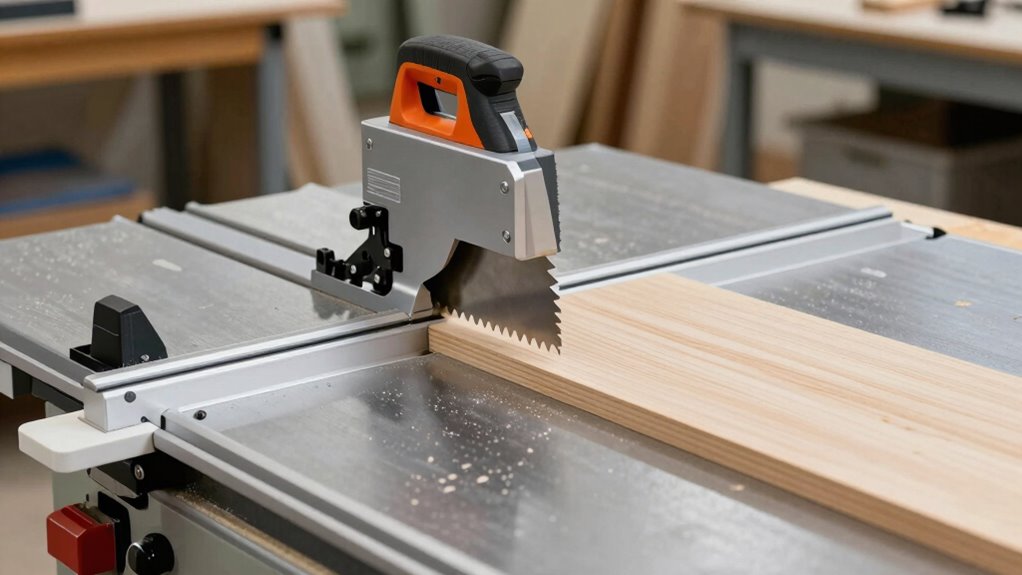
A splitter installed behind the blade prevents wood from pinching closed during cuts. You’ll notice how it maintains consistent spacing between the cut pieces, eliminating dangerous pinch points that cause kickback. This simple device matches your blade’s kerf width precisely, ensuring smooth wood passage.
Install the splitter directly behind your blade, making sure it aligns perfectly with the cutting line. Adjust the height so it sits slightly above the wood surface. You’ll feel more confident knowing the splitter catches any closing gaps before they become problems.
Don’t skip this vital safety step. Your splitter becomes your constant companion against unexpected wood movement. Tighten all mounting bolts securely and check alignment regularly.
You’re not just preventing accidents; you’re taking control of your workspace safety.
Cut Wet Wood Safely
Although wet wood presents unique challenges during cutting, you can minimize risks by adjusting your technique and equipment setup. Wet lumber creates slippery conditions and increases binding potential, demanding extra caution.
- Slow your feed rate to allow proper chip evacuation and reduce heat buildup.
- Use a sharp blade designed for wet materials to prevent tearing and binding.
- Keep your workspace dry by using absorbent mats and positioning fans for air circulation.
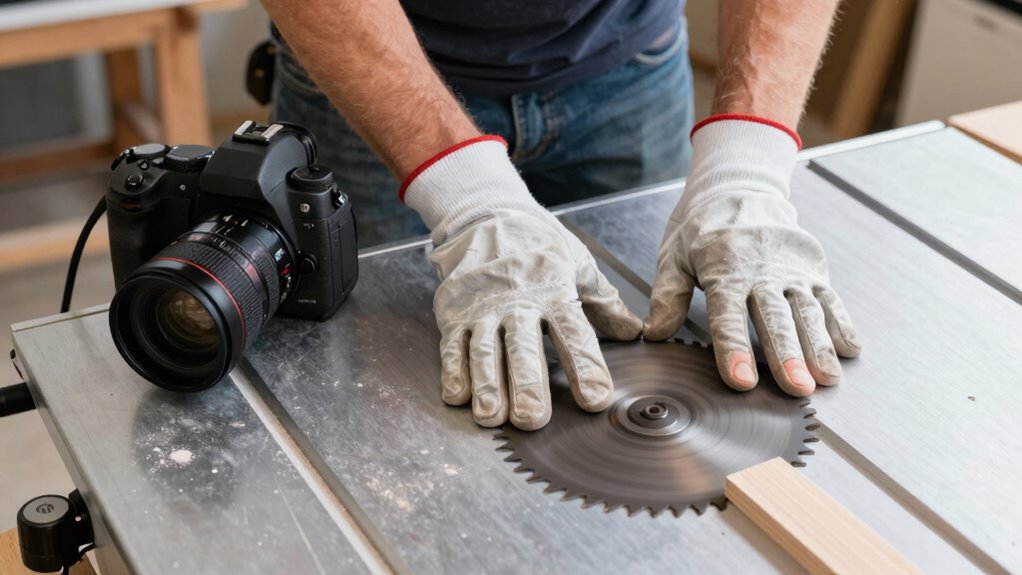
- Wear grip gloves to maintain control when handling slippery wet wood surfaces.
- Check blade alignment frequently since moisture can affect your table saw’s precision.
These adjustments help you work confidently with wet lumber while maintaining safety standards.
Remember that patience and proper preparation are essential when cutting any wet material. Your careful approach protects both your project quality and personal safety.
Use Fence Without Pinch Points
After addressing the challenges of cutting wet wood, you’ll want to focus on proper fence setup to prevent dangerous pinch points during table saw operations.
Position your fence parallel to the blade and maintain consistent distance throughout the cut. Avoid angling the fence toward the blade, which creates narrowing gaps that trap wood and cause kickback. Keep your fence perfectly aligned with the miter slot for smooth, controlled cuts.
You should always check fence adjustment before each use. Make sure there’s adequate clearance between the blade and fence. Don’t rely on memory or assumptions.
Proper fence setup eliminates pinch points that lead to dangerous kickback situations. You’re protecting yourself and your workspace by maintaining precise fence alignment and consistent blade-to-fence relationships during every cutting operation.
Avoid These Common Mistakes
Several mistakes can turn your table saw into a dangerous tool, so recognizing and avoiding these common errors is essential for safe operation. You need to stay alert and focused while cutting.
- Don’t remove the blade guard or safety equipment.
- Avoid forcing wood through the blade too quickly.
- Never make freehand cuts without proper support.
- Don’t ignore worn or dull blades that cause binding.
- Avoid cutting wet or warped wood that creates unpredictable movement.
These errors compromise your safety and increase kickback risk. You belong in the community of woodworkers who prioritize safety protocols.
Your attention to detail protects not just yourself, but everyone working nearby. Remember that proper technique and respect for the tool are what separate experienced craftsmen from dangerous amateurs.
Stay vigilant.
Prevent Crosscutting Kickback
You must guarantee your blade alignment stays precise to prevent crosscutting kickback.
Always use anti-kickback devices when making crosscuts to maintain control over your workpiece.
These two practices form the foundation of safe crosscutting operations on table saws.
Proper Blade Alignment
When you align your table saw blade properly, you greatly reduce the risk of dangerous crosscutting kickback that can send wood flying back toward you.
Proper alignment guarantees clean, controlled cuts while keeping you safe.
Check these five essential alignment points:
- Adjust the blade parallel to the miter slot for straight cuts
- Set blade height so only one inch extends above the workpiece
- Verify the blade isn’t tilted when making crosscuts
- Make sure your fence runs parallel to the blade
- Test alignment with a reliable square before cutting
Taking time to align your blade correctly makes you part of the professional woodworker community who prioritizes safety and precision.
Don’t skip this vital setup step.
Use Anti-Kickback Devices
Anti-kickback devices substantially reduce the risk of dangerous crosscutting kickback that can injure woodworkers and damage projects.
You should install riving knives or splitter wedges behind your blade to maintain consistent blade alignment. These devices prevent wood from pinching the blade during cutting.
Featherboards work equally well by holding stock firmly against the fence and table surface. You’ll find that anti-kickback pawls catch suddenly ejected material before it reaches you.
Don’t skip using these essential safety features, even for quick cuts. Professional woodworkers rely on them consistently.
Your table saw likely came with basic anti-kickback equipment, but you should verify proper installation and adjustment. Regular maintenance guarantees these devices function correctly when you need them most.
Keep Blades Sharp, Setup Clean
Maintain sharp blades and clean setup to prevent dangerous kickback incidents. Dull blades cause wood to bind and kick back violently. You need to inspect your blade regularly and replace it when cuts become rough or burning occurs.
Keep your table saw clean and free of debris that can interfere with smooth cutting. Proper blade alignment and parallelism to the miter slots guarantees accurate cuts. Regular maintenance prevents costly accidents and keeps you cutting safely.
- Check blade sharpness before each cutting session
- Clean saw table and remove all sawdust buildup
- Align blade parallel to miter slots precisely
- Replace dull blades immediately when performance drops
- Wipe down surfaces after every use to prevent debris accumulation
Stop Kickback Before It Starts
You can prevent dangerous kickback incidents by recognizing the warning signs before they escalate into serious problems. Pay attention when wood starts grabbing or burning during cuts. Listen for unusual noises or vibrations that signal binding. Feel for resistance against your push sticks or hands. These early indicators mean something’s wrong.
Don’t ignore these signals. Stop cutting immediately when you notice problems. Check your blade alignment, fence settings, and wood condition. Clear any debris that might cause binding. Adjust your cutting technique or equipment setup before continuing.
Smart woodworkers develop instincts for recognizing these warning signs. You’ll gain confidence and respect from fellow craftsmen when you demonstrate this awareness.
Prevention beats dealing with dangerous kickback after it happens.
Make Long Board Cuts Safely
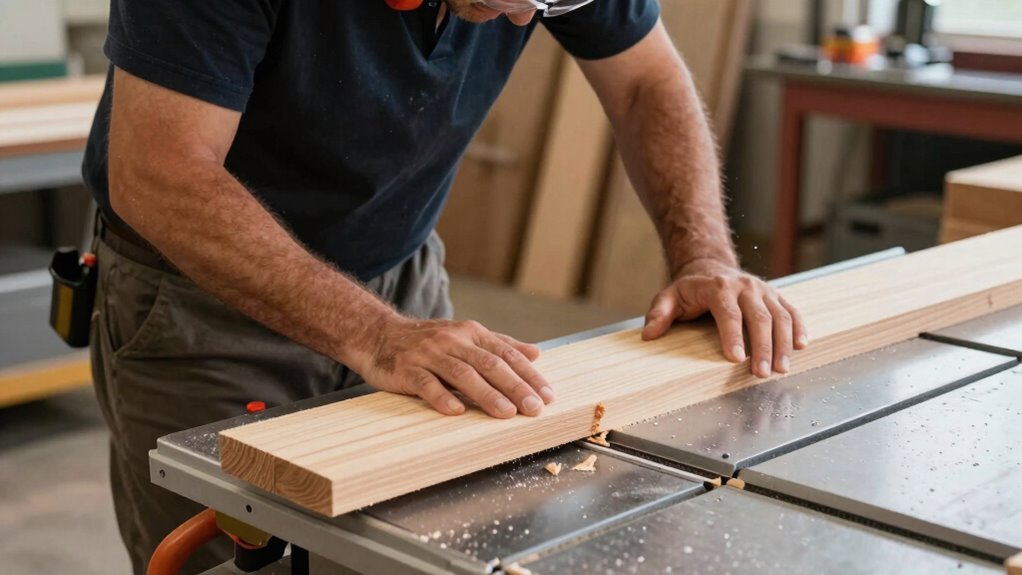
When cutting long boards on your table saw, keep your focus sharp and your technique steady. Long cuts demand extra attention because they increase kickback risks greatly.
- Use featherboards – They maintain consistent pressure against the fence and prevent board wandering during cuts.
- Support both ends – Letting boards sag creates dangerous binding situations and inaccurate cuts.
- Follow through completely – Don’t rush the cut; maintain steady feed rate from start to finish.
- Check blade alignment – Misaligned blades cause binding and increase kickback likelihood considerably.
- Wear proper safety gear – Safety glasses and hearing protection aren’t optional when making extended cuts.
These practices protect you while ensuring clean, accurate results every time.
Conclusion
You think table saws are just about cutting wood? Think again. Every fraction of an inch matters when it comes to blade height, alignment, and your grip. Don’t let that innocent-looking machine turn into a dangerous projectile launcher. Keep blades sharp, use proper tools, and maintain strict setup discipline. Your fingers aren’t replaceable spare parts – prevent kickback before it transforms your project into a trip to the emergency room. Stay safe, stay precise.
