

You probably don’t think about your lawn tools until they start tearing instead of cutting. Dull blades make your yard work harder and can even stress your grass. Before you call a professional or buy new tools, consider how a few minutes with simple supplies can restore their edge. You’ll save money and get better results with less effort. Let’s look at how you can do it yourself—safely and effectively.
Why Sharp Lawn Tools Make a Healthier Yard
When you use sharp lawn tools, you’re not just making your job easier—you’re actually promoting healthier grass growth. Sharp blades slice through grass cleanly, minimizing tissue damage that invites disease.
Dull tools tear and crush stems, creating ragged edges that stress your lawn and provide entry points for pathogens. You’ll notice your grass recovers faster after mowing when blades are sharp, maintaining its vibrant color and density.
Clean cuts also reduce water loss from damaged tissues, helping your lawn retain moisture during hot weather.
Your neighbors will envy your yard’s appearance when you maintain properly sharpened tools. Regular sharpening prevents grass from turning brown or developing unsightly patches.
You’re investing in your lawn’s long-term health while reducing the physical effort required for maintenance tasks.
What You Need to Sharpen Tools Safely at Home
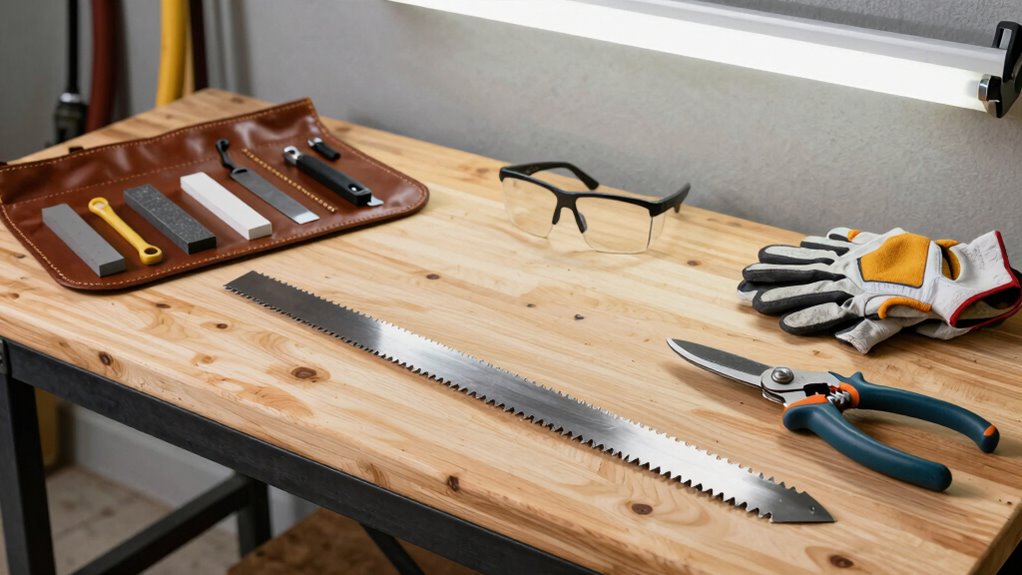
You’ll need specific safety equipment and proper materials before sharpening your lawn tools at home.
Essential gear includes safety glasses, work gloves, and a stable work surface to prevent accidents during the sharpening process.
Having the right equipment guarantees you can maintain your tools effectively while protecting yourself from injury.
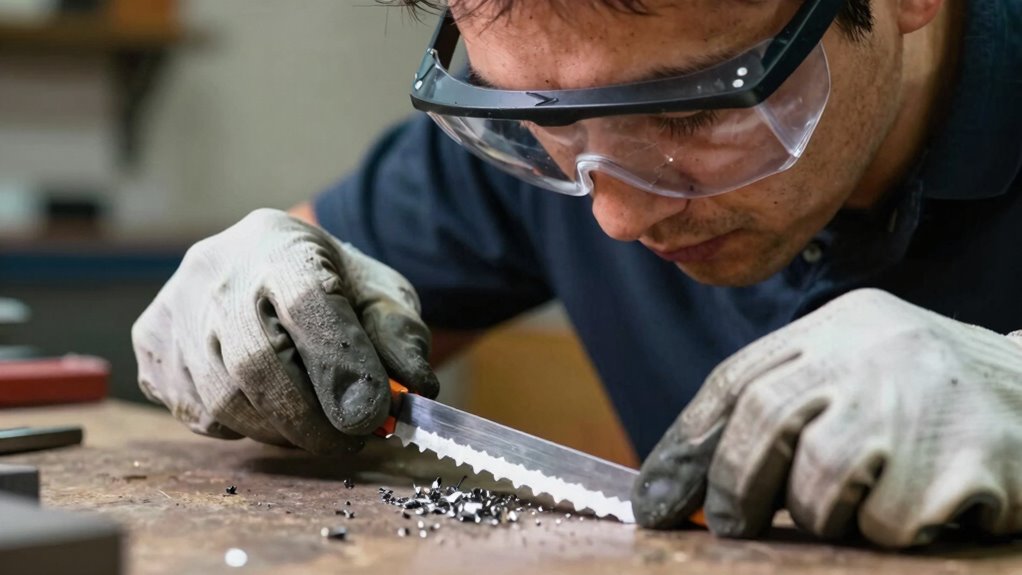
Essential Safety Gear for Tool Sharpening
Safety glasses protect your eyes from flying metal shavings and debris when sharpening lawn tools.
You should always wear impact-resistant goggles or safety glasses with side shields.
Work gloves prevent cuts and abrasions while handling sharp tools and grinding wheels. Choose leather or heavy-duty fabric gloves with reinforced palms.
Steel-toed boots protect your feet from accidental drops or tool slips during sharpening sessions.
Ear protection becomes essential when using power grinders or angle grinders for extended periods. Foam earplugs or over-ear mufflers reduce harmful noise exposure effectively.
Verify your workspace has adequate ventilation to prevent inhaling metal particles and dust.
A dust mask or respirator protects your lungs from harmful debris.
Keep a first aid kit nearby containing bandages, antiseptic, and emergency supplies.
You need fire extinguisher access when working with power tools near flammable materials.
Proper Equipment and Materials Needed
Several key pieces of equipment guarantee effective and safe sharpening of your lawn tools at home.
You’ll need a bench grinder or hand file for removing dull edges, depending on your tool type. A honing stone helps refine the cutting edge to razor-sharp precision.
Don’t forget wire brushes for cleaning rust and debris before sharpening begins. Lubricating oil or WD-40 prevents overheating during grinding while protecting metal surfaces.
Safety glasses and work gloves protect you throughout the process. Keep a damp cloth nearby to wipe metal shavings away.
Store your tools properly after sharpening using protective sheaths or blade guards.
These materials verify you’ll achieve professional results while maintaining safety standards every time you sharpen lawn tools at home.
How to Tell if Your Tools Need Sharpening Fast

You can quickly identify dull lawn tools by examining the blade edges for nicks, burrs, or rounded surfaces during visual inspection.
Test your tools’ cutting performance by slicing through a piece of paper or thin cardboard – sharp blades should cut cleanly without tearing.
Establishing a regular maintenance schedule helps you catch dullness early before it affects your lawn’s health and your tool’s efficiency.
Visual Inspection Signs
Dull lawn tools don’t just make your work harder—they compromise the health of your grass and plants.
You can quickly identify sharpening needs through careful visual inspection. Examine cutting edges for nicks, burrs, or rounded surfaces instead of clean, straight lines. Look for shiny, reflective spots along blade edges where metal has been worn away. Check for rust stains or corrosion that indicate deteriorated cutting surfaces. Bent or warped blades also signal potential dullness.
Inspect handles for cracks or loose fittings that affect cutting efficiency. Proper maintenance prevents these issues, ensuring clean cuts that promote healthy grass growth. Regular visual checks help you maintain professional-quality tools that deliver precise results every time.
Performance Testing Methods
A quick performance test can reveal whether your lawn tools need immediate sharpening. Grab a piece of paper and try cutting it with your mower blade or shears. If the tool tears or crushes rather than making clean cuts, it’s time for sharpening.
Test your lawnmower by mowing a small patch of grass. Notice if the blades rip the grass instead of slicing cleanly through stems. Dull tools leave jagged edges that turn brown quickly.
Check your hedge trimmers by cutting through thin branches. They should slice through smoothly without requiring excessive pressure. If you’re forcing the tool or seeing torn plant material, don’t wait any longer. Your tools need attention now.
These simple tests help you identify problems before they damage your lawn or garden.
Regular Maintenance Schedule
Regular maintenance prevents minor dullness from becoming major cutting problems. You should inspect your lawn tools before each use, looking for nicks, burrs, or visible wear on cutting edges.
Test blade sharpness by running your finger along the edge – dull tools feel smooth rather than slightly rough. Mower blades need checking every 10-15 hours of operation. Hedge trimmers and shears require monthly inspections during peak growing season. Pruning tools should be examined weekly when actively used.
Visual cues include grass tearing instead of cutting cleanly, increased cutting effort, and uneven trimming results. Don’t wait until tools completely fail – address minor dullness immediately.
Keep a sharpening schedule that matches your usage patterns. Professional results come from consistent attention, not sporadic fixes. Your tools – and your lawn – deserve better.
Sharpen Mower Blades Safely – Step by Step
Sharpening mower blades requires careful attention to safety protocols and proper technique to achieve ideal results.
You’ll need safety glasses, work gloves, a wrench, file, and wire brush. Disconnect the spark plug before starting. Remove the blade using the wrench, marking its original position.
Secure the blade in a vise and clean it thoroughly. File the cutting edge at the same angle as the original bevel, maintaining consistent pressure. Work from the blade’s center outward, following the existing edge pattern.
Check for balance by hanging the blade on a nail. If it tilts, file the heavier side lightly.
A sharp blade guarantees clean cuts, reduces engine strain, and promotes healthy grass growth while extending your mower’s lifespan.
Can You Sharpen Tools Without Taking Them Off?
You can sharpen many lawn tools without removing them from their mounting points, which saves time and effort during routine maintenance.
Quick fix methods like using a handheld file or sharpening stone allow you to restore blade edges while they remain attached to the mower deck or handle.
These techniques work best for minor dulling and provide a temporary solution until you can perform a more thorough sharpening session.
Yes, You Can Sharpen Tools Without Removing Them
Many homeowners wonder whether it’s possible to maintain their lawn tools’ cutting edges without the hassle of removing them from their handles or mounts. You can absolutely sharpen tools while they remain attached, saving time and effort.
Use a handheld file or sharpening stone to work along the blade’s edge at the proper angle. For hedge shears and pruning shears, position your sharpening tool at the same angle as the existing bevel. Apply consistent pressure and make smooth, deliberate strokes.
This method works effectively for most garden tools, including lawnmower blades, though you’ll need to be more careful about maintaining balance.
You’re not alone in preferring this convenient approach – many experienced gardeners rely on it regularly.
Quick Fix Methods for Sharp Blades
While it’s often assumed that removing tools from their handles is necessary for proper sharpening, several quick fix methods allow you to restore blade edges without this step.
You can maintain sharp lawn tools efficiently using these targeted approaches that keep your equipment functional and safe.
- File Method: Use a mill bastard file at 45-degree angle, stroking away from cutting edge with consistent pressure.
- Sandpaper Technique: Wrap 80-grit sandpaper around wooden block, maintaining blade contact while moving in single direction.
- Grinder Wheel Approach: Position rotary tool with grinding wheel at blade bevel, applying light steady pressure across entire edge.
- Honing Stone Process: Glide oilstone along blade edge using circular motions, ensuring even metal removal across cutting surface.
These methods preserve tool integrity while delivering professional results.
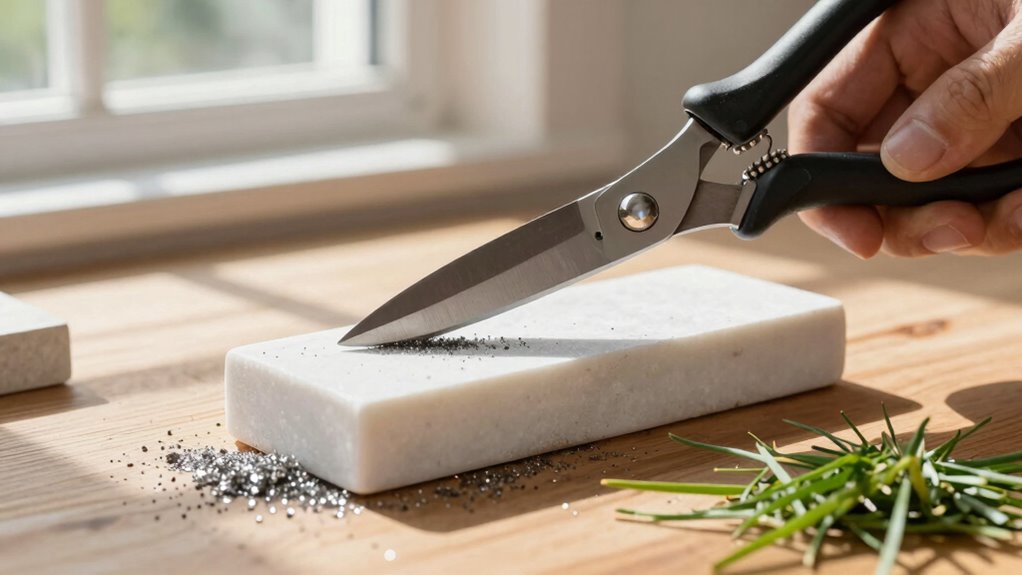
How to Sharpen Pruning Shears for Cleaner Cuts
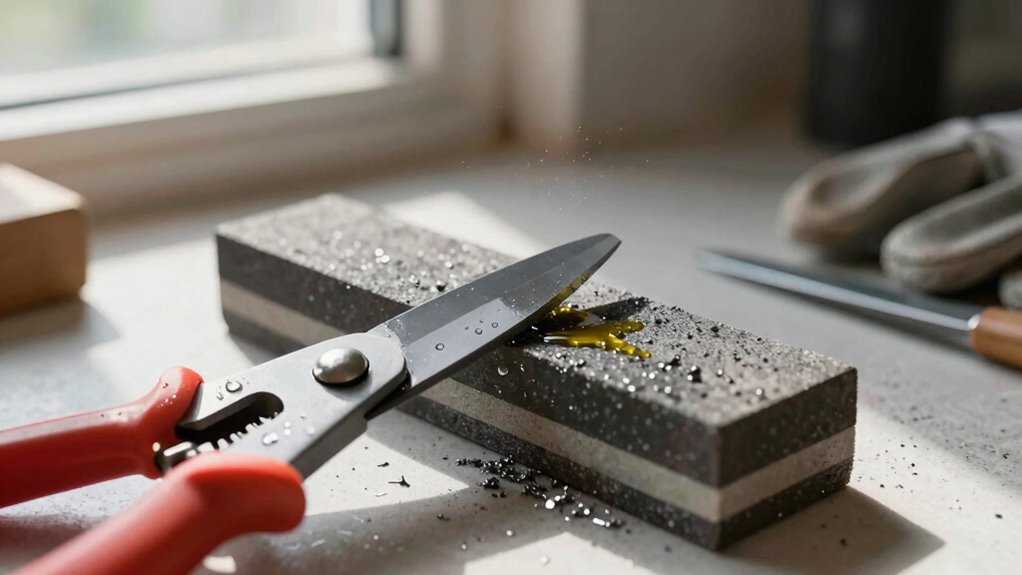
Because pruning shears with dull blades tear rather than slice through branches, they cause plant damage and make your work more difficult.
You’ll need a sharpening stone or fine-grit sandpaper for this task. Start by cleaning the blades thoroughly with rubbing alcohol to remove sap and debris.
Secure the shears in a vice or clamp them firmly. Hold your sharpening stone at a 20-degree angle against the cutting edge. Move the stone in one direction, following the blade’s curve from base to tip.
Maintain consistent pressure and angle throughout the stroke. Repeat this process ten to fifteen times until you achieve a sharp edge.
Wipe away metal shavings and test the sharpness on a small branch. Clean the blades again and apply light oil to prevent rust.
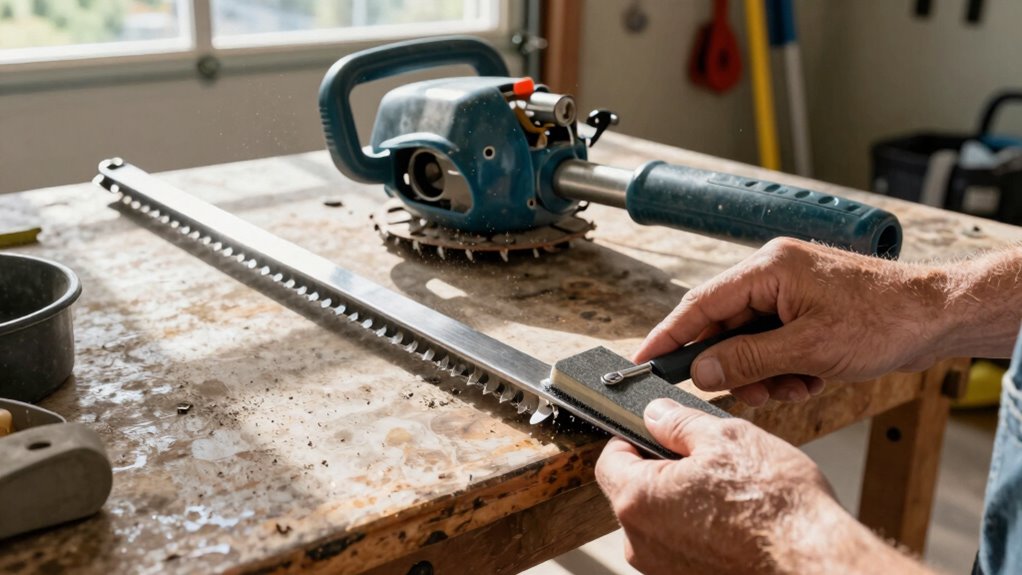
Best Way to Sharpen Hedge Trimmers Like a Pro

Although hedge trimmers with dull blades can make your landscaping work frustrating and imprecise, sharpening them properly will restore their cutting efficiency and extend their lifespan.
You’ll achieve professional results by following these essential steps:
- Clean debris from blades using a wire brush and solvent before sharpening
- Use a flat file or sharpening stone at the original blade angle for consistent edges
- Maintain even pressure while sharpening both top and bottom cutting edges
- Apply honing oil or lubricant during the process to prevent metal damage
Regular maintenance prevents excessive wear and keeps your tools performing like new.
You’ll notice cleaner cuts and reduced strain during use. Proper sharpening technique guarantees your hedge trimmers deliver precise results while building your confidence in DIY landscaping projects.
Fixing Up Edgers and String Trimmers Easily
You should regularly sharpen your edger blades to maintain clean cuts along walkways and garden borders.
Replace worn trimmer string when it becomes too thin or breaks frequently during use.
These simple maintenance tasks keep your tools working efficiently and extend their lifespan considerably.
Sharpening Edger Blades
When you notice your edger blades have become dull or nicked, it’s time to restore their cutting edge through proper sharpening techniques. You’ll need a file or sharpening stone to bring back that precise cutting performance.
- Assess the damage – Check for nicks, bends, or excessive wear that might require professional attention.
- Clean thoroughly – Remove grass buildup and debris that interferes with suitable sharpening results.
- Maintain original angle – Follow the blade’s existing bevel to preserve factory specifications accurately.
- Test incrementally – Check cutting effectiveness frequently during sharpening to avoid over-correction.
Keep consistent pressure while filing, working along the blade’s edge systematically.
Don’t rush this process – suitable sharpening guarantees clean cuts and prevents grass tearing.
Regular maintenance keeps your edger performing like new.
Replacing Trimmer String
Replace your trimmer string regularly to maintain peak cutting performance and prevent engine strain.
Start by turning off your trimmer and removing the spark plug for safety. Locate the trimmer head and press the tabs or twist counterclockwise to remove it.
Cut a new piece of string to about six feet long. Feed the string through the center hole and wind it clockwise around the spool, following the directional arrows. Leave six inches of string extending from each side.
Reattach the trimmer head securely by twisting clockwise or snapping it back into place. Pull the string ends to guarantee proper tension.
Reinstall the spark plug and test your trimmer to confirm smooth operation.
Using a File vs. Whetstone for Lawn Tools
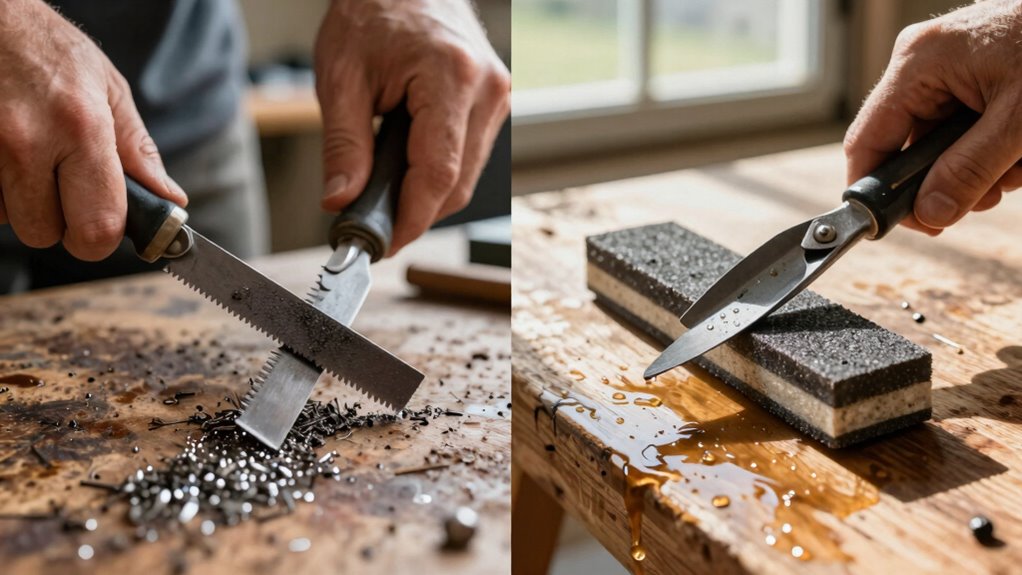
Why bother with traditional sharpening methods when modern lawn tool maintenance offers several effective approaches? You can choose between files and whetstones for sharpening your lawn tools effectively.
When deciding between these methods, consider these key factors:
- Precision: Files offer aggressive material removal for heavily damaged edges, while whetstones provide fine-tuning for razor-sharp finishes.
- Control: Whetstones give you more control over blade angles, creating consistent sharpening results across the entire cutting edge.
- Speed: Files remove metal faster, making them ideal for quick touch-ups, whereas whetstones require patience but deliver superior sharpness.
- Tool longevity: Whetstone sharpening preserves blade life better by removing minimal material while maintaining ideal cutting performance.
Choose files for emergency repairs and whetstones for regular maintenance.
Keep It Clean – Remove Rust Before Sharpening
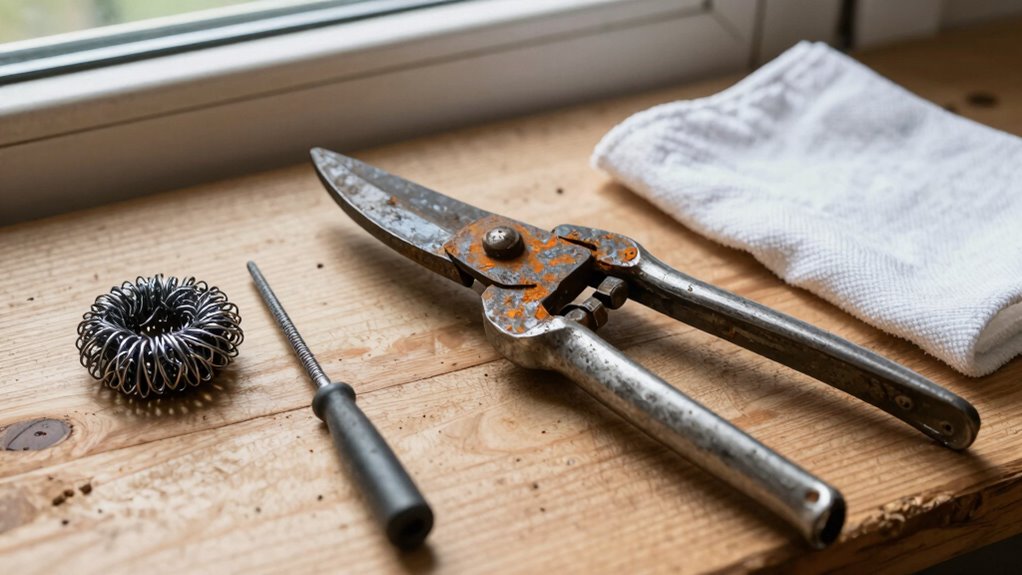
Sharpening tools with files or whetstones becomes far more effective once you address surface contaminants first. Remove rust, dirt, and debris before sharpening for better results.
Use a wire brush or sandpaper to scrub away rust spots thoroughly. Clean the entire blade surface, paying extra attention to areas with visible corrosion. Wipe down tools with a damp cloth to eliminate loose particles.
Apply penetrating oil to stubborn rust areas and let sit briefly before scrubbing. Ascertain all surfaces are completely dry before proceeding. Clean tools work more efficiently and last longer.
Removing rust prevents it from interfering with sharpening stones, ensuring proper contact and effective edge restoration. Clean tools also reduce the risk of transferring contaminants to freshly sharpened edges.
When It’s Time to Sharpen Each Tool
While maintaining clean tools helps them perform better, you’ll eventually need to recognize when each specific lawn tool requires sharpening to restore its cutting edge.
Don’t wait until your grass looks torn or your branches split unevenly.
- Mower blades need attention when grass blades tear instead of cut cleanly, usually every 20-25 hours of use.
- Hedge shears require sharpening when cuts become jagged or require excessive force to complete.
- Pruning shears should be sharpened when stems crush rather than slice, indicating dull blades.
- Edgers need sharpening when they push through grass instead of slicing it cleanly.
Trust your instincts – when cutting feels harder than usual, it’s time to act.
Regular inspection prevents frustration and guarantees professional results every time you work.
Avoid These Common Sharpening Mistakes
Even with the best intentions, many homeowners make simple errors when sharpening their lawn tools that can actually damage the blades or reduce their effectiveness.
You might apply too much pressure, causing metal fatigue and nicks. Don’t use the wrong grit stone – coarse stones for dull blades, fine stones for finishing.
Another mistake is sharpening at incorrect angles; maintain the original blade angle consistently. Avoid rushing through the process – take time to remove burrs properly.
Don’t forget to clean blades before sharpening, as dirt and debris affect results. You shouldn’t sharpen already damaged blades extensively; sometimes replacement is better.
Finally, never sharpen without understanding your tool’s specific requirements. Each blade type needs particular attention to maintain cutting performance and longevity.
Stay Safe While Restoring Blades Yourself
Safety should always come first when you’re working with sharp tools, and lawn equipment is no exception. Protecting yourself during blade restoration prevents serious injuries and guarantees you can continue maintaining your lawn properly.
- Wear safety gloves and eye protection to shield against metal shavings and accidental cuts
- Disconnect power sources or remove spark plugs before sharpening to prevent accidental startup
- Use proper clamping techniques to secure tools firmly, keeping your hands away from cutting edges
- Maintain three points of contact when handling tools, and never rush through safety procedures
Taking these precautions creates a safe environment for everyone involved. Your family and neighbors trust you to handle equipment responsibly.
Following safety protocols demonstrates respect for both yourself and your community’s well-being while guaranteeing quality lawn care results.
Test If Tools Are Properly Sharpened
How do you know when your lawn tools have been sharpened to the proper edge?
Test the blade’s cutting ability by making a clean cut through a piece of paper or thin cardboard. You should slice through effortlessly without tearing or crushing the material.
Hold the tool up to light and examine the edge closely. A properly sharpened blade displays a consistent, uniform edge without nicks or dull spots.
Run your finger lightly along the cutting edge to feel for smoothness and sharpness. The blade should feel keen but not rough or jagged.
Check for any remaining burrs or uneven areas that indicate incomplete sharpening.
When your tools cut cleanly and consistently, they’re ready for use.
Store Tools Right To Keep Edges Sharp
Proper storage plays an essential role in maintaining the sharp edges you’ve worked hard to achieve. Without correct storage, your freshly sharpened tools will quickly deteriorate, wasting your effort and investment.
Store your lawn tools properly by following these essential guidelines:
- Hang tools on pegboards or wall-mounted racks to prevent blade contact with surfaces that cause dulling.
- Use blade guards or sheaths when storing tools in containers or sheds to protect cutting edges.
- Keep tools in dry environments to prevent rust formation that compromises sharpness.
- Store tools separately to avoid blades rubbing against each other during storage.
These storage practices guarantee your tools remain sharp between uses.
You’ll maintain that precise cutting performance while protecting your investment. Proper storage habits separate amateur gardeners from experienced professionals who understand tool care fundamentals.
Extend Tool Life With Basic Upkeep
Regular maintenance extends your lawn tools’ lifespan greatly when you follow fundamental upkeep practices.
You should clean debris from blades immediately after each use, preventing rust and corrosion buildup.
Apply lubricating oil to moving parts weekly, ensuring smooth operation.
Check handles for cracks or splinters, sanding rough spots before they worsen.
Tighten loose bolts and screws monthly to maintain structural integrity.
Wipe down metal surfaces with a cloth to remove moisture that causes deterioration.
Store tools in dry locations away from humidity.
You’ll notice better performance and longer tool life when you make these simple habits part of your routine care.
Consistent upkeep prevents costly replacements while keeping your tools ready for peak yard work performance.
Which Method Works Best for Your Yard Tools?
While you might assume all sharpening methods work equally well, selecting the right approach for your specific lawn tools makes a significant difference in both effectiveness and tool longevity. You need to match the sharpening technique to your tool type for ideal results.
Consider these key factors when choosing your sharpening method:
- Tool material – Hardened steel requires different abrasives than softer metals.
- Blade condition – Severely damaged edges need grinding before sharpening.
- Tool usage frequency – Heavy-use tools demand more robust sharpening approaches.
- Your skill level – Complex methods produce better results but require practice.
You shouldn’t use the same technique for hedge shears and lawnmower blades. Each tool deserves proper attention to maintain cutting performance and extend lifespan effectively.
Conclusion
Keep your lawn tools sharp and your yard healthy with these simple steps. Clean, assess, and hone blades carefully – your grass will thank you with vibrant growth. Don’t let dull edges drag down your yard’s potential; proper maintenance transforms tired tools into efficient cutting machines that slice through weeds like butter. Regular upkeep prevents costly replacements while ensuring clean cuts that promote plant health. Store tools properly to maintain those freshly sharpened edges.
