

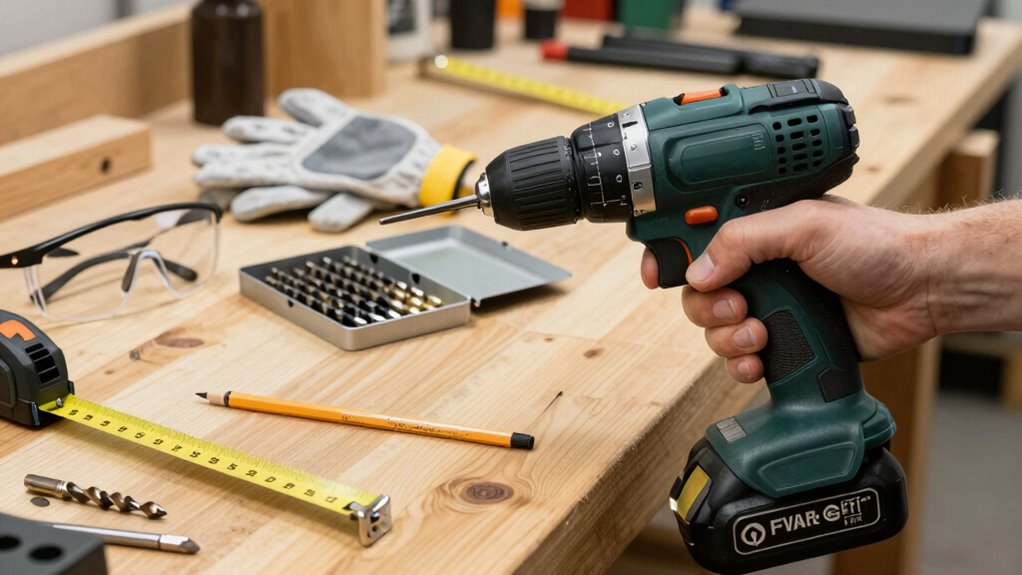
You need to understand that improper drill use can cause serious injuries within seconds. Before plugging in any drill, you must inspect the power cord for cuts, check the chuck for wear, and test the trigger mechanism. Don’t skip wearing safety glasses – flying debris doesn’t discriminate. Your workspace should be clear of clutter and your workpiece securely fastened. What’s the one critical safety step that most beginners overlook?
Why Drill Safety Matters for Beginners

When you’re new to drilling, understanding safety protocols isn’t just recommended—it’s essential for preventing serious injury. You must recognize that power tools demand respect and proper technique. Your safety depends on following established procedures every time you operate a drill.
You should always wear safety glasses to protect your eyes from flying debris. Keep your work surface stable and secure. Never force the drill or use excessive pressure. Your body positioning matters—maintain solid footing and keep loose clothing away from rotating parts.
Electrical safety requires your attention too. Check power cords for damage before use. You must unplug the drill when changing bits or making adjustments.
These habits aren’t optional—they’re what separate confident, safe operators from accident statistics. Your commitment to safety protocols protects not just you, but everyone working nearby.
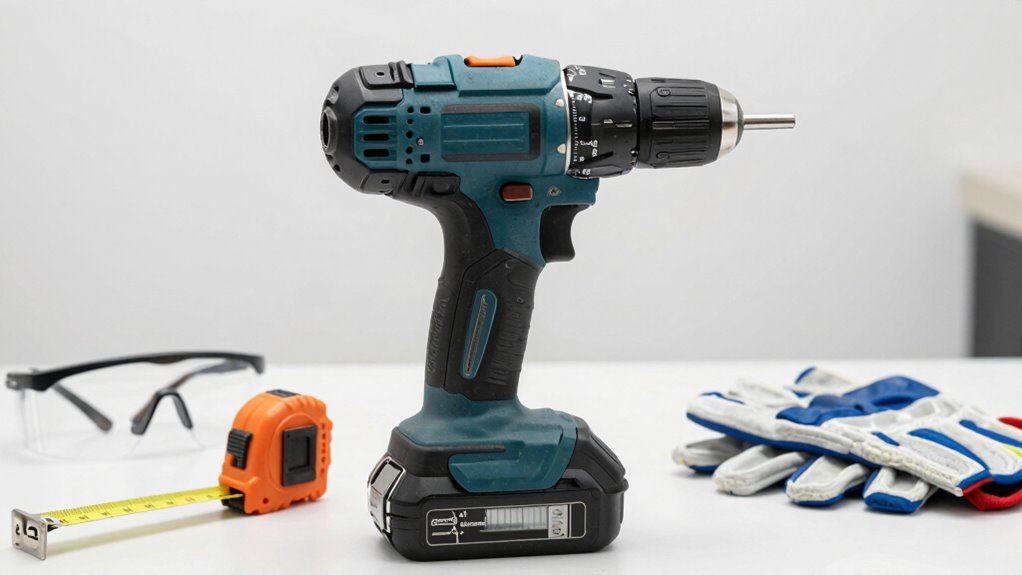
How to Choose the Right Drill for Your Needs
You must evaluate drill types carefully before purchase, considering whether you need a cordless drill for portability or a corded model for continuous power applications.
Your safety depends on selecting drills with essential features like variable speed triggers, clutch mechanisms, and proper grip designs that prevent accidental drops.
Always match the drill’s specifications to your intended tasks while prioritizing models with built-in safety mechanisms.
Types Of Drills Available
Cordless drills dominate most DIY and professional applications due to their portability and convenience.
You’ll find lithium-ion models offer superior battery life and consistent power delivery.
Corded drills provide continuous operation but limit your mobility.
Hammer drills deliver rotational and percussive action, essential for masonry work.
Impact drivers excel at driving screws with high torque capabilities.
Rotary hammers handle heavy-duty concrete applications.
Right-angle drills fit tight spaces where standard models won’t reach.
You should consider chuck type, speed settings, and torque control when selecting your drill.
Keyless chucks allow quick bit changes while keyed chucks provide maximum gripping force.
Variable speed triggers give you precise control over drilling operations.
Your chosen drill must match your specific project requirements and skill level for ideal safety and performance.
Safety Features To Consider
Selecting the right drill requires careful evaluation of built-in safety mechanisms that protect both user and equipment. You should prioritize drills with automatic brake systems that stop rotation instantly when you release the trigger.
Look for models with slip clutches that prevent over-torquing and reduce wrist strain. Variable speed triggers give you better control during delicate operations. Check for double insulation protection and grounded plugs to prevent electrical hazards.
Rubberized grips provide better control and reduce vibration fatigue. You want keyless chucks for quick bit changes and secure bit retention. Built-in LED lights help you see your work area clearly.
These features aren’t luxuries—they’re essentials that keep you safe while building your confidence and skills.
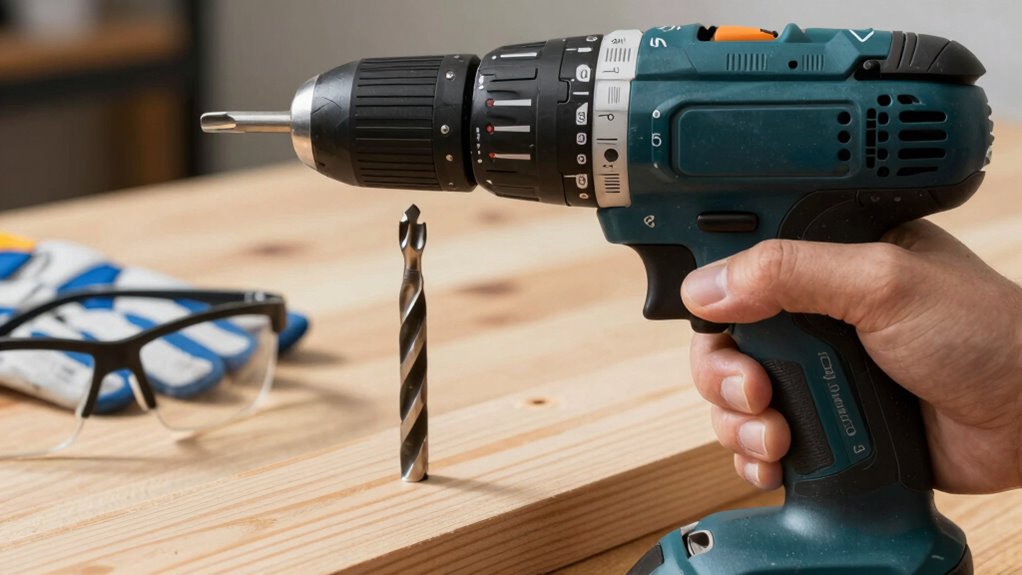
Inspect Your Drill Before Use
Drill inspection prevents accidents and assures peak performance. You must check the power cord for cuts or fraying before plugging in your drill.
Examine the chuck jaws to confirm they’re clean and undamaged. Verify the drill bit is properly seated and tightened securely in the chuck.
Inspect the trigger mechanism for smooth operation and proper return. Check that all screws and fasteners are tight.
Look for cracks or damage on the drill housing. Test the reverse switch functionality.
Examine the drill’s ventilation ports for debris buildup. Verify the speed settings operate correctly.
Check that the auxiliary handle, if present, is firmly attached. You should never use a drill with damaged components.
Perform these inspections routinely to maintain safe operation and extend your drill’s lifespan.
Personal Protective Equipment to Wear
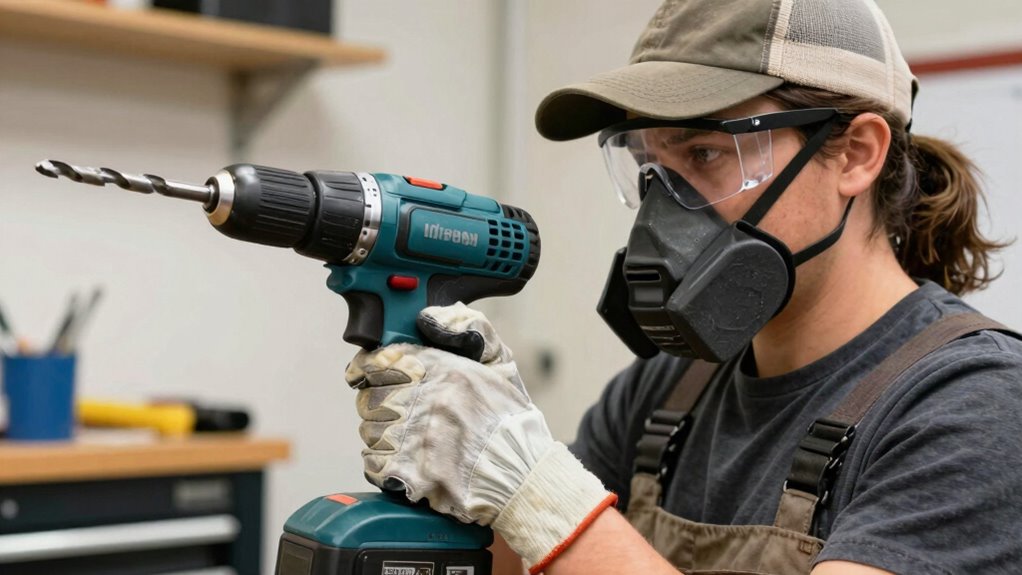
Before you begin drilling, verify you wear appropriate personal protective equipment to minimize injury risks. Proper PPE protects you from debris, noise, and electrical hazards while maintaining control during operation.
- Safety glasses or goggles – Prevent flying particles from entering your eyes during drilling operations.
- Work gloves – Protect hands from sharp edges, vibrations, and potential electrical contact.
- Hearing protection – Shield ears from damaging noise levels, especially during prolonged drilling sessions.
- Steel-toed boots – Guard feet against dropped tools or falling objects.
Wearing correct PPE demonstrates respect for both your safety and workspace standards.
Don’t compromise your protection – verify all equipment fits properly and remains undamaged before use.
Set Up a Safe Drilling Workspace
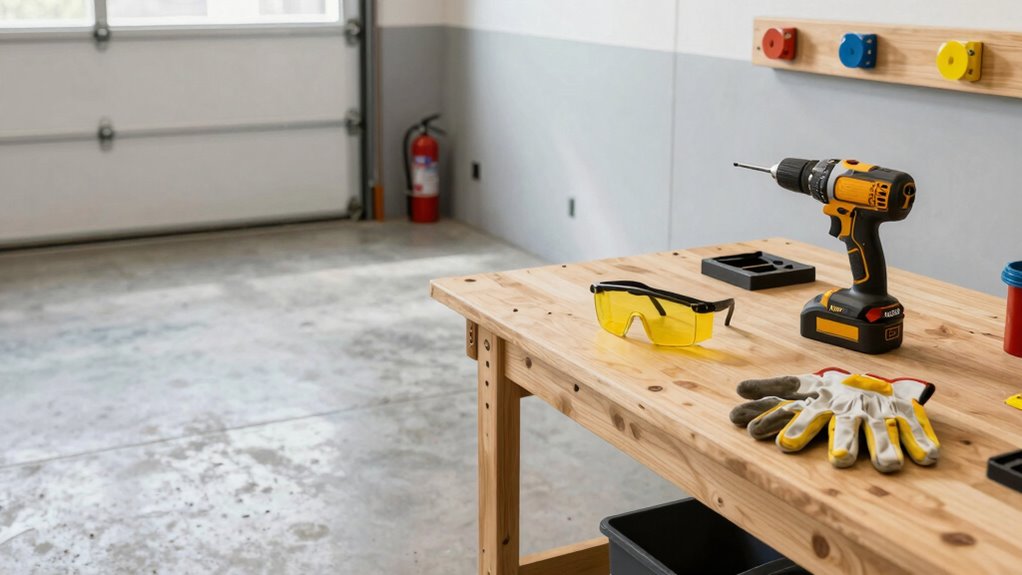
You must clear your work area of clutter, debris, and unnecessary materials before operating any drill.
Position your lighting to eliminate shadows and guarantee consistent illumination across your entire workspace.
Secure your workpiece firmly to prevent movement during drilling operations.
Clear Work Area Setup
When setting up your drilling workspace, make certain all unnecessary items are removed from the immediate area to prevent accidents and maintain clear access to your work surface. Keep your workspace organized and hazard-free.
- Remove loose materials – Clear away papers, tools, and debris that could interfere with your drilling operation or create slipping hazards.
- Secure unstable objects – Anchor or remove items that might fall or shift during drilling to prevent injuries.
- Establish safety boundaries – Mark off areas where people shouldn’t stand while you work to protect others from flying debris.
- Position emergency equipment – Keep fire extinguishers and first aid supplies easily accessible in case of accidents.
Maintain this clean workspace throughout your project for ideal safety.
Proper Lighting Arrangement
Adequate illumination is essential for safe drilling operations, as poor visibility can lead to misaligned holes, equipment damage, and serious injury.
You should position lights to eliminate shadows where you’ll drill. Use adjustable work lights or clamp-on LED lights to direct bright, even lighting across your workspace. Avoid backlighting that creates silhouettes or glare that obscures your drilling marks.
Natural light works well when available, but don’t rely on it exclusively since positions can shift. Battery-powered lights offer flexibility for mobile setups.
Ascertain your lighting setup allows clear visibility of drill bits, measurement marks, and material surfaces. Test your arrangement before drilling by checking for blind spots or reflections that could obscure critical details.
Good lighting prevents costly mistakes and keeps you safe.
Secure Material Placement
Before positioning your workpiece, confirm all materials are properly secured to prevent movement during drilling operations. Unstable materials create dangerous kickback and inaccurate holes.
- Use clamps or vices to firmly hold wood, metal, or plastic pieces steady.
- Check anchor points confirming your work surface won’t shift or tip during drilling.
- Position materials close to your body for better control and reduced strain.
- Verify stability by applying light pressure to test if pieces move before drilling.
Always double-check your setup. Loose materials cause accidents and damage.
You belong in this workspace when you take these precautions seriously. Proper placement prevents injuries and confirms precise results every time.
Secure Your Workpiece Effectively
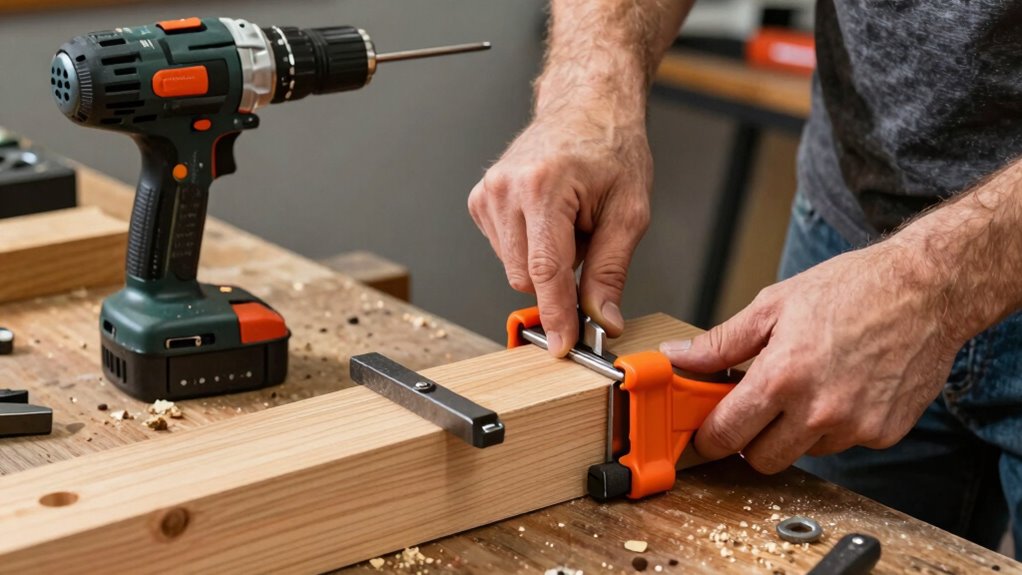
Securing your workpiece properly prevents dangerous movement during drilling operations. You must use clamps, vises, or mechanical fasteners to hold materials firmly in place.
Position your workpiece on a stable surface before drilling. Check that clamps grip securely without over-tightening, which can cause material deformation.
Apply downward pressure evenly across the workpiece surface. Ascertain your drilling area remains clear of loose objects that could shift during operation.
Verify workpiece stability by applying gentle pressure tests before starting. Never attempt to hold materials by hand while drilling.
Use appropriate fixtures that match your workpiece dimensions and drilling requirements. Proper securing eliminates dangerous vibration, prevents drill bit wandering, reduces injury risk, and ensures accurate hole placement every time.
Match Drill Bits to Materials
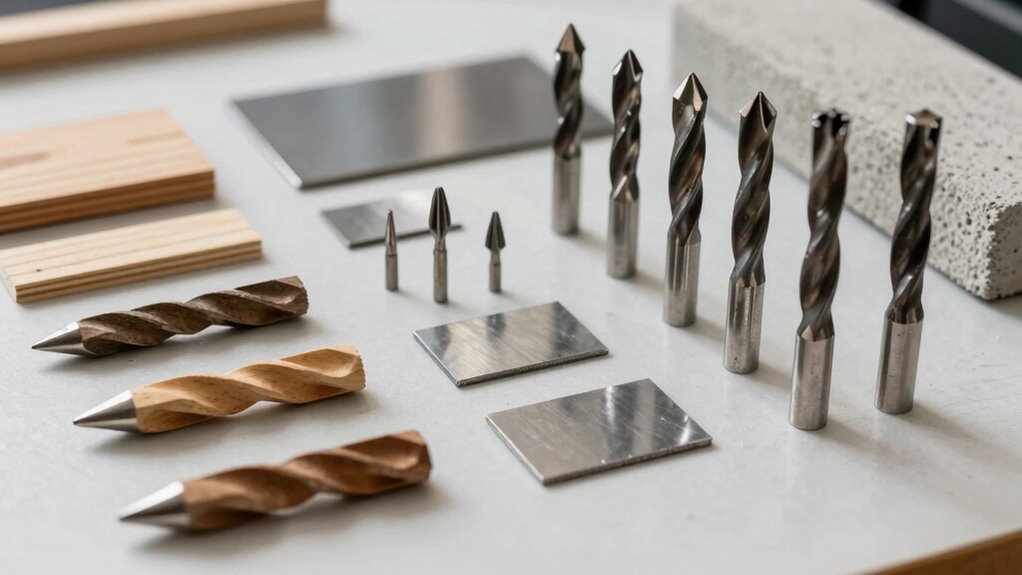
When you select drill bits for specific materials, you secure both safety and ideal performance during drilling operations.
Using incorrect bits causes overheating, bit breakage, and potential injury.
- Wood bits – Use twist bits or spade bits for clean holes in lumber and plywood projects
- Metal bits – Choose high-speed steel or cobalt bits designed for steel, aluminum, and other metals
- Concrete bits – Select carbide-tipped masonry bits for brick, stone, and concrete applications
- Plastic bits – Opt for specialized plastic-cutting bits or standard twist bits at slow speeds
Match your bit type to your material.
Check bit condition before use.
Replace worn or damaged bits immediately.
Proper bit selection prevents accidents and secures professional results every time.
Adjust Speed and Torque Settings
You must adjust speed settings based on your material and bit type to prevent overheating or stripping.
Setting proper torque levels prevents overdriving screws and damaging workpieces. These adjustments require careful attention before each drilling operation.
Adjusting Speed Settings
Before adjusting your drill’s speed and torque settings, always make sure the tool is unplugged or the battery is removed to prevent accidental startup.
This critical safety step protects you from unexpected motor engagement during adjustments.
4 Essential Speed Setting Adjustments:
- Identify your drill’s speed selector – Locate the speed control dial or trigger sensitivity button on your drill’s handle or body.
- Match speed to material – Use lower speeds (1st gear) for metal and masonry, higher speeds (2nd gear) for wood and plastic.
- Test settings on scrap material – Verify your selected speed performs properly before drilling your actual project.
- Monitor motor temperature – Reduce speed if you notice excessive heat buildup during extended drilling sessions.
Proper speed adjustment prevents material damage and guarantees clean, precise holes every time.
Setting Proper Torque Levels
While speed controls how fast your drill rotates, torque settings determine how much rotational force the motor applies before it stops or slows down.
You must match torque levels to your material and fastener type. Start with lower settings for delicate work like drywall or small screws. Increase torque for hardwood, metal, or large fasteners. Test settings on scrap material first.
Too much torque strips screws or cracks materials. Too little torque prevents proper fastening. Most drills feature numbered torque settings or clutch rings. Turn the collar clockwise to increase torque.
Remember that driver settings differ from drilling settings. You belong in this workspace when you master these adjustments safely.
Maintain Proper Hand Placement
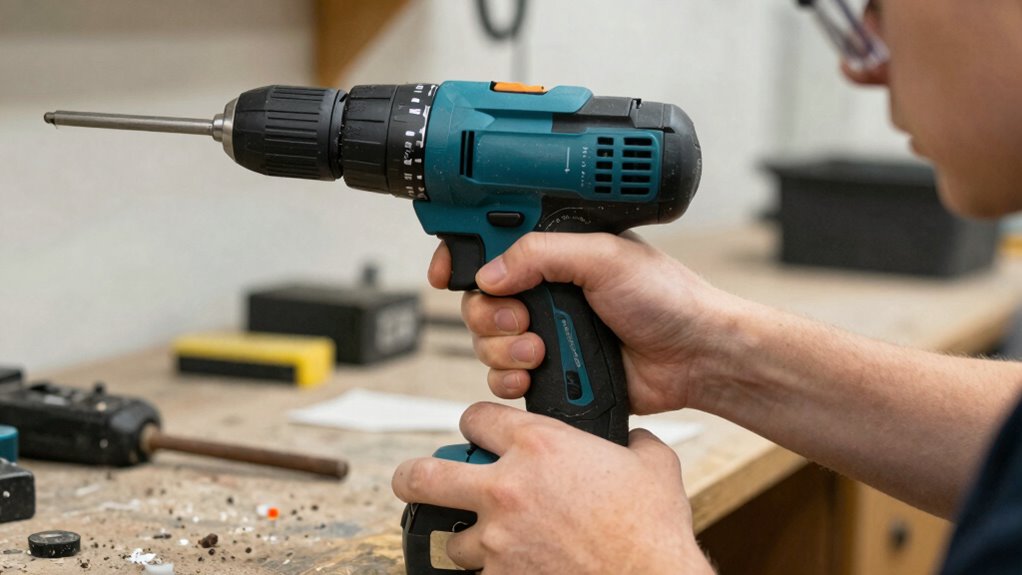
One critical aspect of drill safety involves maintaining proper hand placement throughout the drilling process. Your hands control the tool’s stability and direction, directly impacting both accuracy and safety.
- Grip the handle firmly with your dominant hand, keeping fingers wrapped securely around the grip area.
- Support the drill with your free hand positioned near the base or secondary handle for maximum stability.
- Keep hands away from the drill bit path and rotating components while operating.
- Maintain consistent pressure through your entire hand rather than relying on finger strength alone.
Proper hand placement prevents accidental slips, reduces vibration transfer, and guarantees you maintain control during operation.
These positioning techniques become second nature with practice, making you feel confident and competent with your drill.
Prevent Drill Bit Wander and Misalignment
You must select the appropriate drill bit type for your material to prevent wandering and guarantee accurate holes.
Mark your drilling spot clearly with a center punch to create a starting point that guides the bit. These preparation steps eliminate misalignment and reduce the risk of bit slippage during operation.
Choose The Right Drill Bit Type
Selecting the appropriate drill bit type prevents costly misalignment and dangerous bit wander during operation. You must match the bit to your material and drilling requirements for ideal safety and performance.
- Twist bits work best for wood and soft metals, providing precise control through their spiral flutes
- Masonry bits feature carbide tips designed specifically for concrete, brick, and stone applications
- Spade bits offer clean holes in wood while minimizing surface breakout when used properly
- Hole saws create large diameter openings in various materials without excessive heat buildup
Each bit type serves distinct purposes. You’ll reduce wandering markedly by choosing correctly.
Wrong bits bind, overheat, or skip across surfaces. Proper selection guarantees clean, accurate holes while maintaining control throughout your drilling task.
Mark Your Drilling Spot Clearly
Marking your drilling spot clearly prevents bit wander and misalignment that can lead to inaccurate holes and dangerous kickback. You should use a sharp pencil or marker to create a visible, precise dot where you intend to drill. This visual reference helps you maintain proper drill alignment from the start.
Apply firm, consistent pressure when marking to guarantee the spot remains visible throughout your drilling process. Check that your mark sits squarely on your intended drilling path. Clear markings help prevent costly mistakes and reduce material damage.
Don’t rely on mental visualization alone – physical marks give you confidence and control. You’ll notice improved accuracy and reduced bit slippage when you take time to mark properly. This simple step separates experienced users from beginners.
Use A Center Punch First
A center punch creates a small indentation that guides your drill bit precisely where you need it, building upon the clear markings you’ve already established. This prevents bit wander and guarantees accurate hole placement every time.
- Select the right punch: Choose a center punch with a sharp tip designed for your material type.
- Position carefully: Place the punch directly on your marked spot and hold it perpendicular to the surface.
- Strike decisively: Hit the punch firmly with a hammer to create a clean, deep indentation.
- Verify alignment: Check that your indentation sits perfectly on mark before drilling begins.
Using a center punch becomes second nature quickly. You’ll join the ranks of experienced craftsmen who never skip this vital step.
Your drill bits will thank you for the reduced wear, and your projects will show the precision that comes from proper preparation. Don’t risk misaligned holes when accuracy matters.
Avoid Drilling Too Deep or Too Fast
When you drill too deep or too fast, you risk damaging both your workpiece and the drill itself. Excessive speed generates heat that can warp metal or burn wood fibers. You’ll notice the drill bit becoming hot and the material starting to smoke.
Too much pressure causes bit breakage and creates oversized holes. Start slowly, letting the drill bit establish proper penetration before increasing speed. Apply steady, moderate pressure rather than forcing the tool.
Monitor your depth carefully by marking the bit with tape or using a depth stop. You’ll achieve cleaner holes and extend bit life.
Remember that different materials require specific drilling speeds and techniques. Wood needs slower speeds than metal. Plastic requires even gentler approaches.
Your drill’s chuck should be properly tightened. Loose bits cause dangerous wobbling. Maintain control throughout the process.
What to Do If Your Drill Gets Stuck
One common drilling hazard occurs when your drill bit jams in the workpiece, creating a dangerous situation that requires immediate attention.
Don’t force the drill or attempt to yank it free, as this can cause injury or damage.
- Stop drilling immediately – Release the trigger and wait for the drill to come to a complete stop before touching anything.
- Disconnect power source – Remove the battery or unplug the drill to eliminate accidental startup risks.
- Assess the jam – Examine why the bit stuck. Check for material buildup, incorrect bit type, or improper drilling technique.
- Use proper extraction technique – Apply penetrating oil around the bit, then carefully reverse the drill’s rotation while maintaining steady pressure.
If it doesn’t release easily, consider cutting the bit off rather than forcing it.
Prevent Drill Bit Overheating
Drill bits can jam unexpectedly, but preventing overheating requires attention before problems arise. You should always check your drill’s speed settings match the material you’re working with. Lower speeds prevent excessive heat buildup in metal and hardwood.
Keep drill bits sharp because dull bits generate more friction and heat. You must use appropriate drilling lubricants or cooling fluids when working with metal. Apply cutting oil or water to reduce temperature buildup.
Don’t let your drill run continuously for extended periods. Take breaks every few minutes to allow bits to cool naturally. You should feel the bit’s temperature regularly with your hand. If it’s too hot to touch comfortably, stop drilling immediately. Wearing safety gloves protects your hands while checking temperatures.
Monitor bit color changes too, as blue discoloration indicates excessive heat that can compromise bit integrity and drilling accuracy.
Never Force Pressure While Drilling
While drilling, you should let the drill do the work rather than applying excessive downward force. Forcing pressure causes bits to overheat, break, or bind dangerously.
- Maintain steady, moderate pressure – let the drill’s motor handle material removal efficiently.
- Feel for resistance – if the drill struggles, reduce pressure immediately to prevent kickback.
- Keep proper stance – stand firmly with feet shoulder-width apart for stability and control.
- Use both hands – grip the handle firmly while supporting the drill body to maintain precise control.
Excessive force creates hazardous situations including bit breakage, material damage, and potential injury from sudden drill movement.
Trust your drill’s power and work with its natural cutting action for safer, more effective results.
Power Outage Safety Tips for Drilling
Power failures during drilling operations create immediate hazards that require immediate attention to prevent injury or equipment damage.
You must immediately release trigger pressure and wait for the drill to stop completely before moving. Never attempt to continue drilling manually or rush to relocate the drill during power loss.
Keep your work area illuminated with backup lighting to avoid accidents. Disconnect the drill from power source if you’re not actively using it during extended outages.
Maintain clear pathways around your workspace. Store backup batteries in your tool kit for emergency lighting.
You should never assume power will return immediately, so plan your drilling sessions accordingly. Always have a battery-powered work light nearby.
Check your drill’s power cord regularly for damage that might contribute to electrical failures.
Common Mistakes That Compromise Safety
When you fail to inspect your drill’s components before use, you create unnecessary risks that compromise both your safety and the tool’s effectiveness.
Don’t let preventable errors turn a simple drilling task into a dangerous situation.
- Skipping pre-use inspection – You ignore worn brushes, damaged cords, or loose chucks that could fail during operation.
- Using incorrect drill bits – You force incompatible bits that slip, break, or cause kickback.
- Neglecting proper anchoring – You drill without securing workpieces, creating unstable conditions.
- Ignoring personal protective equipment – You skip safety glasses or work gloves, leaving yourself vulnerable to debris and injury.
These mistakes separate 新手 from competent users.
Master these fundamentals and you’ll earn respect among experienced craftsmen while protecting yourself effectively.
Recognizing When to Pause and Regroup Mid-Drill
If your drill begins vibrating excessively or emitting unusual noises during operation, stop immediately and assess the situation before continuing. Excessive vibration indicates potential bit binding, dull cutting edges, or internal motor issues requiring attention.
Unusual sounds like grinding, squealing, or clicking suggest mechanical problems that won’t resolve themselves. You must recognize these warning signs as your drill’s way of communicating distress. Continuing operation ignores critical feedback loops designed to prevent accidents.
Feel the drill’s behavior through your hands and listen carefully to its operational sounds. When you encounter these symptoms, release trigger pressure, wait for complete stoppage, then examine bits, chucks, and housing integrity.
Check for debris buildup, loose components, or worn parts needing replacement. Your awareness protects both equipment longevity and personal safety while building confidence through attentive practice.
Conclusion
Remember, drilling safely isn’t just about following rules—it’s about protecting yourself from preventable injuries. Like a surgeon’s scalpel, your drill demands respect and precision. Don’t let haste cloud your judgment; each safety step builds your foundation for success. When doubts arise, stop and reassess—your cautious approach today prevents tomorrow’s accidents. Safety isn’t optional; it’s the bedrock of effective drilling.
