

You’ll never believe how much flavor you’re missing by not growing peppers in containers. These compact gardens produce surprisingly robust harvests when you master the essentials. Choosing the right pot size makes all the difference—too small and your plants stunt, too large and you waste soil. Let’s explore the critical factors that determine whether your pepper plants thrive or merely survive in their confined space.
Start Seeds or Buy Seedlings?

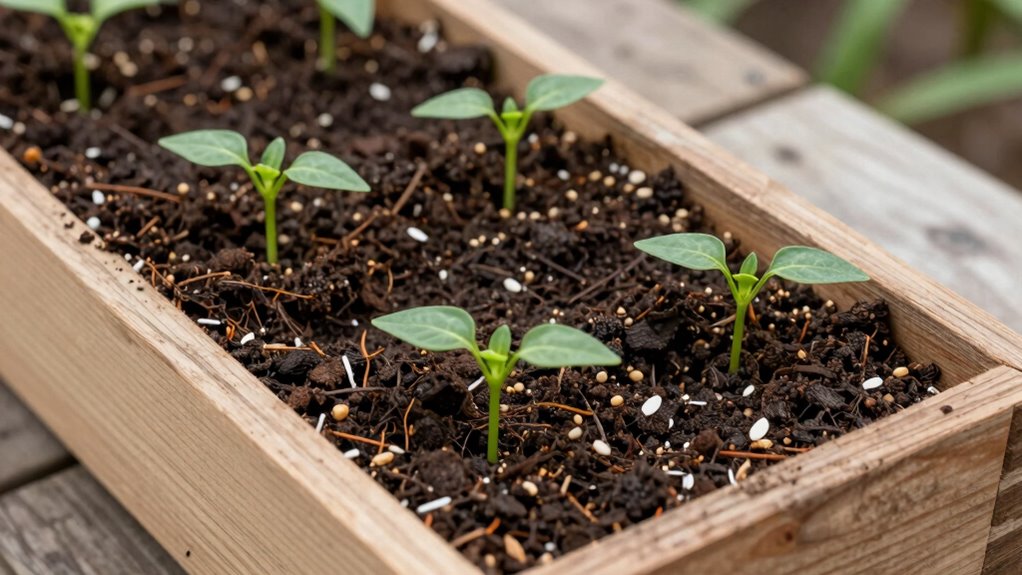
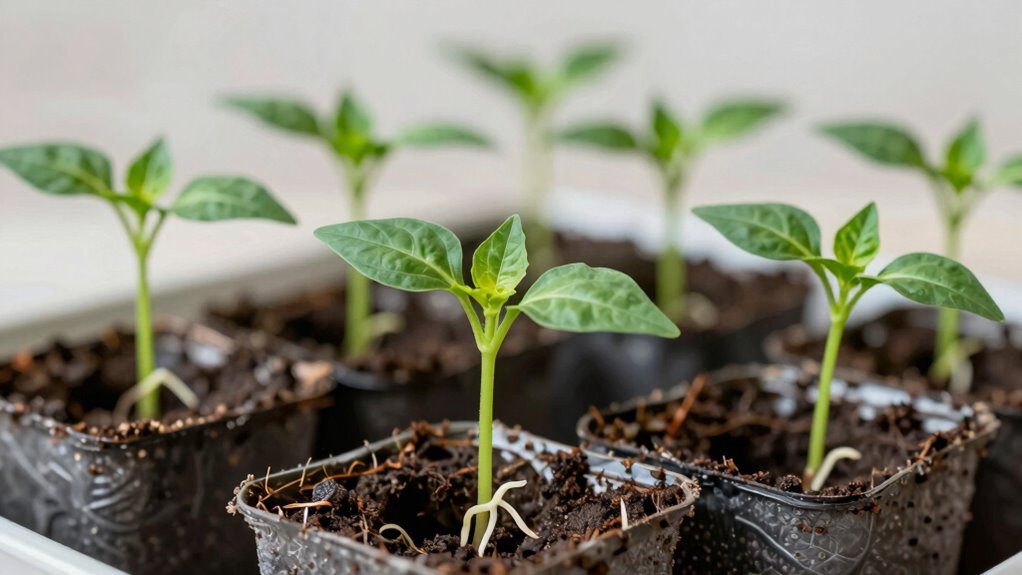
Whether you decide to start peppers from seeds or purchase established seedlings depends largely on your timeline, growing conditions, and experience level.
Starting seeds gives you more variety options and stronger plants, but requires eight to ten weeks before transplanting. You’ll need grow lights, heat mats, and consistent moisture monitoring.
Buying seedlings saves time and guarantees established root systems, making them ideal for shorter growing seasons. Experienced gardeners often prefer seeds for control over growing conditions and genetic diversity.
Beginners might find seedlings less intimidating and more forgiving. Consider your local last frost date when planning. Indoor seed starting works best when soil temperatures stay above sixty-five degrees Fahrenheit.
Both methods produce healthy plants when you provide proper care and attention.
Best Container Sizes for Pepper Plants
You’ll need to match your container size to your pepper variety’s growth habits, as root space directly affects plant health and fruit production.
Small containers work well for compact varieties like chili peppers, while most bell and sweet peppers require medium-sized pots for peak development.
Large containers become necessary for giant pepper plants that can grow several feet tall and need extensive root systems to support their size.
Small Containers For Compact Varieties
Compact pepper varieties thrive in containers as small as 1 gallon, though 2-3 gallon pots provide better root development and moisture retention.
You’ll find these smaller containers perfect for balcony gardens or limited spaces.
- Choose 1-gallon pots for dwarf varieties like ‘Pixie’ or ‘Tiny Tim’ peppers when space is extremely limited.
- Opt for 2-gallon containers for most compact cultivars including ‘Jalapeño’ or ‘Serrano’ types that don’t require extensive root systems.
- Select 3-gallon pots for slightly larger compact varieties like ‘Cayenne’ or ‘Thai Hot’ peppers needing more soil volume.
- Confirm containers have drainage holes and use high-quality potting mix with perlite for ideal aeration and moisture control.
Medium Pots Suit Most Pepper Types
While smaller containers work well for dwarf pepper varieties, most standard pepper plants benefit from medium-sized pots that offer adequate space for root expansion and nutrient uptake.
You should choose containers measuring 12-16 inches in diameter and depth for ideal growth. These dimensions accommodate mature root systems while preventing waterlogged soil conditions.
Medium pots provide sufficient volume for proper drainage and allow roots to establish strong anchorage. Standard bell peppers, jalapeños, and serrano varieties thrive in these sizes.
You’ll notice healthier plants with better fruit production compared to overcrowded conditions. Confirm your chosen containers have multiple drainage holes to prevent root rot.
Clay or plastic materials work equally well, though clay offers better moisture regulation. Avoid going too large initially, as excess soil can retain too much moisture and delay plant establishment.
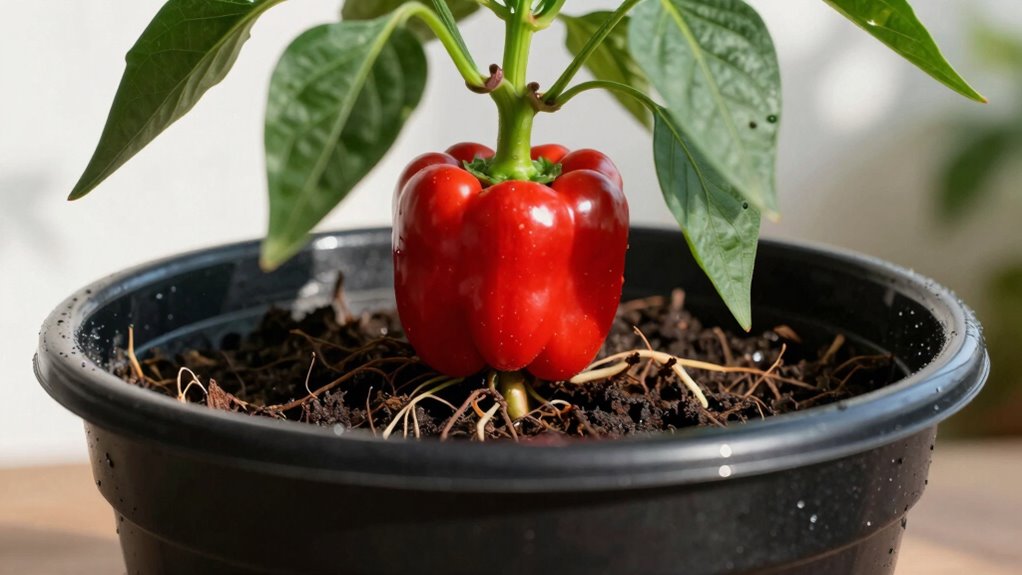
Large Containers For Giant Pepper Plants
Large containers become essential when cultivating giant pepper varieties that demand extensive root systems and vigorous growth patterns. You’ll need substantial space for these robust plants to thrive.
- Choose 15-20 gallon containers for varieties like Ghost peppers or Trinidad Scorpions. These sizes accommodate their aggressive root development.
- Select fabric pots or air-pruning containers to prevent root circling and encourage healthy lateral root growth throughout the soil volume.
- Ensure container depth reaches 18-24 inches to support the extensive taproot system that giant peppers develop for nutrient uptake.
- Use well-draining potting mix with perlite or pumice to maintain proper aeration and prevent waterlogging, which can devastate large pepper plants.
Your giant peppers need this serious investment for maximum yield potential.
Soil Mix for Container-Grown Peppers
Because peppers need excellent drainage and nutrient availability to thrive in containers, choosing the right soil mix is crucial for successful growth.
You should use a well-draining potting mix containing peat moss, perlite, and compost. This combination provides adequate aeration while retaining moisture and nutrients your peppers need.
Avoid garden soil, which compacts easily and drains poorly in containers. Instead, opt for commercial potting mixes designed for vegetables or create your own blend using equal parts peat, perlite, and compost.
Adding slow-release fertilizer guarantees consistent nutrient supply throughout the growing season. The soil pH should range between 6.0-6.8 for ideal nutrient uptake.
Test your mix before planting and adjust as needed. Proper soil preparation prevents common issues like root rot and nutrient deficiencies that plague container-grown peppers.
Sunlight Needs for Healthy Peppers
Peppers are sun-loving plants that require substantial light exposure to produce healthy foliage and abundant fruit. You need to provide ideal lighting conditions for successful container gardening.
- Daily Duration: Peppers need 6-8 hours of direct sunlight daily for ideal growth and fruit development.
- Light Intensity: Place containers in south-facing locations where plants receive brightest midday sun exposure.
- Seasonal Adjustments: Move containers to track sunlight patterns as seasons change, ensuring consistent light exposure throughout growing period.
- Supplemental Lighting: Use grow lights during cloudy periods or when natural light不足, maintaining 14-16 hours artificial illumination.
Insufficient light causes leggy growth, reduced flowering, and poor fruit set.
Monitor plant responses to adjust positioning accordingly.
Watering Frequency & Techniques
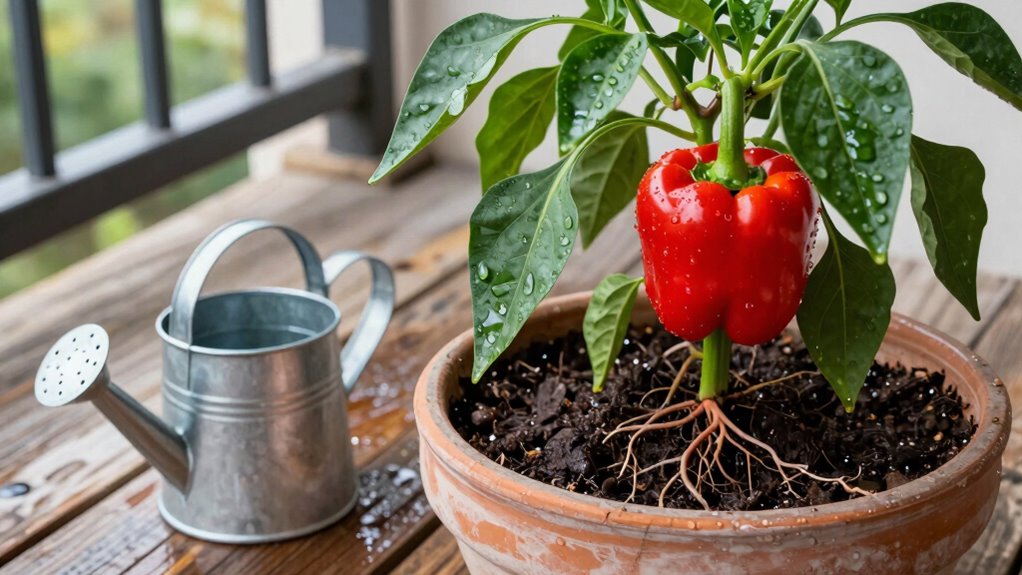
Container-grown peppers require consistent moisture management to thrive. You should check soil daily by inserting your finger one inch deep; water when this layer feels dry.
Small containers need watering every 1-2 days during hot weather, while larger pots may only require it every 3-4 days.
Use room temperature water and apply it directly to soil until drainage occurs from container holes. Avoid overhead watering, which promotes fungal diseases. Water thoroughly but don’t let pots sit in standing water.
Consider self-watering containers or drip irrigation systems for consistent moisture delivery.
Mulching helps retain soil moisture between waterings. Clay pots dry faster than plastic ones, so adjust frequency accordingly.
Early morning watering reduces evaporation loss and prevents overnight leaf wetness that encourages disease development.
How to Fertilize Potted Peppers
You’ll need to fertilize potted peppers regularly since container soil nutrients deplete quickly. Peppers are heavy feeders that require consistent nutrition for peak growth and fruit production.
- Use a balanced, water-soluble fertilizer with N-P-K ratio of 10-10-10 or 20-20-20 for general feeding.
- Apply fertilizer every 2-3 weeks during growing season, reducing frequency in winter months.
- Supplement with organic options like fish emulsion or compost tea for additional micronutrients.
- Monitor plant response and adjust concentration if leaves yellow or growth slows.
Avoid over-fertilizing which causes salt buildup and root damage.
Flush soil monthly with plain water to prevent accumulation.
Transplant Peppers to Larger Pots
You should transplant your pepper plants when roots begin circling the container’s edge, typically every 4-6 weeks during active growth.
Select a pot that’s 2-4 inches larger in diameter than your current container to provide adequate space for root expansion.
Handle the root ball gently during transfer and water thoroughly afterward to eliminate air pockets and reduce transplant shock.
Choose Larger Container Size
When pepper plants outgrow their initial containers, transplanting them into larger pots becomes essential for continued healthy development.
Root-bound plants struggle to absorb nutrients and water efficiently, stunting growth and reducing yields.
- Select containers that are 2-4 inches larger in diameter than current pots to provide adequate space for root expansion.
- Choose pots with drainage holes to prevent waterlogging, which can cause root rot and fungal diseases.
- Use high-quality potting mix specifically formulated for container gardening, ensuring proper aeration and moisture retention.
- Consider the mature size of your pepper variety when selecting container dimensions, as larger varieties require more space for prime root development and stability.
Handle Roots Carefully
Transplanting peppers to larger pots requires gentle handling of root systems to prevent transplant shock and guarantee continued growth.
You’ll want to carefully loosen the root ball before moving plants to avoid damaging delicate root hairs essential for nutrient uptake. Support the root ball from underneath rather than pulling stems.
Inspect roots for circling patterns that indicate root-bound conditions, and gently tease apart any tangled sections. Work quickly but deliberately to minimize root exposure time.
Healthy roots appear white or light tan; brown or black roots signal potential problems requiring removal.
Position plants at the same soil depth as before, ensuring crown placement remains consistent. Proper root handling promotes faster establishment in new containers, leading to better yields and stronger plant development throughout the growing season.
Water Thoroughly After Transplanting
After carefully placing your pepper plants in their new containers, thoroughly water the soil to eliminate air pockets and assure proper root-to-soil contact. This critical step prevents transplant shock and promotes healthy establishment.
- Water immediately until you see excess moisture draining from container holes
- Check soil moisture depth by inserting your finger one inch into the growing medium
- Avoid overhead watering that can damage delicate stem tissue and foliage
- Monitor drainage to prevent waterlogged conditions that cause root rot
Your pepper plants need consistent moisture during this adjustment period. Don’t let them sit in standing water, but maintain evenly moist soil. Proper watering guarantees nutrient uptake and reduces stress.
You’re creating ideal conditions for vigorous growth and successful container gardening results.
Stake or Cage Your Pepper Plants?
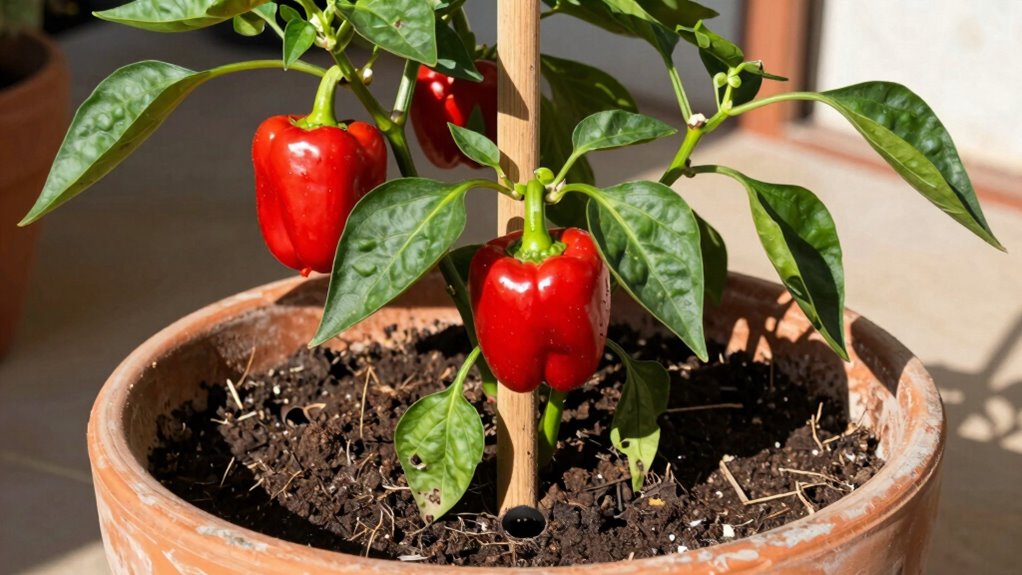
Both staking and caging offer effective support methods for container-grown pepper plants, though each approach presents distinct advantages depending on your specific growing conditions and plant varieties.
Staking works best for compact varieties like jalapeños, providing targeted support where you need it most. You’ll drive wooden or metal stakes deep into the container soil, then tie stems loosely with soft twine as plants grow.
Caging suits larger, bushier peppers like bell peppers perfectly, offering 360-degree support. Wire cages prevent wind damage while allowing easy access for harvesting.
Your container size matters too – larger pots accommodate cage structures better than small containers. Consider your pepper variety’s mature height and spread before choosing.
Stake early after transplanting to avoid root damage. Remember that proper support prevents broken branches and improves air circulation around your plants.
Identify and Treat 5 Pepper Pests
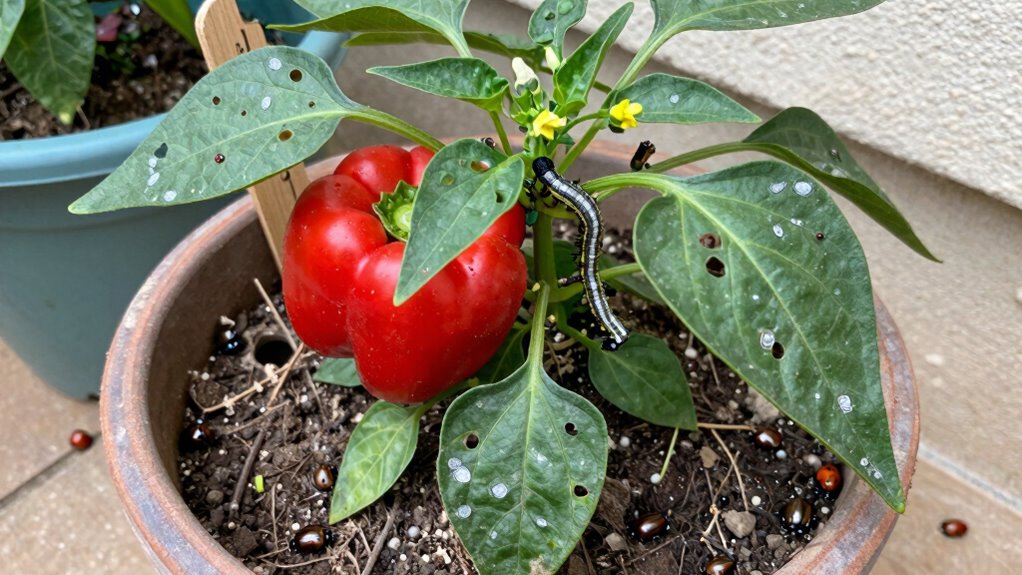
While container gardening offers many advantages for growing peppers, pests can still pose significant threats to your plants’ health and productivity. You’ll need to identify common invaders quickly to protect your harvest.
- Aphids cluster on new growth and undersides of leaves, sucking sap. Blast them off with water or introduce ladybugs.
- Spider mites create fine webbing and stippled leaves. Increase humidity and use neem oil treatments regularly.
- Whiteflies congregate on leaf undersides, flying when disturbed. Use yellow sticky traps and beneficial insects like Encarsia wasps.
- Cutworms sever seedlings at soil level. Create cardboard collars around plant stems and remove debris where they hide during day.
Early detection and integrated pest management keep your container peppers thriving.
Stop Powdery Mildew & Root Rot Early
Because container-grown peppers lack the natural soil drainage of in-ground plantings, you must vigilantly monitor for powdery mildew and root rot symptoms.
Check leaves weekly for white, powdery coatings or yellowing that signals mildew. Root rot appears as wilting despite moist soil.
Prevent these issues by ensuring containers have drainage holes and using well-draining potting mix. Water only when the top inch of soil feels dry. Space plants adequately for air circulation.
Apply neem oil or sulfur dust at first sign of mildew. Remove affected leaves immediately. Avoid overhead watering, especially in humid conditions.
Consider beneficial fungi like mycorrhizae to boost root health. Proper drainage and careful watering practices stop most fungal problems before they devastate your pepper plants.
Pruning for Bigger Pepper Harvests
You should pinch the early growth tips above the first set of true leaves to encourage branching and increase your plant’s pepper production potential.
Remove lower branches that touch the soil or grow inward toward the main stem, as these create shading and increase disease risk while reducing air circulation.
Top off your pepper plants by cutting the main stem just above a leaf node when they reach 6-8 inches tall to promote bushier growth and more flowering sites.
Pinch Early Growth Tips
Early in the growing season, frequently pinch the tips of your pepper plants to encourage bushier growth and maximize fruit production. This practice removes apical dominance, stimulating lateral branch development.
- Pinch when plants reach 6-8 inches tall, removing the top set of leaves
- Use clean fingers or pruning shears to avoid disease transmission
- Remove only the newest growth tip, leaving underlying leaves intact
- Repeat pinching every 2-3 weeks until flowering begins
Pinching redirects energy from vertical growth toward branching and fruit development. You’ll create stronger plants with more flowering sites.
This technique works because auxin hormones concentrate at growing tips, suppressing lateral bud formation. By removing these tips, you allow cytokinin hormones to stimulate bushier growth patterns that produce higher yields in container environments.
Remove Lower Branches Carefully
Remove lower branches strategically to improve air circulation and redirect energy toward fruit production.
Focus on eliminating branches that touch the soil or grow inward toward the plant’s center. These lower limbs often become shaded, reducing their photosynthetic efficiency while increasing disease susceptibility.
Use clean, sharp pruning shears to make precise cuts at a forty-five-degree angle, about quarter-inch above a node or bud.
Remove suckers emerging from leaf axils near the base, as they compete for nutrients without contributing notably to yield.
Prioritize maintaining the plant’s central leader and primary fruiting branches.
This selective pruning approach encourages stronger stem development and larger pepper size.
Young plants benefit most from this technique, so don’t wait until they’re overgrown. Regular removal prevents energy waste on non-productive growth.
Top-Off For Bushier Plants
When growing peppers in containers, topping off your plants promotes bushier growth and markedly increases fruit production by encouraging lateral branching. This pruning technique redirects energy from vertical growth into developing stronger side shoots and more flower sites.
- Identify the main stem – Locate the central leader growing above the last branching point
- Make clean cuts – Use sharp pruners to remove 1-2 inches from the main stem’s tip
- Time your topping – Perform this technique when plants reach 8-10 inches tall
- Monitor new growth – Watch for lateral branches developing within 7-10 days
Topping forces dormant buds to activate, creating a fuller plant structure. You’ll notice increased branching within two weeks, leading to higher pepper yields.
This method works particularly well for bell peppers and jalapeños grown in confined container spaces.
Harvesting Peppers at Peak Flavor
Since peppers continue ripening after harvest, you can pick them at various stages depending on your flavor preferences and storage needs.
Green peppers offer crisp texture and mild flavor, while fully colored peppers provide sweeter, more complex taste profiles.
Check peppers every two to three days during peak season. Gently twist or cut stems, leaving a small portion attached. Don’t pull fruits forcefully, which damages plants.
Morning harvests preserve crispness better than afternoon picking.
Store green peppers in refrigerator crisper drawers for up to two weeks. Ripe colored peppers last seven to ten days when refrigerated properly.
For longer storage, freeze chopped peppers or dry them completely. Regular harvesting encourages continued production throughout growing season.
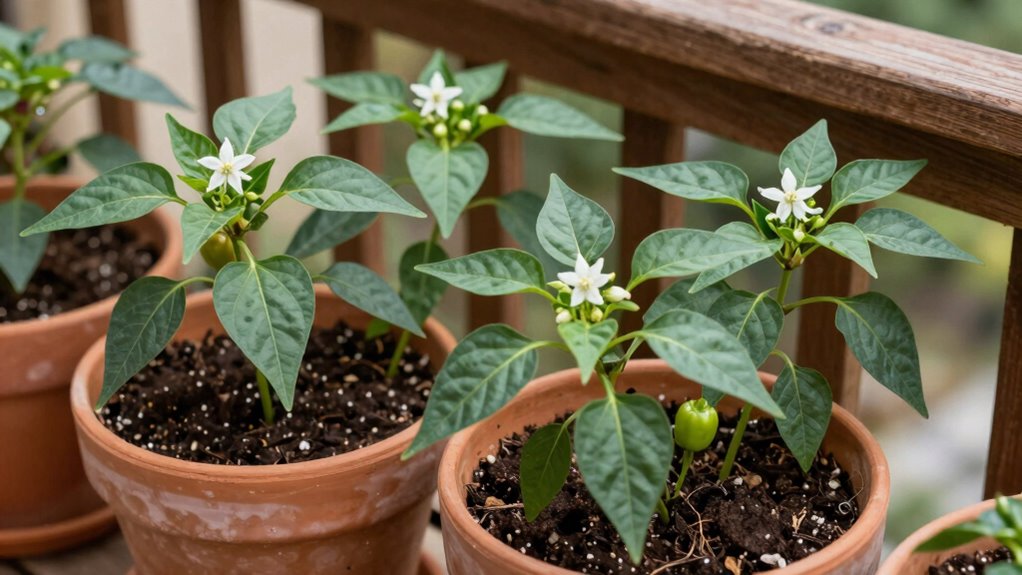
Why Pepper Flowers Fall Off
You’ll notice pepper flowers dropping prematurely when pollination fails due to inadequate bee activity or poor air circulation around your container plants.
Temperature stress directly impacts flower retention, with blossom drop occurring when nighttime temperatures fall below 60°F or rise above 85°F during flowering.
These environmental factors disrupt the plant’s reproductive processes, causing it to abort flowers before fruit development begins.
Poor Pollination Results
Poor pollination often leads to flower drop because pepper plants require successful fertilization to develop fruit. When pollen doesn’t reach the stigma effectively, flowers abort naturally to conserve energy.
- Indoor growing environments lack natural wind and insect activity, reducing pollen transfer between flowers.
- Humidity levels below 40% or above 70% interfere with pollen viability and germination success.
- Hand pollination techniques become essential when growing peppers in containers, requiring you to transfer pollen manually using small brushes.
- Vibrational pollination works best for peppers; gently shaking flowering branches mimics natural pollinator activity, improving fruit set rates notably.
Temperature Stress Impact
Although pepper plants thrive in warm conditions, excessive heat stress during flowering stages triggers blossom drop as the plant prioritizes survival over reproduction.
You’ll notice flowers aborting when temperatures exceed 90°F daytime highs or drop below 60°F nighttime lows. Extreme heat damages pollen viability and disrupts hormone production essential for fruit set.
Container-grown peppers experience temperature fluctuations more intensely than ground-planted ones. Your plants respond by shedding flowers to conserve energy for root and leaf development.
Combat this by providing afternoon shade during heat waves and using light-colored pots that reflect sunlight. Mulching helps regulate soil temperature while consistent watering prevents stress-induced blossom drop.
Monitor weather forecasts and prepare protective measures before temperature extremes hit your garden.
Overwintering Container Pepper Plants
While container-grown pepper plants face unique challenges during winter months, overwintering them successfully requires careful attention to temperature, light, and moisture control.
You’ll need to create stable conditions that mimic their natural dormant state while protecting roots from freezing.
- Move containers to sheltered locations where temperatures stay consistently above 50°F but below 70°F.
- Reduce watering frequency to prevent root rot, allowing soil to dry between waterings.
- Provide supplemental lighting for 8-10 hours daily when natural light drops below 6 hours.
- Prune dead or diseased growth before bringing plants indoors to prevent pest issues.
Monitor plants weekly for signs of stress like leaf drop or fungal growth.
Adjust care routines based on your specific climate zone and container size.
Success depends on maintaining consistent environmental conditions throughout dormancy.
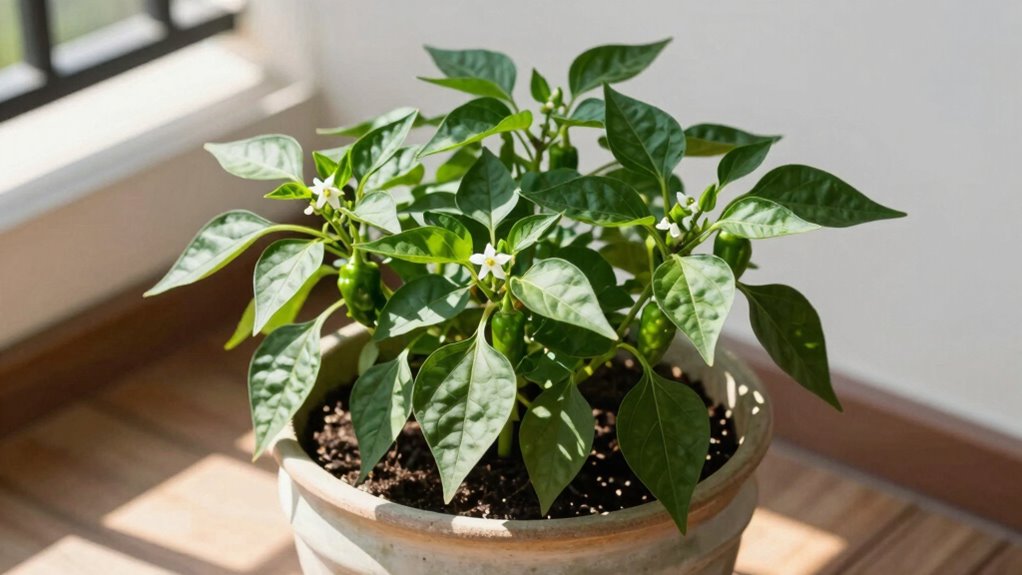
Best Varieties for Pot Gardening
Several compact pepper varieties thrive in container environments, making them ideal choices for pot gardening enthusiasts.
You should consider cultivars like ‘Patio Fire’, ‘Tiny Tim’, and ‘Sweet Banana’ for their naturally dwarf growth habits. These varieties typically reach 12-18 inches tall, fitting perfectly in 10-14 inch pots.
Compact varieties produce smaller root systems, reducing space requirements while maintaining productivity. Look for determinate types that don’t exceed container boundaries.
Cherry peppers, Thai hot, and bell pepper miniatures perform exceptionally well. You’ll discover that smaller varieties often yield more peppers per square foot than larger types.
Choose bush-type cultivars over vining ones for better container adaptation. These compact selections mature faster, producing earlier harvests. Their shallow root zones make them perfect for portable containers you can move easily.
Boost Flavor and Heat in Peppers
Since container-grown peppers often produce more concentrated flavors than their garden counterparts, you can enhance this natural intensity through specific cultivation techniques.
- Reduce watering frequency to stress plants mildly, which triggers capsaicin production and intensifies heat levels while concentrating flavor compounds.
- Choose smaller containers that restrict root growth, forcing plants to focus energy on fruit development rather than vegetative expansion.
- Expose plants to full sun for 8-10 hours daily, maximizing photosynthesis and promoting robust flavor development through increased sugar accumulation.
- Harvest peppers at peak ripeness when they’ve reached full color development, ensuring maximum flavor concentration and ideal heat intensity for your culinary adventures.
Conclusion
You’ve mastered container pepper growing by now. Start with quality seeds or seedlings, choose appropriately sized pots with drainage, and use well-draining soil. Position containers for 6-8 hours sunlight daily. Water when the top inch dries, fertilize bi-weekly, and monitor pests. Top plants at 8-10 inches for bushier growth. Scientific studies confirm that consistent moisture and proper nutrition greatly increase yield and flavor compounds in container-grown peppers.
