

You’re ready to build a backyard tool shed, but where do you start? Choosing the right location is essential – you’ll need a level, well-drained spot that’s close to your home yet complies with local zoning laws. Consider accessibility for both tools and future maintenance. Think about sunlight exposure and how the shed will fit with your yard’s layout. Got your perfect spot picked out? Now let’s talk about sizing it correctly for your tools.
Choosing the Ideal Spot for Your Backyard Shed
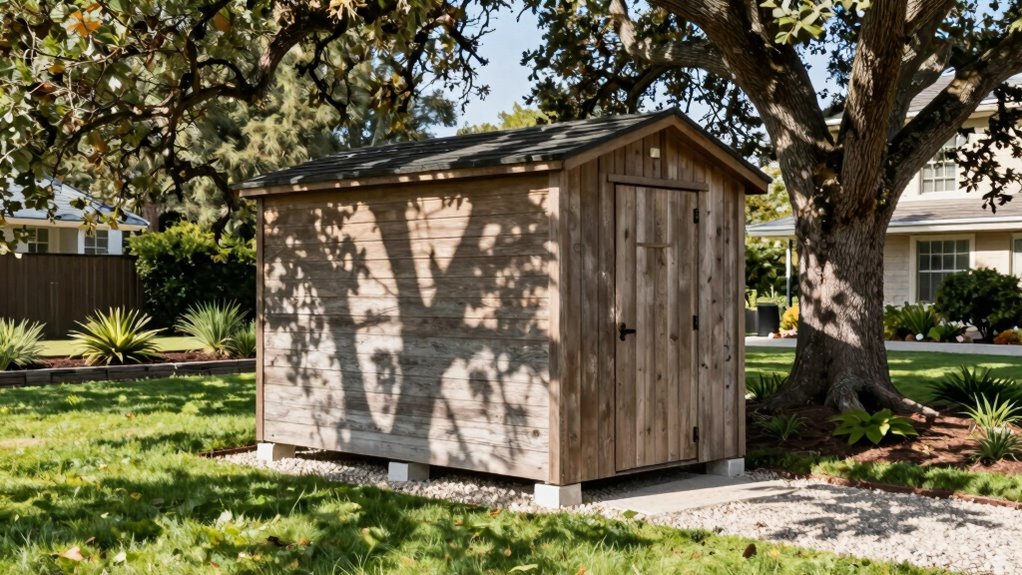
When you’re planning to build a backyard tool shed, selecting the right location requires careful consideration of several practical factors.
You’ll want to choose level ground that drains well, avoiding low spots where water pools. Position your shed close enough to your house for convenience, but maintain at least five feet from property lines to prevent neighbor disputes.
Check local zoning laws and homeowner association rules before finalizing placement. Consider sun exposure – morning light helps prevent moisture buildup.
Confirm easy access for both you and delivery trucks bringing materials. You should also think about proximity to electrical outlets if you plan to install lighting or power tools.
Finally, pick a spot that feels like it belongs in your yard’s natural flow.
Planning Size and Style: Fit Your Tools and Yard
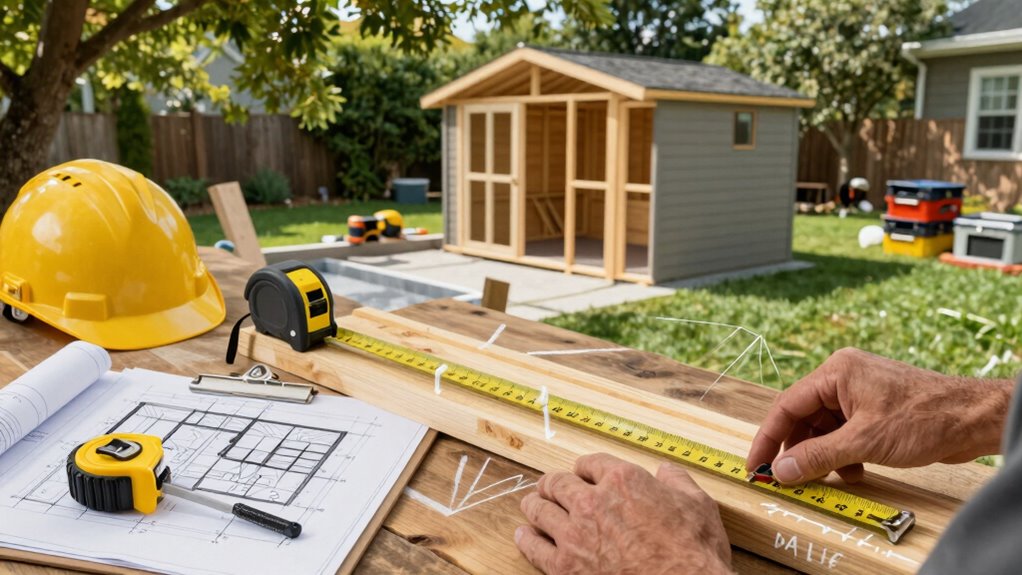
Most backyard tool sheds range from 6×8 feet to 12×20 feet, and choosing the right dimensions depends entirely on your storage needs and available space.
You should inventory all tools, lawn equipment, and seasonal items you plan to store. A 6×8 shed works for basic hand tools and small equipment, while larger gardens need 10×12 or bigger.
Consider future purchases when planning size.
Match your shed’s style to your home’s architecture and neighborhood aesthetics. Ranch-style homes pair well with simple gable roofs, while colonial houses suit shed-style or saltbox designs.
Check local zoning laws for height restrictions and setback requirements. Measure your yard carefully, ensuring enough room for door clearance and maintenance access around all sides.
Must-Have Tools and Materials for Shed Assembly
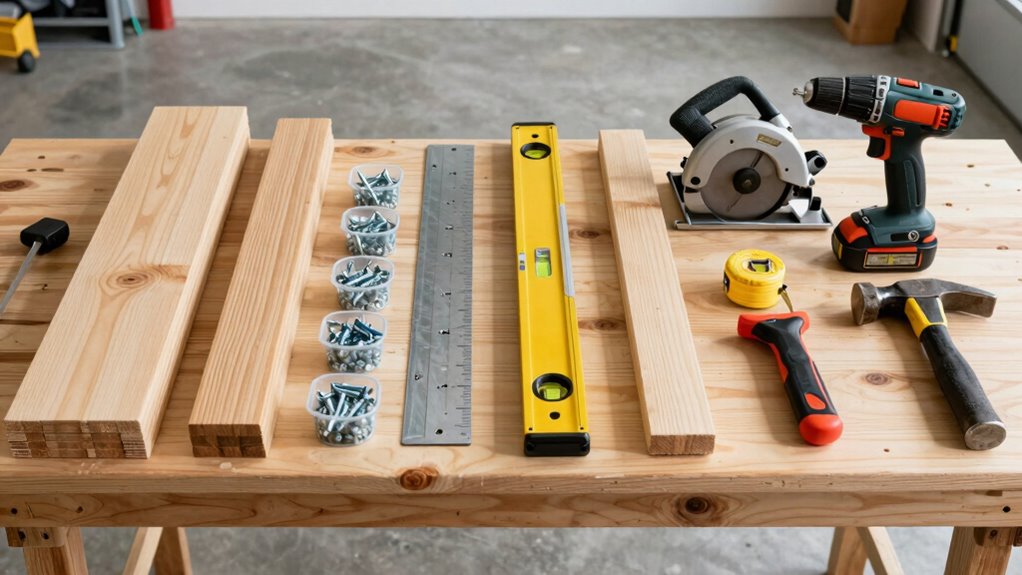
You’ll need a circular saw, drill, level, and measuring tape to cut and assemble your shed frame accurately.
Gather pressure-treated lumber, plywood sheathing, roofing materials, and concrete blocks or gravel for the foundation before you start building.
Don’t forget safety glasses, work gloves, and a first aid kit to protect yourself during construction.
Essential Tools For Shed Building
Several essential tools and materials form the foundation of any successful shed-building project.
You’ll need a circular saw for cutting lumber to length, along with a drill and drill bits for driving screws. A level guarantees your shed sits properly, while a tape measure assures accurate cuts.
Don’t forget safety equipment including work gloves, safety glasses, and ear protection. A hammer comes in handy for framing nails, though a nail gun speeds things up considerably.
You’ll also want a square for marking angles, a reciprocating saw for cutting odd angles, and plenty of clamps to hold pieces together during assembly. These tools make the difference between a wobbly shed and a sturdy structure that’ll last for years.
Required Materials And Supplies
Gathering the right materials before you start building saves time and prevents costly mistakes during construction.
You’ll need pressure-treated lumber for the foundation and frame, exterior-grade plywood for walls, and asphalt shingles for roofing. Purchase galvanized screws, bolts, and hinges that won’t rust.
Don’t forget concrete blocks or gravel for foundation support. Measure twice and buy extra materials – you’ll thank yourself later.
Include door and window hardware, weather stripping, and exterior paint or stain. Grab insulation if you plan to heat the shed.
Having everything ready keeps you moving forward and avoids frustrating trips to the hardware store mid-project.
Safety Equipment And Precautions
Why not protect yourself from the start?
You’ll need safety glasses to shield your eyes from flying debris when cutting wood or driving nails. Steel-toed boots protect your feet from heavy tools and materials that might drop. Work gloves give you better grip while handling rough lumber and prevent splinters. A dust mask keeps harmful particles out of your lungs during cutting and sanding.
Keep a first aid kit nearby for minor cuts or injuries. Always wear hearing protection when using power tools. Check that your ladder is stable before climbing.
Never work alone – have someone nearby who can help if accidents happen. These precautions aren’t optional; they’re essential for keeping you safe and ensuring your shed-building project succeeds without injury.
Prepare Your Foundation Step-by-Step
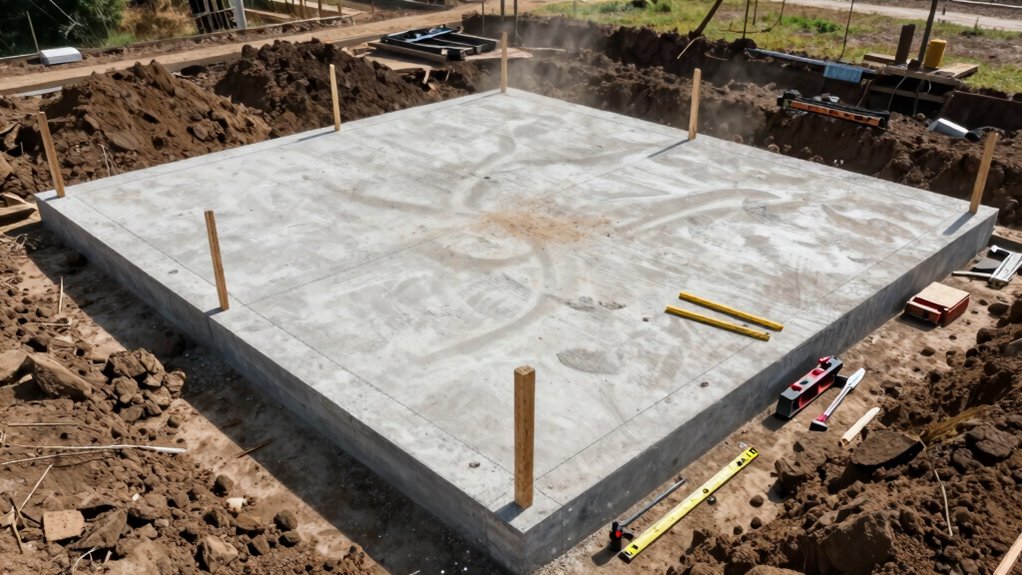
You’ll need to choose the right foundation type for your shed, whether it’s a concrete slab, pier blocks, or pressure-treated skids.
Make sure you level your ground surface properly before laying any foundation materials.
Take accurate measurements and mark your foundation area clearly to avoid mistakes during construction.
Choose Foundation Type
Since your shed’s foundation determines its stability and longevity, choosing the right type requires careful consideration of your soil conditions, local climate, and intended use.
You’ll need to evaluate three main foundation options: concrete slab, pier and beam, or gravel pad. Concrete slabs provide the most stability for heavy tools and equipment, while pier and beam foundations work well in areas with shifting soil. Gravel pads offer a budget-friendly solution for lightweight sheds.
Check your local building codes, as some areas require specific foundation types. Consider your shed’s weight, your region’s freeze-thaw cycles, and soil drainage patterns.
Don’t skip this step – your shed’s foundation directly impacts its usable lifespan and your investment’s value.
Level Ground Surface
Having selected your foundation type, you’ll now prepare the ground surface to guarantee proper leveling before moving forward with the actual foundation construction.
Clear all vegetation, rocks, and debris from your marked area. Use a shovel to remove grass and roots completely. Grab your level and long board to check for high and low spots across the entire surface.
Mark uneven areas with spray paint or stakes. Remove soil from high spots and fill low areas with compacted dirt. Recheck your work frequently with the level. Your foundation needs this solid, flat base to prevent future problems.
Don’t skip this step thinking you’ll save time. Proper preparation prevents costly mistakes later. Take your time here. Your shed’s stability depends on getting this right.
Build a Strong, Level Shed Floor Frame
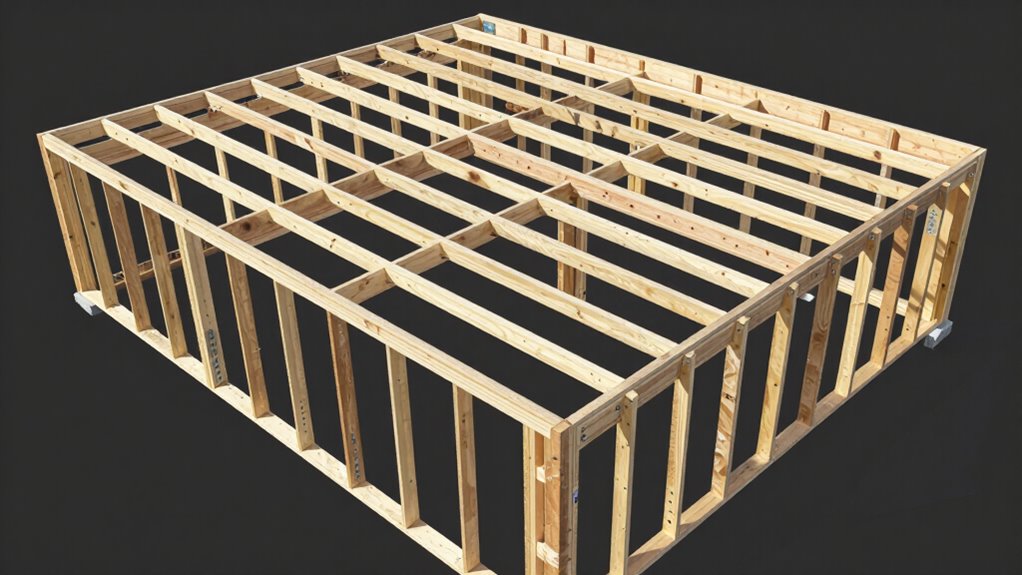
A sturdy floor frame forms the foundation of your entire shed structure. Start by cutting pressure-treated 2×6 lumber to match your shed’s dimensions.
Lay out your perimeter joists first, then space interior joists 16 inches apart. Use galvanized joist hangers and 3-inch screws to connect everything securely.
Check that all corners form perfect squares using the 3-4-5 triangle method. Make sure your frame sits level on the prepared ground surface.
Don’t skip blocking between joists at key points – this prevents sagging later. Once assembled, your floor frame should feel solid when you walk on it.
This framework will support every wall, tool, and memory you create in your new shed.
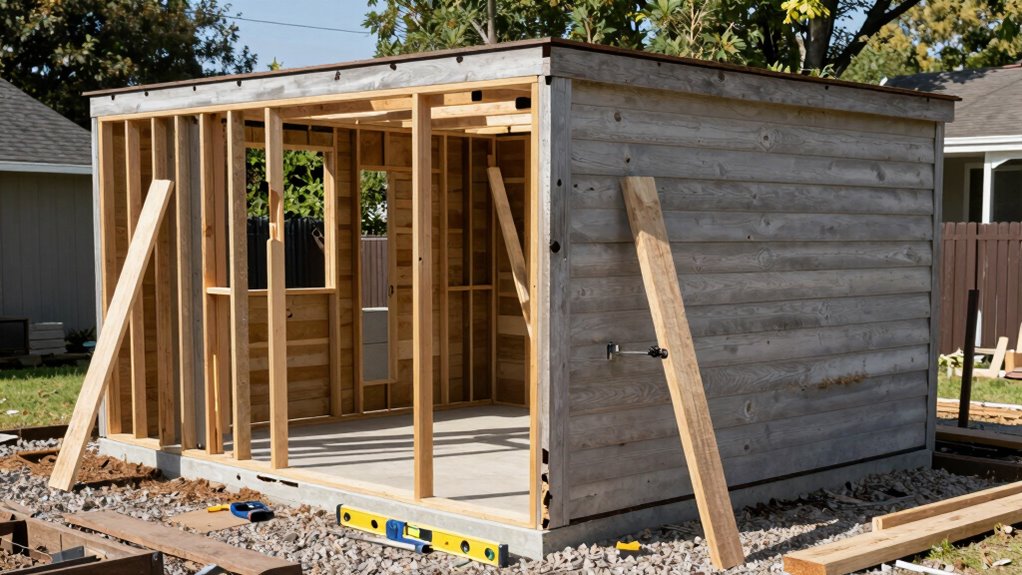
Framing Walls and Roof Trusses Clearly

Once you’ve confirmed your floor frame is perfectly level and secure, you’ll want to begin framing the walls and roof trusses with precision. This stage transforms your foundation into a solid structure you can trust.
- Feel the satisfaction as you measure and cut each stud to exact specifications.
- Experience the pride when your wall frames stand perfectly plumb and square.
- Gain confidence as you securely fasten each joint with proper toenailing techniques.
- Enjoy the accomplishment when your roof trusses align perfectly with wall plates.
- Take pride in knowing your careful attention to detail protects your tools for years.
Start by constructing wall frames on a flat surface before standing them. Use 2×4 lumber for studs spaced 16 inches apart. Cut top and bottom plates precisely. Frame door openings according to your planned access needs.
Build roof trusses according to your chosen pitch angle.
Install Siding, Windows, and Doors Securely
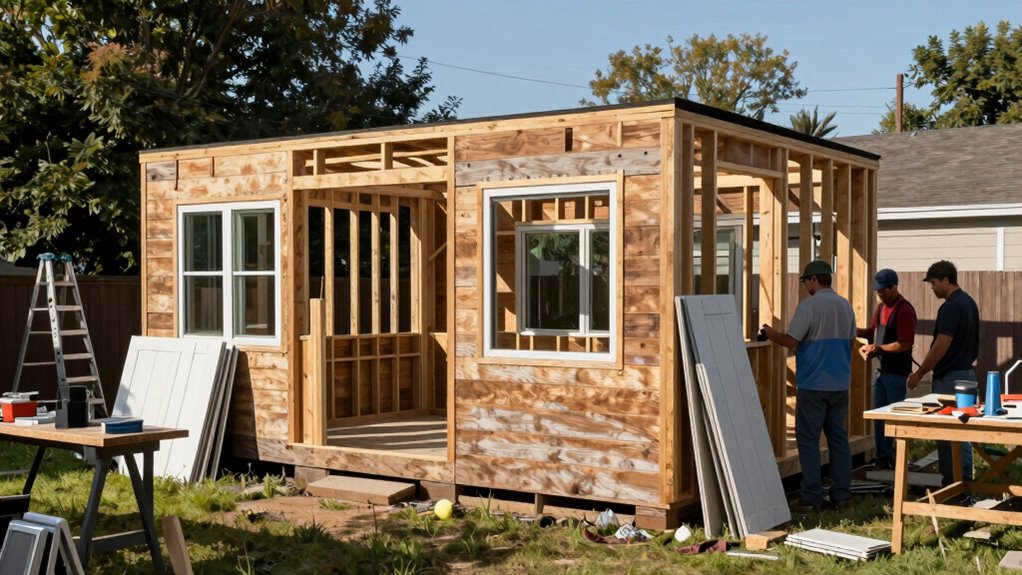
While you’re ready to enclose your structure, installing siding, windows, and doors requires careful preparation and precise execution.
Start by measuring all openings accurately and checking that frames are square. Apply house wrap or building paper before attaching siding to create a moisture barrier. Cut siding panels to fit snugly, overlapping seams properly to direct water away from the structure.
Install windows by securing them with screws through pre-drilled holes, ensuring they’re level and plumb. Caulk around window frames immediately.
Hang doors using sturdy hinges, checking that they swing freely without binding. Secure door frames with additional blocking if needed.
Verify all installations are tight and properly aligned before moving forward.
Seal the Shed: Protect Against Weather & Maximize Storage
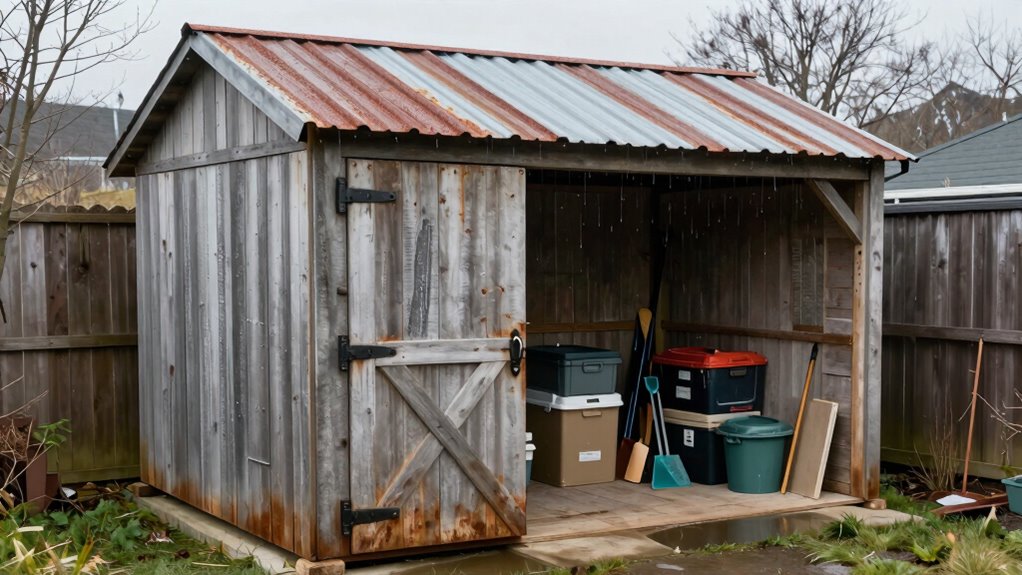
Proper sealing protects your investment and guarantees your tools stay dry year-round. Don’t let weather destroy what you’ve worked hard to build.
- Apply weatherstripping around doors and windows – feel the satisfaction of a perfect seal
- Caulk all gaps and joints thoroughly – watch water bead off your shed like rain on a duck’s back
- Install vapor barriers behind walls – create that dry, protected space you can trust
- Seal roof penetrations with quality flashing – prevent annoying leaks that ruin your stuff
- Check manufacturer warranties on all sealing products – sleep sound knowing you’re covered
Seal every gap completely. Your future self will thank you when tools stay rust-free and your shed remains usable year after year.
This protection assures your shed works as hard as you do.
Cost-Saving Shortcuts and Common Mistake Avoidance
Building a backyard tool shed doesn’t have to break your budget when you know the right shortcuts and pitfalls to avoid. Shop for materials during sales and consider reclaimed lumber from demolition sites. Buy screws and nails in bulk rather than individual packages.
Skip expensive concrete footings by using pier blocks instead. Don’t make the mistake of undersizing your foundation – it’ll cause problems later. Avoid cheap roofing materials that require frequent replacement. Measure twice, cut once to prevent wasting expensive lumber.
Forget elaborate designs initially; simple rectangular sheds cost less and work better. Don’t forget permits – building without them costs more in fines. Compare prices between multiple suppliers before purchasing materials.
Consider prefab kits if your carpentry skills are limited. These shortcuts save hundreds while avoiding costly errors that frustrate weekend warriors.
Conclusion
Picture your finished shed standing proud in your backyard, tools organized and protected from harsh weather. With proper planning, sturdy foundation, and careful construction, you’ll create a durable storage solution that complements your home’s aesthetic while maximizing your outdoor space functionality.
