

You’re probably wondering why your cuttings fail while others succeed effortlessly. The difference lies in understanding precise timing and technique. Selecting healthy parent plants at ideal seasons, making clean cuts with sterile tools, and choosing appropriate rooting mediums aren’t just recommendations—they’re requirements. Each step must align perfectly with plant biology. Mastering these fundamentals transforms propagation from guesswork into predictable success. Want to know which cutting type works best for your specific plants?
What Supplies Do You Need?
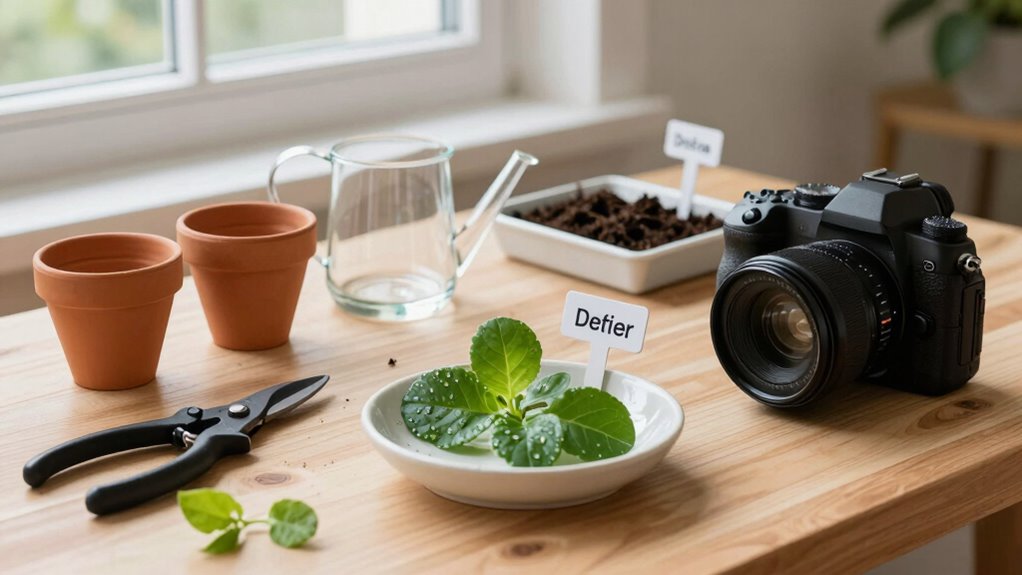
Several essential supplies form the foundation of successful plant propagation.
You’ll need sharp, sterile pruning shears or knives to make clean cuts without crushing plant tissue. Rooting hormone powder or gel accelerates root development and prevents rot. Prepare clean containers with drainage holes and fill them with sterile, well-draining potting mix or perlite.
Maintain humidity levels around cuttings using clear plastic bags or humidity domes. You’ll require clean water for misting and a spray bottle for maintaining moisture.
Label each cutting with waterproof markers to track varieties and dates. Keep fungicide on hand to prevent damping-off disease. Sanitize all tools between uses with rubbing alcohol.
Provide indirect lighting and maintain consistent temperatures between sixty-five and seventy-five degrees Fahrenheit for ideal root formation success.
When Should You Start Taking Cuttings?
The timing of your cutting collection directly impacts propagation success, with favorable windows varying by plant species and seasonal conditions. You’ll want to take cuttings during active growth phases when plants have highest energy reserves.
- Softwood cuttings root quickest during late spring’s warm, humid mornings when stems remain flexible yet firm.
- Semi-hardwood cuttings perform best mid-summer through early fall when new growth begins hardening.
- Hardwood cuttings succeed during dormant winter months when sap flow slows and energy concentrates in root development.
Monitor environmental factors closely. Take cuttings early morning after dew settles but before heat stress peaks. Avoid collecting during extreme weather fluctuations.
You’re working with living tissue requiring precise conditions. Temperature ranges between 65-75°F promote favorable callusing. Humidity levels above 80% prevent desiccation. Light intensity must balance photosynthesis needs without overheating delicate tissues.
Timing isn’t arbitrary—it’s strategic cultivation.
How to Pick the Best Parent Plants
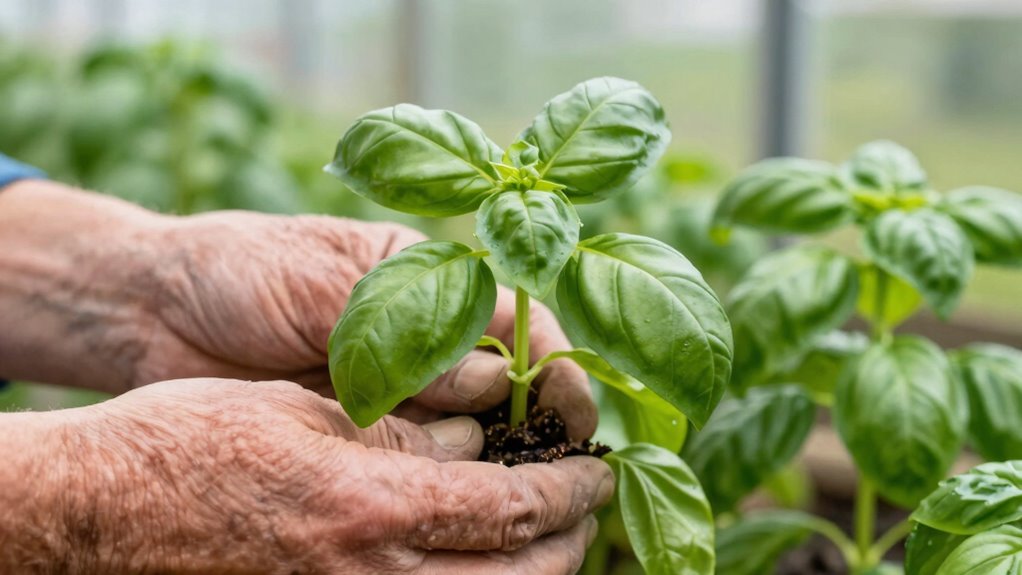
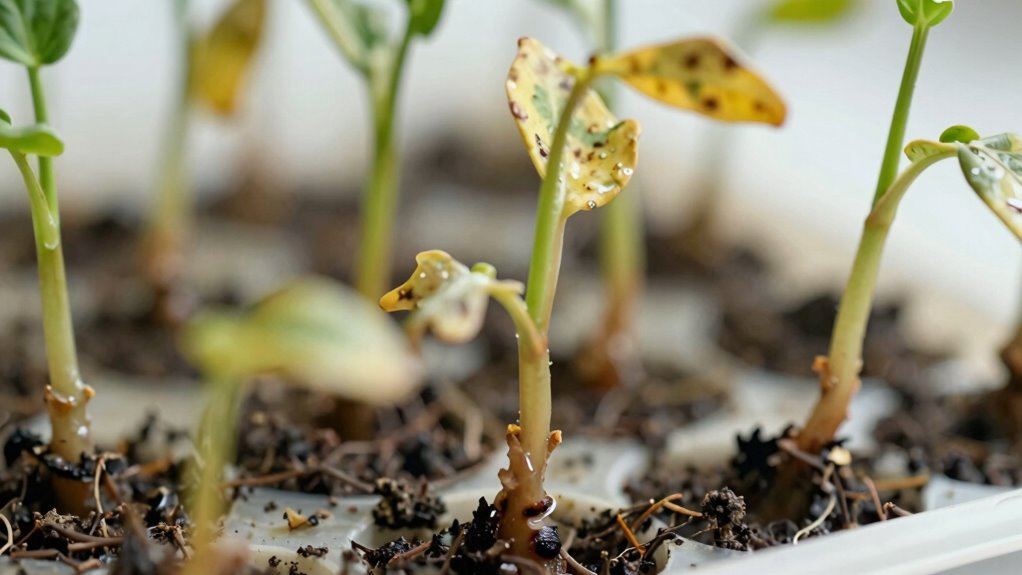
Selecting healthy parent plants forms the foundation of successful propagation outcomes. You should examine potential parent plants for vigorous growth, dense foliage, and robust stems. Reject any specimens showing yellowing leaves, brown spots, or signs of pest infestation. Choose plants that have demonstrated consistent health over several weeks, avoiding those recovering from stress or disease.
Look for actively growing shoots rather than woody, mature stems. Plants should exhibit strong root systems if visible through transparent pots. You want genetic material from specimens that consistently thrive in your specific growing conditions.
Avoid using flowering plants, as energy diversion to blooms reduces rooting success. Select parents that match your cultivation environment’s light, humidity, and temperature parameters.
Healthy parent plants guarantee your cuttings inherit strong genetic traits and environmental adaptability. Your propagation success depends entirely on these initial selection criteria.
Stem vs Leaf Cuttings: Match Type to Plant
Because different plant species exhibit varying anatomical structures and growth patterns, you must match your cutting technique to each plant’s specific characteristics.
Stem cuttings work best for woody or semi-hardwood plants that need strong structural support. Leaf cuttings succeed with succulents and plants that store energy in their foliage.
When you’re choosing between cutting types, visualize these scenarios:
- A fuzzy African violet leaf lying flat on moist soil, sending out tiny plantlets from its edges
- A sturdy rose stem cutting standing upright, its bottom nodes buried beneath lightweight potting mix
- A thick jade leaf resting on sand, gradually developing roots and a new shoot from its base
You’ll achieve better propagation success when you understand that plants like pothos, mint, and bougainvillea respond well to stem cuttings, while snake plants, peperomias, and begonias excel with leaf cuttings.
Step-by-Step: Making Clean Cuts
Having matched your cutting technique to the appropriate plant type, you’ll now focus on executing precise cuts that promote successful propagation.
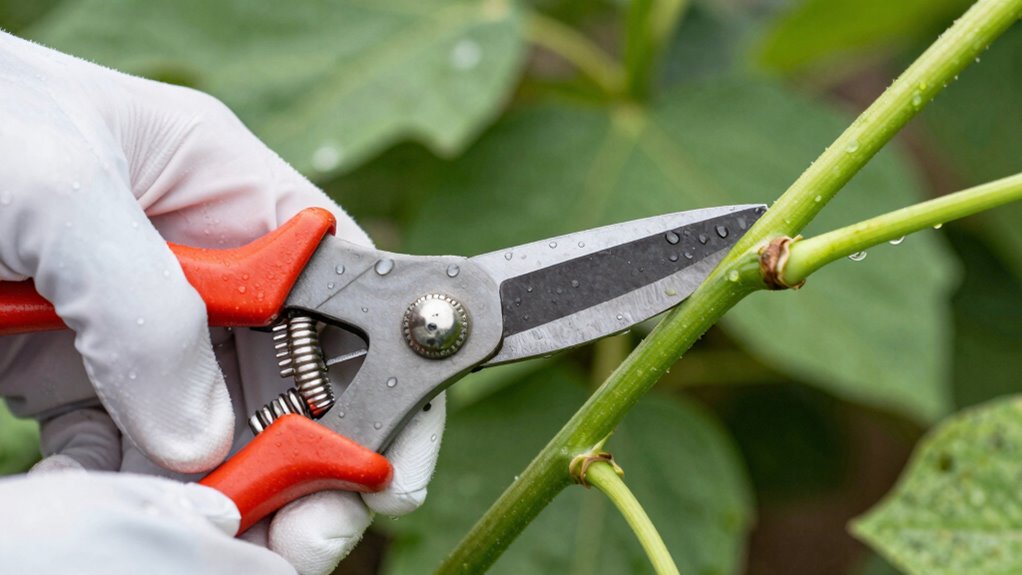
Select a sharp, sterile blade or pruning shears to prevent tissue damage and disease transmission. Position your cutting tool at a 45-degree angle above a leaf node or bud. Execute clean, swift cuts in one motion to minimize cellular trauma.
For stem cuttings, make your cut just below a node where roots will develop. Remove lower leaves that would contact the rooting medium. Immediately place cuttings in water or moist growing medium to prevent air bubble formation in vascular tissues. Work quickly to maintain cellular hydration.
Clean your tools between cuts using rubbing alcohol to prevent pathogen spread. Proper cutting execution determines your propagation success rate.
Should You Use Rooting Hormone?
Why should you consider rooting hormone when propagating plants?
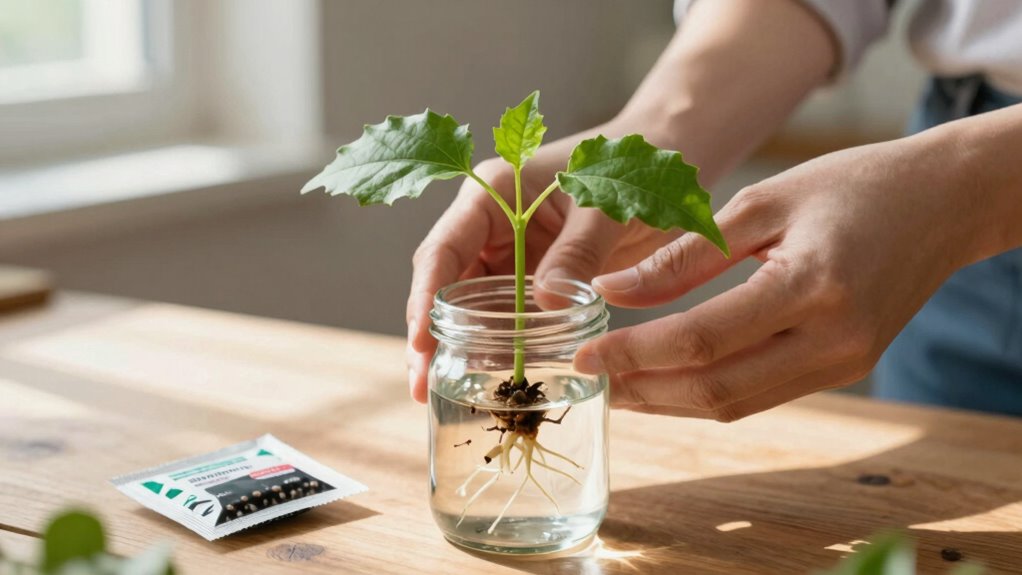
Rooting hormone contains auxins that stimulate root development, greatly increasing your success rate.
You’ll find that treated cuttings develop roots faster and more abundantly than untreated ones.
Visualize these scenarios:
- *Watching your cutting sprout tiny white roots within days instead of weeks*
- *Seeing robust root systems that fill containers quickly*
- *Observing healthy, vigorous growth from hormonally-boosted propagations*
Rooting hormone comes in powder, gel, or liquid forms.
You simply dip your freshly cut stem into the hormone, tap off excess, then insert into your chosen medium.
While not mandatory, it dramatically improves results, especially for harder-to-root species.
Your propagation success joins the ranks of experienced gardeners who rely on this simple technique.
Soil or Water: Rooting Medium Choices
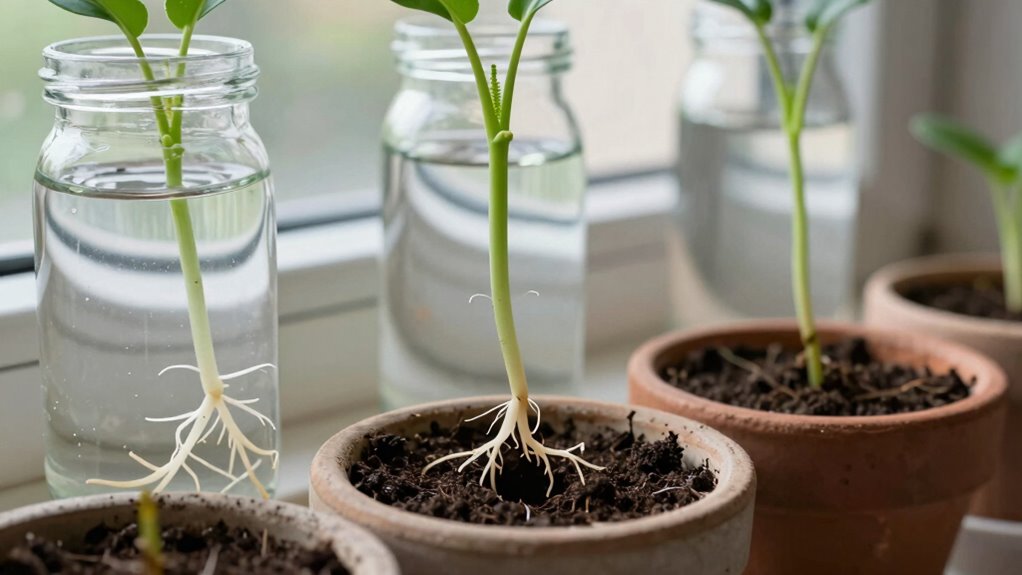
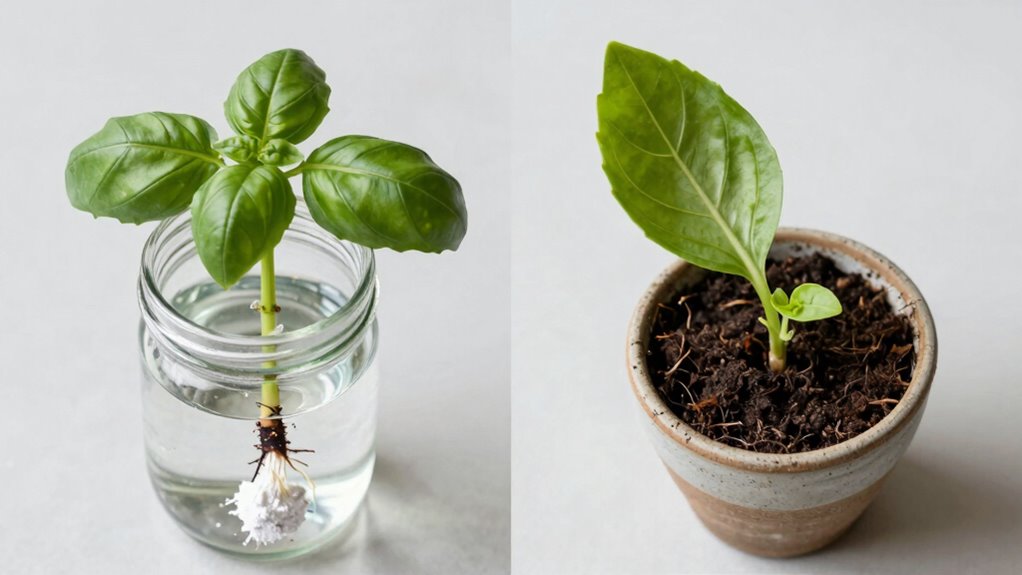
Choosing between soil and water as your rooting medium depends on your plant species and propagation goals.
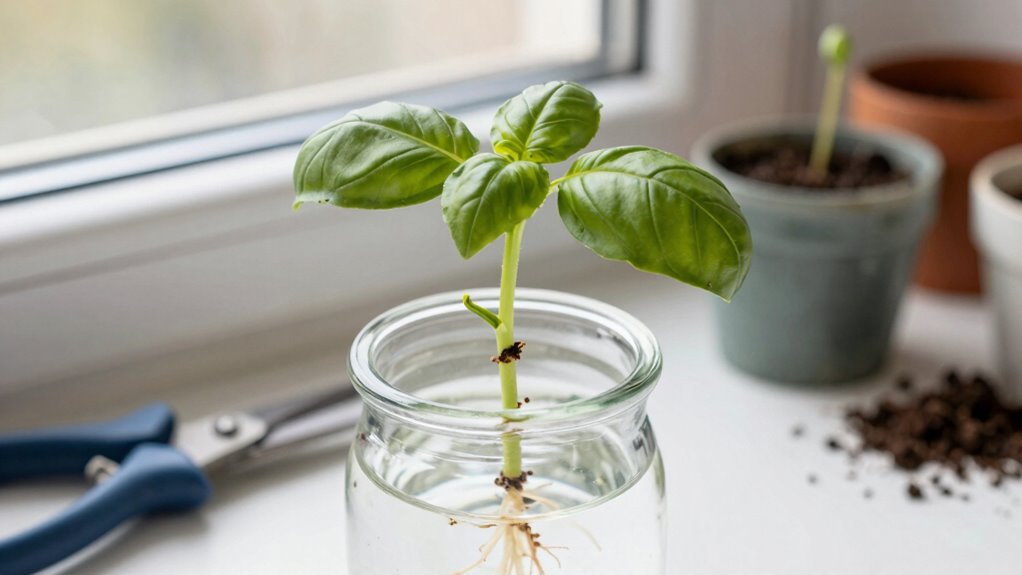
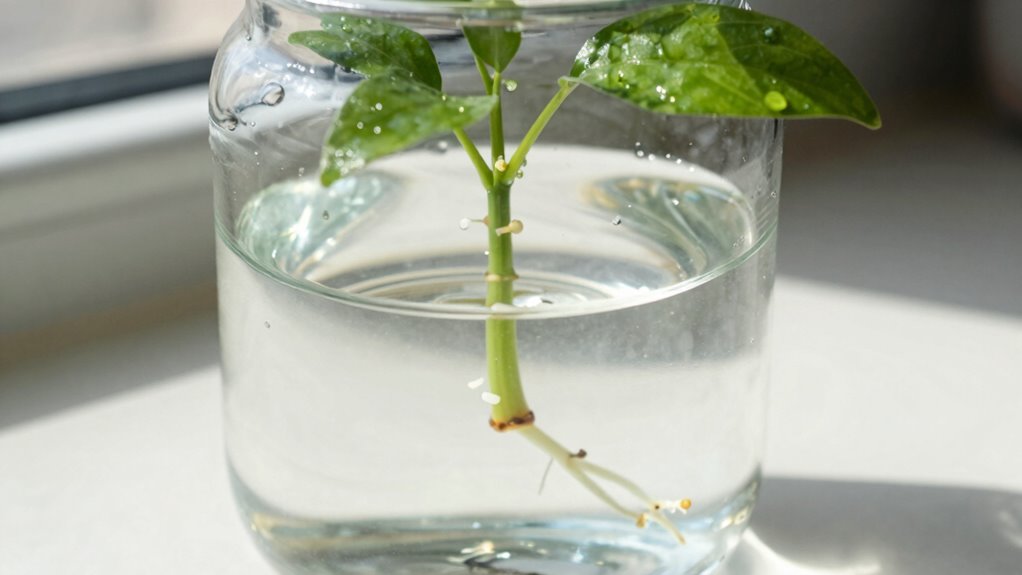
You’ll find that soft-stemmed plants like pothos and mint root quickly in water, while woody-stemmed varieties such as roses and hydrangeas typically require soil medium.
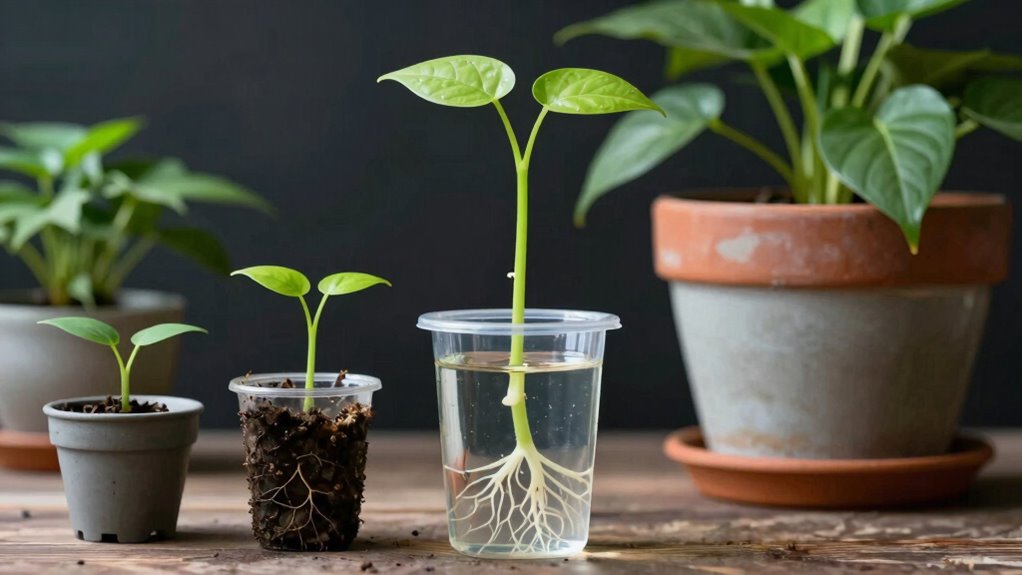
Water propagation allows direct root observation and eliminates soil-borne pathogens, but roots may struggle adapting to soil later.
Soil propagation provides immediate access to nutrients and better long-term acclimation, though monitoring root development becomes difficult.
Consider your plant’s natural growing conditions; tropical vines often prefer water-starting, while shrubs generally need soil.
You should also factor in your maintenance preferences and available space.
Both methods work effectively when matched appropriately to your cutting type and personal cultivation style.
Keeping Your New Cuttings Alive While Roots Grow
You must maintain consistent soil moisture at 60-70% saturation to prevent desiccation while avoiding waterlogged conditions that promote fungal growth.
Your cuttings require humidity levels between 70-80% to minimize transpiration stress and encourage root development.
You should provide 12-16 hours of indirect light daily, ensuring light intensity remains between 2000-4000 lux to support photosynthesis without causing heat stress.
Maintaining Proper Soil Moisture
Maintaining proper soil moisture requires careful attention to watering frequency and drainage conditions.
You must balance keeping the growing medium consistently moist without waterlogging the cuttings.
- Visualize water droplets slowly penetrating the soil – each droplet should disappear gradually rather than pooling on the surface.
- Picture healthy roots emerging – these delicate structures need oxygen exchange through well-draining soil particles.
- Imagine checking soil moisture with your finger – the top inch should feel damp but not saturated.
Water lightly but frequently, ensuring excess drains away completely. Use a moisture meter or finger test daily.
Avoid letting cuttings sit in standing water, which causes root rot. Choose containers with drainage holes and well-aerated potting mixes.
Monitor soil conditions closely during the first two weeks when root development occurs. Adjust watering based on environmental conditions and soil type.
Providing Adequate Humidity Levels
Humidity levels directly impact cutting survival during root development. You must maintain 70-80% relative humidity around your cuttings to prevent dehydration while roots form.
Create a humidity dome using plastic bags or propagators to trap moisture around stem cuttings. Monitor condensation levels; excessive fogging indicates over-humidification. Use humidity trays filled with water and pebbles beneath containers, ensuring drainage holes don’t sit in standing water.
Mist cutting surfaces lightly twice daily, avoiding oversaturation. Gradually reduce humidity levels once roots appear, acclimating cuttings to normal atmospheric conditions. Test humidity using hygrometers placed near cuttings. Adjust ventilation and misting frequency based on environmental conditions.
Maintain consistent humidity gradients rather than fluctuating levels that stress developing root systems during this critical establishment phase.
Ensuring Sufficient Light Exposure
Light exposure plays a pivotal role in photosynthesis and energy production for developing cuttings before their root systems can supply adequate nutrients. You must provide bright, indirect light to prevent leggy growth while avoiding direct sunlight that causes stress.
- Position cuttings near east-facing windows where morning light provides gentle intensity without scorching delicate tissues.
- Use artificial grow lights positioned 6-8 inches above cuttings for 14-16 hours daily when natural light is insufficient.
- Monitor leaf color and orientation – healthy cuttings display vibrant green leaves that remain upright rather than drooping or yellowing.
You should rotate cuttings every few days for uniform light exposure. Maintain consistent lighting schedules because irregular exposure disrupts hormonal balance necessary for root development.
Fluorescent or LED grow lights work effectively when natural light is limited. Avoid placing cuttings in dark areas expecting root growth without proper illumination.
Troubleshooting Wilting, Rot & Slow Growth
When propagating plants, you’ll encounter issues like wilting, rot, and slow growth if environmental conditions aren’t optimized.
Wilting often indicates underwatering or excessive heat; check soil moisture daily and maintain consistent temperatures between 65-75°F.
Root rot develops from overwatering or poor drainage, so make sure your growing medium remains moist but not waterlogged.
Slow growth typically signals inadequate light, nutrient deficiency, or temperature stress. Monitor pH levels between 6.0-7.0 and provide appropriate lighting intensity.
Yellowing leaves suggest nutrient imbalances or drainage problems. Brown, mushy roots indicate fungal infection requiring immediate removal of affected tissue.
Prevent these issues by maintaining proper watering schedules, making certain adequate air circulation, and using sterile tools during cutting preparation.
Regular observation helps you identify problems early.
Moving New Plants Into Larger Pots
Transplanting newly propagated plants into larger pots requires careful attention to root development and growing conditions. You’ll want to monitor these key indicators before moving forward with the process.
- Gently lift the plant from its current container, observing whether roots have filled the soil mass and begun circling the pot’s edges.
- Examine the root system for healthy white or light-colored growth, avoiding any blackened or mushy sections that indicate disease.
- Check that new growth has emerged above the soil line, signaling the plant’s readiness for increased space and nutrients.
Select a pot that’s two to three inches larger in diameter than the current one. Use fresh, well-draining potting mix specifically formulated for your plant type.
Carefully loosen the root ball before placing it in the new container, ensuring the top of the root ball sits one inch below the pot’s rim. Water thoroughly after transplanting, allowing excess drainage to prevent waterlogging.
Conclusion
You’ve successfully propagated your cuttings, watching tiny root hairs emerge like delicate spider webs in the soil. Now transplant each rooted cutting into larger containers, ensuring continued growth. Maintain consistent moisture and bright, indirect light as your new plants establish stronger root systems. With proper care, these cuttings will develop into healthy, independent plants ready for their permanent homes.
