

You shouldn’t ignore the fine particles coating your workshop surfaces any longer. Dust buildup affects both your health and tool performance, creating unseen risks that accumulate over time. Before you start cleaning, you need to understand exactly how often your space requires attention and which areas demand priority. Let’s break down the systematic approach that keeps your workspace safe and functional.
Why Workshop Dust Threatens Safety & Tool Longevity
When you allow dust to accumulate in your workshop, you create serious safety hazards that can compromise both your health and your equipment’s performance.
Fine particles irritate your respiratory system, potentially causing long-term damage. You’ll notice your tools beginning to malfunction as dust infiltrates motors, clogs ventilation systems, and interferes with precision mechanisms.
Your expensive power tools won’t last nearly as long when they’re constantly breathing contaminated air. Dust buildup also creates fire risks, especially around electrical components.
You’re fundamentally gambling with your wellbeing and investment every time you ignore proper cleanup. Regular maintenance prevents these issues from developing into costly problems.
Taking pride in your workspace means protecting yourself and your equipment consistently, not just when it’s convenient.
How Often Should You Tackle a Full Workshop Cleanup?
While you might be tempted to clean your workshop only when it looks visibly dirty, tackling a full cleanup on a regular schedule prevents dust from accumulating to dangerous levels. You should aim for a thorough cleanup every four to six weeks, regardless of visible dust buildup.
This timeframe works well because it aligns with most woodworkers’ project cycles and keeps dust accumulation manageable.
Mark your calendar and treat this cleanup like an important appointment. During these sessions, you’ll thoroughly vacuum all surfaces, wipe down tools, and clean dust collection systems.
Don’t skip overlooked areas like corners, overhead beams, and behind equipment. Regular deep cleaning becomes easier when you maintain consistent schedules, and you’ll notice better air quality and tool performance between sessions.
Identify the Dustiest Tools in Your Space

You need to systematically identify which tools collect dust most aggressively by examining their position, usage frequency, and exposure to airflow.
Create a targeted cleaning schedule that addresses these high-dust areas first, then implement strategic storage solutions to minimize future accumulation on your most problematic tools.
This focused approach guarantees you’re not wasting time on evenly distributed cleaning when certain items require immediate attention.
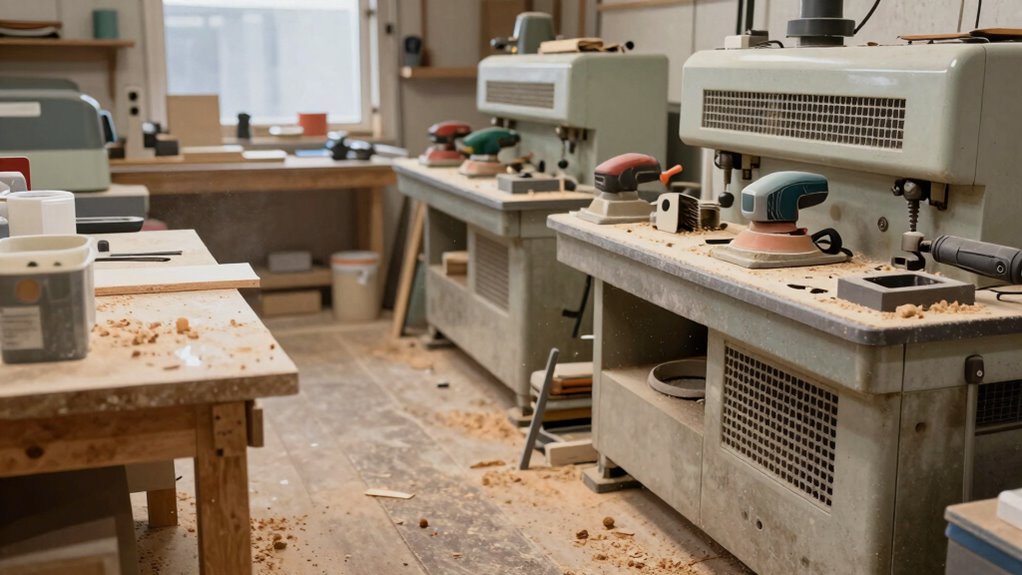
Most Dust-Accumulating Tools
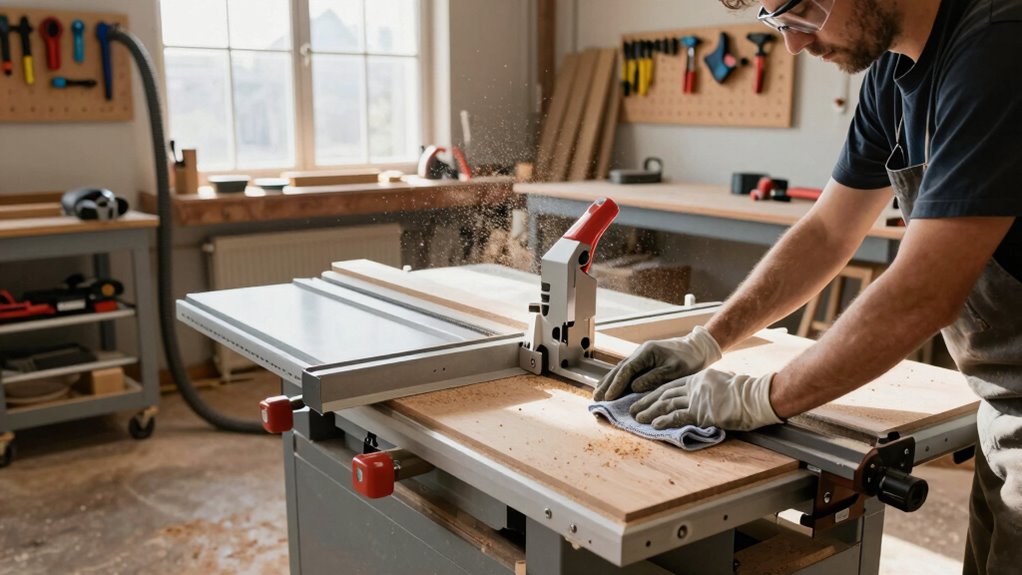
Several power tools consistently generate the most airborne particles in workshop environments. Your table saw produces fine sawdust continuously, while routers create dense wood particles that settle quickly.
Belt sanders generate tremendous amounts of fine dust, and you’ll find your drill press creates powdery residue around workpieces. Circular saws throw chips and dust everywhere, and jointers produce steady streams of particles during operation.
Don’t overlook your miter saw, which creates concentrated bursts of dust with each cut. These tools demand your immediate attention after use.
You’ll notice thicker dust accumulation around their bases and exhaust areas. Pay special attention to tools with built-in dust collection systems that might be clogged or disconnected. Regular inspection helps you identify which tools need cleaning priority in your workshop.
Regular Cleaning Schedule
Because dust accumulates rapidly around certain tools, establishing a regular cleaning schedule becomes crucial for maintaining workshop safety and efficiency.
You should identify your dustiest equipment first—that table saw, drill press, or sander generating the most debris. Mark these areas for daily attention.
Create specific time blocks: fifteen minutes after each major project, thirty minutes weekly for deep cleaning high-dust zones.
Don’t forget monthly thorough sessions targeting overlooked corners where dust settles silently.
Assign priority ratings to tools based on usage frequency and dust production levels. Keep a cleaning log tracking when each area receives attention.
This systematic approach guarantees you won’t miss critical spots while building consistent habits that become second nature in your workspace routine.
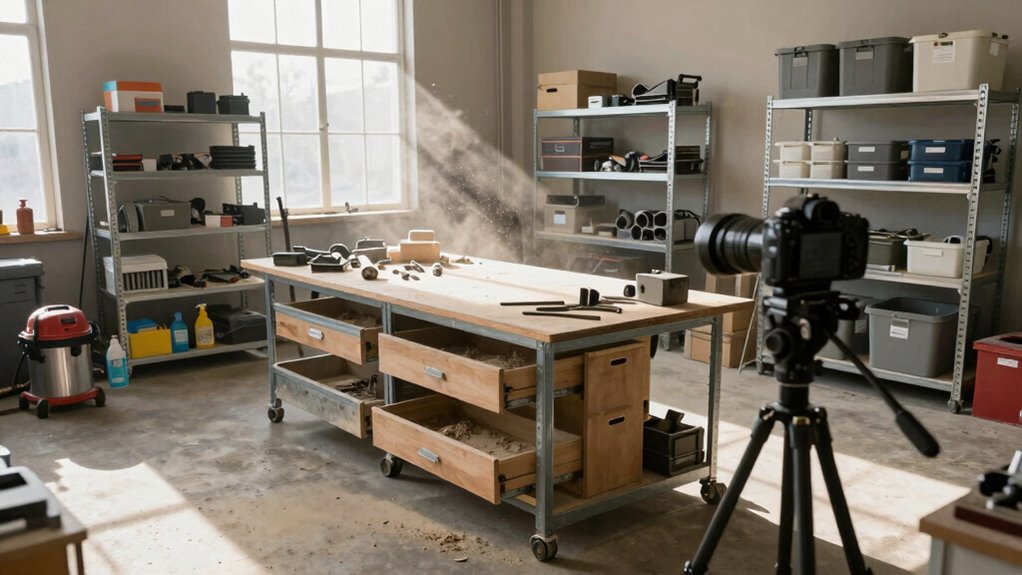
Proper Storage Solutions
While organizing your workshop storage, identifying which tools generate the most dust helps prioritize containment strategies.
Start by examining your power tools – sanders, grinders, and routers create fine particles that spread quickly. Mark these high-dust items for enclosed storage solutions.
You should categorize tools by dust production levels. High-dust tools need sealed cabinets or plastic bins with tight-fitting lids. Medium-dust items like hand planes and chisels work well in open shelving with backing. Low-dust tools can store in basic containers.
Create designated zones for different dust categories. Label storage areas clearly so everyone knows where items belong. Use transparent containers when possible – you’ll see contents without opening dusty bins.
Magnetic strips work excellent for metal tools, keeping them accessible while minimizing dust accumulation on surfaces below.
Stock Up on Tools Made for Workshop Dust
When you’re tackling workshop dust, having the right tools makes all the difference in maintaining a clean and safe working environment. You should invest in microfiber cloths that trap dust particles effectively without spreading them around.
Shop for compressed air cans to blow dust from tight spaces and electronics. Choose a quality vacuum with HEPA filtration designed specifically for workshop debris. Don’t overlook dust collection systems that attach directly to your power tools.
Wire brushes help remove caked-on dust from surfaces and machinery. Purchase disposable dust wipes for quick cleanups during projects. Magnetic dust holders work wonders for metal shavings.
Keep tack cloths handy for final wipe-downs before applying finishes. These specialized tools become your workshop allies, making dust management routine rather than overwhelming.
Deep Clean Every Area : Floors, Tools, and Storage
Now that you’ve gathered the right tools for workshop dust management, it’s time to put them to work through a thorough cleaning routine.
Start with floors by sweeping debris into corners, then vacuum systematically from back to front. Don’t forget baseboards and under workbenches where dust accumulates.
Clean tools methodically – wipe metal surfaces with microfiber cloths, brush away debris from crevices, and lubricate moving parts. Organize cleaned tools immediately to prevent recontamination.
Tackle storage areas next. Remove items from shelves, dust each surface, and clean containers before returning contents.
Check drawers and cabinets for hidden dust pockets. Pay special attention to frequently accessed areas where dust settles quickly.
Maintain your workspace’s integrity by establishing consistent cleaning patterns. Your fellow workshop enthusiasts expect clean, safe environments – deliver exactly that through disciplined deep cleaning practices.
Clean Walls and Ceilings Without Spreading Dust Around

Because dust particles can easily become airborne during cleaning, you’ll want to approach wall and ceiling maintenance with strategic techniques that minimize redistribution throughout your workspace.
Start by turning off all fans and ventilation systems to prevent dust circulation. Use a damp cloth or microfiber wipe, not dry brushing, which spreads particles.
Work from top to bottom, beginning with ceiling corners and light fixtures. Clean walls systematically, moving your cloth in slow, deliberate motions. Vacuum wall surfaces first with a soft brush attachment if heavily coated.
Keep your cleaning cloth damp but not dripping wet. Change cloths frequently to avoid re-depositing dust. Focus on corners, door frames, and window areas where dust accumulates.
Maintain steady pressure without scrubbing aggressively. This methodical approach keeps dust contained while ensuring thorough cleaning results you can trust.
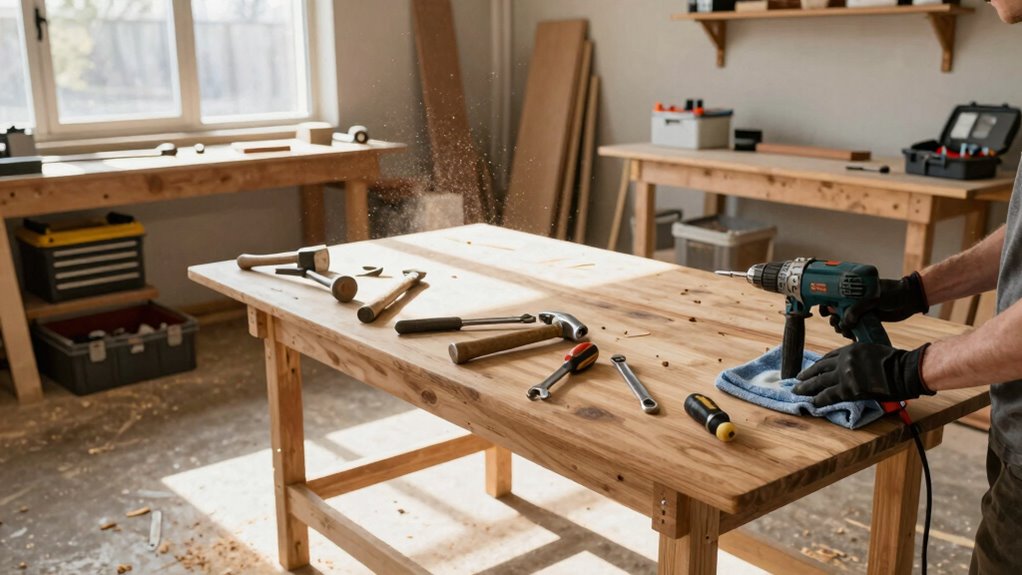
Safely Wipe Down Power Tools During Maintenance
While maintaining your workshop’s cleanliness, you’ll want to properly care for your power tools by wiping them down safely during routine maintenance.
First, disconnect tools from power sources completely. Use compressed air to blow loose dust from crevices and vents. Wipe surfaces with microfiber cloths dampened with appropriate solvents – mineral spirits for metal, mild detergent for plastic. Avoid harsh chemicals that could damage finishes.
Clean blade guards, handles, and trigger areas thoroughly. Pay special attention to dust accumulation around motor housings.
Dry all components completely before storage. Regular cleaning prevents debris buildup that causes malfunctions. Your tools perform better when maintained properly, becoming reliable workshop companions that last years.
This systematic approach keeps equipment running smoothly while extending tool lifespan effectively.
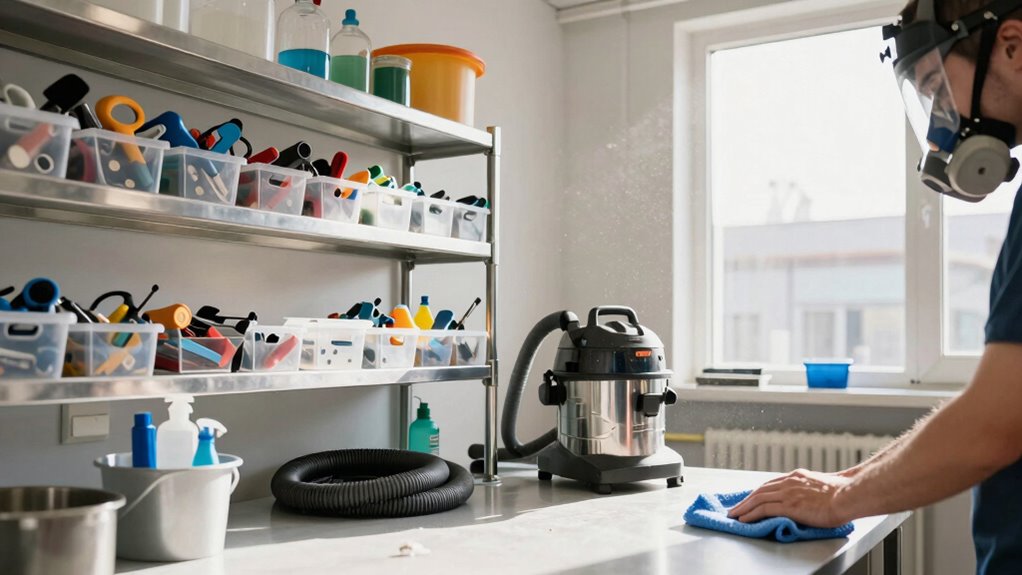
Choose a Vacuum Designed for Fine Workshop Debris

Since you’re dealing with fine dust particles that standard vacuums can’t capture effectively, choosing the right vacuum cleaner becomes essential for maintaining your workshop’s cleanliness.
You need a vacuum specifically designed for workshop debris, not your living room. Look for models with HEPA filtration systems that trap particles as small as 0.3 microns.
Check the motor’s durability too. Workshop vacuums should handle metal shavings, sawdust, and plastic particles without clogging. You want something portable yet powerful enough for heavy-duty cleaning.
Consider tank-style vacuums over upright models for better stability. Make sure it’s easy to empty and maintain. Don’t forget to check the warranty.
Invest in quality because workshop dust damages lungs and equipment. Your health and tools depend on choosing correctly.
Install Permanent Dust Capture Solutions Early
Although you might be tempted to rely solely on vacuums and manual cleaning methods, installing permanent dust capture solutions from the beginning of your workshop setup saves significant time and effort in the long run.
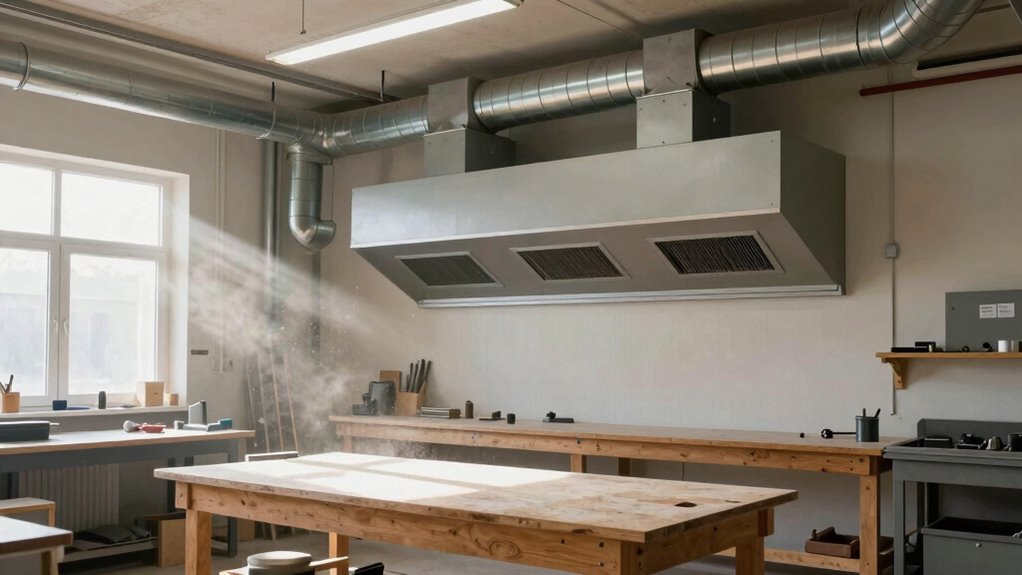
You should prioritize integrating dust collection systems directly into your workspace design. Position collectors near primary work areas where dust generation occurs most frequently. Install overhead collection hoods above sanding stations and cutting zones. Connect tools directly to collection ports using flexible ducting.
Size your system appropriately for your workshop’s square footage and typical dust production levels. Mount collection units on walls or ceilings to maximize floor space while maintaining accessibility for maintenance.
Plan electrical connections during initial construction phases rather than retrofitting later. Incorporate blast gates to direct airflow efficiently between different work zones.
Your future self will appreciate having systematic dust management built into your workshop from day one.
Stop Dust at the Source : Contain It First

When you contain dust at its source, you prevent it from spreading throughout your workshop in the first place.
Position dust collection hoses directly at cutting points and drilling stations. Adjust suction power based on material types – wood requires stronger vacuum than metal.
Install flexible exhaust systems that move with your workspace changes. You should seal gaps around machinery using foam stripping and magnetic catches. Cover openings when equipment isn’t running.
Create negative pressure zones using strategically placed fans that pull air toward collection points. Position yourself upwind from dust-generating activities whenever possible.
Check that all connections remain airtight – loose fittings defeat containment efforts. Monitor airflow rates regularly to maintain peak performance. Small adjustments prevent major cleanup sessions later.
Adopt Daily Habits That Prevent Dust Buildup
You should establish systematic tool organization by returning each item to its designated storage location immediately after use, which prevents dust accumulation on scattered equipment.
Maintain clean work surfaces by wiping down benches, tables, and shelves with a microfiber cloth at the end of each work session.
These consistent daily practices create a foundation for long-term dust prevention rather than relying solely on periodic deep cleaning efforts.
Organize Tools Properly
Store your tools in designated locations after each use to prevent dust accumulation and maintain workshop efficiency.
Create specific zones for different tool categories: hang wrenches on pegboards, store drill bits in labeled containers, and keep measuring tools in drawer dividers.
Use magnetic strips for metal tools and shadow boards to track missing items. Assign permanent homes for frequently used items near your primary work area.
Clean tools before storage by wiping metal surfaces and removing debris from crevices. Sharp tools deserve protective sheaths or blade guards.
Regular organization prevents dust layers from forming on neglected tools. Group similar tools together and label storage areas clearly.
Keep frequently used items easily accessible while storing seasonal tools in covered containers. Proper organization reduces dust buildup, protects tool functionality, and creates a workspace where every tool has its place and purpose.
Maintain Clean Work Surfaces
Why not make clean work surfaces a non-negotiable part of your daily routine?
Start each morning by wiping down benches, tables, and shelves with a damp cloth. Remove debris immediately after completing projects rather than letting it accumulate.
Use compressed air to blow dust from crevices and corners where particles hide. Store materials properly to prevent spills and messes.
Sweep floors daily and empty trash cans regularly. Keep cleaning supplies readily accessible so you can quickly address messes.
Establish specific cleanup times before ending each work session. Create checklists to guarantee consistency.
Your fellow craftsmen expect clean shared spaces, and maintaining tidy surfaces shows respect for everyone’s workspace while preventing cross-contamination between projects.
Separate Fine Dust From Chunky Workshop Debris
When tackling workshop cleanup, separating fine dust from larger debris first makes the entire process more efficient and prevents clogging your vacuum system.
Start by removing big wood chips, metal shavings, and plastic scraps with a shop vacuum’s standard nozzle or a dustpan. These bulky items can’t be effectively captured by fine dust collection systems anyway.
Next, switch to specialized fine dust attachments or microfiber cloths for smaller particles. Fine dust clogs easily, so work systematically from largest to smallest debris.
Empty your vacuum container frequently during this process. You’ll notice how much smoother your cleanup becomes when you follow this logical sequence, making every workshop session feel more organized and professional.
Equip Yourself With the Right Safety Gear
Having separated the larger debris from fine dust particles, you’ll want to protect yourself properly before continuing cleanup efforts.
Grab a N95 respirator mask to filter airborne particles effectively. Don’t skip this step – your lungs will thank you later. Wear safety glasses to shield your eyes from floating dust. Choose wraparound styles for maximum coverage.
Put on disposable gloves, preferably nitrile ones that resist chemicals. They’ll protect your skin from irritants. Consider wearing long sleeves and pants to minimize exposed skin. Closed-toe shoes prevent dust from settling on your feet.
Keep a clean set of clothes nearby for after cleanup. Having the right gear shows you’re taking this seriously, and you’ll fit right in with serious workshop enthusiasts who know proper safety protocols matter.
Avoid These Common Cleaning Mistakes in Workshops
You must never use water on electrical equipment because it creates dangerous shock hazards and can damage sensitive components.
Always guarantee proper ventilation during cleaning to prevent inhaling toxic dust particles and chemical fumes.
Never overlook sharp tool safety by leaving cutting edges exposed or failing to secure blades before wiping them down.
Using Water on Electrical Equipment
While water might seem like an effective cleaning solution, applying it directly to electrical equipment can create serious safety hazards and damage your workshop tools. You should never spray or pour water onto motors, switches, outlets, or power tools. Water conducts electricity, creating shock risks that can seriously injure you or others nearby.
Instead, turn off all power sources completely before cleaning. Use dry methods like compressed air, vacuum attachments, or lint-free cloths to remove dust safely. For stubborn grime, apply approved electrical contact cleaners specifically designed for your equipment. Always check manufacturer guidelines before using any cleaning products.
Remember that prevention works best – regularly dust surfaces with dry methods rather than waiting for buildup. Your safety and equipment longevity depend on following these water-free electrical cleaning practices consistently.
Ignoring Ventilation During Cleaning
Proper airflow becomes just as important as avoiding water around electrical equipment when you’re cleaning your workshop.
You must keep ventilation systems running during cleanup to prevent inhaling harmful particles. Turn on exhaust fans, open windows, and use portable fans to create cross-ventilation.
Dust particles become airborne during sweeping and wiping, lingering in poorly ventilated spaces. Your respiratory system deserves protection from these invisible threats. Running ventilation continuously helps carry dust particles outside instead of recycling them through your workspace.
Check that exhaust systems work properly before starting cleanup. Keep doors open between rooms to maximize airflow paths.
Don’t underestimate how quickly dust accumulates in your lungs without proper ventilation. Create a systematic approach: ventilate first, clean second, and maintain airflow throughout the entire process.
Your health matters more than convenience.
Overlooking Sharp Tool Safety
Although cleaning your workshop seems straightforward, overlooking sharp tool safety can lead to serious injuries that ruin your entire cleanup effort. You need to stay alert around cutting tools during dust removal.
- Check blade orientation – Always verify sharp edges face away from your body when moving tools. Don’t grab handles carelessly.
- Wear cut-resistant gloves – Your regular work gloves won’t protect against accidental slips. Invest in proper safety gear that fits your toolkit.
- Store tools properly – Don’t leave chisels, knives, or blades on surfaces where you’re sweeping dust. Return them to designated storage immediately.
- Clean tool surfaces carefully – Use appropriate brushes and cloths, avoiding direct hand contact with cutting edges during dust removal.
Your workshop community expects you to maintain safety standards everyone can rely on.
Store Materials Securely to Limit Future Dust
Storing materials securely prevents dust accumulation on surfaces you’ll need to clean later. You should place loose items in sealed containers immediately after use. Wood scraps, metal shavings, and powder coatings create problematic dust when left exposed.
Invest in plastic bins with tight-fitting lids for small components. Larger materials like lumber stack neatly on designated shelves. Always return tools to pegboards or drawers rather than leaving them on workbenches. Cover machinery with fitted tarps when not operating.
Label storage areas clearly so everyone knows where items belong. Organize your workspace systematically using zone-based storage methods. Keep frequently used items within easy reach while storing seasonal tools farther away. Create designated spaces for different material types.
Your workshop community depends on shared cleanliness standards. Implement these storage practices consistently. You’ll notice dramatically reduced cleanup time and improved air quality. Proper storage becomes habit quickly, making future workshops more efficient and enjoyable for everyone involved.
Filter Workshop Air to Reduce Floaters
You should install air filtration systems that capture airborne particles before they settle on surfaces throughout your workspace.
These systems work continuously to remove dust, wood chips, and other debris that standard cleaning methods often miss.
Your workshop’s dust collection efficiency depends heavily on selecting filters with appropriate micron ratings for your specific materials and tools.
Air Filtration Systems
Everyone who works in a workshop knows that airborne dust particles can quickly accumulate and create health hazards. You need reliable air filtration systems to protect yourself and maintain a clean working environment.
- HEPA filters capture 99.97% of particles as small as 0.3 microns, making them essential for fine dust removal.
- Activated carbon filters eliminate odors and chemical vapors that standard filters miss.
- Pre-filters extend your main filter life by trapping larger particles first.
- UV-C light systems kill bacteria and viruses circulating through your workshop air.
You should position filters strategically near dust-generating tools and guarantee adequate airflow throughout your workspace.
Regular filter replacement maintains peak performance.
These systems work continuously, unlike dust collection units that only operate when tools run.
Your respiratory health depends on clean air, making filtration systems non-negotiable workshop equipment.
Dust Collection Efficiency
While air filtration systems handle fine particles effectively, maximizing dust collection efficiency requires strategic positioning and proper maintenance of your workshop’s ventilation infrastructure.
You should place collectors near dust sources, ensuring adequate airflow reaches every work area. Check that ductwork has minimal bends and obstructions that reduce suction power.
Regularly inspect filters for clogging, replacing them according to manufacturer recommendations. Empty collection containers frequently to maintain ideal performance.
Adjust inlet positions seasonally, accounting for temperature and humidity changes that affect air density. Monitor static pressure readings monthly, cleaning components when values exceed normal operating ranges.
Keep detailed maintenance logs to track system performance trends. Test collection efficiency periodically using visual inspections and air quality measurements.
Fine-tune positioning based on actual dust patterns rather than assumptions.
Spot Warning Signs Your Space Needs More Than Routine Cleaning
When dust accumulation becomes visible on surfaces despite regular cleaning efforts, your workshop likely needs more intensive maintenance. You’re not alone in facing this challenge, and recognizing these signs early makes you part of the proactive craft community.
- Visible dust layers thicker than 1/8 inch indicate neglected areas needing deep cleaning attention.
- Clogged ventilation systems show reduced airflow, affecting everyone’s workspace quality and safety.
- Persistent respiratory irritation among users signals airborne particle levels exceeding healthy thresholds.
- Equipment malfunction frequency increases due to internal dust buildup compromising mechanical performance.
These warning signs mean your current routine isn’t keeping up with dust production rates. Your fellow craftspeople understand this frustration, and addressing these issues systematically strengthens your workshop’s long-term viability.
Create a Monthly Dust Management Plan That Works
Because dust accumulation follows predictable patterns in most workshops, you can establish an effective monthly management plan that tackles problem areas before they become overwhelming.
Start by mapping your workshop’s dust-prone zones: bench areas, tool storage, and ventilation systems. Schedule deep cleaning sessions on the first Saturday of each month, focusing on one major area.
Use compressed air for electronics, vacuum attachments for corners, and microfiber cloths for surfaces. Between deep cleans, implement weekly spot treatments on high-traffic zones.
Create checklists that detail specific tasks: empty dust collection bags, wipe down tools, and clean air vents. Track your progress monthly to identify recurring problem spots.
This systematic approach guarantees consistent results while building habits that become second nature, making every workshop session more enjoyable and productive.
Conclusion
Your workshop’s dust represents more than mere mess—it’s the silent enemy corroding your tools and health. Like rust consuming metal, unchecked dust destroys precision and safety. Establish your cleaning ritual as faithfully as a lighthouse keeper maintains their beacon. Sweep floors into corners where dust cannot escape, vacuum thoroughly, and wipe tools with microfiber cloths. Clean walls and ceilings with damp cloths, wearing N95 masks and gloves for protection. Maintain dust collection systems religiously, filter air continuously, and store materials properly. Create your monthly management plan now—your tools’ longevity depends on today’s systematic approach to dust control.
