

You might wonder if building an irrigation manifold actually saves time and money compared to buying pre-assembled systems. The truth is, constructing your own allows precise customization for your specific zone requirements. Before connecting any PVC fittings, you’ll need to map out flow rates and pipe diameters carefully. Proper planning prevents costly mistakes during installation. What’s the first critical measurement you should verify before cutting any pipes?
What Is an Irrigation Manifold and Why Build One?

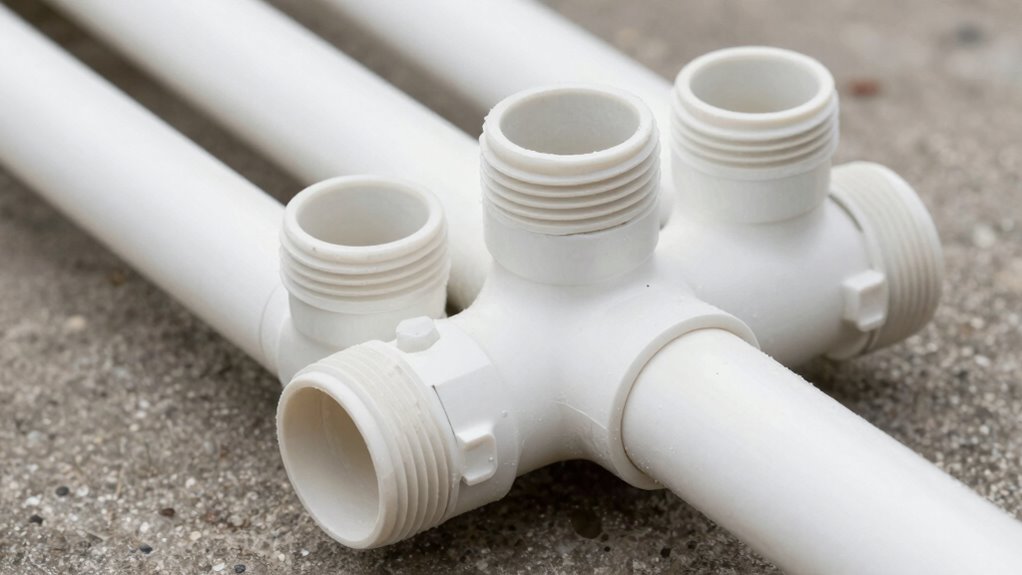
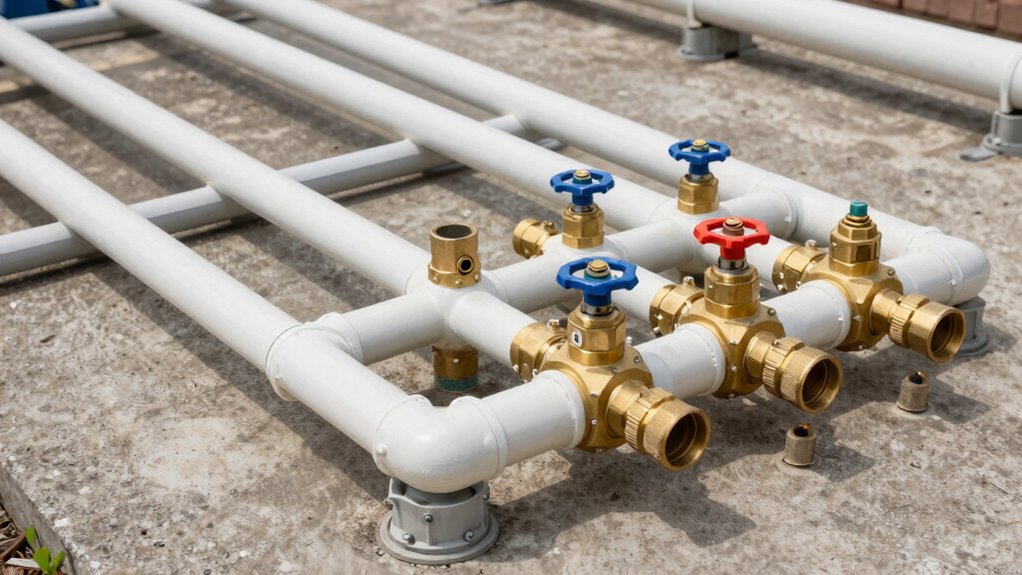
An irrigation manifold is a distribution system that splits water flow from a single source into multiple outlets for efficient watering across different zones.
You’ll benefit from building one because it allows precise control over water distribution, reducing waste and ensuring each area receives adequate moisture.
Your manifold connects directly to your main water line, distributing pressure evenly across all branches.
This prevents weak flow issues that plague poorly designed systems.
You’ll install pressure regulators and flow controls to optimize performance.
Building your own manifold saves money compared to hiring professionals.
You gain flexibility to customize outlet configurations based on your specific landscape needs.
The system adapts easily as your watering requirements change.
You’ll feel confident knowing your irrigation setup operates efficiently, reducing maintenance headaches and water bills.
Plan Your System Layout First
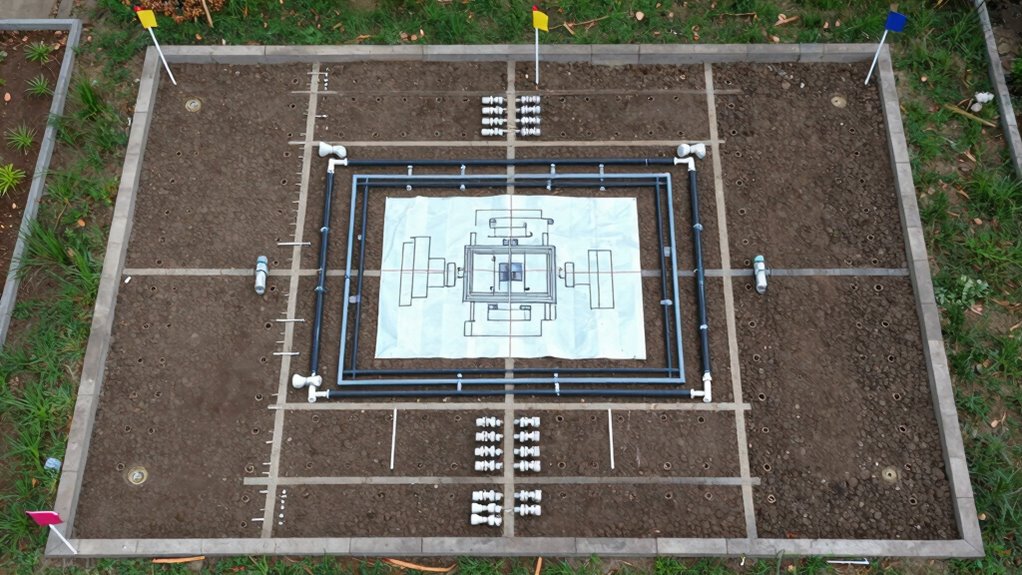
Before you start assembling components, map out your irrigation zones and water requirements to determine the best manifold configuration.
You’ll need to calculate flow rates for each zone and verify your main water supply can handle the demand.
Sketch your layout on paper, marking valve locations, pipe runs, and connection points.
Consider future expansion needs and maintenance access.
Your manifold should accommodate current zones plus one or two spare ports.
Measure distances accurately to minimize pipe waste and pressure loss.
Check local codes for burial depths and materials.
Plan valve spacing to allow easy manual operation and future automation.
You’re not just building pipes—you’re creating a system that’ll serve your landscape for years.
Make certain it’s right the first time.
Gather Your Core Tools and PVC Parts
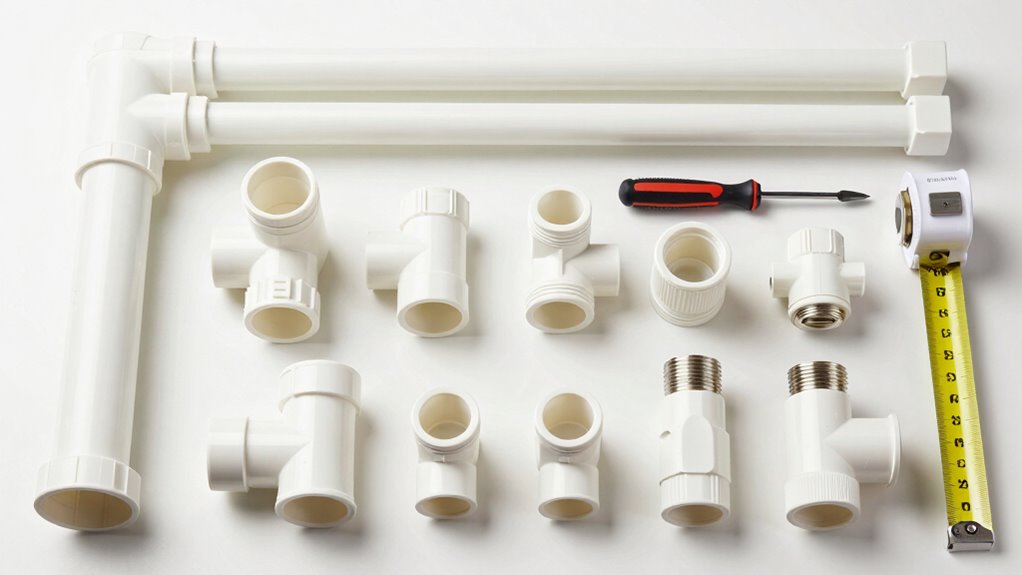
Gathering the right tools and PVC components is crucial for efficient manifold assembly.
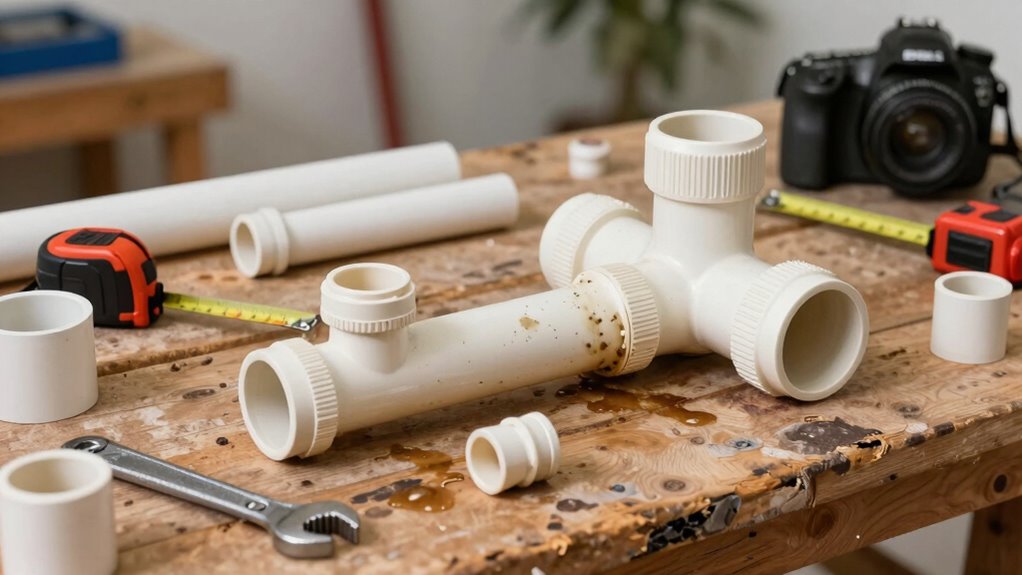
You’ll need a PVC cutter or hacksaw, measuring tape, and PVC primer and cement for secure joints. Don’t forget safety glasses and work gloves for protection.
Your core PVC parts include the main supply pipe, T-fittings or Y-fittings for branch connections, and end caps or plugs. Choose PVC Schedule 40 pipes and fittings that match your system’s pressure requirements.
Verify all components are compatible sizes – typically 1/2 inch or 3/4 inch for residential irrigation.
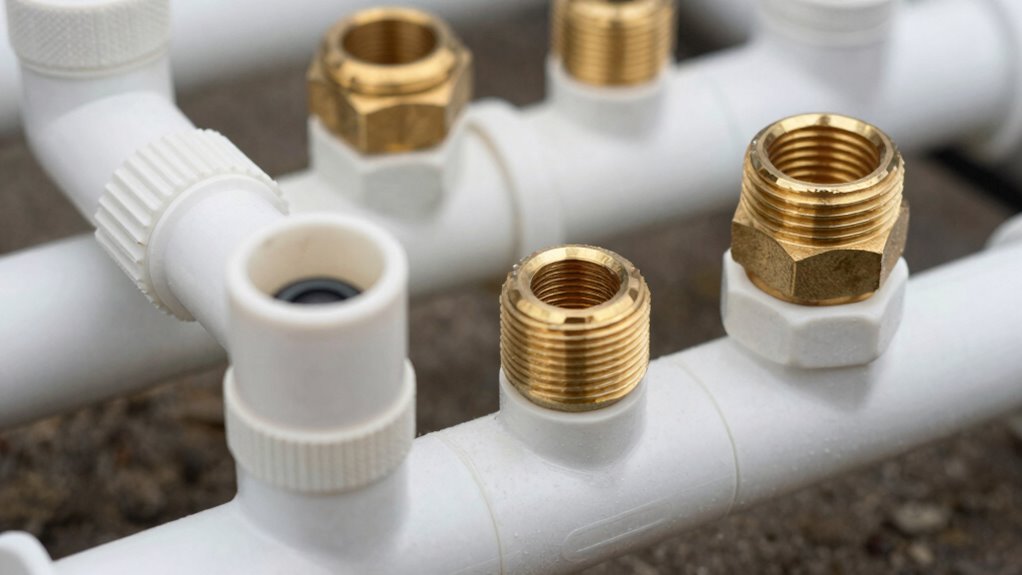
Select brass or plastic ball valves for individual zone control. You’ll also need threaded adapters if connecting to existing systems.
Having extra PVC cement and primer on hand prevents project delays. Quality tools and components create reliable, leak-free connections that’ll serve your irrigation needs for years.
Cut PVC Pipes for Your Manifold Easily
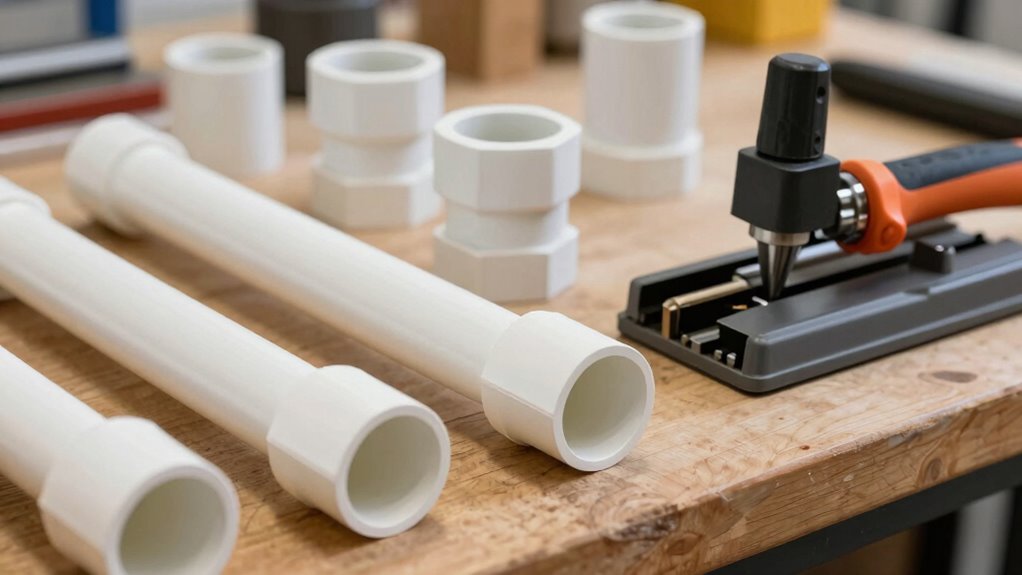
Several precise cuts guarantee your manifold fits perfectly within your planned irrigation layout. Measure twice, cut once to avoid wasting materials and time.
- Mark cutting lines clearly using a pencil and measuring tape.
- Secure PVC pipe in a vice or pipe cutter stand for stability.
- Use a fine-tooth hacksaw or PVC pipe cutter for clean edges.
- Deburr cut edges with sandpaper or a deburring tool.
Your cuts should be square and smooth. Rough edges create fitting problems later. Take your time with each cut – rushing leads to misaligned connections.
Double-check measurements against your manifold design before cutting. Clean cuts assure proper sealant adhesion and prevent leaks. Remember that PVC cement won’t fix poor cutting technique.
Sharp blades and steady pressure produce professional results every time.
Pick the Best Valves for Water Control
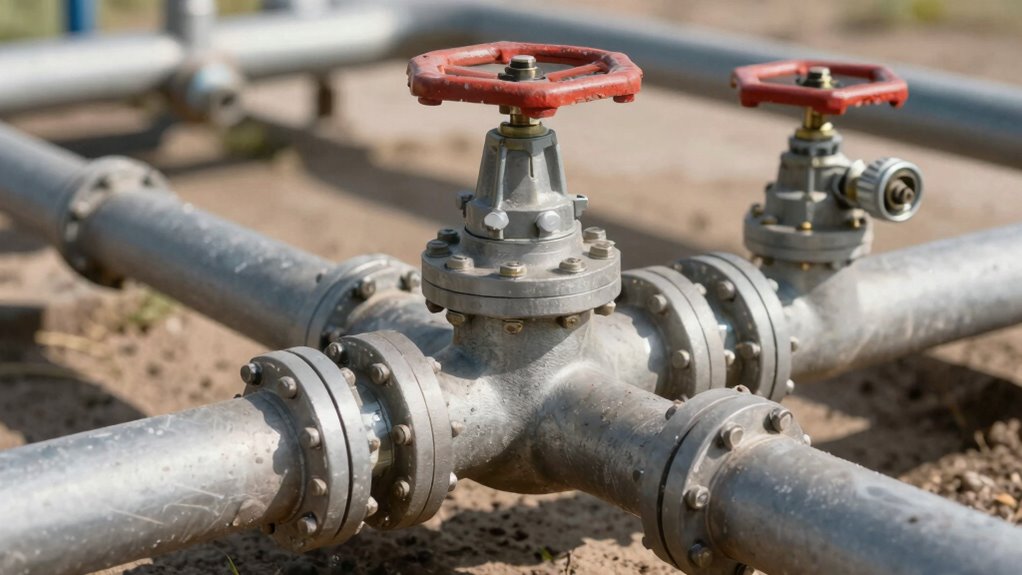
Valves are critical components that control water flow throughout your irrigation manifold system.
You’ll want to choose ball valves for their reliable on-off control and minimal pressure drop. Gate valves work well for throttling flow rates.
Select brass or stainless steel valves over plastic for durability. Consider valve size carefully – match inlet and outlet diameters to your PVC piping.
Don’t overlook union valves that allow easy disassembly. You should also think about automated solenoid valves if you’re planning future expansion.
Confirm valve ports align properly with your manifold design. Check that operating pressures exceed your system’s maximum PSI.
Finally, make certain all valve connections use compatible threading for secure attachment.
Seal Joints to Stop Leaks Early
Before you connect any pipes, make certain all joints are properly sealed to prevent leaks that can waste water and damage your irrigation system. Proper sealing guarantees your manifold operates efficiently from day one.
- Apply thread seal tape clockwise around male pipe threads before connecting fittings.
- Use appropriate pipe glue for PVC connections, holding joints together for thirty seconds minimum.
- Install O-rings correctly in compression fittings, making sure they sit perfectly centered.
- Test all connections with water pressure before burying or covering your completed manifold.
These sealing techniques prevent costly repairs and maintain system integrity. Your irrigation setup deserves reliable joints that won’t fail mid-season.
Take time to seal everything properly now rather than dealing with emergency repairs later. Clean, dry surfaces guarantee peak adhesion. Don’t rush this critical step.
Add Emitters to Your Irrigation Manifold
Once you’ve assembled your manifold piping, you’ll need to install emitters to deliver water directly to your plants’ root zones.
Choose emitters based on your plants’ water requirements and spacing. Insert barbed emitters into pre-drilled holes along your manifold tubing. Confirm each connection fits snugly to prevent leaks. Space emitters according to your garden layout, typically every 12-18 inches for vegetables.
Use punch tools to create clean holes before inserting emitters. Check that all connections are secure but avoid over-tightening which can damage tubing. Install end caps on manifold terminations to maintain system pressure.
Verify emitter flow rates match your water source capacity. Position emitters where plants need water most.
Test System for Water Flow & Pressure
You’ll need to measure your system’s water flow rate using a flow meter or bucket test method.
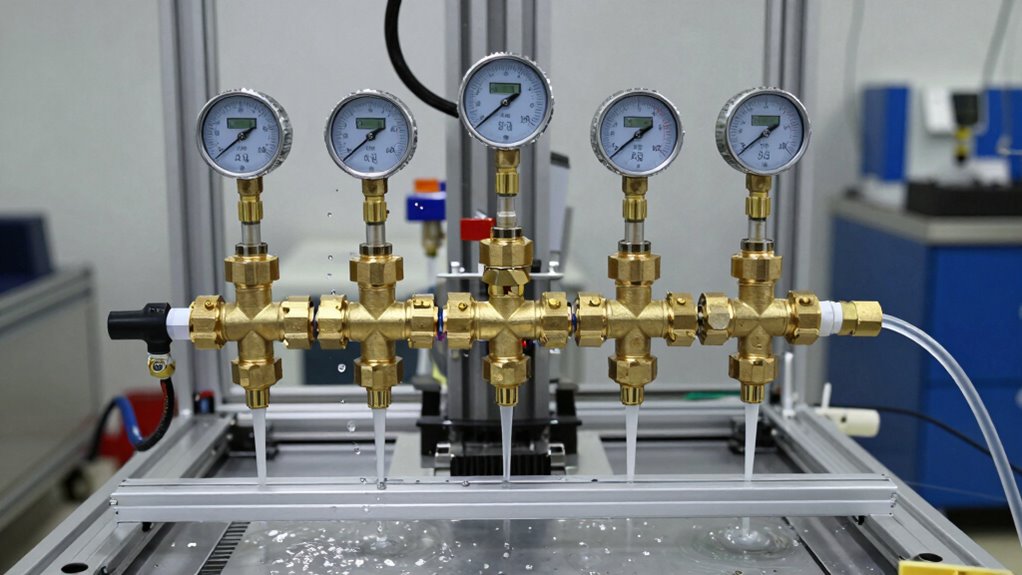
Check pressure levels at multiple points in your manifold using a pressure gauge to guarantee adequate distribution.
These measurements help you verify that your irrigation system operates within ideal parameters before final installation.
Measuring Water Flow Rate
When you need to determine how much water flows through your irrigation system, measuring the flow rate becomes essential for proper manifold design.
You’ll need accurate measurements to size components correctly and guarantee uniform distribution.
- Use a flow meter – Install an inline flow meter at the main supply line to get real-time readings in gallons per minute (GPM).
- Bucket test method – Time how long it takes to fill a known volume container, then calculate GPM using the formula: (container size ÷ fill time) × 60.
- Check municipal data – Contact your water provider for peak flow rate specifications during different seasons.
- Account for pressure variations – Measure flow rates at different times since municipal pressure fluctuates throughout the day, affecting your actual delivery volume.
Checking System Pressure Levels
Testing your irrigation system’s pressure levels guarantees peak performance and prevents damage to components. You’ll need a pressure gauge rated for your system’s maximum PSI.
Install the gauge at the manifold’s main inlet before connecting any zones. Turn on the water supply and slowly open the main valve until you reach operating pressure. Normal residential systems operate between 30-50 PSI.
If pressure exceeds 80 PSI, install a pressure regulator. Low pressure indicates pipe restrictions or inadequate water supply. Check each zone individually by opening valves one at a time. Record readings for comparison.
High pressure causes dripper failure and pipe bursts. Low pressure results in uneven watering patterns. Adjust your pressure reducing valve if equipped.
Test monthly during peak usage periods. Clean gauges regularly for accuracy. Document all readings for future reference.
Avoid These Costly DIY Errors
While irrigation manifolds seem straightforward to assemble, mistakes during installation can lead to expensive repairs and system failures. You’ll want to avoid these common errors that trip up many DIY enthusiasts.
- Skipping pressure testing before final assembly. Test your manifold with water pressure before burying or covering components.
- Using incorrect pipe sizes that restrict water flow. Match pipe diameters to your system’s flow requirements.
- Failing to install proper shut-off valves at strategic points. You’ll need these for maintenance and repairs without draining entire zones.
- Neglecting to seal threaded connections with appropriate tape or compound. Leaking joints waste water and create system inefficiencies.
These mistakes cost time and money while compromising your irrigation system’s reliability.
Expand Your System Later On
You should design your irrigation manifold with modular components that allow easy addition of new zones or outlets.
Plan for future expansion by installing extra ports and using standardized fittings that match your existing system.
These principles guarantee you can scale your irrigation setup without replacing major components later.
Modular Design Principles
Why not design your irrigation manifold with future expansion in mind? Modular design principles guarantee you can adapt your system as your needs grow.
- Standardized fittings – Use common thread sizes and connection types that match existing components, so you’re not stuck with incompatible parts later.
- Scalable pipe diameters – Start with larger main lines than immediately necessary, allowing room for additional zones without pressure drops.
- Strategic valve placement – Install isolation valves at logical branch points, letting you expand individual sections without disrupting the entire system.
- Accessible mounting points – Leave adequate space around your manifold for future additions, avoiding cramped installations that limit growth potential.
These principles create belonging within the irrigation community standard practices.
Future Expansion Options
Building on modular design principles, your irrigation manifold should accommodate future growth through thoughtful planning and component selection.
Start with extra ports or manifold extensions that allow additional zones without replacing the entire system. Choose components with higher flow capacity than currently needed, ensuring adequate pressure for expanded zones.
Install ball valves on unused ports now rather than cutting and soldering later. Consider tee fittings and reducers that accept different pipe sizes, creating flexibility for varying zone requirements.
Select a manifold with threaded end connections for easy addition of extension pieces. Plan electrical conduit pathways during initial installation, leaving spare wire capacity for future solenoid valves.
Your system’s scalability depends on these upfront decisions, making expansion straightforward rather than complicated.
Keep Your System Running Smoothly for Years
Regular maintenance guarantees your irrigation manifold operates efficiently throughout its lifespan.
You’ll prevent costly repairs and extend your system’s reliability with consistent care.
- Inspect connections quarterly – Check all fittings, valves, and joints for leaks, corrosion, or loose connections that compromise performance.
- Flush debris annually – Remove accumulated sediment, mineral buildup, and organic matter from lines and emitters to maintain optimal water flow rates.
- Winterize before freezing temperatures – Drain all water from manifold components and storage tanks to prevent cracking and internal damage.
- Monitor pressure regularly – Test system pressure monthly using gauges to identify blockages, leaks, or component failures early.
Stick to this routine maintenance schedule and you’ll avoid common irrigation problems while maximizing your investment’s longevity.
Conclusion
Your irrigation manifold isn’t just plumbing—it’s your garden’s lifeline. Funny how a few precise cuts and proper seals can transform a chaotic water flow into perfectly timed nourishment for every plant zone._don’t let leaks or pressure drops ruin your system’s efficiency. Test thoroughly, maintain regularly, and watch your landscape thrive with consistent, controlled water distribution exactly when needed.
