

You’d think installing a garden water pump is rocket science, but it’s actually straightforward if you follow the right steps. Don’t let confusing instructions scare you away from this essential garden upgrade. You’ll need basic tools and some patience, but the payoff is worth it. Wondering what happens when you skip the filter installation? Your pump could fail within weeks. Let’s break down the process so you don’t make costly mistakes.
What Are Garden Water Pumps and Why Use Them?
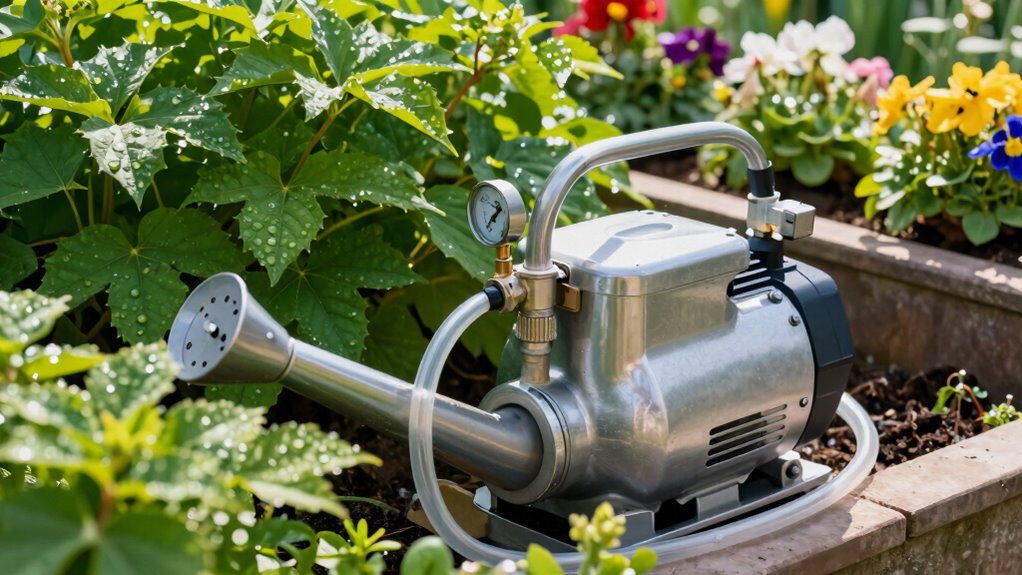
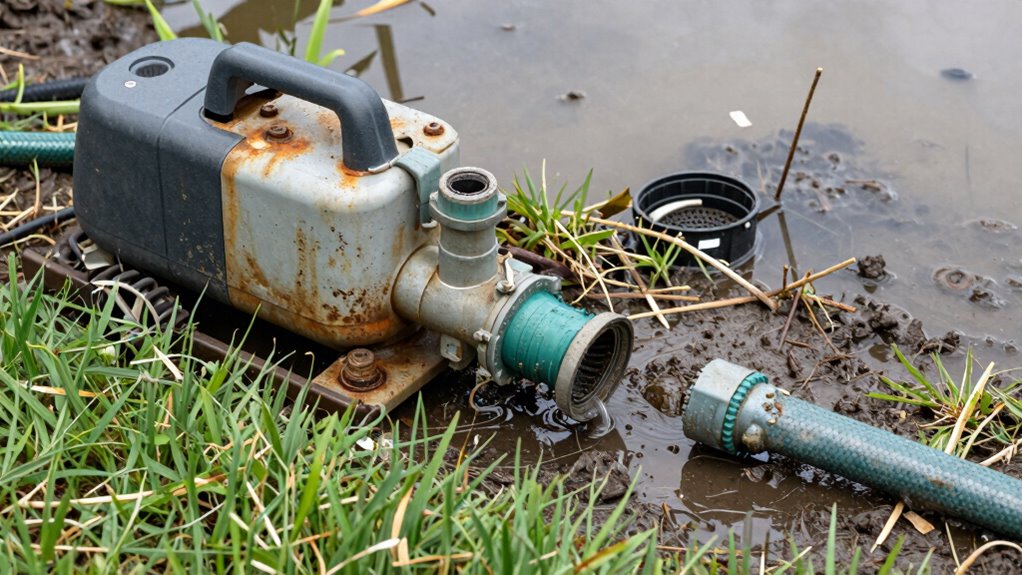
Garden water pumps are mechanical devices that move water from one location to another, and they’re essential tools for maintaining healthy gardens and landscapes.
You’ll find these pumps invaluable when your garden needs consistent watering, especially during dry spells or in areas with limited water access.
These pumps save you time and effort by automatically circulating water where it’s needed most. You’re no longer stuck manually carrying heavy watering cans or dragging hoses across your yard.
Instead, you can rely on efficient water distribution that keeps your plants thriving.
Installing a water pump gives you peace of mind knowing your garden stays properly hydrated. You’ll enjoy healthier plants, better yields, and a more sustainable watering system.
Your garden becomes easier to manage, freeing up your time for other enjoyable activities while ensuring your outdoor space remains beautiful and productive.
Understanding Types of Garden Water Pumps and Their Functions
Several types of water pumps exist for garden use, each designed for specific applications and water sources.
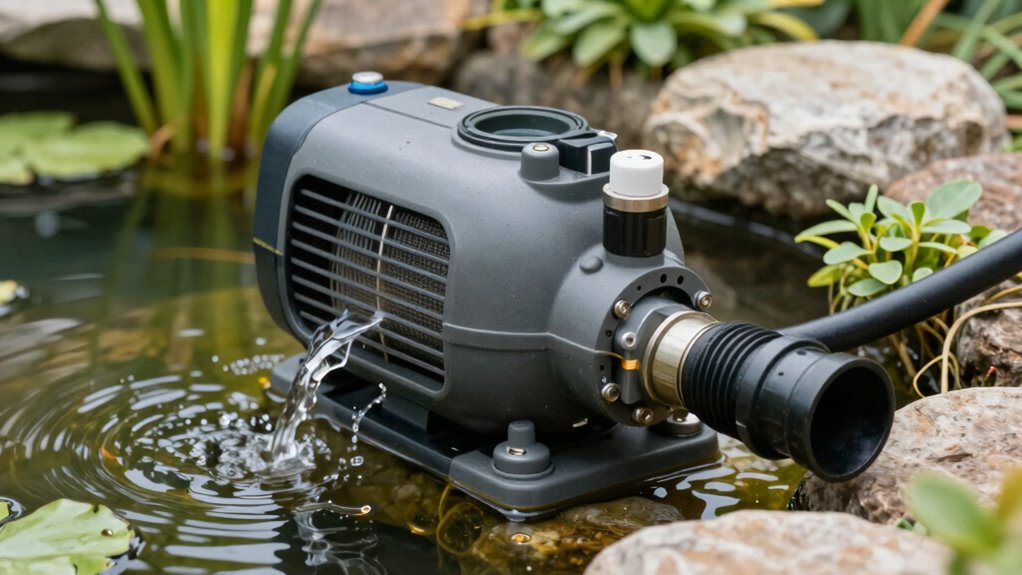
You’ll encounter submersible pumps that sit directly in water sources like ponds or wells. These work great for drawing water from below ground level.
Centrifugal pumps are common for surface water applications, handling rainwater collection and irrigation needs efficiently.
Transfer pumps help move water between containers or across your garden space.
Diaphragm pumps excel at handling dirty water with debris.
Turbine pumps provide consistent pressure for larger irrigation systems.
Knowing your water source and intended use determines which pump type fits your garden’s specific requirements and helps you feel confident in your selection.
Choosing the Right Size and Power for Your Garden
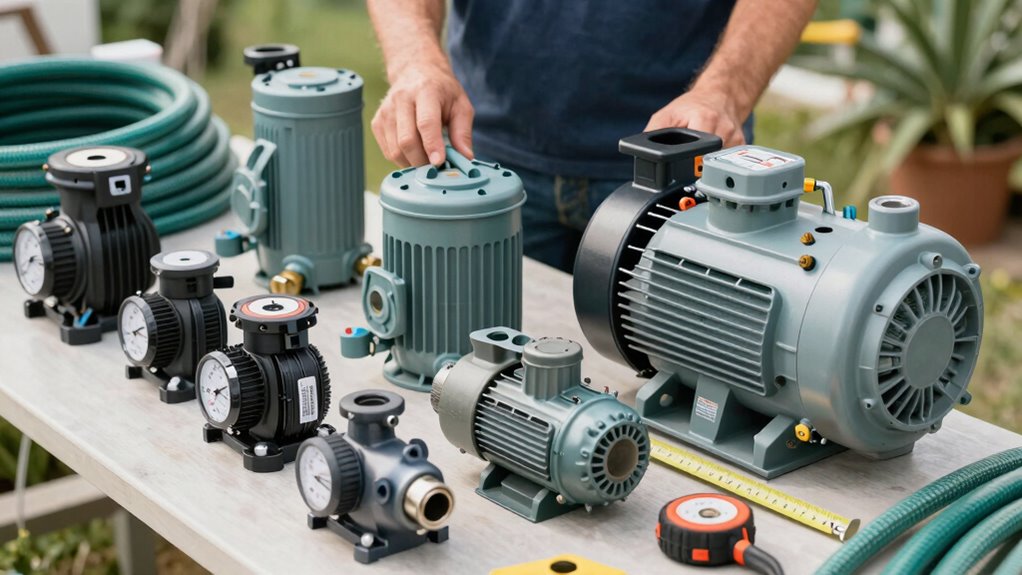
Now that you understand the different types of garden water pumps available, you’ll need to determine the appropriate size and power for your specific gardening needs.
Don’t worry – choosing the right pump doesn’t have to be overwhelming.
Consider these key factors when selecting your pump’s size and power:
- Garden size matters – Larger gardens need higher gallon-per-hour ratings to guarantee adequate water flow.
- Lift height impacts performance – Measure the vertical distance from your water source to the highest point in your garden.
- Hose length affects pressure – Longer hose runs require more powerful pumps to maintain consistent water flow.
Match your pump’s specifications to your garden’s actual requirements.
You don’t want to overspend on unnecessary power, but you also don’t want a weak pump that struggles to meet your needs.
Take accurate measurements and choose accordingly.
Selecting the Best Water Source for Your Garden Pump
You’ll need to decide between well water, city supply, or rainwater collection systems for your garden pump installation.
Each source has different pressure requirements and filtration needs that affect pump performance.
Consider your local water quality and availability when making this important choice.
Well Water Versus City Supply
When choosing between well water and city supply for your garden pump, consider that each source has distinct advantages and limitations that directly impact your irrigation system’s performance.
Well water offers independence from municipal restrictions and potentially lower long-term costs, but requires regular maintenance and testing. City supply provides consistent pressure and quality monitoring, yet may impose usage limits and higher bills.
- Cost considerations: Wells need upfront drilling expenses while city connections require ongoing utility payments.
- Water quality: Wells might contain minerals or contaminants requiring filtration systems.
- Reliability factors: Municipal supply remains steady during droughts when wells may run dry.
Your choice depends on local water availability, budget constraints, and personal preferences for self-sufficiency versus convenience.
Rainwater Collection Systems
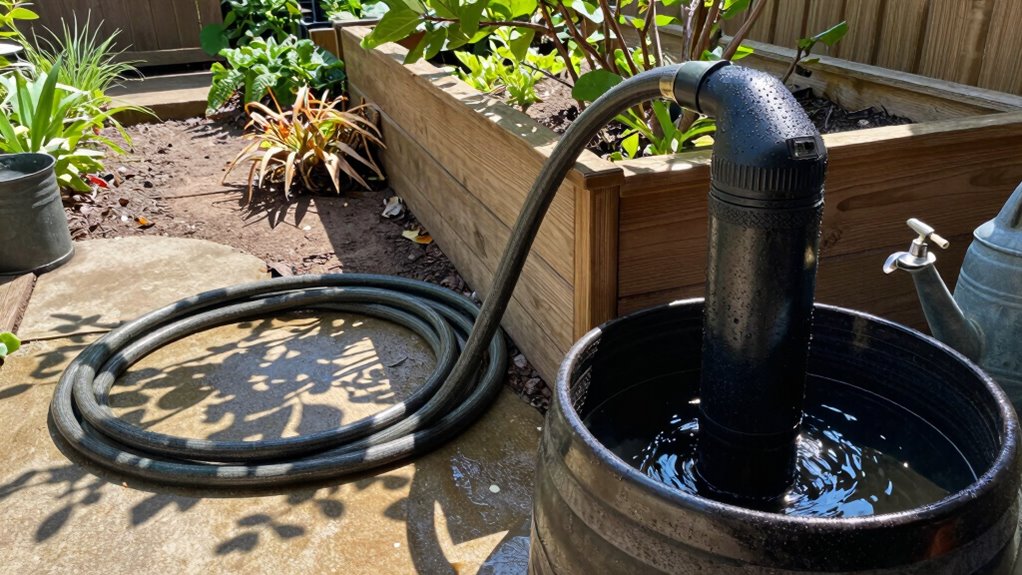
Rainwater collection systems offer an eco-friendly and cost-effective water source for garden irrigation that many homeowners overlook. You can easily set up a basic system using rain barrels or cisterns connected to your downspouts.
These systems reduce your water bill while providing chemical-free water that plants love. When selecting your collection method, consider your roof size and local rainfall patterns. Larger roofs capture more water, making them ideal for bigger gardens.
Install mesh filters to prevent debris buildup in your storage containers. Connect your garden pump directly to the collection system for efficient irrigation.
Remember to check local regulations about rainwater harvesting in your area. You’ll enjoy the satisfaction of using nature’s bounty while reducing environmental impact. Rainwater systems blend seamlessly into most landscapes, making them perfect for environmentally conscious gardeners who want to belong to the growing sustainability movement.
Essential Tools and Materials for Pump Installation
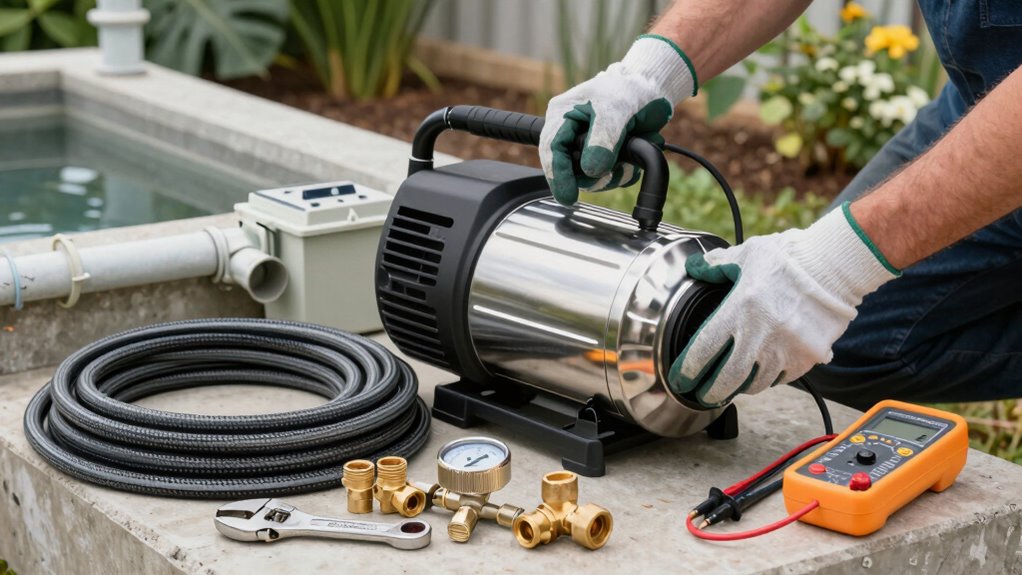
You’ll need several essential tools before starting your pump installation, including a wrench set, screwdrivers, and a drill with various bits.
Gather necessary materials like PVC pipes, fittings, electrical wire, and mounting hardware to guarantee you have everything ready.
Having these tools and materials prepared will make your installation process much smoother and more efficient.
Essential Tools Required
Gathering the right tools and materials before starting your water pump installation saves time and prevents frustration.
You’ll want to have everything ready before you begin working.
Essential tools for your pump installation include:
- Adjustable wrench set – for tightening various fittings and connections
- Pipe cutter or hacksaw – to cut pipes to proper lengths
- Screwdriver set – both flathead and Phillips for mounting hardware
These basic tools handle most installation tasks. Having them ready keeps your project moving smoothly.
You’ll feel more confident and prepared when you’re not searching for tools mid-installation. Proper preparation helps you join the community of successful DIY gardeners who’ve mastered pump installation.
Necessary Materials List
Having the right tools ready makes installation much smoother, and now it’s time to focus on the materials you’ll need.
You’ll require a submersible or centrifugal water pump rated for garden use. Purchase flexible vinyl or polyethylene tubing that fits your pump’s outlet size.
You’ll need waterproof electrical tape, wire nuts, and a grounded GFCI outlet for safety. Don’t forget PVC primer and cement if you’re using PVC pipes.
You’ll also need a check valve to prevent backflow, a pressure switch, and appropriate fuses or circuit breakers.
Garden hose connectors, pipe thread sealant, and corrosion-resistant screws are essential. Consider buying extra hose clamps and Teflon tape.
These materials guarantee you’re prepared for any installation challenges while keeping your garden pump system secure and efficient.
Step-by-Step Instructions to Install a Garden Water Pump
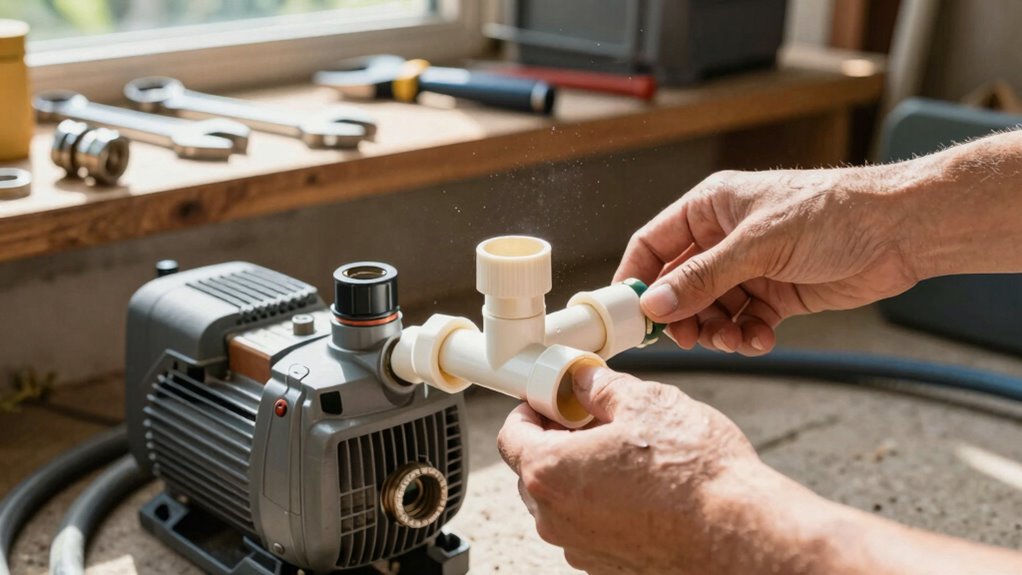
Before connecting your garden water pump to the power source, make certain you’ve selected a suitable location that’s dry, well-ventilated, and close to your water source. This placement prevents electrical hazards while ensuring efficient water flow to your garden.
Now you’ll want to position your pump properly:
- Place the pump on a stable, level surface away from standing water
- Connect the intake hose securely to the pump’s inlet valve
- Attach the discharge hose to the pump’s outlet and route it toward your garden
Once everything’s connected, plug in your pump and test the water flow.
Check all connections for leaks and tighten any loose fittings. Your garden water pump should now be ready for use.
Setting Up a Drip Irrigation System Using a Pump
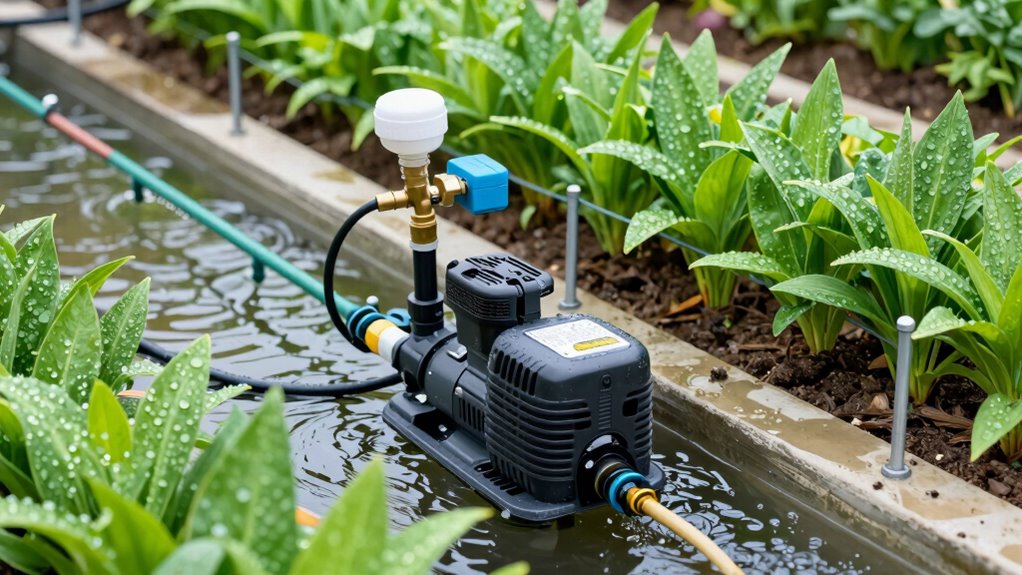
Now that your water pump is installed and running properly, you can connect it to a drip irrigation system for efficient garden watering.
First, attach a filter to your pump’s outlet to prevent clogging. Connect your main supply line to the filter using appropriate fittings. Lay your drip tubing along plant rows, ensuring even spacing.
Install pressure regulators if your pump produces too much pressure. Add emitters or drippers at each plant location, spacing them according to your plants’ water needs.
Test your system by running water through all lines. Check for leaks, proper flow rates, and adequate coverage. Adjust emitter placement as needed.
This setup delivers water directly to root zones, reducing waste and promoting healthy plant growth while saving you time and effort.
Connecting Your Garden Pump to an Irrigation Network
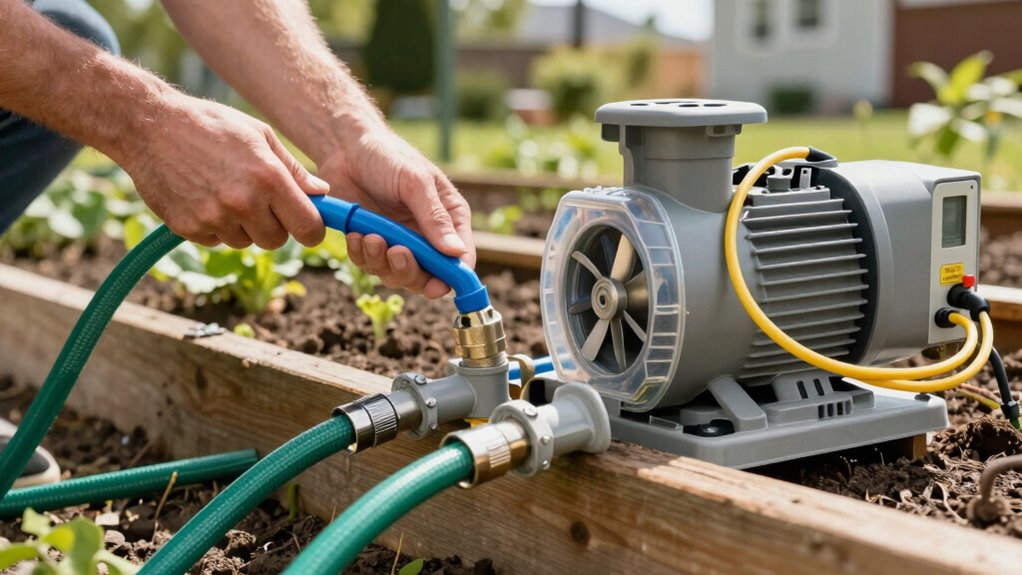
You’ll need to choose the right pump size based on your garden’s water requirements and irrigation network layout.
Installing main water lines connects your pump to the distribution system, while setting up distribution valves lets you control water flow to different garden zones.
These components work together to create an efficient irrigation network that delivers water where you need it.
Choosing The Right Pump Size
When connecting your garden pump to an irrigation network, selecting the proper pump size becomes essential for peak performance.
You’ll want to match your pump’s capacity to your garden’s water demands to avoid wasting energy or starving your plants.
Consider these key factors:
- Garden size and water requirements – Calculate how much water your plants need daily
- Pipe diameter and length – Measure your irrigation network’s dimensions to determine flow resistance
- Vertical lift height – Account for elevation differences between your water source and highest sprinkler heads
Don’t overlook your local climate’s impact on water needs.
Hot, dry regions demand more robust pumping capacity.
You’re not just buying a pump; you’re investing in your garden’s future health and your own peace of mind.
Installing Main Water Lines
Installing main water lines requires careful planning to assure your garden pump delivers adequate water pressure throughout your irrigation network.
You’ll want to map out your garden’s layout before trenching begins. Measure distances between your pump location and the furthest irrigation points. Choose PVC or polyethylene pipes based on your soil conditions and budget.
Dig trenches deep enough to prevent freezing damage in your area. Connect your pump outlet directly to the main line using appropriate fittings and sealant. Confirm all connections are tight to avoid leaks.
Slope pipes slightly downward toward drainage points to prevent water accumulation. Test your system thoroughly before covering trenches completely. Check for consistent water flow and pressure at various points in your network.
Proper installation now prevents costly repairs later.
Setting Up Distribution Valves
Distribution valves act as the control center for your garden’s irrigation system, managing water flow from your pump to various zones. You’ll need to install these valves where your main line splits to different garden areas.
Position your distribution valves in an accessible location near your pump. Connect the main supply line to the valve’s inlet port using appropriate fittings. Each outlet port connects to individual zone lines leading to different garden sections.
- Choose valves with enough outlets for your current zones plus future expansion
- Install pressure regulators to prevent line damage from pump fluctuations
- Label each valve outlet clearly to identify which garden zone it controls
Test each valve individually after installation. Turn on your pump and slowly open each valve to check for proper flow and leaks. Adjust pressure settings as needed for peak performance.
Smart Ways to Conceal Garden Pump Equipment Without Compromising Access

While you want your garden pump equipment to remain hidden from view, concealing it properly doesn’t mean sacrificing easy access for maintenance and repairs.
You can disguise your pump housing behind decorative fencing, tall planters, or artificial rock covers that blend naturally into your landscape.
Position equipment near existing garden structures like sheds or walls to minimize visual impact.
Use climbing vines or tall grasses to create natural screening barriers.
Install removable panels or hinged doors on concealment structures for quick access during servicing.
Consider placing pump equipment beneath decorative garden benches or within custom-built planters that match your outdoor decor.
These smart concealment methods keep your garden looking beautiful while ensuring you can easily reach your pump when needed.
Mistakes That Drain Your Garden Pump’s Lifespan (And How to Prevent Them)
When you neglect regular maintenance, your garden pump’s lifespan plummets faster than expected. You might think your pump runs fine now, but small issues compound quickly into major failures.
Don’t let these common mistakes sabotage your investment.
- Running dry: You’re asking for trouble when you operate your pump without adequate water supply. Always check water levels before starting.
- Ignoring debris: Leaves, dirt, and sediment clog your system quickly. Clean intake screens regularly to prevent costly damage.
- Overworking cycles: Running your pump continuously wears components faster. Give it breaks between watering sessions.
These simple oversights cost you money and create frustrating breakdowns. Your fellow gardeners expect reliability from their equipment.
Take these preventive steps seriously—they’re what separate experienced gardeners from beginners struggling with constant repairs.
Keep Your Garden Pump Running Smoothly: Testing and Maintenance Made Easy
Unless you want to deal with expensive repairs or premature pump failure, keeping your garden pump in prime condition requires regular testing and straightforward maintenance routines.
You should check your pump monthly for proper operation, listening for unusual noises or vibrations. Clean the intake screen weekly to prevent clogging from debris. Inspect hoses and connections for cracks or leaks regularly.
During seasonal use, you’ll want to prime the pump before first use and drain it completely when storing for winter. Check oil levels if your pump requires lubrication. Test pressure settings periodically to guarantee peak performance.
Keep moving parts clean and free from dirt buildup. Monitor water flow rates and pressure consistency during operation.
These simple steps will keep your pump running efficiently year after year while preventing costly breakdowns that disrupt your gardening routine.
Troubleshooting Common Pump Problems at Home
Because garden pumps can develop issues despite regular maintenance, you’ll need to know how to identify and fix common problems quickly. When your pump won’t start, check the power supply and circuit breaker first. A humming sound usually indicates an electrical issue or worn motor bearings.
- No water flow: Clear clogged intake screens and check for kinked hoses
- Low pressure: Remove air locks by opening taps to release trapped air bubbles
- Strange noises: Inspect for loose components or debris caught in the impeller
You should also verify that the pump isn’t running dry, which damages internal seals. Check water levels in your source regularly.
When troubleshooting, always disconnect power before examining internal components. Most issues resolve with simple adjustments or cleaning.
Extending Pump Life Through Smart Garden Practices
While proper maintenance keeps your garden pump running smoothly, extending its lifespan requires adopting smart watering practices that reduce strain on the system.
You should water during cooler morning or evening hours to minimize evaporation and pump workload.
Install mulch around plants to retain soil moisture and reduce frequent pumping needs.
Group plants with similar water requirements together to avoid overwatering some areas while underwatering others.
Check your irrigation system regularly for leaks or clogs that force your pump to work harder.
Consider using timers to prevent overwatering and guarantee consistent, efficient operation.
These simple practices help your pump work smarter, not harder.
You’ll save money on repairs while keeping your garden thriving.
Smart watering habits benefit both your wallet and your plants.
Conclusion
You’ve successfully installed your garden water pump and joined the 73% of gardeners who rely on irrigation systems for healthier plants. Keep your pump running smoothly by following proper maintenance schedules and avoiding common installation mistakes. Regular testing guarantees peak performance, while smart garden practices like debris filtering extend your pump’s lifespan considerably.
