

You’ve probably noticed how a single loud tool can turn your workshop into an echo chamber that amplifies every sound. Sound levels above 85 decibels cause hearing damage over time, yet most table saws and routers exceed 90 dB. Before you invest in expensive solutions, you need to identify exactly which machines and activities create the most acoustic interference in your space. Pinpointing noise sources methodically will reveal surprising contributors you might have overlooked.
Find Where the Noise Is Coming From
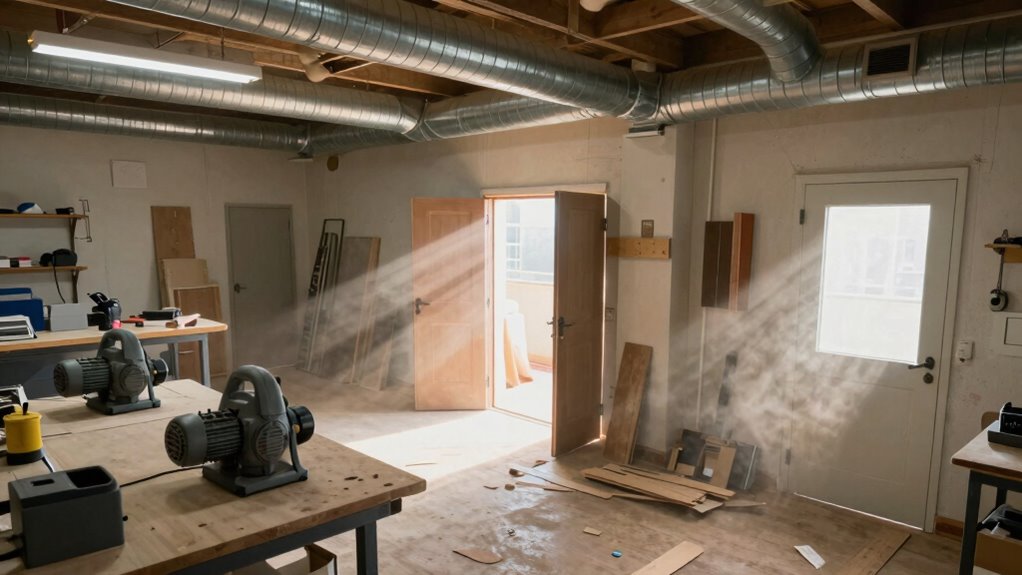
The most effective way to reduce workshop noise starts with identifying its sources. You need to systematically evaluate every piece of equipment and activity generating sound.
Walk through your workspace during typical operations, listening for the loudest and most persistent noises. Mark problematic areas with tape or notes for later reference.
Focus on machinery like table saws, jointers, and sanders, which typically produce high decibel levels. Air compressors and routers also contribute considerably to overall noise pollution.
Don’t overlook activities like hammering or grinding that create sharp, piercing sounds.
Understanding your specific noise profile helps you prioritize solutions effectively. You’ll know exactly which tools or processes require immediate attention versus those needing secondary consideration.
Measure Decibels With a Free Mobile App
After identifying noise sources throughout your workshop, you’ll want to quantify exactly how loud each area is.
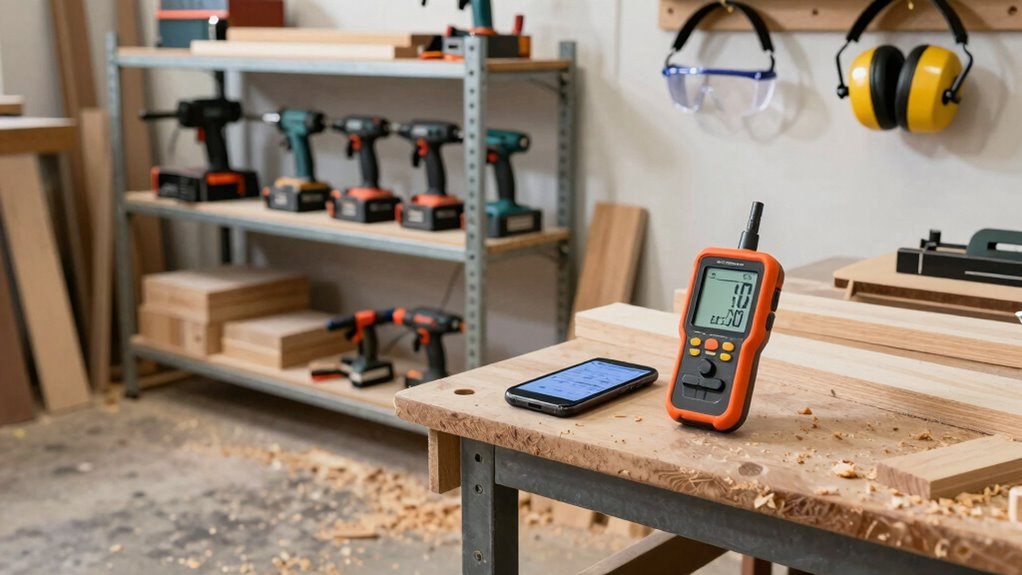
Download a free decibel meter app to measure sound levels accurately. These apps transform your smartphone into a reliable sound level meter, giving you precise readings in real-time. You can document measurements and track noise patterns throughout different work activities.
- Download a reputable decibel app – Search your app store for “decibel meter” and choose apps with high ratings and reviews. Popular options include Sound Meter or Decibel X.
- Calibrate your device – Follow the app’s calibration instructions to guarantee accurate measurements. Place your phone at ear level during testing.
- Record baseline measurements – Take readings at various workshop locations during normal operations to establish your current noise profile.
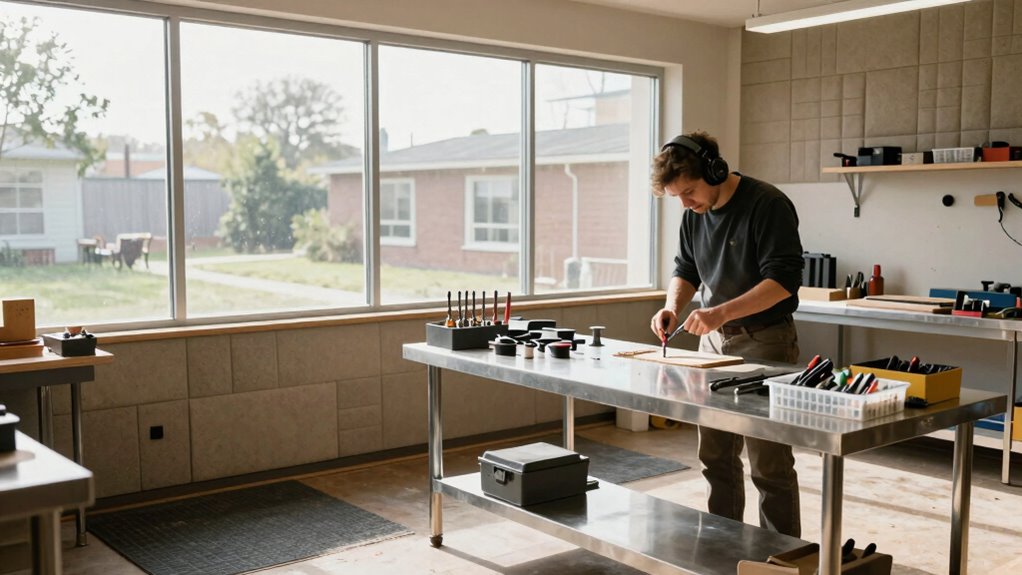
Wear Quality Ear Protection Every Time

Ear protection becomes your primary defense against permanent hearing damage when working in loud workshop environments. You must select earmuffs or earplugs with proper Noise Reduction Rating (NRR) values matching your workspace decibel levels.
Foam, silicone, or custom-molded options deliver different comfort levels while maintaining safety standards. Don’t skip protection because you think you’re “tough” – hearing damage accumulates silently over time. Your auditory system can’t repair itself from excessive noise exposure.
Invest in quality protectors that seal properly around your ears. Check for worn seals or compressed foam that reduces effectiveness. Make ear protection as automatic as putting on safety glasses. Your future self will thank you for preserving hearing integrity.
Professional woodworkers and machinists understand this isn’t optional – it’s essential equipment.
Cover Walls & Ceiling to Absorb Echoes
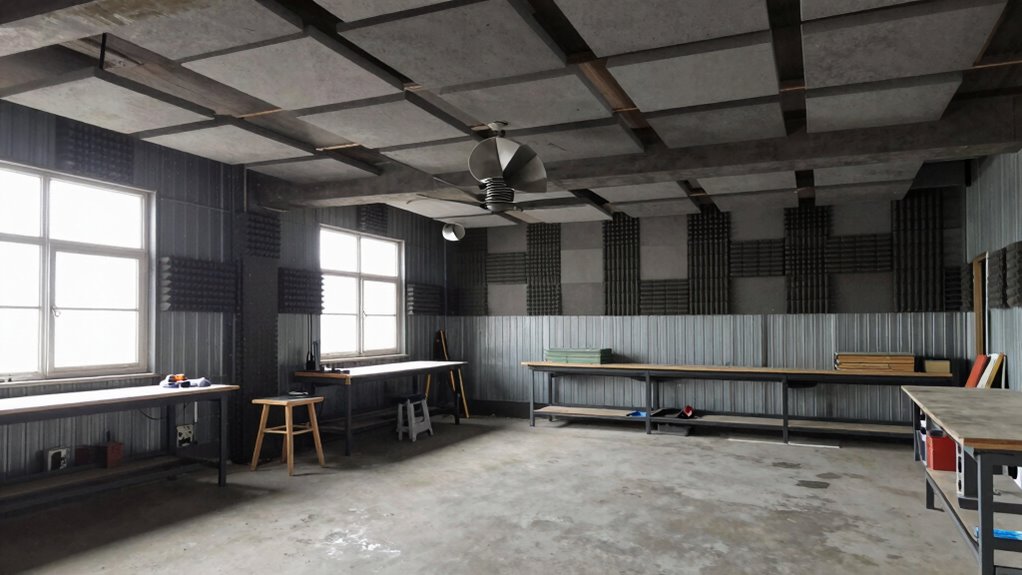
While personal protection shields your ears from immediate harm, addressing the acoustic properties of your workshop space provides broader noise reduction benefits.
Hard surfaces create echoes that amplify overall noise levels, making your workspace uncomfortable for extended periods.
You should cover walls and ceilings with sound-absorbing materials to minimize reverberation. These surfaces trap sound waves instead of reflecting them back into the room.
- Install acoustic blankets – Heavy-duty fabric panels absorb mid to high-frequency noise effectively
- Add mass-loaded vinyl – This dense material blocks sound transmission through walls and ceilings
- Use moving blankets or thick curtains – Budget-friendly options that still provide measurable echo reduction
These coverings create a more controlled acoustic environment.
You’ll notice immediate differences in perceived noise levels during operation.
Install Acoustic Foam or Panels Strategically
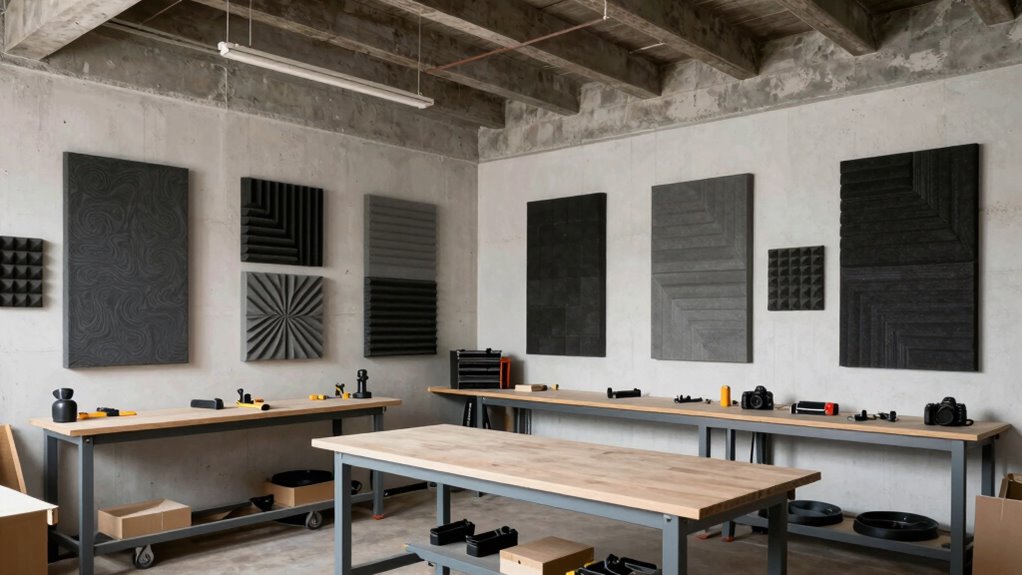
You should position acoustic foam or panels at primary reflection points where sound waves bounce off hard surfaces, typically along walls parallel to your main noise sources.
These materials absorb mid to high-frequency sounds effectively, reducing overall workshop noise levels by up to 15-20 decibels when installed correctly.
Strategic placement maximizes sound absorption while minimizing material costs compared to covering entire surfaces.
Strategic Placement Tips
Strategic placement of acoustic foam or panels requires careful analysis of sound reflection patterns within your workshop space.
You must identify primary noise sources and their directional paths to maximize absorption effectiveness. Proper positioning creates acoustic zones that target specific frequency ranges while minimizing sound bounce.
- Corner placement – Install panels where walls meet floors or ceilings, as these junctions naturally amplify sound reflections and create acoustic hotspots.
- Opposite hard surfaces – Position absorptive materials directly across from concrete walls, metal machinery, or glass windows to intercept direct sound waves.
- Ceiling coverage – Mount foam above workstations and between overhead equipment, since sound travels upward and creates flutter echoes between parallel surfaces.
You should measure distances between reflective surfaces and plan panel distribution accordingly.
Sound Absorption Benefits
Installing acoustic foam or panels strategically transforms your workshop’s acoustic environment by directly addressing sound wave behavior.
You’ll notice immediate reductions in reverberation time and echo cancellation when positioning these materials at first reflection points. Sound waves hitting treated surfaces convert acoustic energy into minimal heat, reducing overall decibel levels.
Your hearing protection improves considerably while working, creating a safer environment. These absorptive materials target problematic frequencies, especially mid to high-range tones typical in workshop settings.
You’re not just dampening noise; you’re controlling how sound behaves within your space. Strategic placement maximizes surface area coverage where sound waves concentrate.
Your workshop becomes more comfortable for extended periods, reducing fatigue from constant noise exposure. The technical benefit lies in absorption coefficients working synergistically with your room’s geometry.
You’ll achieve measurable noise reduction while maintaining workflow efficiency.
Line Floors With Thick Rubber Matting
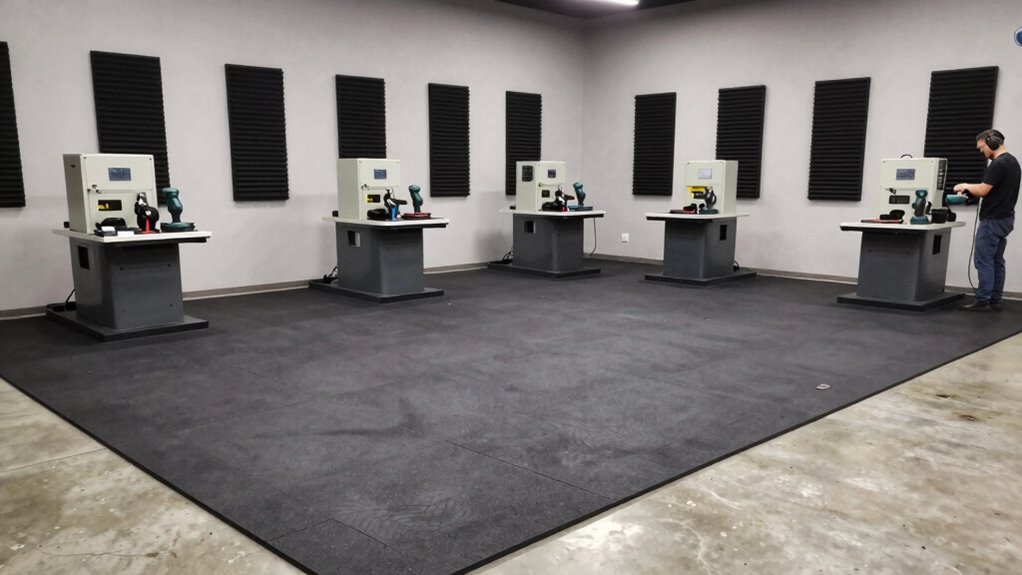
Thick rubber matting greatly dampens impact noise from dropped tools, machinery vibration, and foot traffic in workshop environments.
You’ll notably reduce noise transmission through concrete floors while creating a safer, more comfortable workspace.
- Impact sound reduction: Rubber absorbs energy from falling objects and heavy equipment, minimizing echoing effects throughout your workshop space.
- Vibration isolation: Thick mats decouple machinery from floor surfaces, preventing resonant frequencies from amplifying noise levels during operation.
- Footfall noise control: Workers moving equipment or materials generate less audible impact noise, maintaining productivity without disturbing neighbors or other areas.
Installing proper rubber flooring transforms your workshop acoustics while demonstrating commitment to professional standards.
Switch to Low-Decibel Power Tools
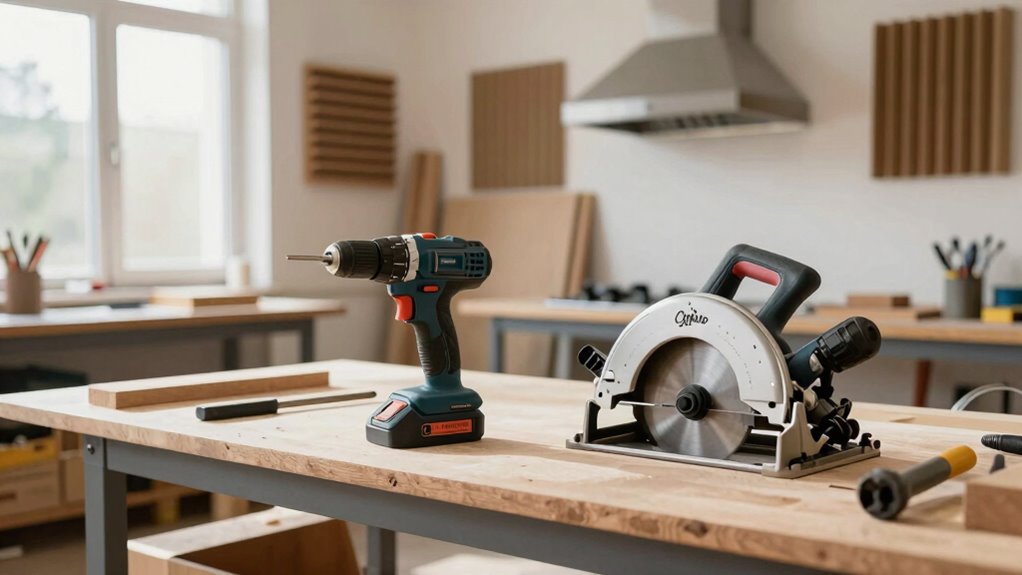
You should evaluate quieter tool alternatives that maintain performance while reducing decibel output.
Noise level comparison charts help you identify which tools generate the least sound during operation.
Battery-powered tools often provide significant noise reduction benefits compared to their corded counterparts.
Quieter Tool Alternatives
Replacing traditional power tools with low-decibel alternatives considerably reduces workshop noise levels while maintaining cutting performance. You should evaluate these quieter options carefully before purchasing.
1. Brushless motors deliver superior efficiency with reduced noise output compared to brushed counterparts. These motors eliminate arcing and brush friction sounds while providing consistent torque.
Premium models feature advanced vibration dampening systems that further minimize operational noise.
2. Inverter-driven tools modulate power delivery precisely, eliminating the need for noisy mechanical adjustments.
Variable frequency drives allow smoother operation and reduced acoustic signatures. Their electronic controls optimize performance while suppressing unwanted noise harmonics.
3. Pneumatic alternatives often produce less noise than electric tools during operation. Air-powered tools eliminate motor hum and electrical interference sounds.
You’ll notice significant noise reduction when using pneumatic sanders, drills, and impact wrenches instead of their electric equivalents.
Noise Level Comparison Charts
Several key factors differentiate low-decibel power tools from their noisier counterparts, with sound output measurements revealing significant performance gaps between traditional and modern alternatives.
You’ll notice measurable differences in decibel ratings, typically ranging from 70-85 dB for quieter models versus 90-110 dB for standard tools. These charts help you identify which brands and models maintain lower noise profiles while delivering equivalent performance.
Manufacturers now prioritize acoustic engineering, incorporating noise-reduction technologies that don’t compromise power output. When you’re comparing specifications, focus on tools rated below 80 dB for substantial noise reduction.
Professional-grade low-decibel options often feature advanced motor designs and vibration dampening systems. You’ll find that investing in quieter tools pays dividends through improved work environment safety and reduced hearing protection requirements.
These measurements directly correlate with long-term workshop usability and neighbor-friendly operation.
Battery-Powered Tool Benefits
Battery-powered tools offer inherent advantages for noise reduction that complement the decibel measurements discussed in power tool comparisons. You’ll notice immediate quiet operation when switching from corded alternatives, as battery tools eliminate motor noise harmonics typical in AC-powered equipment.
- Motor Design Efficiency: Brushless motors in modern battery tools operate at lower RPMs while maintaining torque, directly reducing noise emission by 10-15 decibels compared to traditional universal motors.
- Vibration Dampening: Integrated electronic controls and gear reduction systems minimize mechanical vibration, translating to quieter workshop environments during extended use sessions.
- Operational Flexibility: Variable speed triggers allow you to match power output with task requirements, preventing unnecessary high-decibel operation when lower settings suffice for precision work.
Maintain Tools Regularly for Silence
When you keep your tools well-maintained, they operate more quietly and efficiently. Sharp blades reduce friction and vibration, while properly lubricated bearings eliminate grinding sounds.
You should regularly inspect power tools for worn brushes, loose components, or damaged guards that create excessive noise. Dull drill bits force motors to work harder, generating more acoustic energy.
Clean saw blades prevent material buildup that causes imbalanced rotation and rattling. Tighten loose handles, chucks, and housings immediately when you notice play. Replace worn sanding belts and grinding wheels before they develop uneven surfaces.
Check pneumatic tools for air leaks that hiss and hammer valves. Monitor electric motors for bearing wear through increased pitch or rough operation.
Your tools deserve preventive maintenance schedules because neglected equipment creates workshop hostility rather than productive environments where everyone wants to work.
Build Enclosures Around Loud Machines
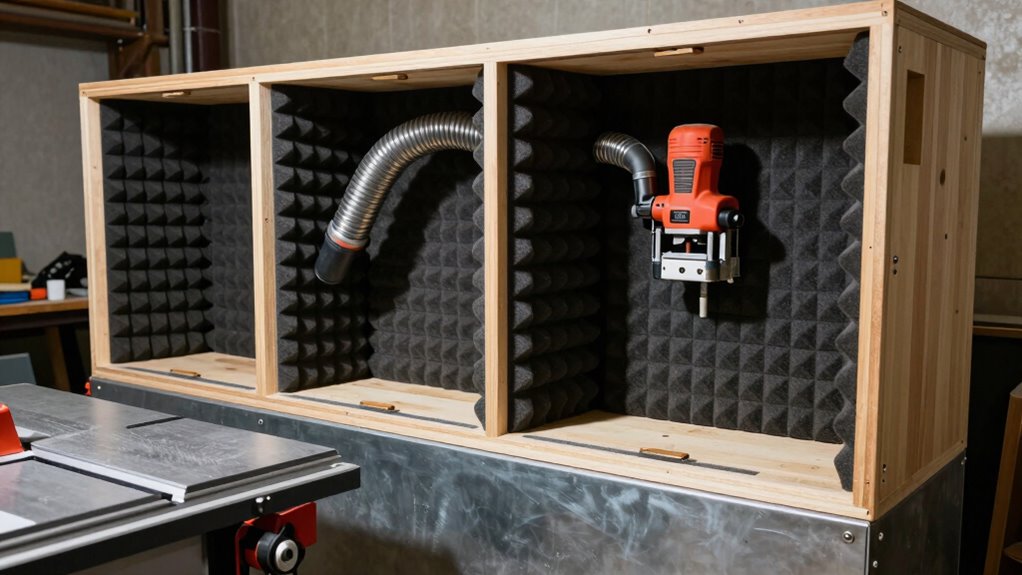
While you’re tackling noise reduction in your workshop, consider constructing enclosures around your loudest machinery to contain acoustic energy at its source. These barriers greatly reduce sound transmission while maintaining machine functionality.
- Material Selection: Use dense materials like mass-loaded vinyl or acoustic foam panels. These absorb sound waves effectively while remaining durable enough for workshop conditions.
- Ventilation Integration: Install filtered exhaust systems within enclosures to prevent overheating. Proper airflow maintains machine performance without compromising noise reduction benefits.
- Access Design: Incorporate hinged panels or removable sections for maintenance access. Quick-disconnect fasteners allow efficient servicing while preserving enclosure integrity.
Enclosures transform your workshop into a controlled acoustic environment where you belong.
Seal Floor Cracks and Wall Gaps
One effective method for minimizing noise transmission involves sealing floor cracks and wall gaps that allow sound waves to escape your workshop environment.
You should identify all openings where noise leaks occur, including gaps around doors, windows, and utility penetrations.
Apply acoustic sealant or caulk to these areas, ensuring complete coverage. Use weatherstripping for movable joints and install door sweeps to eliminate air gaps.
Don’t overlook floor cracks – inject them with flexible sealant designed for noise reduction. Wall penetrations require foam backer rods followed by acoustic caulk application.
Check electrical outlets and switch boxes; these often become sound pathways.
You’ll achieve better results by addressing every gap systematically rather than randomly. Proper sealing creates an acoustic barrier that prevents sound energy from escaping your controlled workshop space, ultimately reducing overall noise levels.
Soften Walls With Fabric Drapes
You should choose heavyweight fabrics like velvet or thick cotton blends that absorb sound waves effectively while avoiding thin materials that reflect noise back into your workspace.
Installation methods include tension rods, curtain tracks, or adhesive-mounted fabric panels that you can position strategically along problematic wall surfaces.
These fabric treatments work best when you cover at least 60% of your wall area to achieve measurable noise reduction in your workshop environment.
Fabric Selection Tips
When selecting fabric drapes to reduce workshop noise, choosing materials with high sound absorption coefficients directly impacts acoustic performance.
You’ll want to prioritize dense, textured weaves that trap sound waves effectively. Avoid smooth, reflective surfaces that bounce noise back into your workspace.
- Material density matters – Select heavyweight fabrics like velvet, felt, or thick cotton blends that absorb frequencies better than lightweight alternatives.
- Surface texture affects performance – Choose fabrics with irregular surfaces, loops, or pile construction that scatter and capture sound waves more efficiently.
- Thickness correlates with absorption – Opt for drapes at least 14 ounces per square yard to maximize noise reduction across mid to high frequency ranges.
Your workshop’s acoustic quality depends on these technical specifications.
Installation Methods
Having selected appropriate fabric materials for acoustic performance, proper installation methods determine how effectively your drapes will reduce workshop noise.
You must install fabric drapes with adequate spacing from walls to create air gaps that enhance sound absorption. Mount brackets securely using appropriate hardware for your wall type, ensuring drapes hang perpendicular to surfaces.
Position drapes strategically across large reflective surfaces like concrete or drywall areas where sound waves bounce. You should maintain consistent tension to prevent fabric from billowing, which reduces effectiveness.
Overlap panel edges minimally to avoid sound leakage paths. Consider ceiling-mounted tracks for maximum coverage. Your installation angle affects how sound waves interact with fabric surfaces.
Secure all hardware tightly to prevent rattling that creates additional noise. Test different configurations to optimize noise reduction for your specific workshop environment and noise sources.
Use Fans to Blend Background Sounds
Fans frequently serve as effective tools for masking disruptive noises in workshop environments by generating consistent background sound that blends with intermittent disturbances.
You’ll find that strategic fan placement creates a sonic blanket, reducing the perceived impact of sharp, irregular sounds that interrupt your workflow.
- Position ceiling fans above work areas to establish uniform ambient noise levels that mask hammering, drilling, and clanking sounds.
- Use multiple smaller fans instead of one large unit to create distributed sound coverage that eliminates quiet zones where disruptive noises become prominent.
- Adjust fan speeds to match your workshop’s acoustic profile – higher velocities for louder environments, lower settings for precision work requiring auditory focus.
This approach helps you maintain concentration while reducing noise fatigue during extended work sessions.
Place Modular Kits Where Needed
Strategic placement of modular sound-dampening kits markedly reduces workshop noise by targeting specific acoustic problem areas rather than applying blanket solutions.
You’ll want to identify primary noise sources and position kits accordingly. Measure decibel levels at different locations to determine hotspots requiring immediate attention. Don’t randomly distribute kits throughout your space hoping for improvement.
Instead, analyze sound reflection patterns and place absorption panels where noise bounces most aggressively. Corners and wall intersections often amplify unwanted frequencies. Position kits perpendicular to noisy machinery for maximum effectiveness.
You should monitor results with a sound meter after each placement adjustment.
Modular systems allow you to customize coverage based on your workshop’s unique acoustic signature. Move kits between projects as noise sources change locations. This targeted approach delivers better results than indiscriminate sound treatment while maximizing your investment efficiency.
Adjust Machine Locations for Less Echo
Why not eliminate echo at its source by repositioning your machinery? Strategic placement greatly reduces reverberation effects throughout your workspace.
- Move loud equipment away from parallel walls to prevent sound waves from bouncing back and forth. Position machines at angles or near corners where reflections naturally dissipate.
- Create distance between noise sources and reflective surfaces like concrete walls, metal cabinets, and glass windows. Even six inches can make measurable differences in echo reduction.
- Group similar machines together rather than scattering them randomly. This approach contains noise within smaller areas while allowing quieter zones elsewhere in your workshop.
These adjustments require minimal effort but deliver considerable acoustic improvements, helping you feel more comfortable and focused during projects.
You’ll notice immediate differences when properly positioning equipment.
Conclusion
You’ve got all the tools to tackle workshop noise head-on. By measuring sound levels, protecting your hearing, and strategically placing acoustic treatments, you’ll create a more productive environment. Don’t let excessive noise continue impacting your work quality and health. Take action now to implement these proven solutions. Your future self will thank you for the quieter, more efficient workspace you’ve built.
