

You might assume that adding more lights automatically improves workshop visibility, but that approach often creates glare and shadows that compromise safety. Proper lighting design requires strategic placement and layering of light sources to eliminate dark spots where accidents thrive. If you’re working in inadequate conditions, you’re not just straining your eyes—you’re inviting preventable injuries. Understanding how to optimize your workspace illumination transforms both productivity and safety outcomes.
Why Good Lighting Is Crucial in Workshops
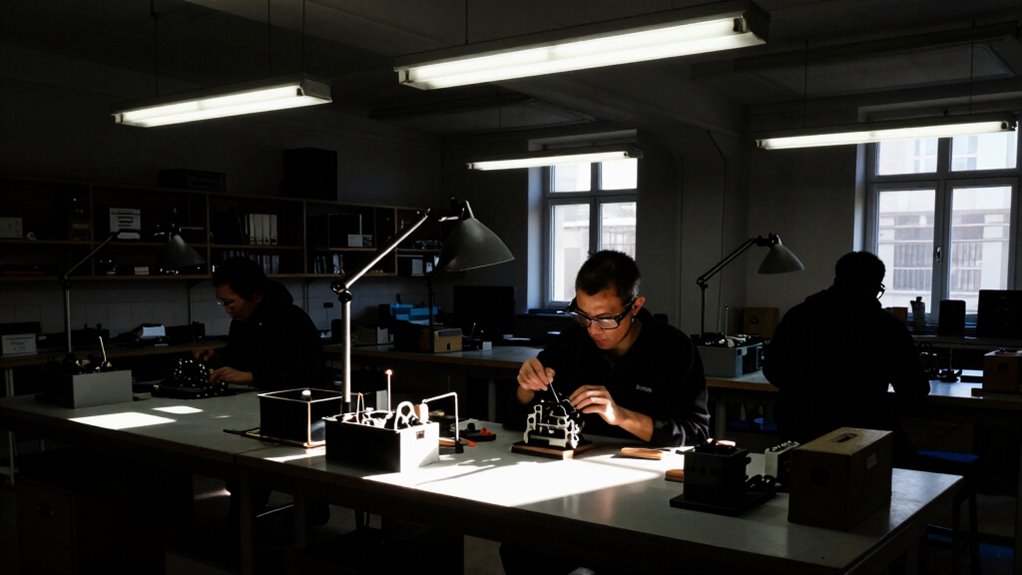
When you work in poorly lit conditions, your eyes strain to distinguish details, leading to fatigue and potential safety hazards.
You’ll find that inadequate illumination forces your pupils to constantly dilate and contract, creating visual stress. Poor lighting reduces your ability to detect subtle variations in texture, color, and depth perception critical for precision work.
Your workshop environment demands proper luminance distribution across all work surfaces. You should aim for 500-1000 lux depending on task complexity.
Uniform lighting eliminates shadows that obscure important details. Effective workshop lighting includes both general illumination and task-specific lighting.
You’ll benefit from LED systems offering consistent color temperature between 4000-6500K. These provide superior visual acuity compared to traditional fluorescent fixtures.
Proper lighting placement prevents glare while ensuring thorough coverage of your workspace areas.
How Poor Light Causes Accidents and Fatigue
You experience increased accident risks when working in poorly lit environments because inadequate illumination creates visibility hazards that obscure workpiece details, tool positions, and potential obstacles.
Your eyes strain considerably under dim lighting conditions, forcing constant refocusing and pupil dilation that leads to fatigue and reduced visual acuity.
These combined factors compromise your ability to perform precise work safely and efficiently.
Poor Visibility Hazards
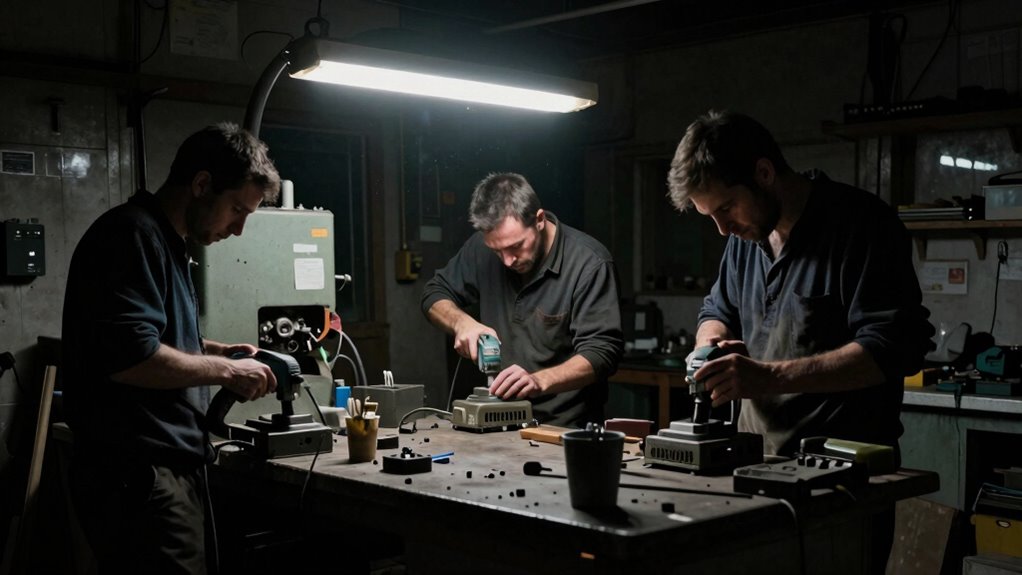
Because inadequate illumination creates dangerous working conditions, poor visibility greatly increases accident rates and worker fatigue in workshop environments.
You’ll notice that insufficient lighting forces you to strain your eyes constantly, leading to dangerous situations where you might misread measurements or miss critical details.
Your body responds to poor lighting by tensing muscles and increasing stress levels, which compounds fatigue throughout your workday.
When you can’t see clearly, you’re more likely to make mistakes that compromise both your safety and product quality.
Poor visibility doesn’t just affect your immediate work; it creates a ripple effect that impacts your entire team’s productivity and morale.
- Tripping hazards become invisible until it’s too late
- Equipment malfunctions go unnoticed without proper inspection lighting
- Work quality deteriorates as you struggle to distinguish fine details
You deserve better working conditions that support your success and safety.
Eye Strain Effects
Poor lighting conditions force your eyes to work greatly harder, creating a cascade of physiological responses that directly impact both safety and productivity.
You experience increased pupil dilation and constriction cycles, causing ciliary muscle fatigue. This constant adjustment leads to headaches, blurred vision, and reduced depth perception.
Your body responds to inadequate illumination by tensing neck and shoulder muscles, creating additional physical stress. Fatigue accumulates rapidly when your visual system struggles to process insufficient light levels.
You become more susceptible to workplace accidents as reaction times slow and attention wavers. Poor contrast recognition means you might misidentify tools or components, leading to errors.
Glare and shadows compound these issues, forcing you to adopt awkward postures while searching for proper illumination. Chronic eye strain affects your overall work quality and increases absenteeism rates considerably.
How Bright Should Your Workshop Be?

How much light does your workshop actually need? You shouldn’t guess—calculate based on your specific tasks. General workshop areas require 50-100 foot-candles, but detailed work demands 200-500 foot-candles. Measure your current lighting levels with a lux meter to identify deficiencies.
- Task-specific brightness: Fine detail work like electronics assembly needs 500+ lumens per square foot.
- Uniform distribution: Avoid shadows by spacing fixtures evenly across your workspace ceiling.
- Layered approach: Combine overhead lighting with task lights for ideal coverage.
Don’t overshoot—excessive brightness creates glare and eye fatigue. Your goal is sufficient illumination for safe, accurate work without wasted energy.
Calculate your workshop’s square footage, then multiply by recommended foot-candle requirements. This gives you total lumens needed. Divide by fixture output to determine quantity. You belong in a well-lit workspace that supports your craft.
Which Color Temperatures Improve Focus and Safety

You should understand how cool white lighting enhances alertness during detailed tasks while warm yellow tones reduce eye strain during extended work periods.
Your natural daylight exposure greatly improves visibility and color accuracy when working with materials.
These color temperature considerations directly impact both your productivity and safety in the workshop environment.
Cool White Enhances Alertness
While selecting lighting for workshop environments, consider that cool white light greatly enhances alertness and cognitive performance.
Cool white LEDs typically emit between 4000K-6500K color temperature, mimicking natural daylight that triggers your body’s circadian response. This lighting spectrum stimulates photoreceptors in your eyes, increasing cortisol production and reducing melatonin release.
- 5000K-6500K maximizes visual acuity and reaction time
- 4000K-5000K balances alertness with comfortable prolonged exposure
- Blue-rich spectra within cool white improve contrast perception
You’ll notice significant differences in task performance when switching from warm to cool lighting.
Cool white illumination helps you maintain focus during detailed work, reduces fatigue, and supports safer operation of machinery. Your workshop environment demands lighting that keeps you sharp and responsive.
Warm Yellow Reduces Eye Strain
Why does warm yellow lighting prove so effective at reducing eye strain during extended workshop sessions?
Your eyes naturally adapt to warmer color temperatures, which mimic traditional incandescent bulbs and firelight. This spectrum reduces glare and minimizes pupil dilation, preventing fatigue. You’ll find warm yellow lighting creates comfortable contrast ratios between work surfaces and surrounding areas.
Color temperatures between 2700K-3000K provide ideal visual comfort for detailed tasks. These wavelengths penetrate eye tissues more effectively than cool whites, reducing blue light exposure that causes digital eye strain.
Your workshop deserves lighting that supports sustained focus.
Warm yellow reduces headaches and blurred vision common with harsh lighting. You’ll work longer without discomfort when your environment uses appropriate color temperature. This approach keeps you productive while protecting your vision during those marathon project sessions.
Natural Daylight Improves Visibility
Natural daylight greatly enhances visibility in workshop environments, offering superior illumination that artificial sources struggle to replicate.
You’ll notice how natural light reveals subtle details and color variations that standard bulbs miss, creating better depth perception for precision work.
Color temperature matters considerably for focus and safety. Cooler daylight temperatures between 5000K-6500K mimic natural outdoor lighting, reducing eye fatigue while improving alertness.
This spectrum enhances contrast recognition, helping you distinguish between similar colored components or detect surface irregularities.
Consider these key benefits:
- Enhanced Color Rendering: Natural daylight provides complete color spectrum visibility
- Reduced Shadow Formation: Even light distribution minimizes dangerous blind spots
- Improved Circadian Rhythm: Proper light exposure maintains your body’s natural alertness cycle
You’ll work more efficiently and safely when your workspace mimics natural outdoor conditions.
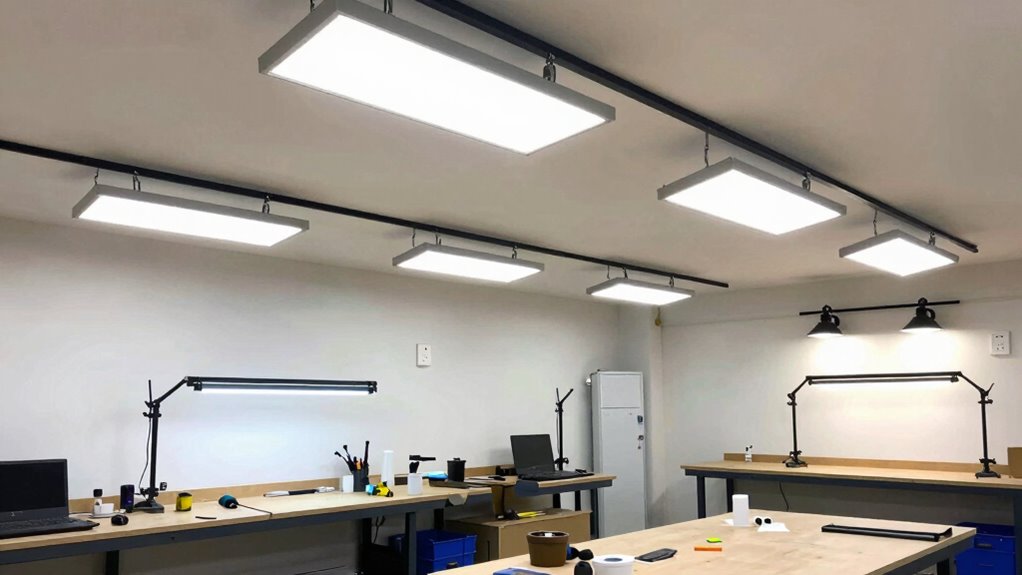
Where to Position Lights for Even Coverage
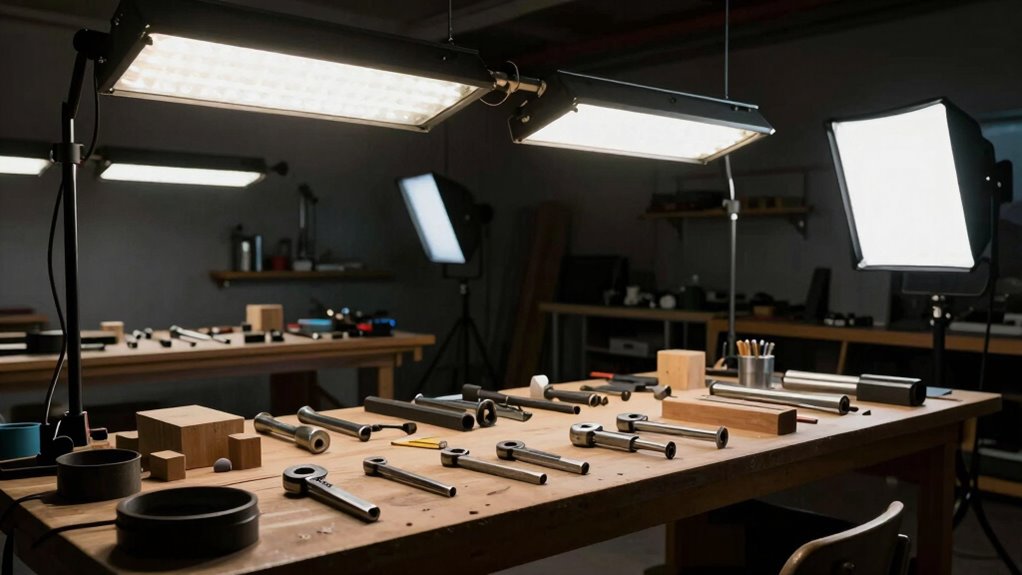
When positioning lights for even coverage, you should mount fixtures at strategic heights and angles to eliminate shadows where workers perform detailed tasks.
Install overhead lighting between eight to twelve feet above work surfaces, ensuring uniform spacing prevents dark spots.
Position task lighting at forty-five-degree angles from your dominant hand to avoid casting shadows on workpieces.
You’ll want to place fixtures away from direct eye contact to prevent glare while maintaining adequate illumination across all work zones.
Consider mounting lights on adjustable arms or tracks, allowing you to reposition them based on specific project requirements.
Multiple light sources create better coverage than single fixtures, so distribute lighting evenly throughout your workspace rather than concentrating brightness in one area.
How to Eliminate Shadows Around Tools and Materials
You should mount lights strategically above and around your work areas to prevent shadow formation.
Multiple light sources eliminate dark spots by ensuring overlapping illumination zones.
Adjust light angles carefully so beams hit tools and materials directly without creating obstructive shadows.
Mount Lights Strategically
Strategic light mounting eliminates shadows that obscure your work surface and compromise precision. You need to position fixtures where they illuminate your workspace effectively without creating glare or dark spots.
- Mount lights at workbench level – Install adjustable LED strips or task lights directly above your primary work areas to guarantee consistent illumination across your materials and tools.
- Position fixtures perpendicular to work surfaces – Angle lights at 45-degree angles to minimize shadows cast by your hands and tools while maintaining ideal visibility.
- Install wall-mounted units at eye level – Place LED panels or fluorescent fixtures at shoulder height to reduce facial shadows and provide even light distribution throughout your workspace.
Use Multiple Light Sources
While mounting lights strategically reduces many shadows, combining multiple light sources eliminates remaining dark spots that obscure your tools and materials.
You’ll want to layer overhead lighting with task-specific fixtures positioned at different heights and locations throughout your workspace. Position ceiling-mounted fixtures evenly spaced to provide baseline illumination, then add portable work lights on adjustable stands.
Mount under-cabinet LEDs beneath shelves storing frequently used items. Place battery-powered LED strips inside toolboxes and storage containers.
Multiple smaller light sources create overlapping illumination patterns that fill gaps single fixtures miss. You’re not just adding brightness—you’re sculpting light distribution.
This approach guarantees consistent visibility across your entire workspace, eliminating those frustrating moments when shadows hide critical details during precision work.
Adjust Light Angles
Building on the layered approach of multiple light sources, adjusting light angles becomes the next critical step in eliminating shadows that obscure your work.
You need to position lights at different heights and angles to guarantee complete coverage around tools and materials.
- Position lights at 45-degree angles from your work surface to minimize direct shadows cast by your hands and tools.
- Install adjustable mounting brackets that let you reposition lights based on your current project’s specific lighting requirements.
- Use articulated LED arms to direct light precisely where you need it most, eliminating dark spots that hinder visibility.
Proper angle adjustment guarantees consistent illumination across your entire workspace.
You’ll notice immediate improvement in shadow reduction when lights aren’t positioned directly overhead or at identical angles.
Choosing Between Ambient, Task, and Accent Lighting

How do you determine which lighting type works best for your specific workshop needs? You must understand each lighting category’s distinct function.
Ambient lighting provides overall illumination, creating your workspace’s baseline brightness level. Task lighting focuses intense, directed light where you work, eliminating shadows during detailed projects. Accent lighting highlights specific areas or objects, adding visual depth and definition.
You should evaluate your workshop’s primary activities first. If you perform intricate mechanical work, prioritize task lighting with adjustable fixtures. For general maintenance tasks, emphasize ambient lighting throughout the space.
You might combine all three types, but don’t overload your electrical system. Consider your workshop’s layout, ceiling height, and power availability. You belong among serious craftsmen who optimize their environments systematically.
Best Types of Fixtures for Indoor Workshop Use
You should consider LED panel lights and fluorescent tube replacements as your primary fixture options for indoor workshop applications.
These fixtures provide superior energy efficiency and light quality compared to traditional incandescent bulbs, with LED panels offering excellent color rendering and fluorescent replacements maintaining familiar mounting systems.
Both fixture types deliver the consistent illumination levels necessary for detailed work while minimizing heat output and operating costs.
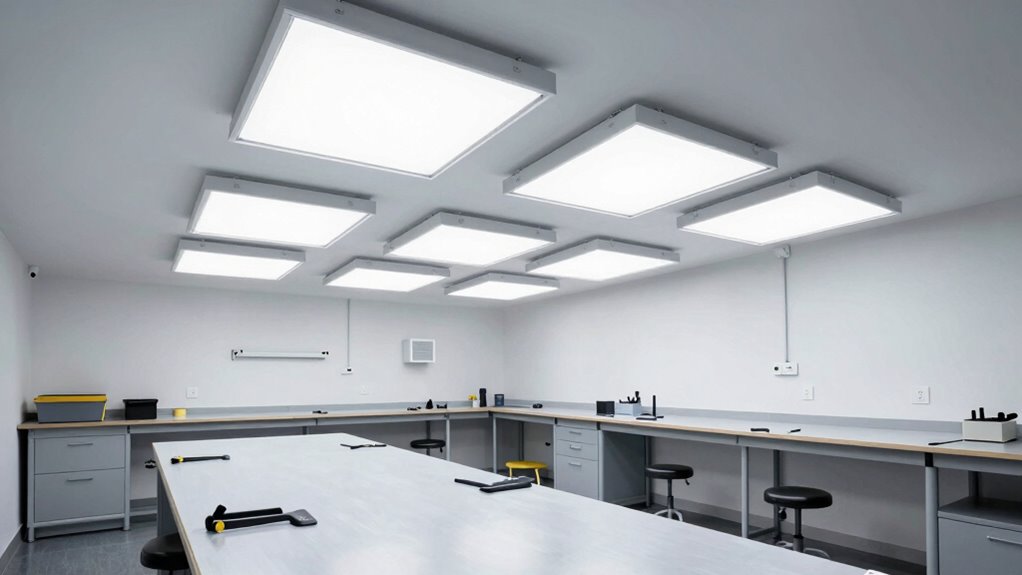
LED Panel Lights
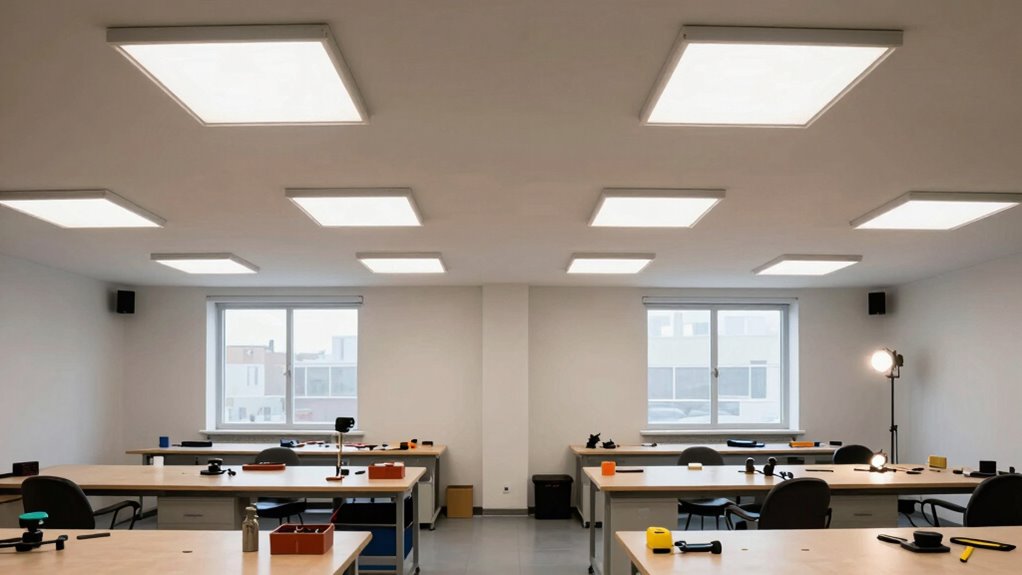
Several types of LED panel lights offer superior illumination for indoor workshop environments, with flat panel fixtures providing the most uniform light distribution across work surfaces.
You’ll want to take into account color temperature and CRI ratings when selecting panels for ideal visual comfort during detailed tasks.
- Edge-lit panels deliver exceptional brightness uniformity while maintaining slim profiles, making them ideal for mounting in confined spaces.
- Direct-lit panels offer superior lumen output and color rendering, perfect for precision work requiring accurate color discrimination.
- Adjustable panels feature dimming capabilities and color temperature controls, allowing you to customize illumination based on specific workshop activities.
These fixtures consume considerably less energy than traditional alternatives while providing consistent, flicker-free illumination.
You’ll appreciate their long lifespan and minimal maintenance requirements.
LED panels integrate seamlessly into modern workshop designs, offering both functional superiority and aesthetic appeal.
Fluorescent Tube Replacements
While LED panel lights excel at providing uniform illumination for general workshop tasks, fluorescent tube replacements offer distinct advantages for larger spaces and high-bay applications where maximum light output is required.
You should consider T8 LED tubes that directly replace existing fluorescent fixtures, delivering superior lumens per watt efficiency. These replacements maintain familiar mounting systems while boosting light quality and reducing energy consumption by up to seventy percent.
You’ll appreciate their extended lifespan, typically lasting fifty thousand hours compared to traditional fluorescent alternatives. High-output LED tubes are ideal when you need intense illumination for detailed work or large open areas.
You can choose between plug-and-play, ballast-bypass, or direct-wire configurations depending on your existing electrical setup and installation preferences.
Selecting LED Lights That Last and Save Energy
When selecting LED lights for workshop applications, prioritize units with high lumen output relative to wattage consumption, as this directly correlates with energy efficiency and long-term cost savings.
You’ll want to examine color temperature ratings between 4000K-5000K for ideal visibility during detailed work tasks.
- Lumen efficacy: Choose fixtures producing 100+ lumens per watt to maximize brightness while minimizing electrical consumption.
- Driver quality: Select LEDs with constant current drivers rated for 50,000+ hours operation to guarantee consistent performance.
- Heat management: Opt for aluminum housing with adequate heat sinks to prevent premature lumen depreciation.
Quality LED fixtures deliver 15-25 times longer lifespan than incandescent alternatives while consuming 75% less energy.
You’re investing in reliability that maintains consistent illumination levels throughout extended work sessions.
Plug-and-Play Lighting Solutions Anyone Can Install
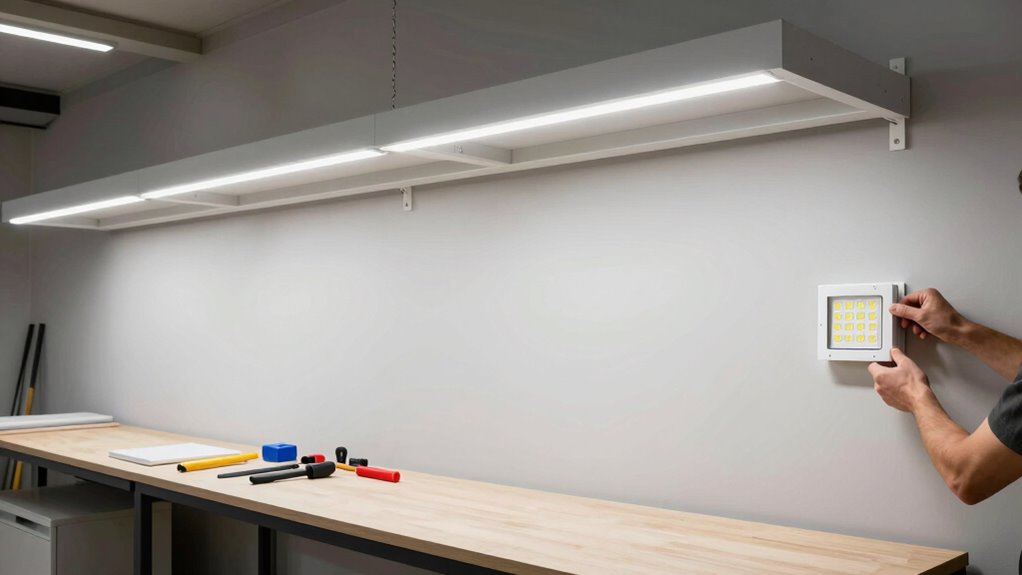
Because proper workshop illumination shouldn’t require electrical expertise, plug-and-play lighting solutions eliminate installation complexity while delivering professional-grade results.
You can easily install LED strips, clamp-on fixtures, and magnetic mount lights without wiring or electrical boxes. These systems typically use standard plugs, USB connections, or battery power. Look for solutions with adjustable brightness, color temperature controls, and flexible positioning.
Quick-connect mounting systems let you reposition lights as workspace needs change. You’ll find plug-and-play options that deliver 3000-6000 lumens, sufficient for most workshop tasks.
Consider modular systems that expand as your lighting needs grow. Battery-operated units provide flexibility where outlets aren’t available.
Smart controls let you customize lighting zones. These solutions integrate seamlessly with existing electrical infrastructure while providing professional illumination quality that enhances both safety and productivity in your workspace.
How to Use Windows and Skylights Wisely
Natural light sources like windows and skylights offer cost-effective illumination that complements your plug-and-play lighting setup.
You should position workbenches perpendicular to windows to maximize daylight exposure throughout the day. Skylights provide consistent overhead lighting but require careful placement to avoid creating shadows on your workspace.
- Install adjustable window coverings to control light intensity and prevent overheating during summer months.
- Choose diffused skylights over clear ones to eliminate harsh direct sunlight that causes temperature fluctuations.
- Position windows strategically by placing them on north-facing walls to receive consistent, soft natural light without glare.
You’ll achieve peak workshop illumination by combining natural and artificial light sources effectively.
Reducing Glare on Metal, Glass, and Polished Surfaces
Glare from metal, glass, and polished surfaces can greatly impair visibility and compromise safety during workshop tasks. You should position work lights at oblique angles rather than directly overhead to minimize reflections.
Apply anti-glare coatings or films to shiny surfaces when possible. You’ll want to use diffuse lighting sources instead of harsh spotlights that create hotspots.
Consider installing adjustable shades or baffles to control light direction. Position yourself so natural light doesn’t reflect directly into your eyes from polished workpieces.
You should also use matte finishes on tools and equipment when available. Strategic placement of curtains or blinds helps manage window glare effectively.
These adjustments reduce eye strain and improve precision during detailed work.
Tools to Check Light Levels in Your Space
Several specialized instruments help you accurately measure light levels throughout your workshop.
These tools provide precise readings that let you identify dim areas and optimize your lighting setup effectively.
You should consider these essential measuring devices:
- Light meter (lux meter) – Measures illuminance in lux or foot-candles across different workspace zones
- Digital multimeter with light sensor – Combines electrical testing with basic light measurement capabilities
- Smartphone light meter apps – Convenient options that utilize your phone’s built-in sensor for quick readings
Each tool helps you document current light levels, track improvements after adjustments, and guarantee adequate illumination for detailed work.
Taking accurate measurements eliminates guesswork and creates a safer, more productive workshop environment.
You’ll know exactly where additional lighting is needed.
Maximizing Light in Small or Awkward Areas
With accurate light level measurements in hand, you can now focus on addressing illumination challenges in confined or irregularly shaped workshop areas.
You should install LED strip lights along walls and overhead structures to maximize light distribution in tight corners. Mount swing-arm lamps on workbenches for targeted illumination where you need it most. Don’t overlook the importance of reflective surfaces – position mirrors strategically to bounce light into shadowed areas.
You’ll want to use adjustable fixtures that pivot and extend, allowing precise light direction. Consider installing under-shelf lighting to eliminate work surface shadows. Wall-mounted fixtures work better than floor lamps in cramped spaces.
You should also utilize light-colored surfaces and minimize dark objects that absorb illumination. These practical solutions guarantee every square inch of your workspace gets adequate light.
Are Portable or Battery-Powered Lights Useful?
Why should you consider portable or battery-powered lights as essential components of your workshop lighting strategy?
These versatile lighting solutions provide flexibility that fixed installations can’t match, allowing you to illuminate specific work areas precisely when and where you need them most.
Portable LED work lights and battery-powered headlamps offer several advantages:
- Enhanced mobility – Move lights between workstations without electrical outlet dependencies
- Emergency backup illumination – Maintain productivity during power outages or circuit failures
- Task-specific positioning – Angle lights exactly where shadows typically obscure your work
Battery-powered lights eliminate cord management issues while providing consistent brightness for extended periods.
You’ll find these lights indispensable for detailed work, tight spaces, or mobile workshop setups.
Their portability means you’re never stuck working in poorly lit conditions.
Budget-Friendly Upgrades That Make a Real Difference
One straightforward upgrade that dramatically improves workshop illumination involves replacing outdated incandescent bulbs with modern LED alternatives. You’ll notice immediate differences in both brightness and energy efficiency.
LEDs consume seventy-five percent less power while generating minimal heat. Install brighter LED bulbs in existing fixtures rather than buying new ones.
Add LED strip lights under shelves and cabinets to eliminate shadows. You should also consider upgrading to higher lumen outputs – aim for eighty lumens per square foot minimum.
Replace yellow-tinted bulbs with daylight spectrum LEDs around five thousand kelvin color temperature. These changes cost little but transform your workspace visibility.
Focus on task lighting placement where you work most frequently. Supplement overhead lighting with strategically positioned LED work lights.
You’ll see detailed improvements without breaking your budget.
Common Mistakes That Kill Workshop Visibility
Poor workshop lighting often stems from avoidable errors that undermine visibility despite adequate equipment. You might’ve quality fixtures but still struggle with shadows, glare, or insufficient illumination.
These problems typically result from improper placement, incorrect color temperature selection, or ignoring ambient light conditions. Your workspace deserves better than guesswork.
- Wrong bulb positioning creates harsh shadows where you need clear sight lines most.
- Mismatched color temperatures between multiple light sources cause eye strain and reduce contrast perception.
- Overlooking task-specific requirements leads to either excessive brightness or dangerous dark spots.
You belong in a well-lit environment that supports precision work. Avoid these pitfalls by planning your lighting layout strategically, matching fixture specifications to actual tasks, and testing different configurations before committing permanently.
Conclusion
You’ll see significant improvements in workshop safety and productivity by implementing proper lighting design. A manufacturing facility increased worker efficiency by 23% after installing LED fixtures with 500-750 lux coverage, reducing errors and eye strain. Don’t overlook lighting audits, strategic placement, and layered approaches. Regular monitoring guarantees sustained performance gains and accident prevention.
