

You’re standing in your backyard, needing to power a new patio heater, but realize you don’t have an outdoor outlet. Installing one yourself can save money, but missing a critical step might cause electrical hazards. Before you start, you’ll need to understand local codes, choose the right materials, and plan the wiring route carefully. Let’s review what you must know before touching any electrical components.
Benefits of Adding Outdoor Outlets
While you mightn’t realize it, adding outdoor power outlets greatly improves your property’s functionality and safety.
You’ll gain convenient access to electricity for landscaping tools, holiday decorations, and outdoor appliances without extension cord hazards. These installations reduce electrical accident risks by eliminating temporary wiring solutions that often create safety violations.
You’re protecting your family and home from potential electrical fires and shocks. Outdoor outlets also increase your property’s resale value while providing code-compliant electrical access where you need it most.
You’ll enjoy reliable power distribution throughout your outdoor spaces, making entertaining and maintenance tasks markedly easier. Professional installation guarantees proper grounding and weatherproofing.
You’re investing in long-term convenience and safety. These strategic electrical additions transform how you utilize your outdoor areas while meeting modern electrical standards and expectations.
Gather Tools and Materials First
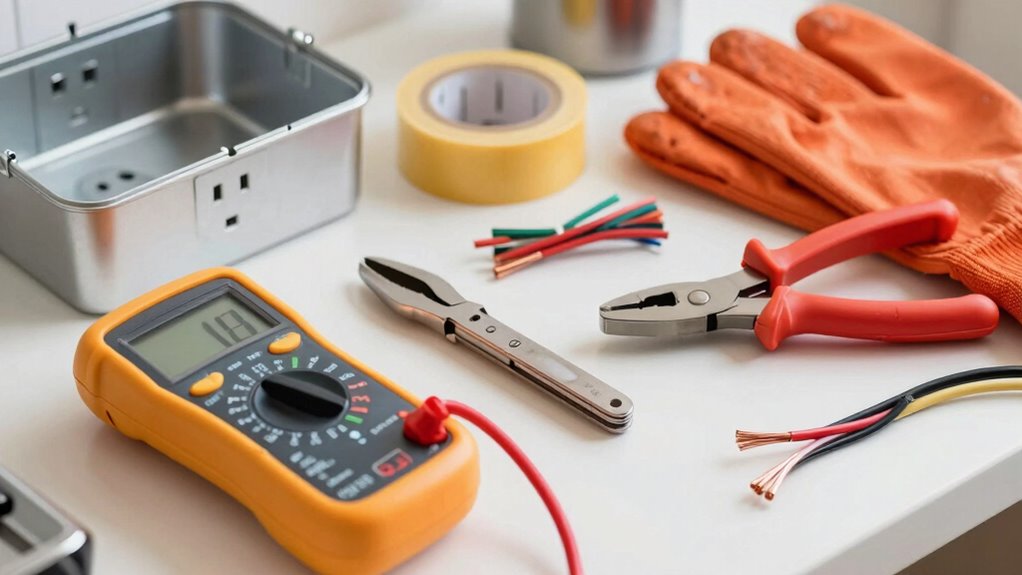
Before you begin installing outdoor power outlets, make sure you have all necessary tools and materials within reach.
You’ll need a drill with masonry bits, wire strippers, screwdrivers, electrical tape, and a voltage tester. Gather weatherproof outlet boxes, GFCI outlets rated for outdoor use, electrical wire rated for outdoor conditions, and proper conduit systems.
Don’t forget wire nuts, mounting screws, and outlet covers designed for outdoor environments.
Your safety equipment must include insulated gloves, safety glasses, and a hard hat.
Verify your circuit breaker is rated appropriately for the outlet’s amperage requirements. Check that all materials meet local electrical codes and national safety standards.
Having everything organized prevents dangerous interruptions during installation.
Missing tools or materials can compromise both safety and project completion.
Take time to verify each component’s compatibility before starting any electrical work.
Decide If This Is a DIY Project
You must evaluate your electrical knowledge and experience level before proceeding with this installation.
Check your local building codes and permit requirements, as outdoor electrical work typically requires professional inspection.
If you lack confidence in your abilities or don’t understand electrical safety protocols, hire a licensed electrician immediately.
Assess Your Electrical Skills
How confident are you with electrical work? Installing outdoor power outlets requires solid electrical knowledge and strict safety adherence.
You should understand circuit basics, wire connections, and GFCI protection requirements. Proper grounding techniques and weatherproofing methods are essential skills.
If you’re unfamiliar with electrical panels, breaker installation, or conduit routing, this project becomes considerably more dangerous. Consider whether you can confidently handle voltage testing, wire stripping, and secure electrical connections.
Outdoor installations demand additional expertise with weather-resistant materials and proper sealing techniques. Your safety and your home’s electrical system depend on competent installation.
Don’t underestimate the complexity of protecting against ground faults, moisture intrusion, and electrical hazards. Honest self-assessment prevents costly mistakes, potential fires, and serious injury risks.
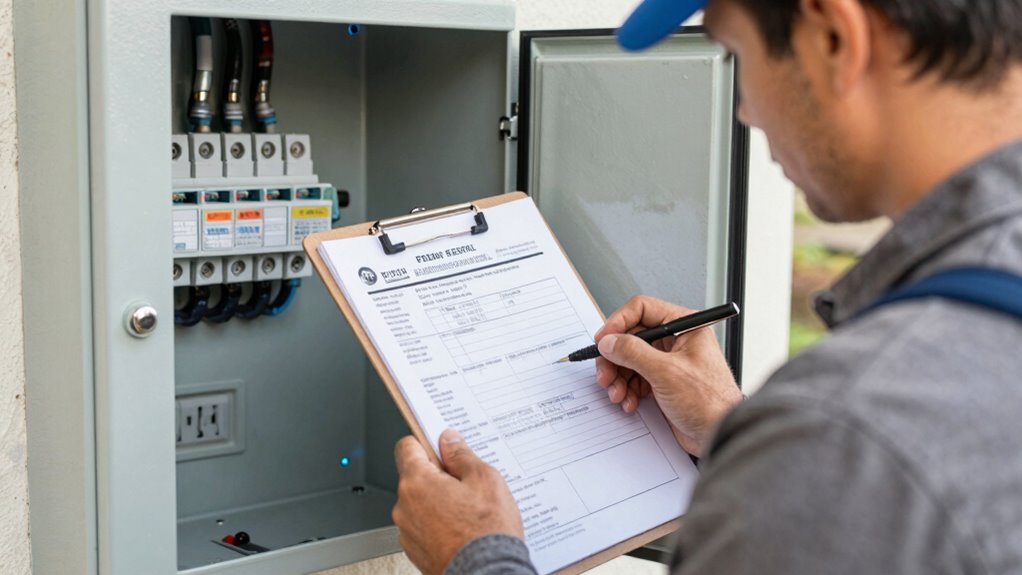
Check Local Permit Requirements
Having assessed your electrical competency and recognized the technical demands of outdoor outlet installation, you must now determine whether this project requires professional oversight through permit acquisition.
Contact your local building department to understand specific requirements, as permit rules vary greatly between jurisdictions. You’ll typically need permits for any electrical work involving new circuits or modifications to existing ones.
Some areas require licensed electricians to pull permits, while others allow homeowners with proper knowledge. Don’t skip this step—unpermitted work can result in fines, insurance claim denials, or safety hazards.
Research your local electrical codes and inspection requirements. If permit requirements seem overwhelming or unclear, consider hiring a licensed electrician who can navigate the process professionally and guarantee your installation meets all safety standards.
Check Local Permit Requirements
Before beginning any outdoor electrical work, verify your local permitting requirements, as failure to obtain necessary permits can result in costly fines, project delays, and potential safety hazards.
Contact your municipal building department or electrical inspector to determine specific permit needs for outdoor outlet installations. Requirements vary greatly between jurisdictions, so don’t assume neighboring areas have identical regulations.
You’ll likely need both electrical and building permits for proper outdoor installations. Some locations require inspections at multiple stages: rough-in, installation, and final completion.
Failure to secure permits means your work won’t meet code compliance, creating liability issues when selling your property. Insurance companies may deny claims related to unpermitted electrical work.
Professional electricians always pull permits because they understand code requirements and safety standards. Don’t risk your safety or investment by skipping this vital step.
Permit costs are minimal compared to potential penalties and rework expenses you’ll face later.
Meet Outdoor GFCI Code Standards

While installing outdoor power outlets, you must comply with National Electrical Code (NEC) GFCI requirements to prevent electrical shock hazards in wet environments.
NEC mandates GFCI protection for all 15-amp and 20-amp, 120-volt outlets installed outdoors. You’ll need to install GFCI receptacles that sense ground-fault currents exceeding 5 milliamperes and interrupt power within 1/40th of a second.
These devices monitor current flow between hot and neutral conductors, instantly cutting power when detecting imbalances indicating ground faults. Don’t overlook GFCI protection even when installing outlets under eaves or covered porches.
Local codes might impose additional requirements beyond NEC standards. Always verify your municipality’s specific electrical codes before beginning installation.
Test GFCI outlets monthly using the test button to confirm proper operation. Replace any outlet that fails to trip or reset immediately.
Choose the Best Outlet Position
You must select a weatherproof location that shields the outlet from direct water exposure while maintaining easy access for GFCI testing and resetting.
Position the outlet at least 12 inches above ground level to prevent water intrusion and guarantee proper drainage away from the electrical components.
Always verify that your chosen placement meets local electrical codes and provides adequate protection from environmental hazards.
Choose Weatherproof Outlet Location
Several key factors determine the ideal placement for your outdoor power outlet installation.
You’ll want to position outlets away from direct water exposure while maintaining accessibility for your outdoor tools and equipment. Mount outlets at least 12 inches above ground level to prevent water accumulation and comply with electrical codes.
Consider your home’s exterior layout, including gutters, downspouts, and grading that might direct water toward the outlet location. Choose spots protected by overhangs or eaves whenever possible.
Guarantee adequate clearance from windows, doors, and other openings. You should also evaluate nearby landscaping features that could affect outlet accessibility or create moisture issues.
Strategic placement prevents costly water damage and guarantees reliable outdoor power access for years. Proper positioning now saves significant repair expenses later while maximizing your outdoor electrical system’s lifespan and performance.
Select GFCI Protected Position
One critical requirement for outdoor power outlet installation is selecting a GFCI-protected position that guarantees maximum safety and code compliance.
You must choose locations where ground fault circuit interrupters can effectively monitor electrical flow and prevent electrocution hazards. Place GFCI outlets within six feet of water sources, including pools, spas, and wet bar areas. Make certain they’re positioned away from direct water spray zones while maintaining accessibility for testing.
You should install GFCI protection for all outdoor receptacles, regardless of distance from water. Consider weather exposure when selecting positions, making sure outlets face downward to prevent water infiltration.
Verify local electrical codes specify required GFCI placement distances and configurations. Test GFCI outlets monthly after installation.
Remember that GFCI protection doesn’t eliminate need for proper grounding. You’re responsible for maintaining these safety devices throughout their lifespan.
Ensure Proper Height Placement
Proper height placement of outdoor power outlets works hand-in-hand with GFCI protection to guarantee electrical safety and code compliance.
You must install outlets between 15 and 20 inches above ground level for ideal accessibility and weather protection.
Position outlets away from standing water areas and direct rainfall paths. Maintain minimum 6 feet separation from swimming pools, hot tubs, and water features.
You should face outlet covers downward to prevent water infiltration. Consider mounting height relative to nearby furniture and equipment usage.
Check local electrical codes for specific height requirements in your area. Proper placement prevents costly repairs and potential electrical hazards.
Remember that incorrect height placement compromises both functionality and safety standards.
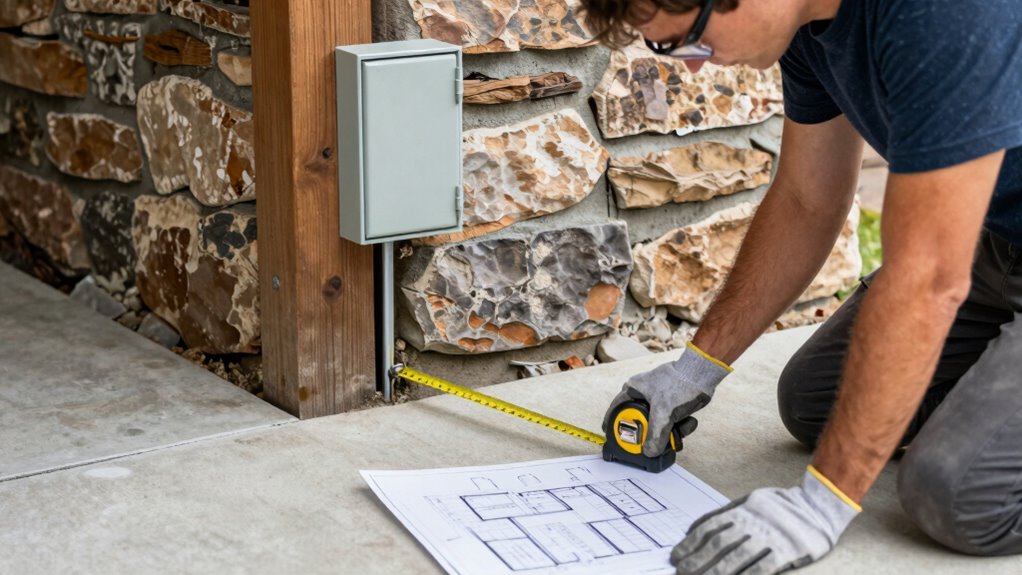
Map Your Outdoor Circuit Plans
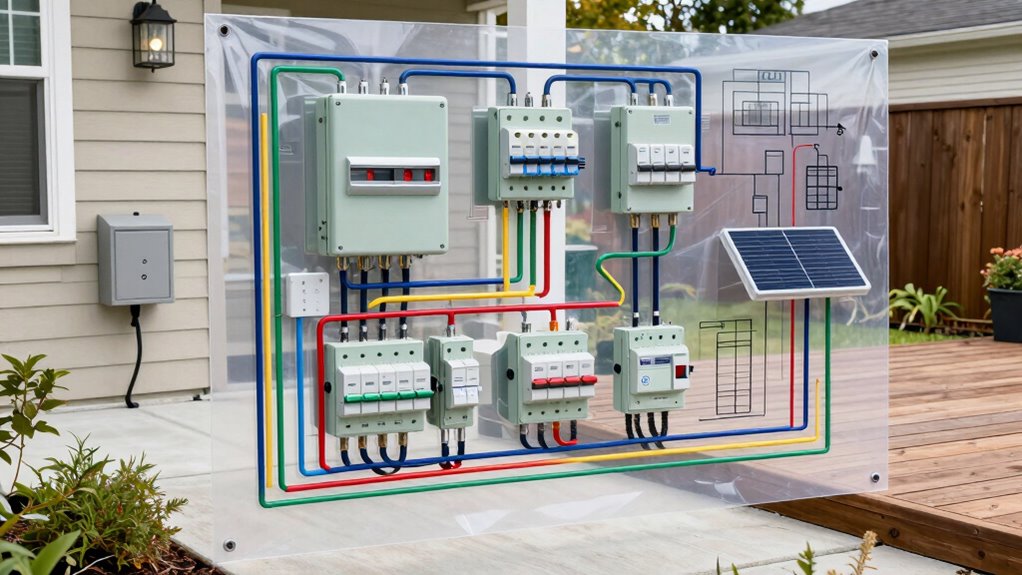
Mapping your outdoor circuit plans requires careful consideration of electrical load requirements and safety regulations before you begin any installation work.
You’ll need to calculate total wattage for all intended outdoor devices to prevent circuit overloads. Check your home’s electrical panel capacity and determine if you need a dedicated circuit.
Locate existing underground utilities using 811 service before digging. Plan outlet placement at least 12 feet from water sources and grade level or higher. Guarantee GFCI protection for all outdoor circuits.
Verify local building codes require permits and inspections. Document your layout with precise measurements and electrical specifications.
Consider future expansion needs when selecting wire gauge and conduit size. Professional electricians recommend planning redundant safety margins in your circuit design.
Shut Power Down Correctly
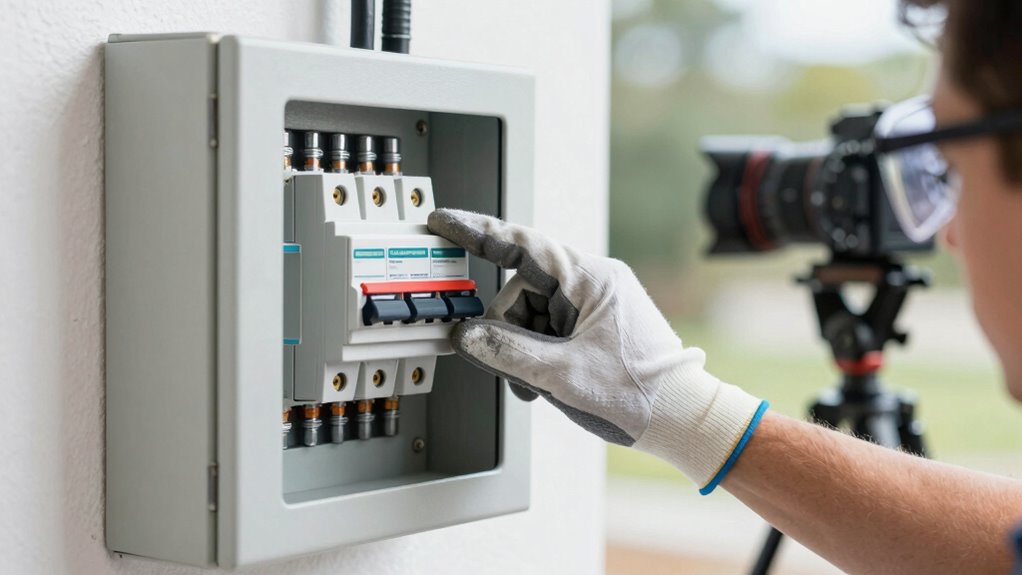
Before you begin any electrical work, turn off the main power supply at your home’s electrical panel to prevent accidental electrocution.
Locate your circuit breaker and switch off the specific breaker controlling the area where you’ll work. Use a non-contact voltage tester to verify power is completely off before touching any wires.
Test multiple points throughout your work area to ascertain no live circuits remain. Don’t rely on visual indicators alone; always double-check with proper testing equipment.
If you’re unsure which breaker controls your target circuit, turn off the main breaker completely. This eliminates any risk of working on live wires.
Remember that shutting down power correctly isn’t just about your safety—it protects your entire household. Take these precautions seriously, and never skip verification steps. Your family’s safety depends on proper electrical shutdown procedures.
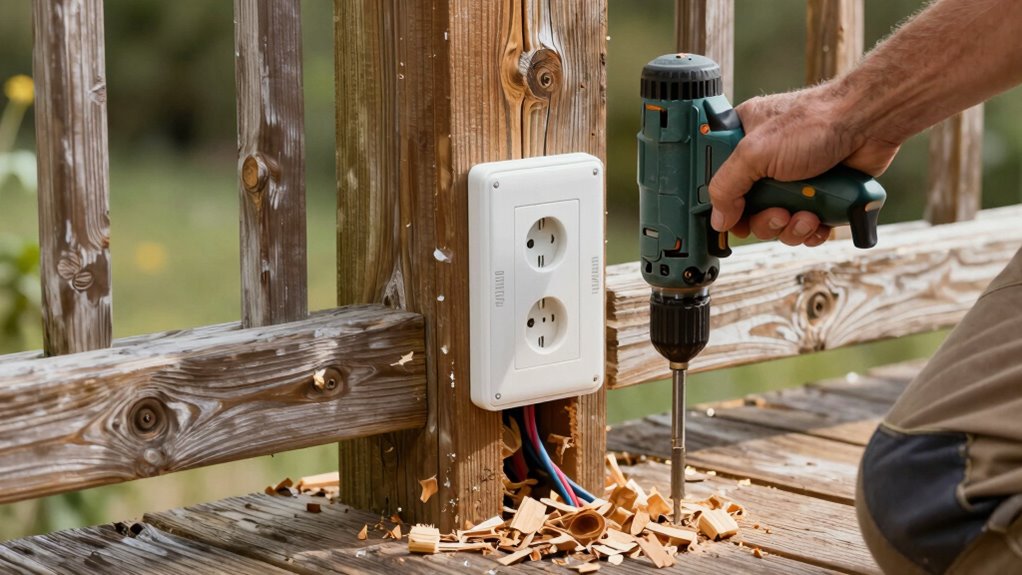
Prepare and Dig the Trench

You’ll need to excavate a trench from your home’s electrical panel to the desired location of your outdoor outlet. Call your local utility company first to mark underground services before digging. Use a shovel or trencher to cut a straight path, maintaining consistent depth of 18-24 inches below grade.
Keep trench walls stable by avoiding excessive soil disturbance. Measure twice, dig once – your trench route should be direct and efficient. Wear safety glasses and work gloves throughout excavation. Check local building codes for specific depth requirements in your area.
Remove rocks, roots, and debris from the trench immediately. Confirm proper slope away from your home’s foundation. Stake intermediate points along your planned route before starting. Your trench preparation determines successful cable installation, so take time getting this step right.
Stop digging whenever you encounter unexpected obstacles or utilities.
Run Cables Inside Conduit
With the trench properly excavated and cleared of debris, you’re ready to install the conduit system that will protect your electrical cables from environmental damage and physical harm.
Select rigid metal conduit or PVC suitable for direct burial applications. Cut conduit sections to length, leaving adequate space for connections. Apply lubricant to smooth edges before inserting cables.
Feed cables through conduit runs, avoiding sharp bends that could damage insulation. Maintain proper cable slack at connection points. Secure conduit joints with appropriate fittings and sealants.
Verify conduit alignment remains straight and level throughout installation. Check local electrical codes for specific requirements regarding burial depth and conduit types. Confirm all connections remain accessible for future maintenance.
Test conduit system integrity before backfilling.
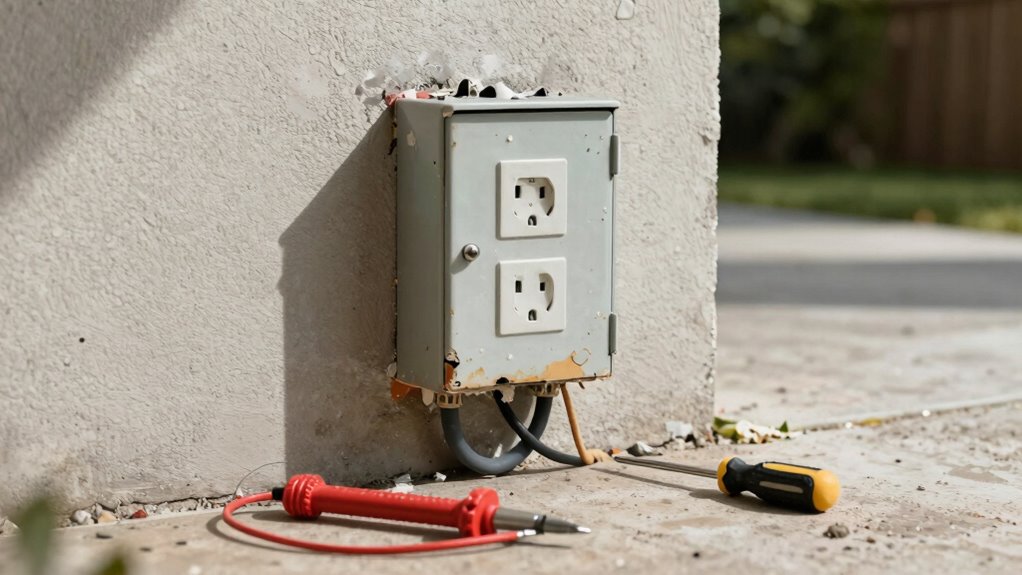
Set Up Exterior Junction Box
You’ll need to select a weatherproof enclosure rated for outdoor use and position it where you can easily access it for future maintenance.
Make sure the junction box sits in a location that’s protected from direct water exposure while remaining accessible for connecting your electrical lines.
Connect your secure electrical lines using appropriate wire nuts and seal all connections properly to prevent moisture intrusion.
Choose Weatherproof Enclosure
Although outdoor electrical installations require careful planning, selecting the proper weatherproof enclosure serves as the foundation for a safe and code-compliant exterior junction box setup.
You must choose an enclosure rated for your specific weather conditions and installation location. Look for NEMA 3R or higher ratings for adequate protection against rain, snow, and debris. The enclosure should feature tight-sealing gaskets and corrosion-resistant materials like polycarbonate or stainless steel.
You’ll want to guarantee proper IP ratings match your environment’s moisture levels. Don’t overlook UV protection for long-term durability.
Your choice directly impacts system reliability and electrical safety. Select enclosures with adequate space for wire connections and future maintenance.
Remember that cheaper options often compromise safety and longevity in outdoor applications.
Position For Easy Access
One key consideration when setting up an exterior junction box involves positioning it for convenient access while maintaining safety standards. You should mount the box between 15 and 20 inches above ground level for ideal reach.
Position it away from windows, doors, and areas where water might accumulate. Verify the location provides adequate working space around the box for future maintenance. Keep the junction box visible and unobstructed by furniture, plants, or decorations.
You must maintain at least three feet of clearance from any electrical panels or utility equipment. Consider placing it near exterior walls where indoor access remains possible.
The box should face away from prevailing weather conditions. You’ll want to position it where it won’t interfere with foot traffic patterns.
Remember that proper positioning prevents accidents and verifies code compliance during inspections.
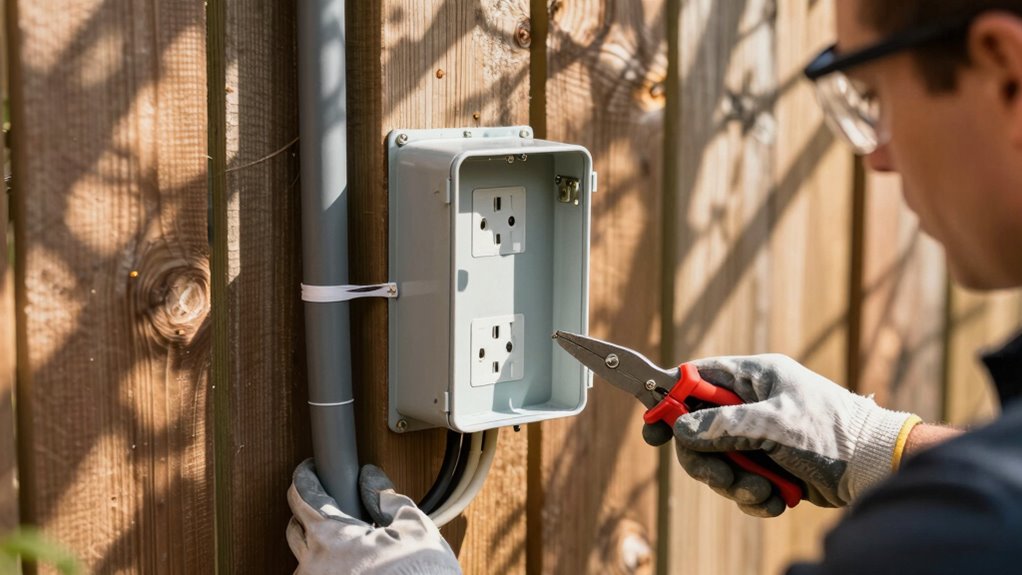
Connect Secure Electrical Lines
Connect the electrical lines securely to the exterior junction box by stripping the outer jacket of each cable about 6 inches from the end. Use a cable stripper to remove insulation without damaging internal wires.
Feed the stripped cables through the knockout holes in your junction box. Tighten the cable clamps firmly to create watertight seals.
Match black wires to brass terminals, white wires to silver terminals, and green or bare copper to grounding screws. Twist wire ends clockwise around terminal screws and tighten securely.
Ascertain no copper strands extend beyond connections. Apply wire nuts to splice connections inside the box. Keep wire lengths manageable for future maintenance.
Verify all connections are tight before closing the box cover. Test your setup with a multimeter.
Proper connections prevent electrical hazards and guarantee reliable outdoor power delivery. You’re creating safe, code-compliant installations that protect your family and property effectively.
Wire the New GFCI Receptacle
Before you begin wiring the new GFCI receptacle, make certain the circuit breaker is off and verify there’s no power at the outlet box using a non-contact voltage tester.
Strip about three-quarters of an inch from the hot, neutral, and ground wires. Connect the hot wire to the brass terminal marked “LINE” and the neutral wire to the silver “LINE” terminal. Attach the ground wire to the green grounding screw.
If you have multiple circuits, connect additional wires to the “LOAD” terminals following the same color coding. Push all wires securely into the box, ensuring no copper strands protrude.
Fold the wires carefully to avoid pinching when installing the receptacle. Make sure all connections are tight and properly seated before proceeding.
Seal All Weather Exposures
After you’ve properly wired the GFCI receptacle, sealing all weather exposures becomes critical to prevent moisture intrusion and guarantee long-term outdoor performance.
Apply silicone caulk around the outlet box perimeter where it meets the wall surface. Confirm the caulk completely fills any gaps between the box and surrounding material. Install a weatherproof outlet cover that creates a tight seal when closed.
These covers typically feature foam gaskets or rubber seals that compress when you secure the cover. Tighten all screws firmly but avoid over-tightening, which can damage seals. Verify that no gaps exist around the cover’s edges.
Pay special attention to cable entry points, confirming they’re properly sealed with appropriate gland fittings. Don’t forget to seal any unused knockout holes in the electrical box. Proper sealing prevents water infiltration that could cause electrical hazards or equipment failure.
Test Outlet Operation Thoroughly
You must verify all electrical connections are secure and properly tightened before energizing the circuit.
Test the outlet operation using a multimeter to confirm correct voltage readings and proper grounding.
Check that weatherproof sealing remains intact while inserting and removing plugs multiple times.
Verify Electrical Connections
Once you’ve completed the physical installation, test each outlet thoroughly to check proper electrical connections.
Use a multimeter to ensure voltage readings match your expected output. Test both outlets in each duplex receptacle separately.
- Voltage Testing: Measure 120V between hot and neutral slots, 120V between hot and ground, and near-zero voltage between neutral and ground.
- Polarity Check: Confirm hot wire connects to the smaller slot and neutral to the larger slot using a plug-in tester.
- GFCI Functionality: Press test button to check GFCI trips immediately, then press reset button to restore power.
Don’t skip these critical verification steps. Proper testing prevents electrical hazards and guarantees your outdoor outlets operate safely.
Verify all connections before finalizing your installation.
Check Weatherproof Sealing
Three critical sealing points demand immediate attention before energizing your outdoor outlets.
First, verify the electrical box cover creates a tight seal against weather infiltration. Check that all gaskets and foam inserts remain intact and properly positioned.
Second, examine cable entry points where wires penetrate the enclosure. Ascertain these areas maintain watertight integrity through proper sealing compounds or conduit fittings.
Third, inspect outlet covers for proper closure and sealing capabilities. Test each cover’s ability to prevent moisture entry when closed.
Don’t skip testing outlet operation thoroughly after confirming weatherproof sealing. Use a circuit tester to verify proper electrical function. Confirm GFCI protection works correctly by pressing test and reset buttons.
Only after completing these verification steps should you consider the installation complete and safe for outdoor use.
Prevent Costly DIY Mistakes
Several critical errors can turn a simple outdoor outlet installation into an expensive repair job or dangerous situation.
You must avoid these common pitfalls to guarantee your project succeeds safely.
- Ignoring GFCI requirements: You’ll create serious shock hazards without proper ground fault circuit interrupter protection.
- Skipping weatherproof ratings: You’re guaranteed water damage and electrical failures without appropriate wet-location fixtures.
- Overlooking permit requirements: You risk fines and insurance issues when electrical work doesn’t meet local code compliance.
Your safety and your family’s protection depend on avoiding these mistakes.
Don’t let pride or budget concerns compromise proper installation standards.
Take time to understand requirements before starting work.
Conclusion
You’ve learned the essential steps for outdoor outlet installation. Remember Sarah’s mistake: she skipped the voltage tester and nearly energized a wet junction box. Don’t let haste compromise safety. Verify power-off status, use weatherproof components, and test GFCI functionality. Proper sealing prevents costly moisture damage. If unsure, consult licensed electricians. Your family’s safety depends on precise execution of these technical procedures.
