

When overnight temperatures drop below 32°F, your tomato seedlings can suffer cellular damage within hours. Frost forms when moisture in plant tissues freezes, expanding and rupturing cell walls. You’ll need to act fast because even a light frost can kill tender vegetation. Understanding how cold air settles in your garden helps you choose the right protection method. Don’t wait until morning to assess damage—prepare your defense strategy now.
Understand How Frost Hurts Plants
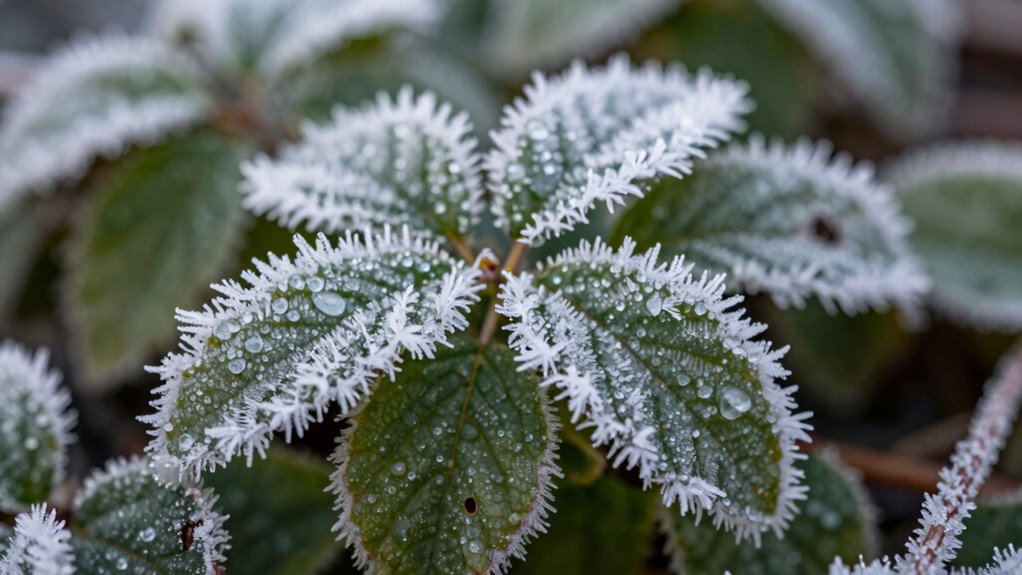
Understanding how frost damages plants requires examining the physical processes that occur when temperatures drop below freezing.
You’ll see ice crystals form inside plant tissues, rupturing cell walls and membranes. Water expansion during freezing creates pressure that destroys cellular structure. Plants lose their ability to transport nutrients and water effectively.
You should know that frost damage isn’t just about cold air temperatures. Radiant heat loss from plant surfaces can cause localized freezing even when air temperatures hover near thirty-two degrees.
Tender growth suffers most because younger tissues contain higher water content. Cell sap concentration changes during freezing create additional stress.
Understanding these mechanisms helps you choose effective protection methods.
You’ll want barriers that trap heat, reduce moisture loss, and prevent direct ice crystal formation on plant surfaces.
Know When Frost Risk Varies by Zone
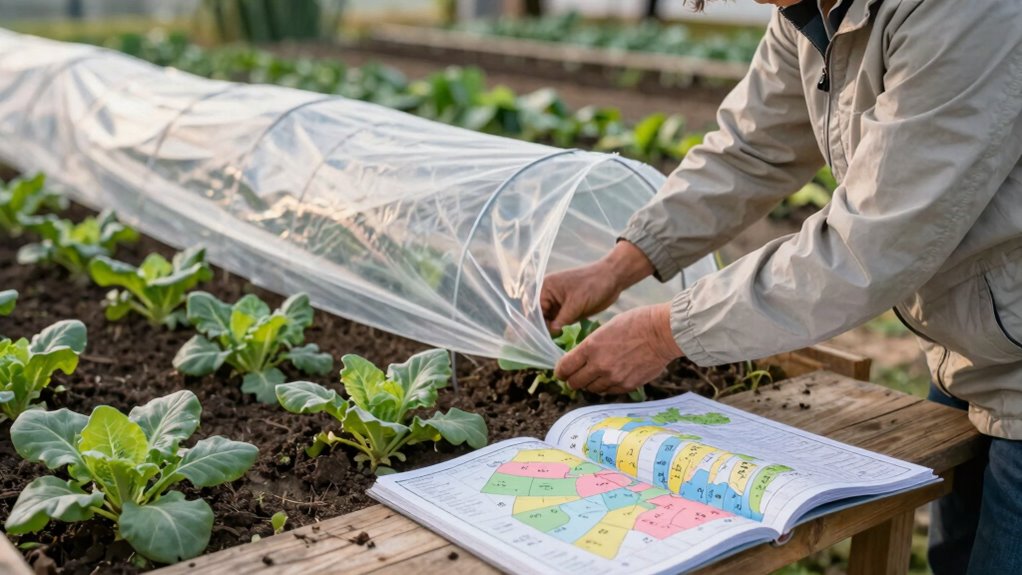
While you might assume frost risk remains constant across your growing area, plant hardiness zones dramatically influence when and how severely frost affects your garden. Each zone represents specific temperature ranges and frost dates that determine your growing season’s length.
You must identify your exact zone using USDA maps or local agricultural extensions. Zone boundaries shift slightly every few years due to climate changes, so verify current classifications.
Coastal zones typically experience milder frosts than inland areas, while elevation changes within zones create microclimates.
You’ll discover that knowing your zone’s first and last frost dates helps determine ideal protection timing. Plants native to your zone generally withstand typical frost events, but tender varieties need extra protection regardless of zone classification.
Understanding these variations guarantees you implement appropriate measures.
Pick the Best Cold Guard for Each Plant
Different plants require specific types of cold protection based on their size, growth stage, and cold tolerance levels.
You’ll want to match protection methods to each plant’s specific needs. Small seedlings need lightweight row covers or cloches that won’t crush delicate stems. Mature plants can handle heavier protection like frost blankets or burlap wrapping. Tender perennials require different care than hardy annuals.
Consider plant height when selecting guards. Short plants work well with low tunnels or individual plant covers. Tall plants need taller structures or multiple coverage layers.
Check each plant’s cold hardiness zone rating and expected temperature drops. Plants in active growth stages need more careful protection than dormant specimens. You should also factor in wind exposure and microclimate conditions around each plant location.
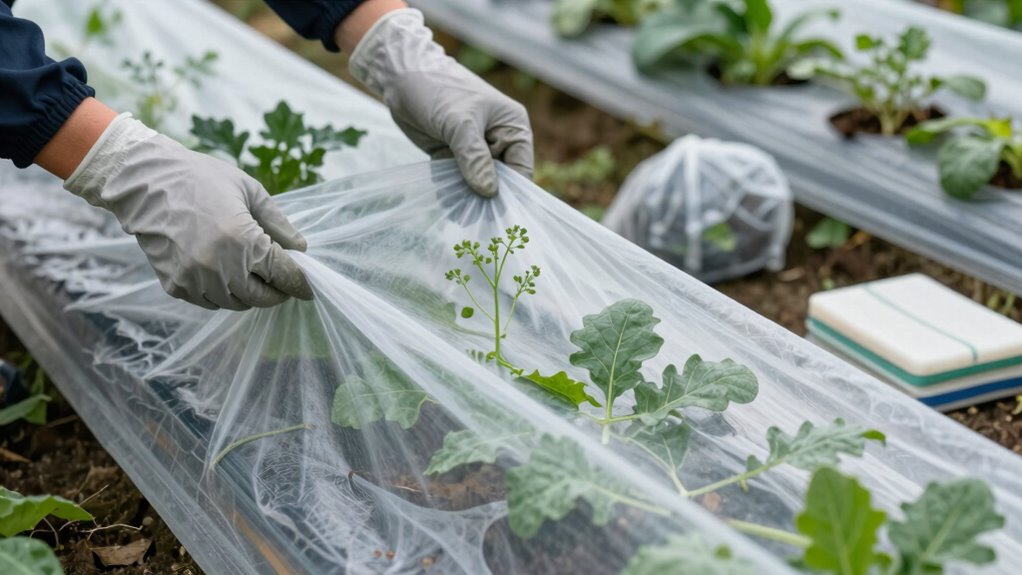
Cover Rows Quickly With Frost Fabric
Several types of frost fabric exist, each with distinct properties that make them suitable for specific applications.
You should choose lightweight spun-bonded polypropylene for delicate plants, while heavier fabrics work better for robust varieties.
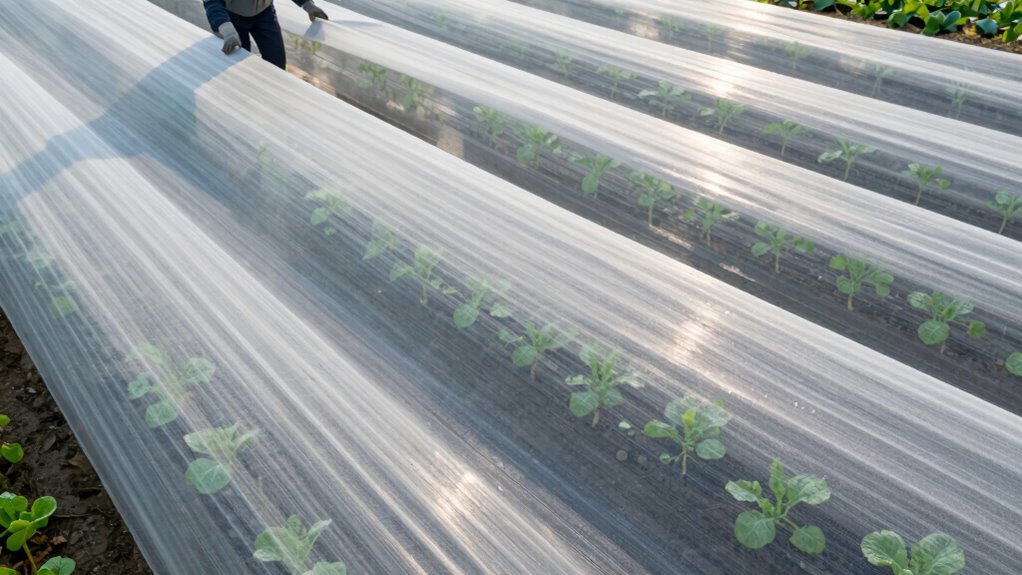
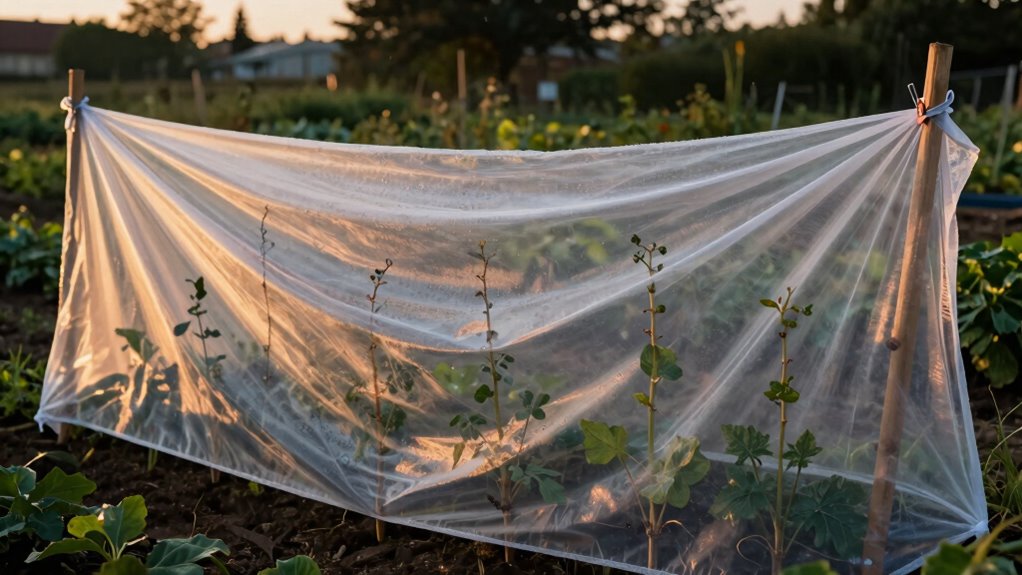
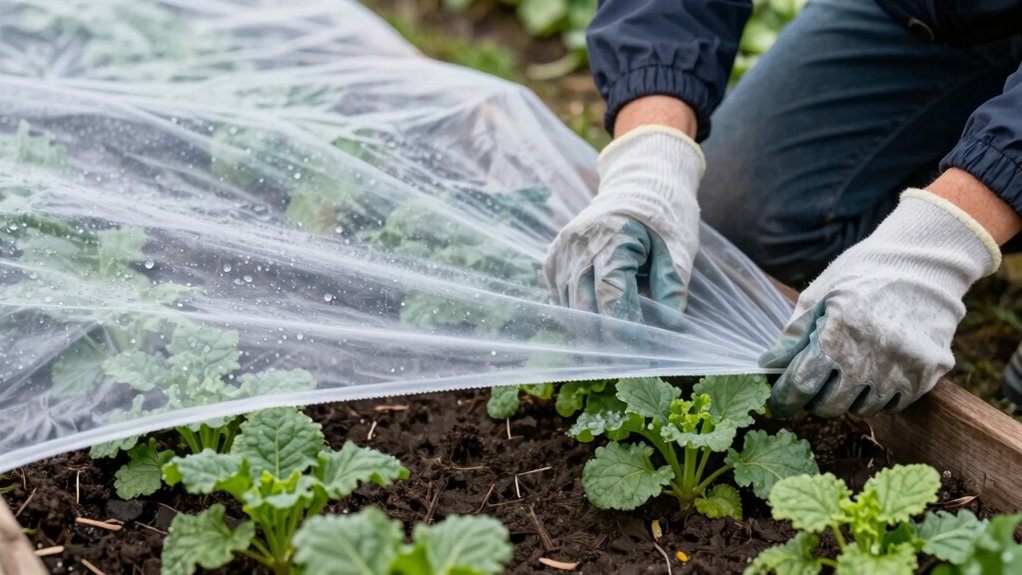
When covering rows, you’ll want to stretch fabric tautly across plant tops, ensuring complete coverage without crushing foliage. Secure edges with soil, rocks, or fabric clips to prevent wind damage.
Frost fabric allows air and light penetration while trapping warm air around plants. You’ll achieve ideal protection by installing covers before sunset, when temperatures begin dropping.
Measure row lengths carefully to avoid gaps that expose vulnerable plant parts.
Professional growers prefer floating row covers because they’re reusable and provide consistent protection throughout cold seasons.
Drape Blankets Without Hurting Stems
Blankets offer an alternative to frost fabric when protecting individual plants or small garden sections, but require careful handling to avoid stem damage.
You should drape blankets loosely over plants, ensuring no tight contact with stems or branches. Start by anchoring one corner gently with a rock or stake, then work your way around the plant systematically. Use soft materials like old sheets or lightweight quilts rather than heavy wool blankets that can crush delicate growth.
Support the blanket’s weight with stakes or hoops to prevent crushing. Check that stems aren’t bent or compressed where the blanket touches.
You’ll want to remove blankets during daylight hours to prevent overheating and allow air circulation. Secure edges properly to prevent wind from whipping the blanket against plant stems.
Make DIY Cloches for Seedlings
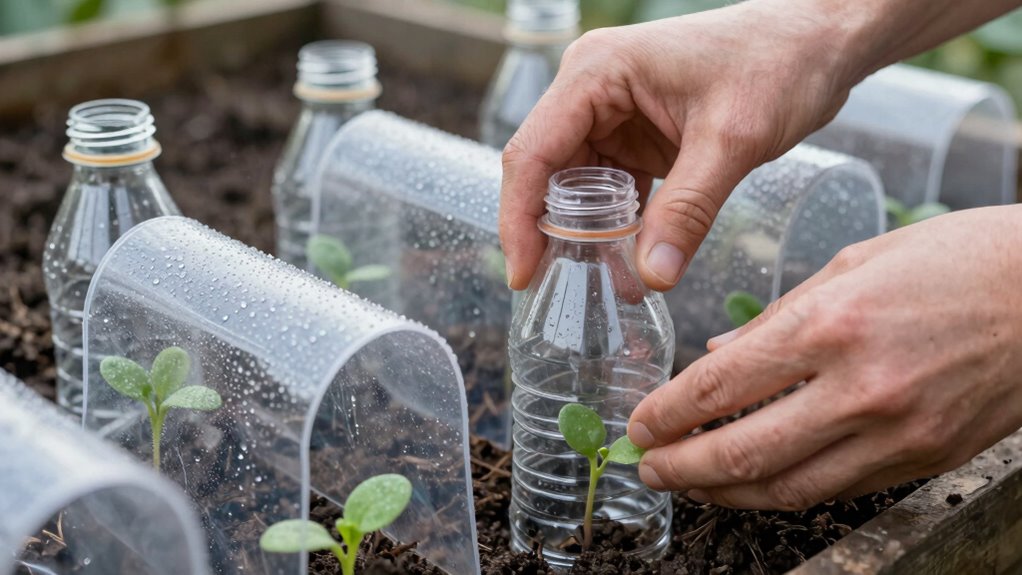
You’ll need clear plastic bottles, scissors, and soil to create effective cloches for your seedlings.
Start by cutting the bottom off each bottle and removing any labels, then push the open end into the ground around your plants.
These homemade cloches trap heat and protect young plants from frost damage while allowing sunlight and rain to penetrate.
Materials Needed For Cloche Construction
Constructing effective cloches for your seedlings requires gathering essential materials beforehand.
You’ll need clear plastic bottles or containers that are at least two liters in size. Cut the bottom off completely, leaving sharp edges smoothed.
Wire or twist ties work best for securing cloches to the ground. Choose materials that allow maximum light penetration while providing adequate ventilation.
PVC pipes or wire frames create sturdy support structures that resist wind damage.
You’ll also require scissors or utility knives for cutting, sandpaper for smoothing rough edges, and measuring tape for proper sizing.
Consider using recycled materials like old aquarium tanks or large soda bottles.
Verify all materials are clean and free from chemical residues that could harm your plants.
Having these supplies ready streamlines your construction process and guarantees successful frost protection for your garden seedlings.
Step-By-Step Assembly Process
Once you’ve gathered all necessary materials, begin by cleaning your plastic bottles or containers thoroughly with mild soap and water. Remove any labels and adhesive residue completely.
Next, use sharp scissors or a utility knife to cut your bottles in half horizontally, creating dome-shaped covers. Sand any rough edges carefully to prevent injury.
For bottomless containers, simply remove the cap and invert them over your seedlings. Position cloches directly over plants, ensuring they sit securely on the soil surface. Press gently around edges to seal gaps.
Check that your cloches fit snugly without crushing delicate seedlings. Larger containers work better for mature plants, while smaller ones suit young seedlings.
You’re creating protective microclimates that trap warmth and shield plants from frost damage effectively.
Move or Wrap Potted Plants Before Freeze
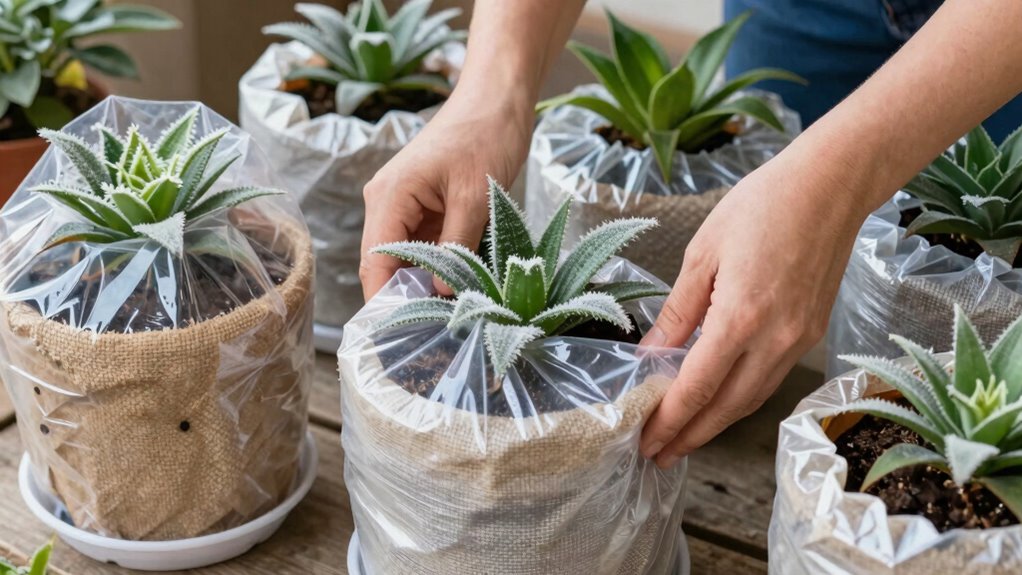
Because container plants can’t benefit from the insulating properties of ground soil, they require immediate protection when freezing temperatures threaten. You should move potted plants indoors, into garages, or against protected walls.
If relocation isn’t possible, wrap containers with blankets, burlap, or frost cloth. Confirm wrapping extends from pot rim to soil surface, securing with ties or weights. Group multiple containers together to create thermal mass.
Elevate pots slightly using bricks or boards to prevent root freezing through container bottoms. Clay and ceramic pots crack more easily than plastic or fiberglass.
Monitor weather forecasts closely and act before temperatures drop below thirty-two degrees Fahrenheit. Don’t wait until morning when damage already occurred. Your plants depend on your proactive protection efforts.
Water Plants Ahead to Avoid Drying Out

Plants lose moisture rapidly during freeze events, making pre-freeze hydration essential for survival. You should water thoroughly two to three days before expected frost.
Saturated soil holds heat better than dry soil, protecting root systems. Water deeply until drainage occurs, ensuring moisture reaches root zones. Avoid evening watering within twelve hours of freeze onset.
Moist soil releases latent heat slowly, buffering temperature drops. Plants with adequate hydration maintain cellular turgor, preventing desiccation damage. Focus on newly planted specimens and drought-stressed vegetation.
Container plants require extra attention since pots freeze faster. Check soil moisture by inserting finger two inches deep. If dry, irrigation is needed.
Remember that frozen plants can’t absorb water, so pre-freeze watering is critical. This simple step appreciably improves overwintering success rates.
Mulch Soil to Buffer Temperature Swings
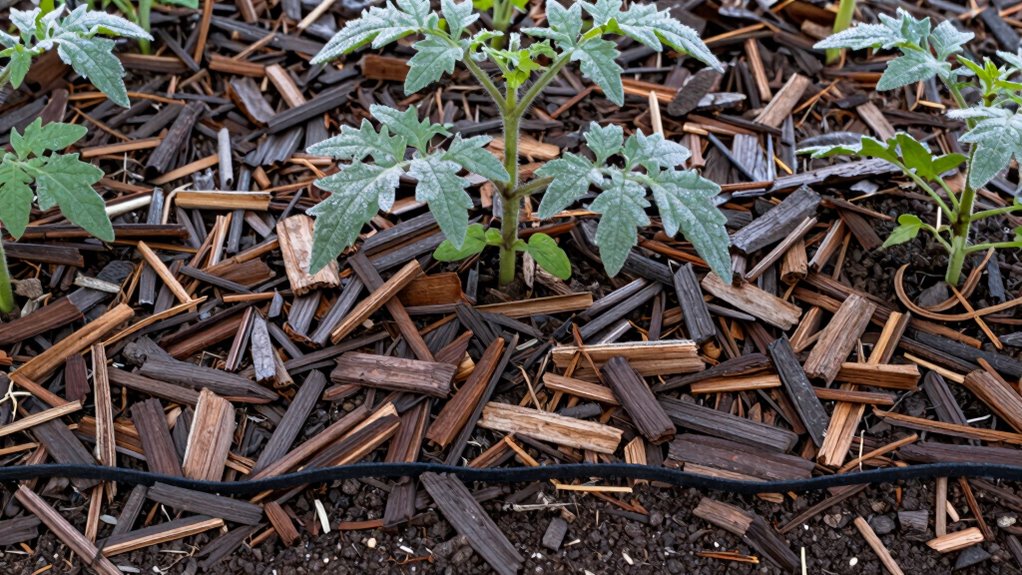
Apply a thick layer of mulch after watering to create an insulating barrier that regulates soil temperature fluctuations.
Mulch acts as thermal mass, absorbing heat during the day and releasing it slowly at night.
- Choose organic mulch – Use 3-4 inches of shredded leaves, straw, or bark that decompose slowly while providing insulation.
- Apply evenly around root zones – Spread mulch in a donut shape around plants, keeping it 2 inches from stems to prevent rot.
- Time application correctly – Install mulch after the first hard frost when soil temperatures stabilize but before severe freezes occur.
- Monitor thickness regularly – Replenish the mulch layer throughout winter as decomposition occurs to maintain a protective insulation barrier.
Warm Plants With Outdoor-Safe Heating
While mulching provides excellent soil insulation, additional protection becomes necessary when air temperatures plummet below critical thresholds.
You’ll need outdoor-safe heating solutions that won’t damage plants or create fire hazards. Use frost cloths with built-in heating elements or string outdoor-rated Christmas lights around vulnerable plants. These emit gentle warmth without overheating.
For container plants, move them closer to house walls where ambient heat radiates. Don’t use indoor heaters outdoors, as they’re not weatherproof and pose electrical risks.
Instead, invest in purpose-built outdoor plant heaters or heating cables designed for horticultural use. Position these strategically around plant bases, ensuring even heat distribution.
Check manufacturer specifications for temperature ratings and coverage areas. Test your setup before freezing weather hits to confirm proper operation and adjust placement for maximum effectiveness.
Anchor Covers So Wind Can’t Sneak In
When installing frost protection covers, you must anchor them securely to prevent wind from lifting and creating gaps that allow cold air to reach your plants.
Unsecured covers flap violently, damaging foliage and compromising protection.
- Use landscape staples – Drive them every 2-3 feet around cover edges where wind typically gets underneath
- Weight corners heavily – Place sandbags, bricks, or stones on all four corners to prevent lifting
- Create tension lines – Run twine or rope from cover edges to ground stakes, maintaining tight fabric
- Bury edges deep – Dig shallow trench and bury cover edges 6-8 inches deep, then replace soil
These methods work together, creating multiple barriers against wind infiltration.
Your plants deserve protection that stays in place.
Take Off Covers Without Shocking Growth
You must remove frost protection gradually to prevent temperature shock that damages tender plant tissues.
Start by uncovering plants during mid-morning hours when temperatures begin rising naturally. This approach allows plants to acclimate slowly rather than experiencing abrupt temperature changes that can stunt growth or cause leaf drop.
Gradual Removal Process
Although frost protection covers provide essential insulation during cold snaps, removing them requires careful timing to prevent shocking plants into premature growth. You must gradually acclimate your plants to changing conditions.
- Monitor weather forecasts – Check for consistent frost-free nights before starting removal
- Remove covers during mid-day – Choose warmer afternoon hours when temperatures peak
- Expose plants incrementally – Remove coverings for short periods initially, gradually increasing exposure time
- Watch for stress signals – Yellowing leaves or wilting indicate removal is happening too quickly
Your plants need time to adjust their metabolic processes. Rushing this alteration risks cellular damage from temperature fluctuations.
Start by uncovering plants for two-hour intervals, extending exposure by one hour daily. This systematic approach guarantees your garden thrives while maintaining the protective care you’ve provided throughout winter’s challenges.
Avoiding Temperature Shock
Removing frost protection requires careful timing to prevent temperature shock that can force plants into premature growth cycles.
You should remove covers gradually when temperatures consistently stay above freezing for several hours. Don’t strip protection during warm daytime hours followed by freezing nights. Instead, wait for stable weather patterns. Monitor overnight lows carefully before completely removing coverings.
Plants need time to acclimate to changing conditions naturally. Sudden exposure to temperature fluctuations stresses plant systems and damages tender growth. Remove protection in stages over multiple days, allowing plants to adjust gradually.
Check weather forecasts thoroughly before making changes. Premature removal risks shocking dormant buds into growth they can’t sustain. Your plants depend on your careful attention to timing for successful adaptation.
Conclusion
Don’t let frost catch your plants off guard. Protecting your garden requires timely action—cover tender seedlings before sunset, secure fabrics tightly, and remove covers gradually. Think of frost protection as insurance for your investment; a few degrees can mean the difference between harvest and heartbreak. Stay vigilant about weather changes, and your plants will reward you with resilience. Winter’s bite doesn’t have to spell disaster for your carefully cultivated garden.
