

You’re ready to install plant support stakes, but doing it wrong can harm your plants or waste effort. Choosing the right stake depends on your plant’s size and growth habits. Placement matters too – drive stakes at the correct depth and angle, and position them carefully to avoid damaging roots. Get this step wrong, and your plants might still flop over or suffer damage. Let’s cover the essential techniques that keep your garden stakes effective season after season.
Why Use Plant Support Stakes?
While you might think your plants can manage on their own, support stakes prevent damage that could stunt growth or kill your crops. Strong winds, heavy rain, and the weight of developing fruits can bend or break stems. You’ll notice your plants lean toward sunlight, creating weak spots that snap easily.
Support stakes distribute this stress evenly, allowing healthier root development and better nutrient flow.
Your garden thrives when plants stand upright, maximizing sun exposure and air circulation. Stakes also protect delicate branches from rubbing against each other, preventing disease entry points.
You’ll harvest more robust vegetables and enjoy longer growing seasons. Plants supported properly develop stronger stems naturally, becoming more resilient over time.
Don’t let your hard work collapse under its own weight – stake your plants early and watch them flourish.
When to Stake New Plants
You should stake new plants immediately after planting them, especially during their first growing season when roots are establishing.
Spring planting works best since warm soil encourages rapid root development, but summer plantings need staking too if you’re establishing perennials.
Winter installations aren’t recommended unless you’re working with dormant bare-root plants in mild climates.
Optimal Timing for Staking
The best time to stake new plants depends on their growth stage and environmental conditions. You should stake plants when they’re young and flexible, typically after they’ve established their first set of true leaves.
Don’t wait until they’re mature and woody, as this makes the process more difficult and less effective.
- Feel the relief of knowing your tender seedlings won’t snap in tomorrow’s storm
- Experience the satisfaction of giving your plants the early support they desperately need
- Avoid the panic of watching your carefully nurtured plants bend beyond repair
- Build confidence knowing you’re part of the gardening community who cares deeply about plant success
Stake during calm, cloudy days when plants aren’t stressed from intense sunlight.
Early morning works perfectly since plants are hydrated and less brittle. You’ll create stronger, more resilient plants that reward your timely intervention with robust growth.
Seasonal Considerations
Although spring is the ideal season to stake most new plants, timing your staking efforts requires attention to both plant development and weather patterns throughout the year.
You should wait until after the last frost date in your area, when soil conditions are workable and plants show active growth.
Early summer works well for warm-season vegetables and flowers that you’ve recently transplanted.
Fall planting allows you to stake bare-root specimens before winter arrives, giving them stability during establishment.
Winter staking applies mainly to tree planting in mild climates.
Pay attention to your plant’s growth stage—stake when roots are establishing but before top growth becomes too heavy.
Your local gardening community can provide specific timing advice based on regional conditions and plant varieties that thrive in your area.
How to Choose Stakes Based on Plant Type
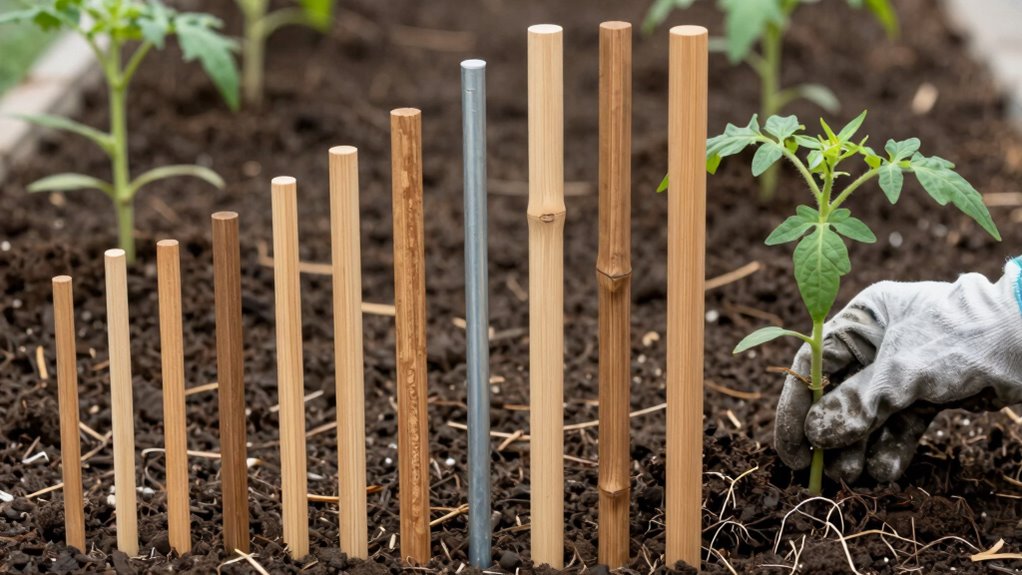
You need to match your stake type to your plant’s specific needs.
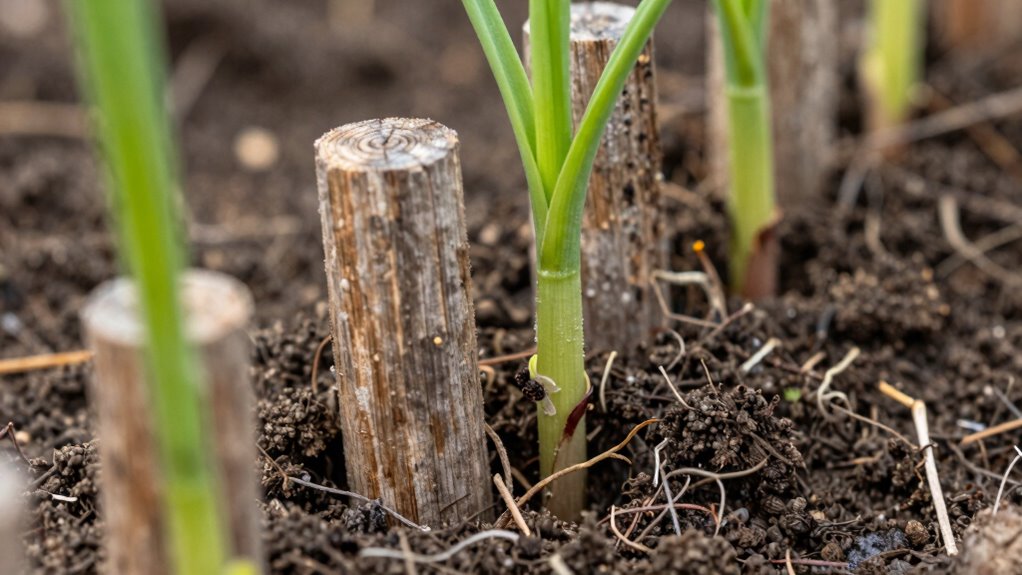
Tall plants like tomatoes and sunflowers require sturdy wooden or metal stakes that won’t bend under weight, while delicate varieties such as orchids and ferns need flexible bamboo stakes that move with the plant.
Choosing the right support prevents damage and guarantees proper growth.
Tall Plants Need Sturdy Supports
When selecting support stakes for your tall plants, match the stake’s strength and height to your specific plant types. Tall flowers like delphiniums and hollyhocks need heavy-duty wooden or metal stakes that won’t bend under their weight.
Measure your plant’s full height before choosing stakes that extend at least six inches above the tallest stems.
- Feel confident knowing your prized sunflowers won’t topple in strong winds
- Experience relief when your tomato plants stand tall without flopping over
- Gain pride watching your towering zinnias bloom beautifully with proper support
- Avoid disappointment of losing months of growth to inadequate staking
Choose stakes that are at least 3/4 inch thick for maximum stability.
Bamboo stakes work well for medium-height plants, while metal T-posts provide excellent support for the tallest varieties in your garden.
Flexible Stakes For Delicate Varieties
While sturdy stakes suit heavy plants, flexible supports work best for delicate varieties that can’t withstand rigid structures.
You’ll want to choose bendable stakes for slender stems and lightweight plants. Flexible bamboo stakes or soft wire supports prevent damage to tender growth.
These bend naturally with wind and plant movement, reducing breakage risk. Don’t use thick wooden stakes for fragile flowers or herbs. Instead, opt for thinner, pliable options that move with your plants.
Flexible supports distribute pressure evenly, protecting delicate stems from snapping. You’re creating a supportive environment that works with your plants’ natural growth patterns.
What Tools to Prepare Before Starting
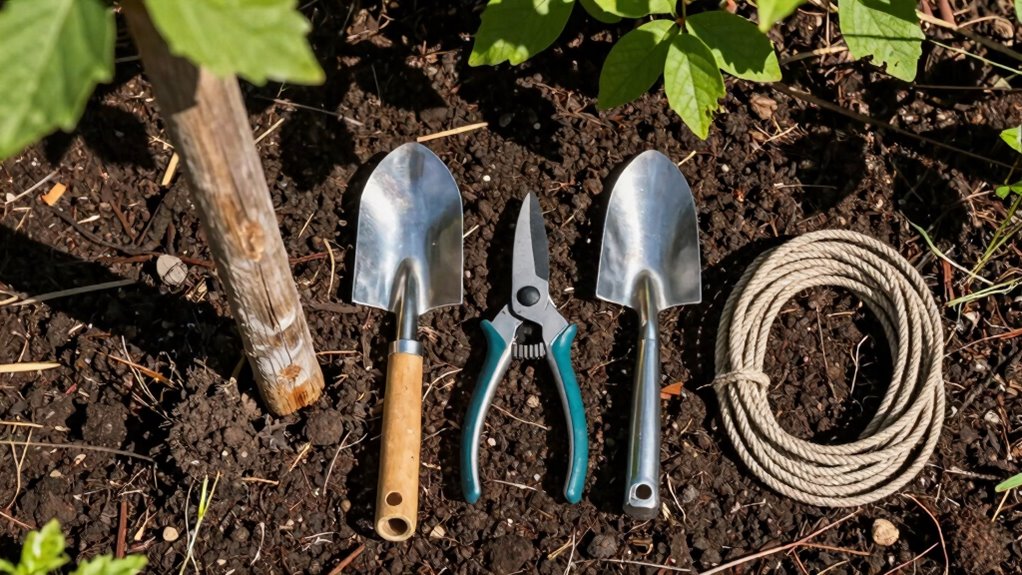
Before you begin installing plant support stakes, gathering the right tools will make the process much smoother and more efficient.
Having everything ready prevents frustrating interruptions mid-project.
You’ll want these essential tools within reach:
- Sharp pruning shears – Keep them clean and ready
- Measuring tape – Guarantees proper stake placement
- Hammer or mallet – Drives stakes securely into soil
- Twine or plant ties – Gentle yet sturdy plant attachment
These tools become your trusted companions for successful staking. Each serves a specific purpose in creating strong, reliable support systems.
Don’t overlook having spare ties available – nothing derails progress like running out mid-job.
Your plants depend on proper preparation, so invest time in gathering quality tools beforehand. This small step builds confidence and brings lasting results.
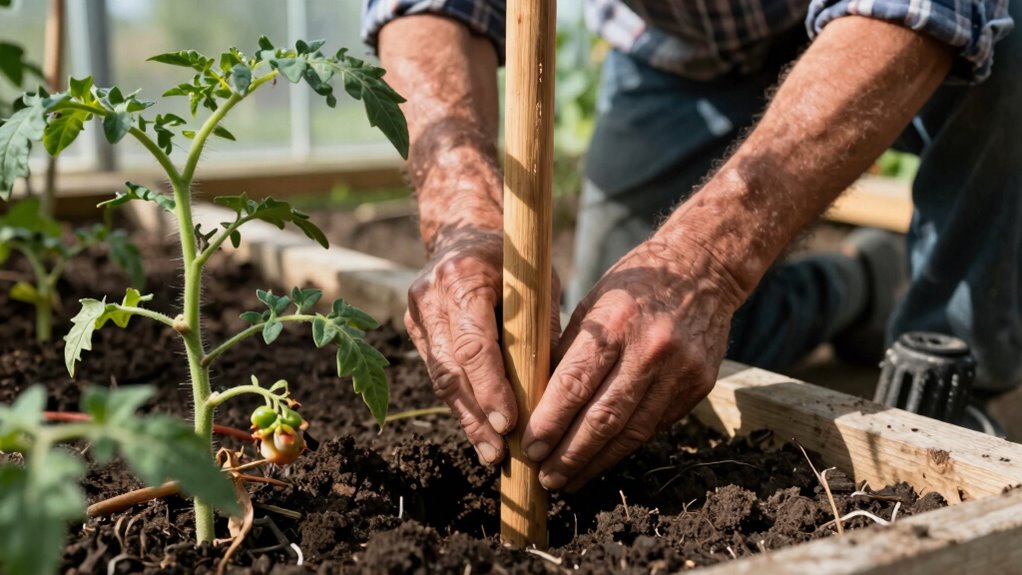
Where to Place Stakes for Strong Support
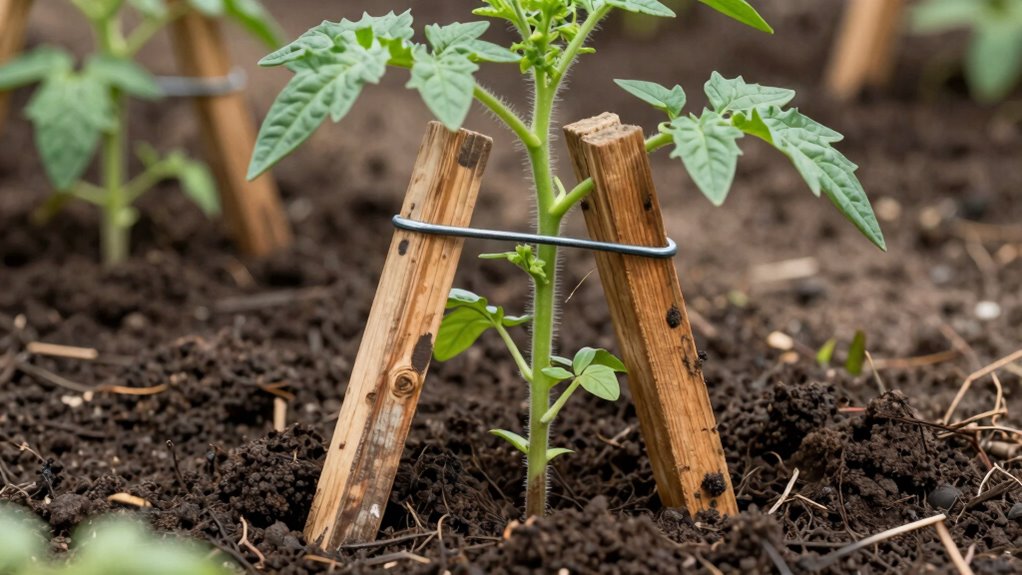
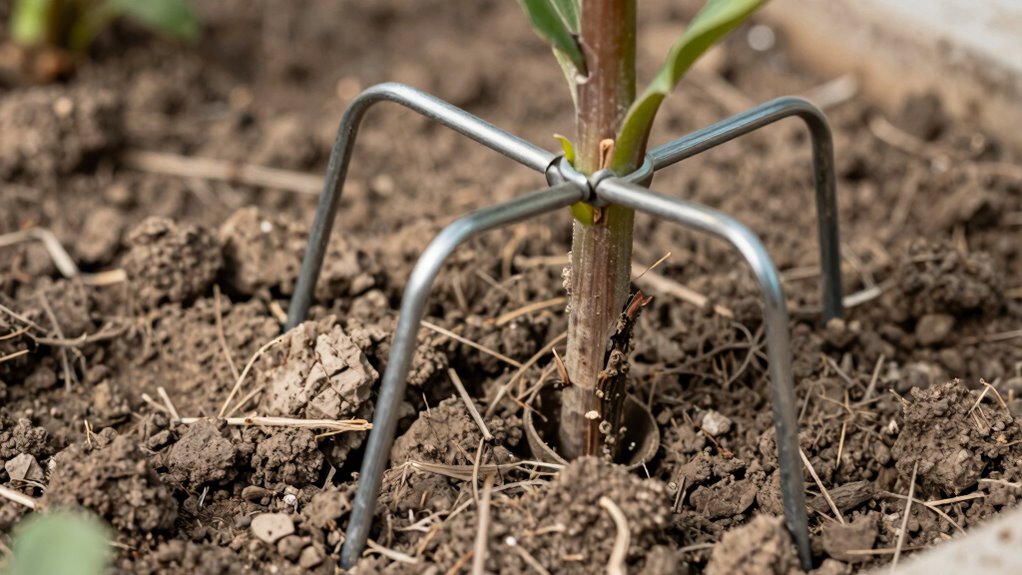
You should position stakes 6-8 inches away from your plant’s base to avoid root damage while providing adequate support.
Drive stakes deep enough into the ground so they won’t wobble or shift when your plant grows heavier.
Secure your plant to the stakes using soft ties that won’t cut into stems as they expand.
Optimal Stake Positioning
Positioning stakes correctly makes all the difference in providing strong support for your plants. You need to place stakes strategically to maximize stability while minimizing plant stress.
- Drive stakes 6-8 inches deep – Feel the satisfaction of knowing your plants won’t topple over in harsh weather.
- Position stakes 2-3 inches from plant stems – Give your plants breathing room while keeping them secure.
- Angle stakes slightly away from the plant – Create a natural leaning support that mimics how plants grow.
- Place stakes on the windward side – Protect your plants from prevailing winds they’ll actually thank you for.
Don’t crowd your plants or position stakes too close to roots.
You’re creating a supportive environment, not a restrictive one. Proper stake placement means your garden thrives together.
Secure Plant Anchoring
While ideal stake placement provides the foundation for strong plant support, securing your plants properly guarantees they’ll withstand wind, rain, and growth without damage.
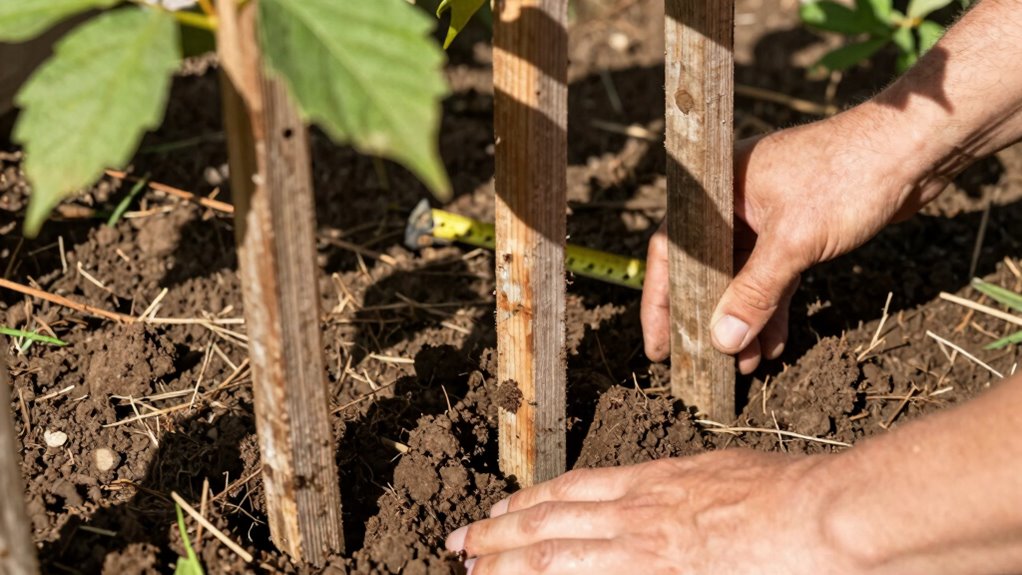
Drive stakes deep into firm soil, burying at least one-third of each stake’s length. Position stakes outside the plant’s root zone to avoid damage during installation.
For tall plants, place stakes closer to the center but still outside the main root mass. Angle stakes slightly away from the plant at fifteen to twenty degrees for maximum stability.
Hammer stakes firmly until only six inches remain above ground. This technique guarantees your plants stay upright and healthy throughout their growing season.
How Deep to Push Stakes Into Ground
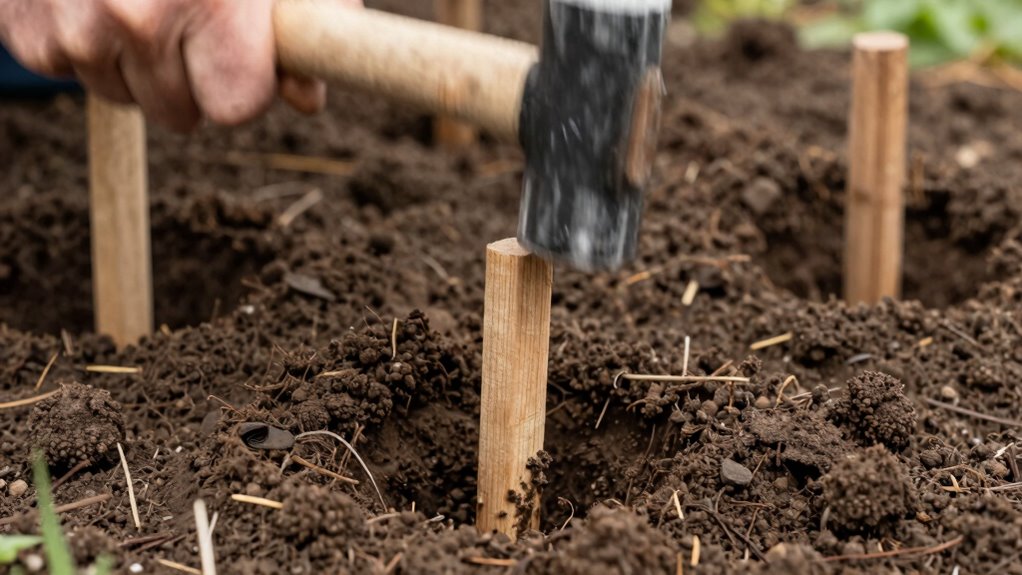
When installing plant support stakes, drive them into the ground at least 6-8 inches deep to guarantee stability. This depth prevents wobbling and guarantees your plants stay upright during wind or rain.
- Feel confident knowing your tomatoes won’t topple over in summer storms
- Experience peace of mind when leaving garden maintenance to others
- Take pride in creating professional-looking plant supports that last
- Enjoy stronger connections with fellow gardeners who appreciate quality staking
Push stakes deeper for tall plants or heavy fruit-bearing varieties. Test stability by gently shaking the stake after installation.
Your plants deserve reliable support that keeps them thriving season after season.
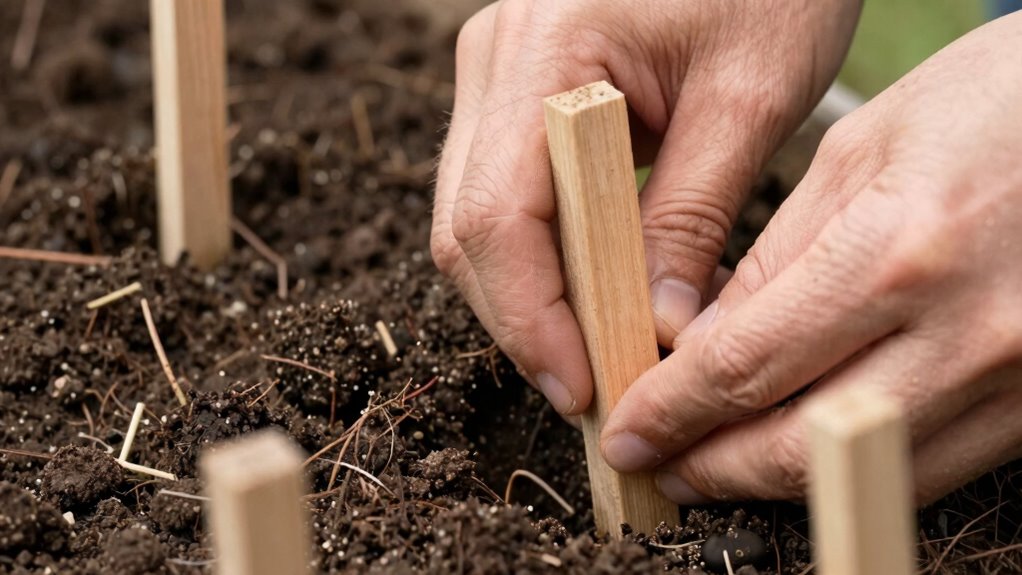
Prepping Soil for Better Stake Grip
Loosen the soil around your planting area before inserting stakes to confirm they slide in smoothly without splitting the earth. Use a hand trowel or small shovel to break up compacted dirt within a twelve-inch radius of your planned stake placement. Remove rocks, roots, and debris that could obstruct insertion.
Wetting dry soil slightly makes driving stakes easier, but avoid creating mud. For clay soils, work in small amounts of compost to improve texture and drainage. Sandy soils benefit from added organic matter to increase stability.
Test soil moisture by squeezing a handful – it should hold shape without dripping water. Create pilot holes with a narrow tool if your stakes seem too thick for smooth insertion.
This preparation prevents stake damage and confirms secure anchoring that lasts the entire growing season.
How to Tie Plants Without Damage
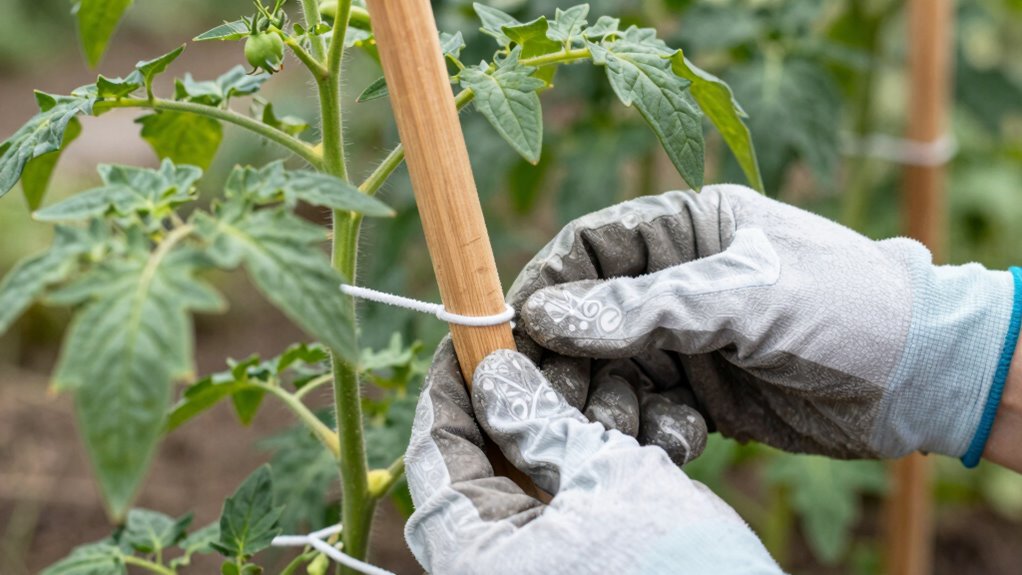
After preparing the soil properly, you’ll want to secure your plants to the stakes without causing harm. Use soft, flexible ties like garden twine or cloth strips that won’t cut into stems. Position ties loosely enough for growth but tight enough for support.
- Gentle embrace: Wrap ties around both stake and plant stem with tender care.
- Breathing room: Leave space for stems to expand and mature naturally.
- Soft materials: Choose fabric or rubber ties that flex with plant movement.
- Regular checks: Monitor ties frequently to prevent constriction as plants grow.
Make figure-eight loops around stakes to distribute pressure evenly. Avoid tying directly around brittle stems.
Check connections after rain or wind storms. Your plants depend on you for gentle, consistent support that encourages healthy development.
Common Errors That Weaken Support
You might think your plant support system is solid, but common mistakes can actually weaken it greatly.
Placing stakes too close to the plant stem damages roots, while using flimsy materials like thin wire or elastic bands won’t hold up under wind stress.
Installing stakes at incorrect depths creates instability that defeats the entire purpose of providing support.
Improper Stake Placement
When stakes are driven too close to plant stems, they can damage roots and create unstable support that actually harms your plants’ growth. You might think you’re helping, but improper placement can devastate your garden’s success. Position stakes at least 6 inches from stems to avoid root damage and guarantee proper anchoring.
- Stakes too shallow feel useless when strong winds push your precious plants sideways, leaving you frustrated and watching helplessly.
- Placing stakes after planting causes root disturbance that makes your plants struggle unnecessarily.
- Incorrect angles create weak points where plants bend awkwardly, breaking your heart when they snap.
- Spacing stakes too far apart leaves gaps where plants can still flop over, making all your effort feel wasted.
Proper stake placement prevents these heartbreaking mistakes.
Using Wrong Tie Materials
While choosing the right stake material gets much attention, selecting inappropriate tie materials can silently undermine your plant support efforts.
You shouldn’t use thin string or wire that cuts into stems as plants grow. These materials don’t expand with your plant’s girth, creating girdling that restricts nutrient flow.
Avoid rigid ties like plastic zip ties or metal wire that can’t flex with wind movement. They’ll either snap or damage stems during storms.
Don’t choose materials that degrade quickly either – cheap twine or rubber bands break down fast, leaving your plants unsupported when they need stability most.
Instead, opt for soft, flexible ties that won’t harm your plants while providing adequate support during their growth journey.
Incorrect Installation Depth
Incorrect installation depth especially compromises stake effectiveness, leaving your plants vulnerable to damage despite your support efforts.
You might push stakes too shallow, causing them to topple under wind pressure. Others drive them too deep, potentially harming root systems and creating unnecessary stress.
Don’t let these common mistakes sabotage your garden’s success:
- Shallow stakes wobble pathetically during storms, offering zero protection
- Overly deep installation crushes delicate roots you’re trying to help
- Wrong depth creates dangerous leverage points that snap under pressure
- Improper burial leaves ugly gaps where plants rub against exposed stake edges
Drive stakes deep enough for stability, but stop before damaging roots.
Your plants depend on proper support depth for healthy growth and survival.
Adjusting Stakes as Plants Grow
As your plants grow taller and develop new growth patterns, you’ll need to adjust your support stakes to accommodate their changing needs.
Check your stakes weekly during growing season, especially after rain or wind events. Loosen ties slightly to prevent stem damage while maintaining support. Add additional ties as plants gain height, spacing them every 6-8 inches vertically.
Move stakes closer to main stems if plants lean excessively. Replace temporary stakes with stronger ones when plants become heavy with fruit or flowers. Trim excess stake height above the top tie to prevent wind resistance.
Monitor flexible stems that might bend away from stakes, gently repositioning them back toward support. Your plants depend on you to notice when their support system needs updating.
Fixing Loose or Leaning Stakes
When stakes become loose or start leaning, you’ll need to reset them promptly to maintain effective plant support. Don’t let your plants struggle unnecessarily – fixing wobbly stakes is straightforward work that makes all the difference.
Grab your tools and approach this task with confidence:
- Feel the satisfaction of stabilizing your plant’s lifeline with firm, secure positioning
- Experience the relief of knowing your garden investment won’t topple over in the next storm
- Take pride in maintaining a neat, professional-looking garden that neighbors admire
- Enjoy the peace of mind that comes from knowing your plants have reliable support systems
Remove loose stakes carefully, then drive them deeper into solid ground. Angle them slightly away from the plant’s growth direction. Pack soil firmly around the base. Your plants will thank you for this simple act of care.
Can You Reuse Plant Support Stakes?
You can reuse plant support stakes if you take proper care to clean and inspect them first. Check for cracks, splinters, or rot that could compromise their strength.
Wooden stakes often last several seasons if they remain solid and free from considerable damage. Metal stakes typically endure longer but watch for rust or bending. Plastic stakes are lightweight yet durable when they don’t crack under pressure.
Don’t reuse stakes that supported diseased plants unless you sanitize them thoroughly. Worn stakes that lean or sink easily won’t provide adequate support. Test each stake’s stability before reinstallation.
Proper storage between seasons extends their lifespan considerably, keeping them ready for your garden’s needs.
Cleaning and Storing Used Stakes
While preparing stakes for storage, clean them thoroughly to prevent disease transmission and extend their lifespan. Grab a stiff brush and scrub away dirt, plant debris, and lingering pathogens that could harm future gardens. Use warm soapy water for wooden stakes, and a disinfectant solution for metal ones.
- Preserve your garden’s health by eliminating hidden diseases that cling to dirty stakes
- Extend stake life through proper cleaning, saving money and reducing waste
- Feel proud knowing you’re protecting next season’s plants from contamination
- Join responsible gardeners who understand that clean tools create thriving gardens
Rinse stakes completely and let them air dry before storage. Store in a dry, protected area where they won’t warp or rust.
Clean stakes guarantee you’re ready for next planting season while protecting your garden investment.
Removing Stakes at End of Season
Although stakes provide essential support throughout the growing season, removing them properly at season’s end prevents soil compaction and prepares your garden for winter.
Wait until after the first hard frost when plants have finished growing. Gently pull stakes straight upward to avoid disturbing nearby roots. If stakes are stuck, wiggle them slightly while pulling.
Clean off any remaining soil or plant debris immediately. Check that you haven’t left any broken pieces behind.
Store stakes in a dry location away from moisture. Metal stakes should be dried completely to prevent rust. Wooden stakes need protection from insects and decay.
Proper removal guarantees your stakes remain usable for future seasons.
Final Tips for Long-Term Garden Health
Since proper stake removal sets the foundation for future garden success, maintaining long-term soil and plant health requires attention to several key practices.
You should focus on nurturing your garden ecosystem throughout the year, not just during active growing seasons.
- Compost regularly – Your soil craves organic matter like your plants crave sunlight.
- Rotate crop families – Prevent nutrient depletion and disease buildup that steals your harvest joy.
- Mulch generously – Protect soil structure while suppressing weeds that compete for your garden’s love.
- Test soil pH annually – Validate ideal conditions so your plants thrive and reward your dedication.
These practices create thriving soil biology that supports robust plant growth. You’re building a legacy garden that future seasons will thank you for.
Conclusion
You’ve now mastered the ancient art of stick-in-the-ground plant support. Congratulations! Your plants will surely thank you by growing straight up like obedient children. Just remember: stake deep, angle slightly, and avoid those pesky roots. Your garden will look so professional, neighbors might think you actually know what you’re doing.
