

You’ve noticed your chisels aren’t cutting cleanly anymore. That’s because dull edges tear wood fibers instead of slicing them. Before you ruin another project, you need to understand proper sharpening technique. Most woodworkers skip essential steps or use wrong grit sequences. You’re about to learn the exact process that separates amateur hacks from professional-quality edges. Let’s start with recognizing when your chisels actually need attention.
Why Dull Chisels Ruin Your Work
Every woodworker who’s ever struggled with torn grain knows that dull chisels destroy project quality. You’ll tear end grain fibers instead of cutting cleanly through them. Your joints become sloppy, inconsistent, and weak.
Dull edges force you to apply excessive pressure, causing blade wandering and dangerous slipping. You’ll waste hours sanding tear-out that proper sharpening prevents entirely.
Sharp chisels cut precisely where you intend, creating clean shoulders and smooth surfaces. They reduce physical strain and increase control. Your work reflects craftsmanship when tools perform correctly.
Dull blades betray your skills and compromise joinery integrity. Professional woodworkers rely on properly maintained edges because they understand tool performance directly impacts project success and personal reputation.
Recognize Signs of a Blunt Edge
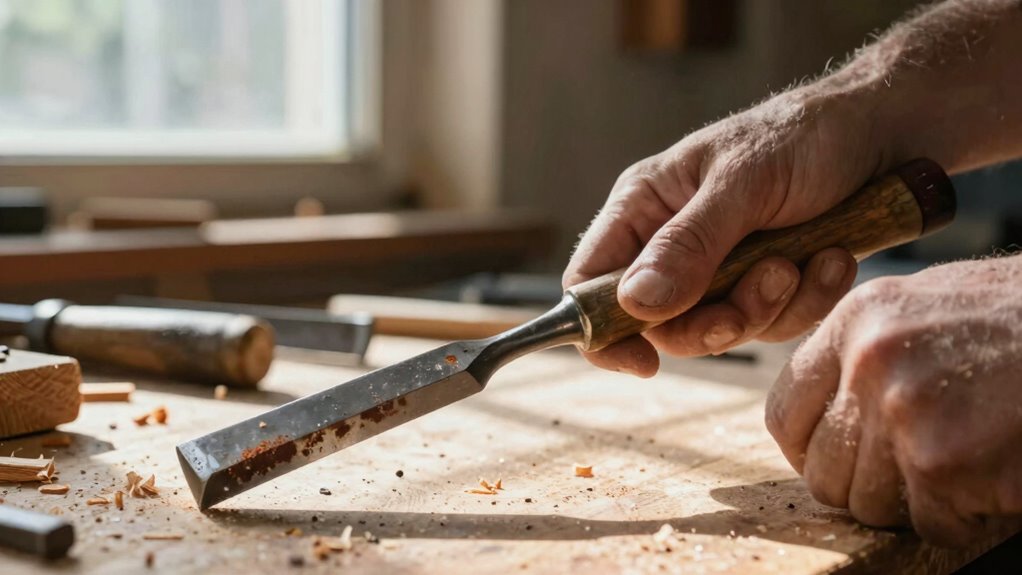
When you press a chisel into wood and feel resistance or notice the blade wandering rather than cutting cleanly, your edge has likely become blunt.
You’ll also observe tear-out instead of clean shavings, requiring excessive force to make cuts. The blade may skate across the wood surface rather than biting in.
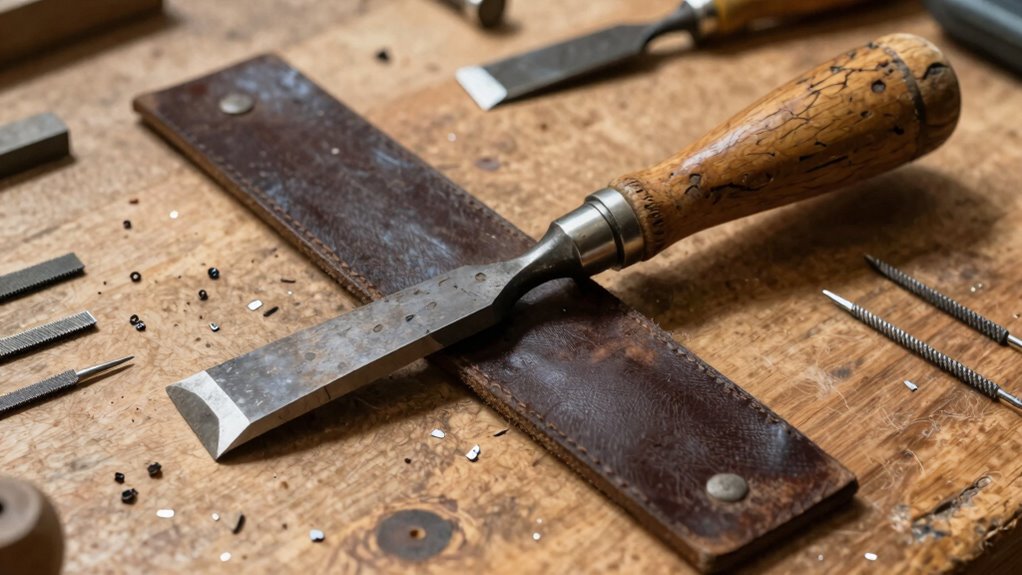
Look for visible wear patterns on the bevel – a rounded or curved edge indicates dullness.
Microscopic burrs form when the edge degrades, creating an uneven cutting surface.
Experienced woodworkers develop an intuitive sense for sharpness through tactile feedback. Your hands know the difference between a crisp, clean cut and one that requires muscle.
Don’t wait until performance severely degrades; recognize these early warning signs. Regular inspection prevents frustration and guarantees precise joinery work.
Gather Your Sharpening Essentials
You’ll need to select appropriate sharpening stones with the right grit progression for your chisels.
Set up your sharpening station with a stable surface and proper lighting to maintain consistent angles.
These essential tools and setup will guarantee effective edge restoration.
Sharpening Stones Selection
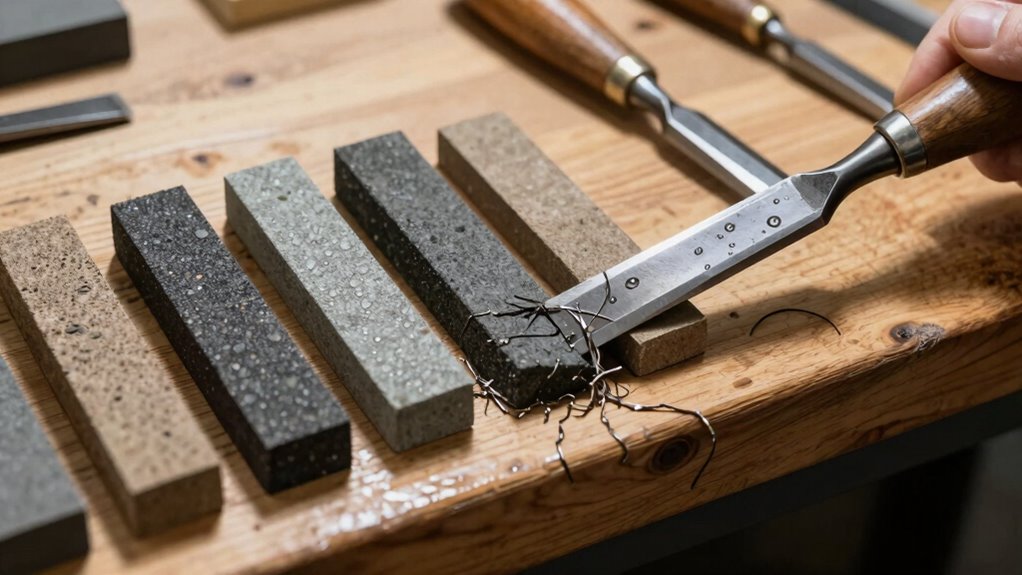
While natural sharpening stones offer superior cutting performance, synthetic alternatives provide consistent grit quality and faster material removal rates.
You’ll want to select stones based on your chisel steel type and desired edge finish. Harder steels require finer grit progression, while softer metals cut aggressively through coarser stones.
Japanese water stones excel in creating razor-sharp edges but demand regular flattening. Diamond stones remove material quickly but can overheat edges if you’re not careful.
Oil stones remain stable during use but need proper cleaning afterward. Consider starting with 1000-grit and 6000-grit combinations for most woodworking tasks.
Arkansas stones provide excellent finishing capabilities for premium edge refinement.
Don’t overlook stone dimensions—larger surfaces allow better control during sharpening strokes. Quality stones are investment pieces that dramatically impact your chisel performance.
Choose wisely based on your specific sharpening needs and budget constraints.
Proper Tool Setup
Before you begin sharpening, gather essential tools including sharpening stones, honing guides, flattening plates, and lubricants specific to your stone type. Your setup determines sharpening success, so don’t skip this critical step.
Select water stones, oil stones, or diamond stones based on your preference and chisel type. Invest in a quality honing guide for consistent bevel angles. Choose flattening plates that match your stones’ grit levels. Prepare appropriate lubricants – water for water stones, mineral oil for oil stones.
Your sharpening station should include:
- Coarse, medium, and fine grit stones
- Adjustable honing guide with secure chisel clamp
- Flat lapping plate for stone maintenance
- Dedicated container for lubricant application
Position everything at comfortable working height. Keep tools organized and within reach. This preparation creates professional results every time you sharpen.
Build a Budget-Friendly Setup
Because a proper sharpening setup doesn’t require expensive equipment, you can create an effective workspace with basic tools that won’t break the bank.
Start with a stable workbench or table that won’t move during sharpening. Add a simple honing guide or make one from scrap wood and metal. You’ll need a flat surface like a granite tile or thick glass plate as a base.
Grab some sandpaper in different grits, from 220 to 1000, and tape it down securely. A basic angle gauge helps maintain consistency. Keep old newspapers handy for cleanup.
Store your chisels in a wooden block or leather roll. This minimal setup works as well as costly systems.
You’re joining countless woodworkers who’ve sharpened tools effectively for generations with simple, reliable methods that prioritize function over fancy equipment.
Choose Water or Oil Stones
When you’re ready to invest in dedicated sharpening stones, choosing between water and oil stones depends on your specific needs and preferences.
Water stones cut faster and produce finer edges, but require regular flattening and careful maintenance. Oil stones last longer and need less upkeep, though they cut slower and create slightly coarser edges.
Consider these key factors:
- Cutting speed – Water stones remove material rapidly, while oil stones work gradually.
- Maintenance requirements – Water stones demand frequent flattening and proper storage.
- Edge quality – Water stones produce razor-sharp, polished edges; oil stones create durable, slightly toothy edges.
- Cost considerations – Oil stones represent better long-term value despite higher initial investment.
Your choice reflects your sharpening philosophy and workshop practices.
Water stones suit production work and precision tasks. Oil stones excel in consistent, low-maintenance environments where durability matters more than speed.
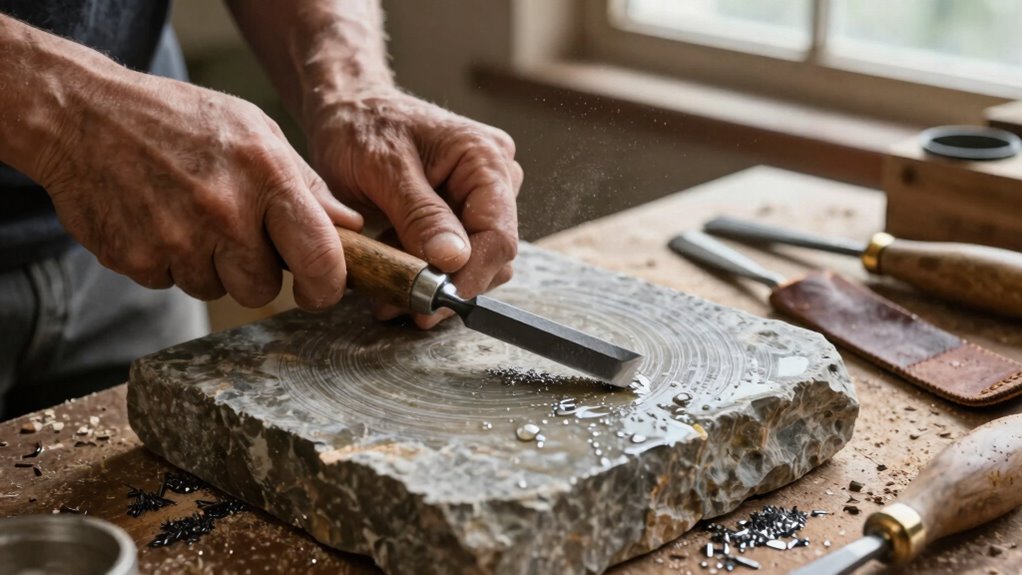
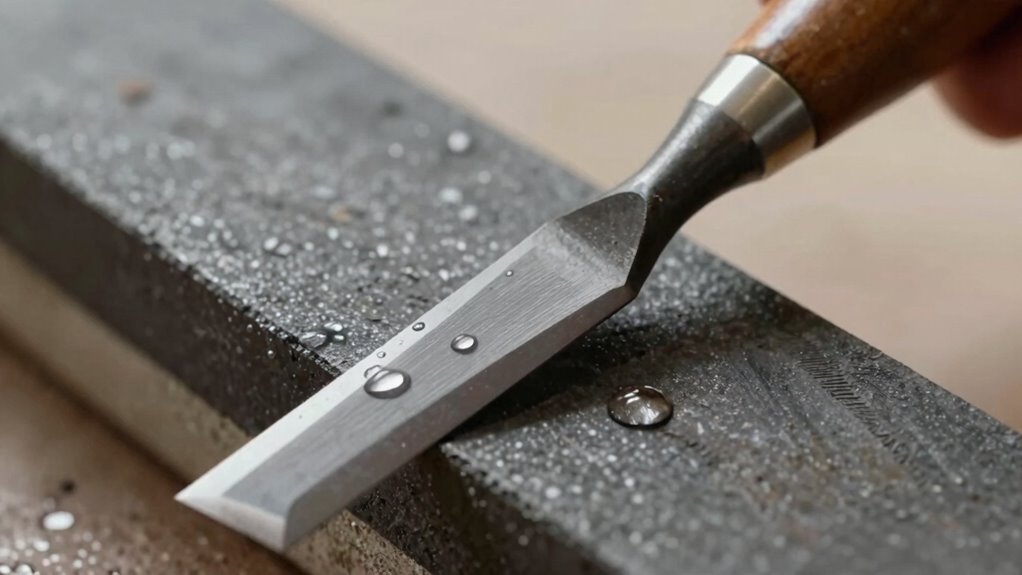
Flatten Your Blade First
A flat blade surface is essential for achieving proper edge geometry and consistent sharpening results.
You’ll need a flat stone or diamond plate to remove any curvature or damage. Place your chisel face-down and apply even pressure across the entire blade surface. Work systematically from coarse to fine grits, maintaining consistent angle and pressure.
Check progress frequently by marking the edge with a marker and observing where material removal occurs. Don’t rush this step – proper flattening guarantees subsequent sharpening stages work effectively. Your blade should sit perfectly flat without rocking when placed on a true surface.
This foundation determines how well your chisel cuts and how long your edge lasts. Professional woodworkers know that skipping this step compromises everything that follows.
Pick the Best Grit Order
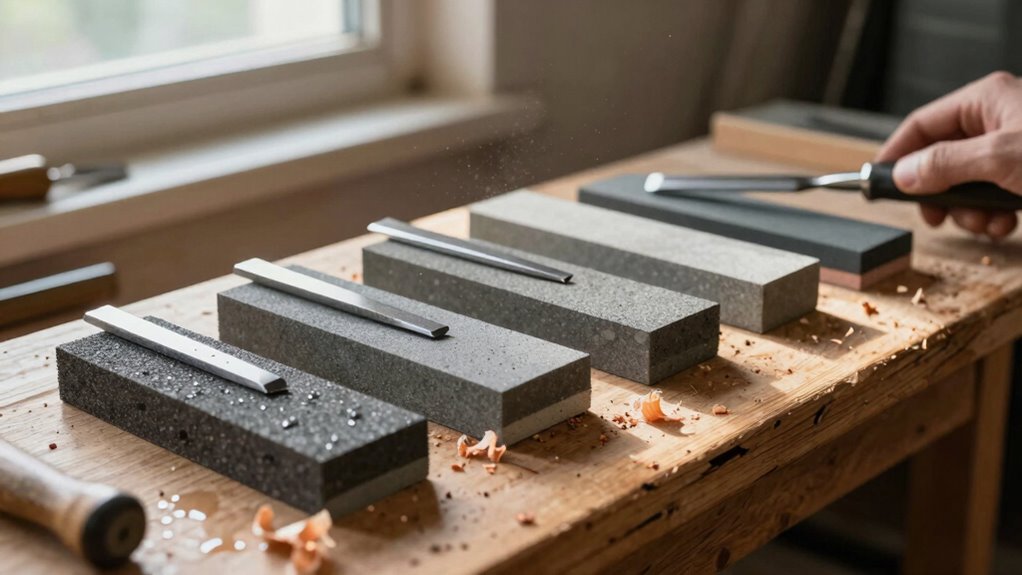
While establishing a proper grit progression might seem straightforward, selecting the best sequence requires understanding how each stage builds upon the last.
You must work through grits systematically to achieve ideal sharpness without wasting time or damaging your edge.
Progressive grit selection matters because each step removes scratches from the previous coarse stage while preparing the surface for finer abrasion.
Starting too fine leaves deep scratches unmoved, while skipping grits creates inconsistent metal removal.
- Begin with 220-400 grit to remove nicks and establish edge geometry
- Progress to 1000-1500 grit for scratch removal and edge refinement
- Use 3000-4000 grit to create mirror-like finish and prepare apex
- Finish at 8000+ grit for razor-sharp cutting edge and polish
Stick to waterstones or diamond plates consistently throughout your sequence.
Set Your Sharpening Angle Correctly
You must choose the correct sharpening angle based on your chisel’s intended use and steel type.
Maintain consistent pressure throughout the entire sharpening process to guarantee an even bevel.
These fundamental techniques determine whether your edge will perform reliably or fail prematurely.
Choosing the Right Angle
Sharpening wood chisels requires maintaining the correct angle to achieve ideal cutting performance. You must choose an angle that balances edge sharpness with durability for your specific woodworking tasks.
- 25-30 degrees works best for general woodworking chisels requiring versatility.
- 15-20 degrees suits paring chisels used for fine, delicate cuts.
- 35-45 degrees strengthens edge longevity for heavy-duty chopping tasks.
- Consistent angles across all your chisels guarantee predictable cutting behavior.
Your chosen angle directly affects how your chisels perform. Too shallow compromises durability; too steep reduces cutting efficiency.
Measure your existing bevel angle first – this becomes your baseline. High-quality chisels typically feature factory angles between 25-30 degrees. Match this standard unless you need specialized performance characteristics for specific applications.
Maintaining Consistent Pressure
Once you’ve established the correct angle for your chisels, maintaining consistent pressure becomes the next critical factor in achieving a sharp, reliable edge.
You must apply steady, even force throughout the entire sharpening stroke. Too much pressure creates inconsistent bevels and damages the blade. Too little pressure fails to remove metal effectively.
Keep your grip firm but relaxed, letting your body weight contribute naturally to the process. Feel the resistance as you push forward. Your fingertips should sense the blade’s contact with the stone.
Maintain this pressure from heel to toe of the chisel. Practice developing muscle memory for consistent application. Professional woodworkers rely on this tactile feedback.
You’re not just pressing hard—you’re controlling the cutting action. This consistency determines whether you’re sharpening effectively or simply wasting time.
Master this pressure control and you’ll join the ranks of craftsmen who understand true blade preparation.
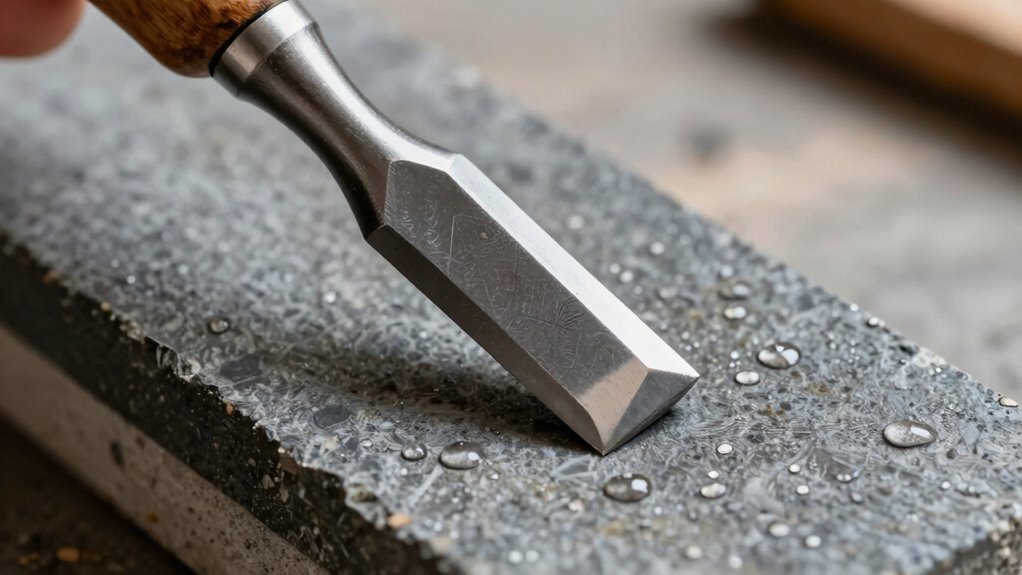
Hone the Bevel Smoothly
The bevel’s surface requires careful attention to achieve a razor-sharp edge. You must maintain consistent strokes across the entire bevel area, ensuring no spots remain unrefined. Proper honing removes burrs and creates the smooth, polished surface essential for clean cuts.
Focus on these key elements:
- Stroke direction – Always move from heel to toe, following the bevel’s natural angle
- Abrasive progression – Work through grits systematically, never skipping stages
- Surface contact – Keep the entire bevel in contact with the sharpening stone
- Visual inspection – Check for uniform scratches and consistent metal removal
You’ll know you’ve achieved proper bevel refinement when the edge reflects light evenly. This smooth surface guarantees your chisel performs flawlessly in wood.
Keep Steady Pressure on Your Chisel
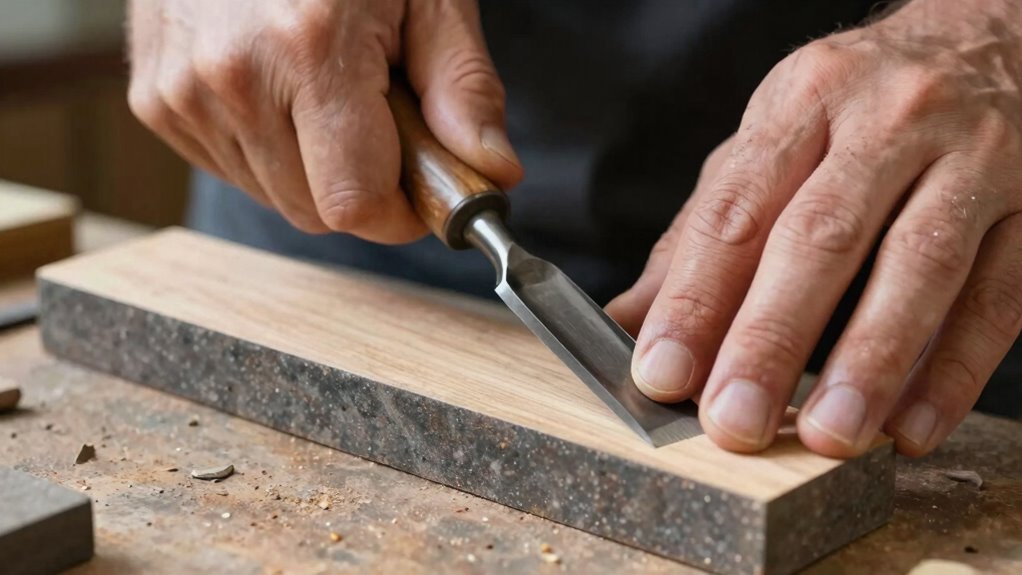
Maintaining consistent pressure throughout the sharpening process guarantees your chisel develops an even edge.
You must apply firm, steady downward force as you stroke the blade across the stone. Too light pressure creates an uneven bevel; too heavy pressure removes metal inconsistently. Feel for that sweet spot where the blade cuts cleanly without digging in. Your fingertips should maintain constant contact with the bevel, guiding the chisel at the correct angle.
Don’t let the pressure fluctuate as you move from heel to toe of the blade. Experienced woodworkers know this steady pressure separates amateur work from professional results.
You’re not just removing metal randomly—you’re sculpting a precise cutting edge. This control transforms a dull tool into a razor-sharp implement that cuts wood fibers cleanly.
Quick Check: Is It Sharp Enough?
After establishing steady pressure and proper angle control during sharpening, you’ll want to verify your chisel’s cutting performance rather than assume it’s ready for use.
Test the edge immediately to avoid wasting time on poorly sharpened tools.
- Thumbnail test: Drag the blade across your thumbnail at a shallow angle; it should bite slightly without sliding
- Paper test: Hold thin paper vertically and slice through cleanly with minimal pressure
- End grain test: Cut into scrap wood end grain; sharp edges produce clean slices without tearing
- Visual inspection: Examine the edge under magnification for consistent wire removal and proper bevel formation
These tests confirm whether your sharpening produced a functional cutting edge before committing to actual woodworking tasks.
Avoid Overheating and Wrong Angles
While you’re sharpening wood chisels, monitor both temperature and angle consistency to prevent common mistakes that compromise edge quality.
You’ll feel the metal heat up quickly during sharpening, which can ruin the temper of high-carbon steel. Keep your strokes light and use water or oil as coolant.
Maintain the original bevel angle, typically between thirty and thirty-five degrees. Consistent pressure prevents rocking that creates uneven edges.
Test the angle regularly against a square. Don’t rush through honing stages. Overheating causes soft spots requiring re-tempering.
Wrong angles mean starting over completely. Experienced woodworkers know proper technique saves time overall.
Feel confident in your ability to maintain control throughout the entire sharpening process. These fundamentals separate amateur mistakes from professional results every time you sharpen.
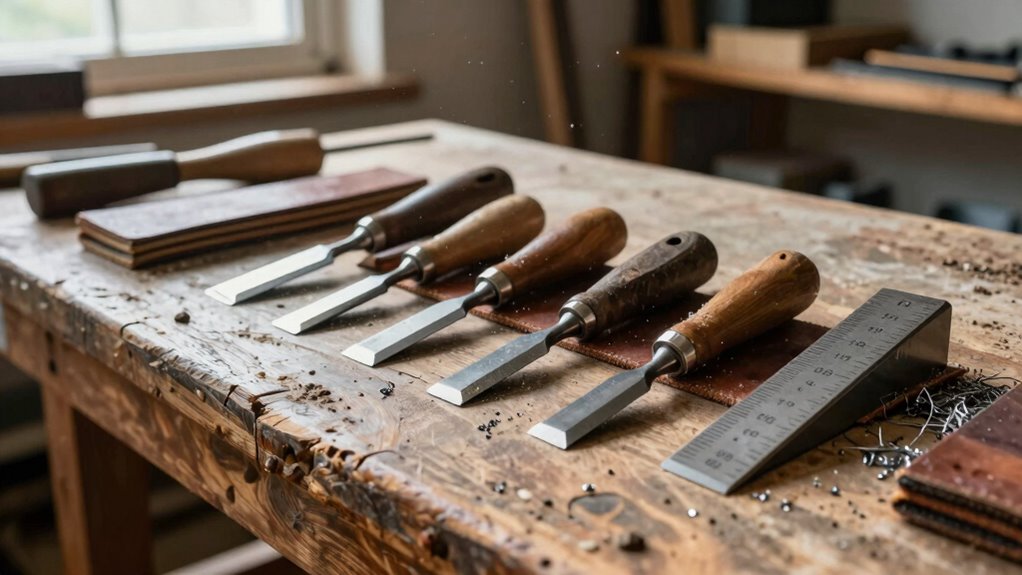
Sharpen Paring, Mortise, and Bench Chisels
Although each type of chisel serves distinct purposes in woodworking, you’ll sharpen paring, mortise, and bench chisels using the same fundamental techniques with minor adjustments for their specific designs.
You’ll maintain the original bevel angle that’s stamped on each tool – typically 25-30 degrees for most bench chisels.
Keep these key points in mind:
- Paring chisels need lighter pressure due to their thin blades
- Mortise chisels require more aggressive sharpening because of their robust construction
- Bench chisels fall between these extremes for general-purpose sharpening
- Always follow the existing bevel angle to preserve the tool’s original design
You’ll use identical sharpening stones and techniques, but adjust your pressure and stroke patterns according to each chisel’s blade thickness and intended use.
Your goal remains consistent: achieve a razor-sharp edge that cuts cleanly without tearing wood fibers.
Fix Uneven or Burred Edges
An uneven or burred edge compromises your chisel’s cutting performance and requires immediate attention before proceeding with regular sharpening.
You’ll need to address these issues using progressively finer stones to restore proper geometry.
Start with a coarser stone if you’ve got significant damage or deep nicks. Work the entire edge evenly, maintaining consistent angle pressure across the bevel.
Don’t rush this process – patience pays off when you’re correcting major flaws.
For minor burrs or slight unevenness, begin with your medium-grit stone. Apply even pressure while moving the chisel in controlled strokes.
Check your progress frequently by running your finger perpendicular to the edge.
Remove all wire edges and inconsistencies before advancing to finer grits.
Your goal is achieving uniform metal removal across the entire cutting surface.
Test the edge periodically until you feel smooth, even contact along the whole blade width.
Strop for a Razor-Sharp Finish
Once you’ve addressed any major edge defects and achieved a uniform bevel, strop the chisel to refine the cutting edge to razor-sharp perfection.
Stropping removes the microscopic wire edge and polishes the bevel face, creating that coveted slicing sharpness woodworkers crave.
Use a leather strop charged with fine honing compound. Maintain consistent pressure and angle matching your bevel. Draw the chisel backwards across the strop, leading with the cutting edge. Two to three strokes suffice for routine touch-ups.
- Pressure control – Light, even pressure prevents rounding the edge
- Angle consistency – Mirror your honing angle exactly
- Direction matters – Always pull away from the edge to avoid damage
- Compound choice – Chromium oxide delivers superior polishing results
Master this final step and you’ll join the ranks of craftsmen who understand true edge refinement.
Clean and Store Properly
You must clean your chisels immediately after sharpening to remove metal shavings and honing compound residue.
Store them in a dry environment using blade protectors or wooden storage blocks to prevent damage and corrosion.
Regular maintenance including proper cleaning and storage will extend your chisels’ lifespan and maintain their cutting performance.
Proper Cleaning Techniques
Proper cleaning techniques guarantee your wood chisels maintain their cutting edge and structural integrity over time. You must remove all wood chips, sap, and debris immediately after each use to prevent corrosion and dulling.
- Wipe blade surfaces with a clean cloth to remove moisture and fingerprints that cause rust.
- Use a brass brush to scrub away stubborn resin or pitch buildup from the metal.
- Apply mineral spirits to a cloth for deep cleaning when removing sticky sap or oils.
- Dry completely with a lint-free towel before any moisture can settle on the metal.
Effective cleaning prevents microscopic scratches that compromise your chisel’s precision.
You’re not just maintaining tools; you’re preserving the craftsmanship tradition every woodworker shares. Clean properly, and your chisels will reward you with consistent performance.
Correct Storage Methods
After cleaning your wood chisels thoroughly, store them in a manner that preserves their sharp edges and prevents damage.
Use a wooden block or pegboard with holes specifically designed for chisel storage. Keep bevels facing up or away from other tools to avoid accidental contact.
Store chisels in a dry environment to prevent rust formation. Consider using blade guards or sleeves for additional protection during storage.
Arrange chisels by size or type for easy access. Avoid tossing them into toolboxes where they can bang against other metal objects.
Proper storage maintains edge integrity and extends tool lifespan. Regular storage habits separate experienced woodworkers from beginners.
Your chisels deserve respect through correct storage methods.
Maintenance Tips
One essential maintenance routine keeps your wood chisels performing at their best: thorough cleaning followed by proper storage.
You must remove all wood residue, pitch, and debris from the blade and handle after each use. Use a stiff brush and appropriate solvents for stubborn buildup.
- Wipe blades with camellia oil or specialized chisel oil to prevent rust and corrosion.
- Store chisels in wooden blocks, leather rolls, or dedicated tool chests to protect edges.
- Keep cutting edges away from other tools to avoid accidental damage.
- Maintain consistent storage orientation with blades facing the same direction.
Proper maintenance extends your chisels’ lifespan greatly.
Clean tools perform better and stay sharper longer. You become part of the experienced woodworker community when you develop these fundamental habits. Your tools reflect your craftsmanship dedication.
Know When to Resharpen
You should recognize several clear signs that indicate when your wood chisels need resharpening. When cutting feels sluggish or requires excessive force, your edge has dulled.
Notice if the chisel tears grain instead of slicing cleanly, or if shaving cuts become difficult. A keen eye will spot nicks, burrs, or wire edges along the cutting surface.
Listen for scraping sounds rather than the smooth whisper of sharp steel against wood. Your fingertips can detect roughness when lightly testing the edge.
Don’t wait until performance drastically declines – regular inspection prevents deeper damage. Experienced woodworkers develop intuition, feeling subtle changes in cutting resistance.
Trust these signals over arbitrary timeframes. Your tools’ performance directly affects joinery quality, so respond immediately when cutting efficiency drops below ideal levels.
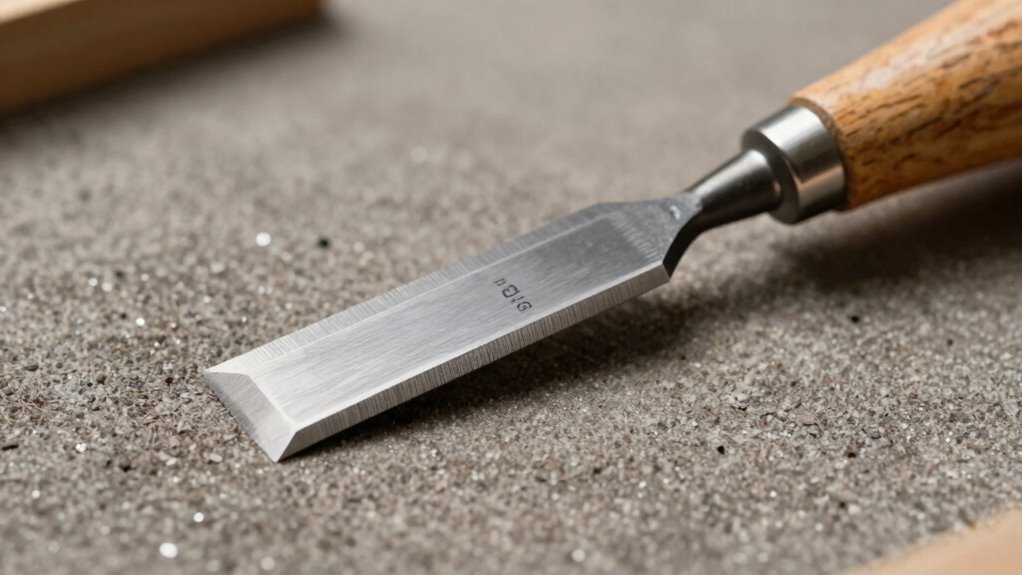
Go Pro With Micro Bevel Polishing
While maintaining a standard bevel angle provides adequate cutting performance, adding a micro bevel greatly enhances edge retention and cutting ease.
You’ll create this refined edge by honing at a slightly steeper angle than your primary bevel, typically 1-2 degrees higher. This technique produces a harder, more durable cutting surface that lasts longer between sharpening sessions.
- Angle consistency matters – Maintain exact angle control using a honing guide or consistent hand pressure.
- Progress through grits systematically – Work from 1000 to 8000+ grit stones for mirror finish.
- Test frequently – Check edge sharpness on wood or leather strop between passes.
- Master the final polish – Use finest grits with light pressure for razor-sharp results.
Your woodworking community respects proper technique.
Master micro bevel polishing and you’ll join the ranks of experienced craftspeople who demand precision.
Conclusion
Your chisels deserve better than mediocrity. Sharpen them properly, and they’ll reward you with clean cuts and satisfied clients. Ignore proper technique, and you’re really just wasting everyone’s time—including your own. The choice is yours: invest in sharp tools now, or pay the price later through rework, frustration, and subpar results. Sharp chisels aren’t a luxury; they’re the foundation of professional woodworking. Make them sing.
