

You’re about to transform your cabinets with a professional-grade finish that’ll make them look brand new. But here’s the thing – most people mess up the prep work, and that’s exactly where you’ll want to avoid their mistakes. Let’s get into the essential steps that separate amateur results from that showroom-quality look you’re after.
Step-by-Step Guide to Painting Cabinets Like a Pro
Before you begin painting your cabinets, preparation is everything. You’ll want to remove all cabinet doors and hardware, then clean surfaces thoroughly with degreaser.
Sand lightly to create tooth for paint adhesion, and don’t skip priming – it’s non-negotiable for professional results. Apply primer evenly, let it dry completely, then sand smooth before painting.
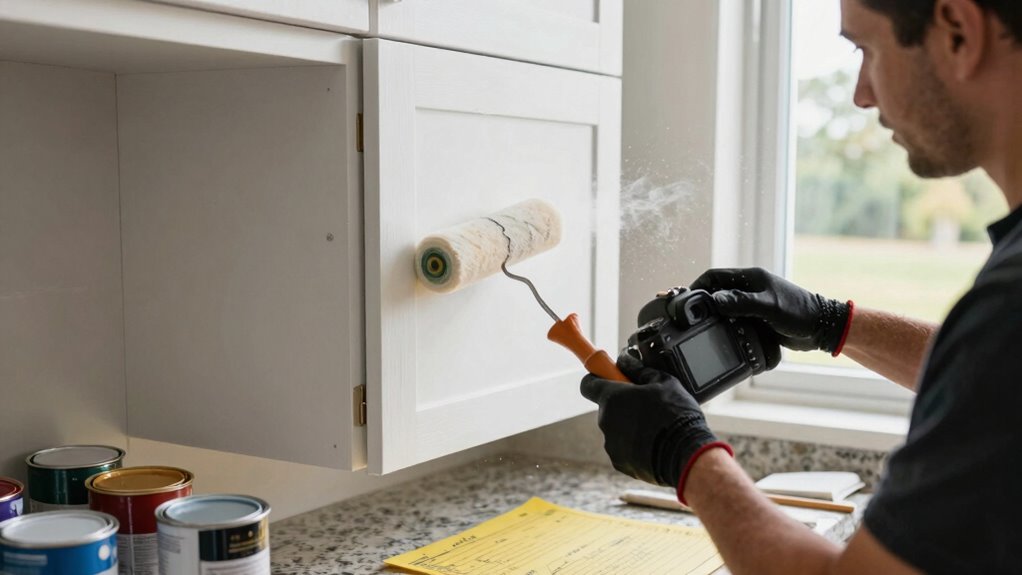
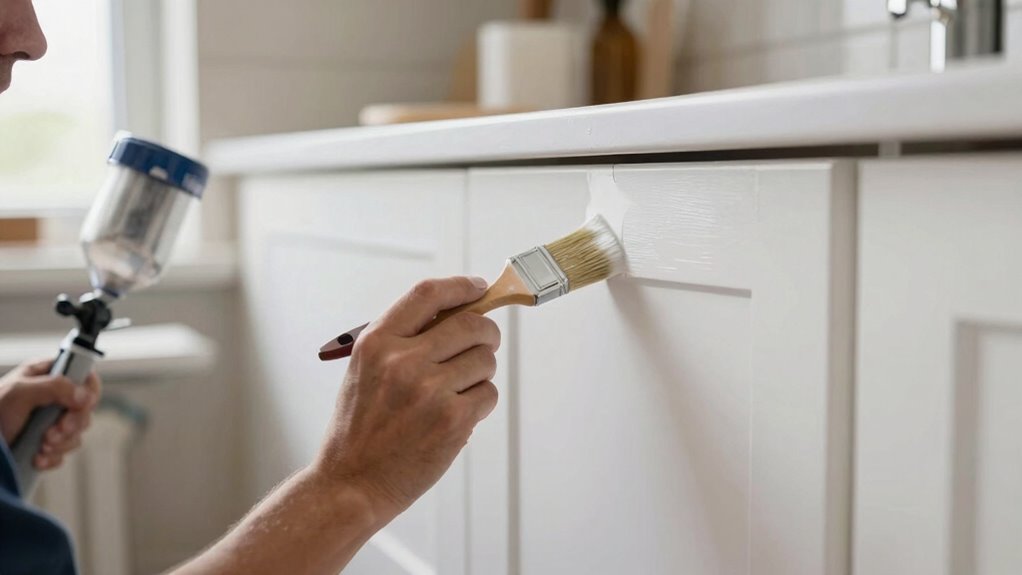
When you’re ready to paint, use a quality brush and roller combination for smooth application. Work in thin, even coats, allowing each layer to dry fully before adding the next.
Don’t rush this process; patience creates that flawless finish you’re after. Pay attention to detail – cut in carefully around edges and corners.
You’re not just painting cabinets; you’re transforming your space with confidence and skill that rivals any pro.
Gather These Essential Tools for Flawless Finish
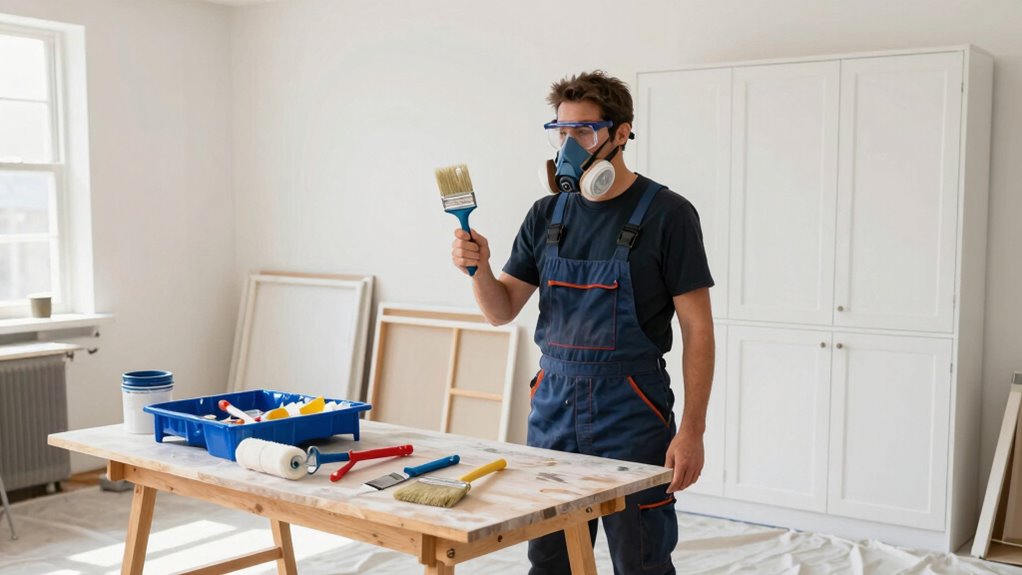
You’ll need specific brushes and rollers that won’t leave streaks or bristles behind in your finish.
Your sandpaper selection makes or breaks the smoothness of your cabinet surfaces, so don’t cheap out on grit quality.
Premium primer application requires the right tools to create that perfect base coat your top paint will adhere to seamlessly.
Essential Brushes and Rollers
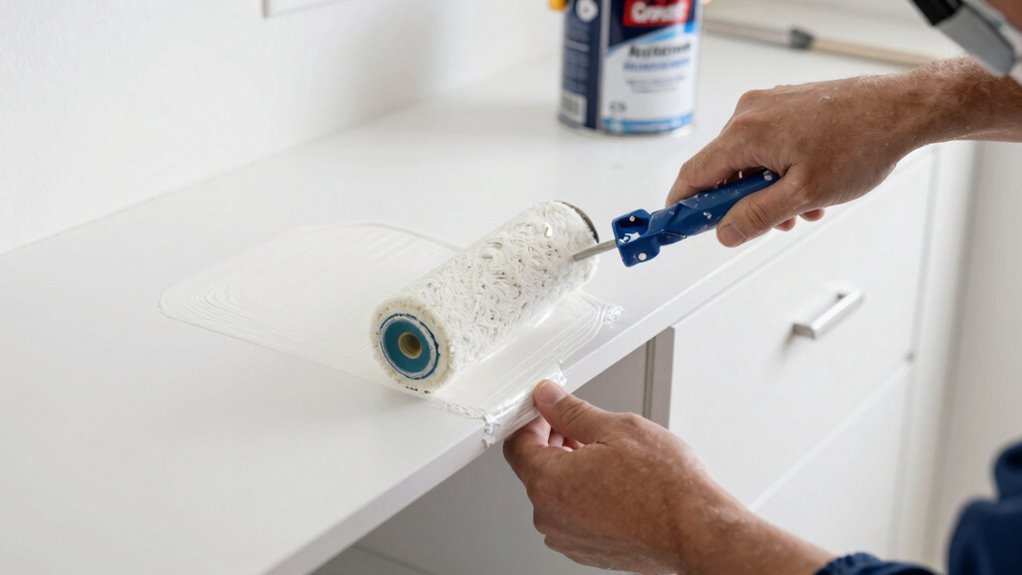
Three essential tools will make or break your cabinet painting project: a high-quality angled brush, a foam roller, and a small detail brush.
Your angled brush should have synthetic bristles and a 2-3 inch width for smooth, precise cuts along cabinet edges and corners. Don’t cheap out here – invest in a brush that won’t shed bristles into your fresh paint.
Grab a high-density foam roller with a 3/8-inch nap for cabinet doors and large surfaces. This roller type prevents streaks and orange peel texture that ruins professional finishes.
The small detail brush handles tight spots, hinges, and intricate molding where larger tools can’t reach.
These aren’t optional upgrades – they’re mandatory for achieving that showroom-perfect look. Your future self will thank you for choosing quality tools that deliver consistent results every time.
Premium Sandpaper Selection
While many DIYers overlook sandpaper as a simple consumable, selecting the right grits and types will determine whether your cabinets achieve that smooth, professional finish you’re after.
You’ll need three grits: 80-grit for heavy stock removal, 120-grit for smoothing surfaces, and 220-grit for final finishing. Premium aluminum oxide paper outlasts cheaper alternatives and cuts more efficiently.
Don’t waste money on ceramic or silicon carbide unless you’re tackling specialized jobs. Invest in quality sanding blocks and orbital sanders that’ll give you consistent results.
Your future self will thank you when you’re not trapped in endless sanding sessions, wondering why your finish looks amateurish.
Professional painters know that proper preparation separates good work from great work. You’re not just sanding – you’re creating the foundation for transformation.
Quality Primer Application
Gather your primer and essential tools before tackling cabinet surfaces that demand a flawless foundation. You’ll need high-quality bonding primer, a premium roller frame, angled brushes for corners, and foam rollers for smooth application.
Don’t forget sanding blocks and tack cloths for surface prep.
Apply primer in thin, even coats using long, smooth strokes. Work from top to bottom, maintaining wet edges to prevent lap marks. Let each coat dry completely before lightly sanding with fine-grit paper. Wipe away dust thoroughly between coats.
Choose primer specifically designed for kitchen cabinets’ slick surfaces. Oil-based primers provide superior adhesion and stain blocking.
Apply two coats minimum for ideal coverage and durability. Your cabinet transformation begins with this critical foundation.
Choose Between Water-Based and Oil-Based Paint Options
Why does choosing between water-based and oil-based paint matter so much for your cabinet project? Your decision directly impacts durability, appearance, and application process.
Water-based paints dry faster, emit less odor, and clean up easily with soap and water. They’re perfect for quick projects and smaller spaces.
Oil-based paints provide superior durability and smooth finish, ideal for high-traffic kitchen cabinets. They resist chipping and fading better than water-based alternatives.
However, oil-based paints require mineral spirits for cleanup and emit stronger odors.
Consider your timeline, ventilation, and desired longevity. Professional painters often prefer oil-based for client projects because it delivers lasting results.
Your choice should align with your specific needs and experience level.
How to Tell Which Paint Works for Your Cabinets
You need to identify your cabinet’s wood type and grain pattern before selecting paint, since different woods react differently to various paint formulations.
Test paint adhesion and coverage on a small hidden area first thing, because this tells you whether the paint will stick properly and cover evenly without requiring multiple coats.
Evaluate the finish’s durability and cleanability by rubbing it with a damp cloth after it cures, since cabinet paint needs to withstand frequent handling and cleaning.
Identify Wood Type And Grain Pattern
How do you determine the best paint for your cabinets when you don’t know what type of wood you’re working with? You need to identify the wood species and grain pattern first.
Start by examining the cabinet surface closely under good lighting. Look for distinctive characteristics like grain density, color variations, and natural markings. Run your hand along the wood to feel its texture and smoothness.
- Oak shows prominent, open grain patterns with visible pores.
- Maple displays tight, uniform grain with minimal texture.
- Cherry features smooth grain with subtle reddish undertones.
- Pine exhibits a knotty appearance with soft, uneven grain patterns.
Understanding your wood type helps you choose paint that complements rather than fights the natural characteristics.
Different woods absorb paint differently, affecting final coverage and appearance.
Take time to properly identify your cabinets’ wood species before selecting your paint system.
Test Paint Adhesion And Coverage
Once you’ve identified your cabinet wood type and understood its unique characteristics, you’re ready to put potential paint finishes through their paces.
Grab sample pots of your top choices and apply them to inconspicuous cabinet areas. Don’t skip this essential step – you’ll thank yourself later.
Test how well each paint adheres by applying thin, even coats. Let them dry completely between applications. Look for smooth coverage without visible wood grain showing through. Check for bubbling, peeling, or uneven texture.
You’re not just testing appearance – you’re determining which paint works best with your specific wood. Some paints might bead up on certain surfaces while others soak in perfectly.
Trust your eyes and instincts during this process. The right paint should feel like it belongs on your cabinets, creating that seamless, professional finish you’re aiming for.
Evaluate Finish Durability And Cleanability
Why settle for a paint job that’ll need constant touch-ups? You deserve cabinets that look great and stand up to daily wear. Evaluate durability by checking how paint handles moisture, heat, and scratches. High-traffic kitchens demand finishes that won’t chip or yellow quickly.
Consider these key factors:
- Scratch resistance – Drag a fingernail across dried paint to test surface hardness.
- Moisture tolerance – Look for paints specifically rated for humid environments.
- Cleanability – Semi-gloss and satin finishes wipe clean easier than flat paints.
- UV stability – Cabinet paint should resist fading from sunlight exposure.
Don’t guess which paint works best. Read manufacturer specifications and reviews from other homeowners who’ve tackled similar projects.
Your cabinet transformation deserves professional-level results that last.
Decide Whether to Remove Doors or Paint In-Place
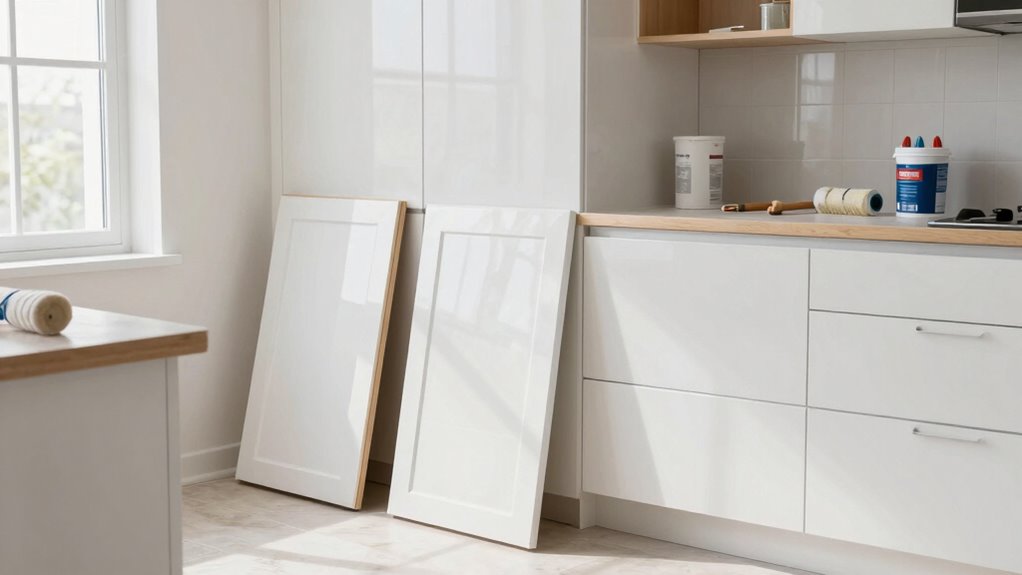
Should you take down your cabinet doors before painting, or can you achieve good results by painting them right where they hang? You can get away with painting doors in-place if you’re careful, but removing them gives you professional results every time.
When you remove doors, you eliminate overspray onto walls and adjacent cabinets. You’ll work faster without worrying about painting hardware or hinges. Removing doors lets you access all angles, ensuring complete coverage.
You can lay doors flat, preventing drips and brush marks. The extra effort pays off with smoother finishes and cleaner lines. Professionals always remove doors because it’s simply the better approach.
While painting in-place seems convenient, you’ll struggle with awkward angles and imperfect edges. Your final result won’t match the quality you want.
Take the time to remove doors – your kitchen deserves that professional touch.
Thoroughly Clean and Degrease First: Trust Me On This
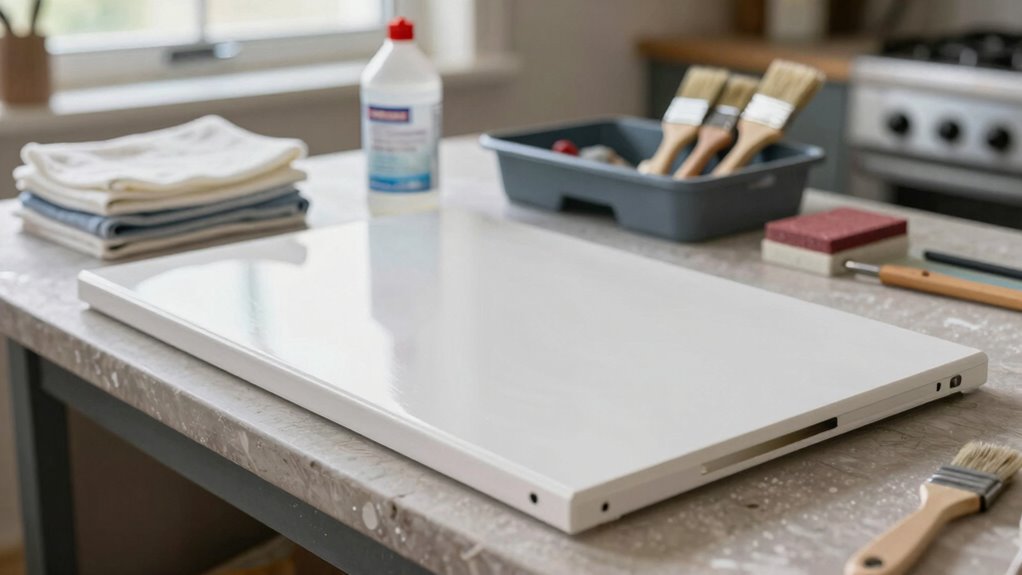
Cleaning and degreasing your cabinets isn’t just a recommended step—it’s absolutely essential for paint adhesion and long-lasting results.
You’ll need to remove all grease, grime, and contaminants that have accumulated over years of cooking and daily use. Without proper cleaning, your paint will fail prematurely, no matter how carefully you apply it.
Use these supplies for maximum effectiveness:
- TSP (trisodium phosphate) or degreasing cleaner mixed with warm water
- Scrub brushes and clean rags for thorough wiping
- Denatured alcohol for stubborn grease spots
- Microfiber cloths for final wipe-down
Don’t skip this step thinking you can sand it away—you can’t. Grease creates an invisible barrier that prevents paint from bonding properly.
Take your time and clean twice if needed. Your future self will thank you when your cabinets look flawless months later.
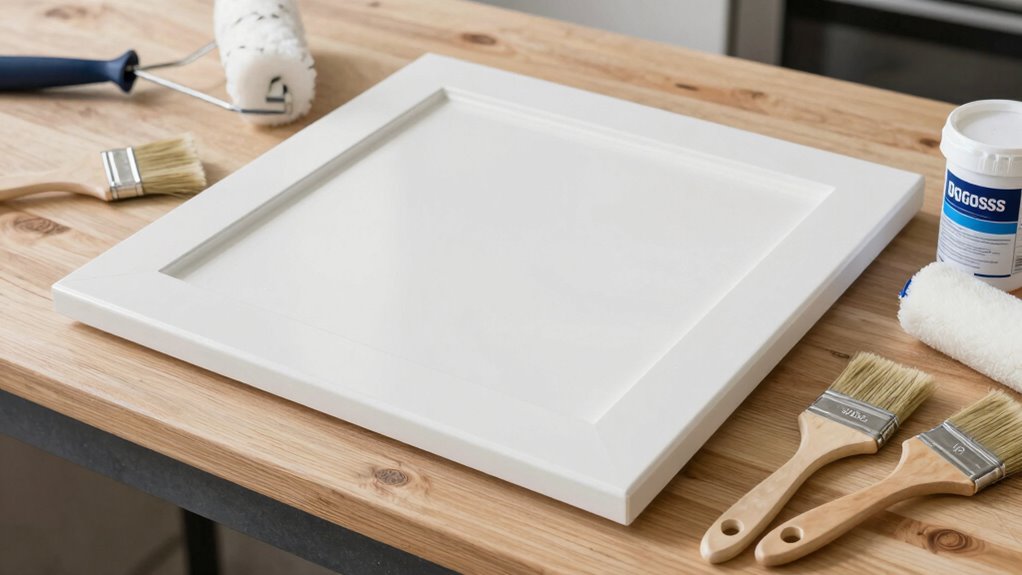
Sand Lightly But Don’t Skip It: Smooth Is Key

You’ll want to sand lightly but thoroughly because this step prepares your cabinet surfaces properly for paint adhesion.
Your light touch removes any remaining imperfections from the cleaning process while keeping the wood grain intact.
Don’t skip this critical step if you want that smooth, professional finish you’re aiming for.
Sanding Prepares Surface Properly
Sanding lightly but thoroughly creates the smooth foundation your paint needs to adhere properly and look professional.
You’re not trying to remove finish entirely – you’re creating texture that helps paint grip while eliminating surface imperfections.
Focus on these key areas:
- Door faces and drawer fronts need extra attention since they’re most visible
- Cabinet frames require consistent pressure to avoid uneven spots
- Hardware removal areas often show wear that sanding addresses
- Edge work demands precision to prevent over-sanding corners
Use 220-grit sandpaper for fine finishing. Sand with the grain, applying steady pressure.
You’ll feel resistance decrease as you smooth rough spots.
Don’t rush – proper preparation separates amateur results from professional finishes. Your future self will thank you for taking time with this essential step.
Light Touch Removes Imperfections
While you might feel pressured to sand aggressively for perfect results, a light touch actually delivers the smooth, professional finish you’re after.
Don’t skip this step thinking it’s optional – you’ll regret it later. Use 220-grit sandpaper and work in long, even strokes following the wood grain. You’re not trying to remove material; you’re smoothing previous coats and feathering edges.
Feel for rough spots, drips, or raised grain with your fingertips – they won’t lie to you. Sand until surfaces feel glass-smooth under your palm. Wipe away all dust with a tack cloth before recoating.
This careful approach prevents sanding through thin paint layers while ensuring proper adhesion. Your patience here separates amateur work from professional results that’ll make neighbors envious.
Smooth Finish Requires Attention
Achieving a flawless cabinet finish demands meticulous attention to detail during the sanding process. You can’t rush this critical step if you want professional results that’ll make your kitchen look like it belongs in a high-end home.
Don’t skip sanding between coats, even when you’re tired. Your final result depends on each layer being perfectly smooth.
- Use 220-grit sandpaper for between coats,
- 320-grit for final smoothing
- Sand lightly in long, even strokes following wood grain
- Wipe away all dust with tack cloth before applying next coat
- Check for imperfections using a bright light at different angles
Your cabinets deserve the same care professionals give their projects. Take pride in your work.
Should You Use Liquid Deglosser Before Priming?
Why shouldn’t you skip liquid deglosser when prepping cabinets for painting? You need it to create proper adhesion between your existing finish and new paint.
Without deglosser, you’re fundamentally painting over a slick surface that paint can’t grip. You’ll end up with peeling, chipping, or bubbling paint down the road.
Liquid deglosser removes that shiny, protective layer that prevents paint from sticking. It’s actually a controlled etching process that creates microscopic texture for better adhesion.
You don’t need to sand extensively when you use deglosser properly.
Apply it generously, let it sit according to manufacturer directions, then wipe clean. This simple step makes your paint job professional and long-lasting.
Skipping deglosser is a shortcut that always backfires.
Prime With Shellac or Latex for Strong Adhesion
One essential decision you’ll make when painting cabinets is choosing between shellac and latex primer for the best adhesion.
Your existing finish determines the top option – shellac works perfectly on oil-based surfaces while latex performs excellently on water-based coatings.
- Shellac primer seals stains permanently and prevents bleed-through, making it your go-to choice for kitchen cabinets with nicotine or water damage marks.
- Latex primer provides excellent adhesion on clean, previously painted surfaces and offers easier cleanup with soap and water.
- Application temperature matters greatly; shellac requires warmer conditions while latex performs well in cooler environments.
- Drying time differences affect your workflow speed; latex dries faster but shellac needs adequate curing time for maximum performance.
Choose based on your specific cabinet condition and desired outcome.
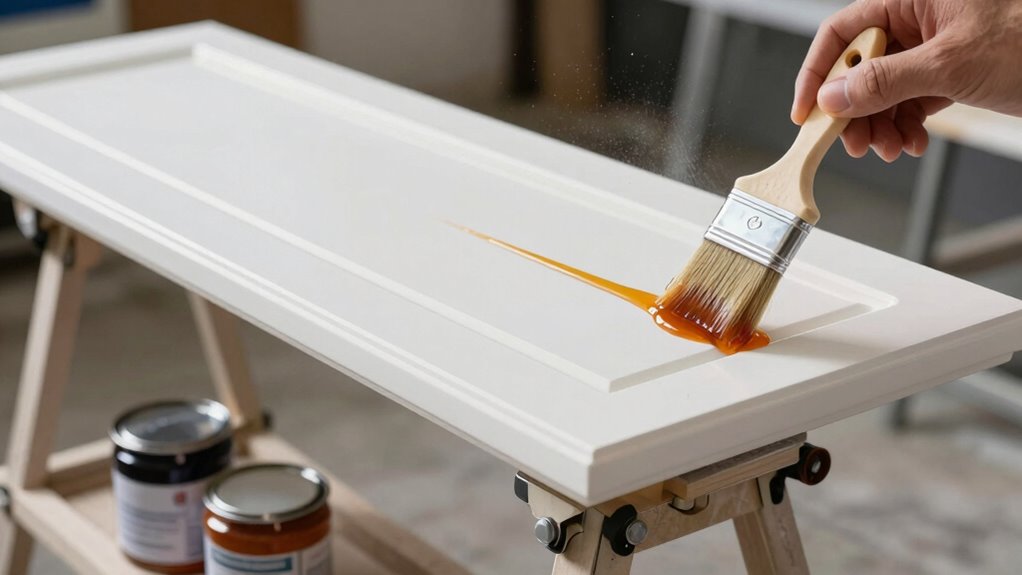
Master Application Technique Using Brush or Spray
Both brush and spray methods offer distinct advantages for cabinet painting, and your choice depends on your specific project needs and skill level. You’ll achieve professional results with either technique when you master the fundamentals.
Brush application requires quality synthetic bristles and smooth, even strokes following wood grain. Maintain wet edges to prevent lap marks.
Spraying demands proper equipment setup, consistent pressure, and steady hand movement. You must thin paint appropriately and apply even coats.
Both methods require you to work in sections, maintaining consistent pressure and overlap. Choose brushes for detailed work around corners and edges. Select spraying for smooth, uniform coverage on flat surfaces.
Your comfort level and project scope should guide your decision. Practice your chosen technique on scrap material first.
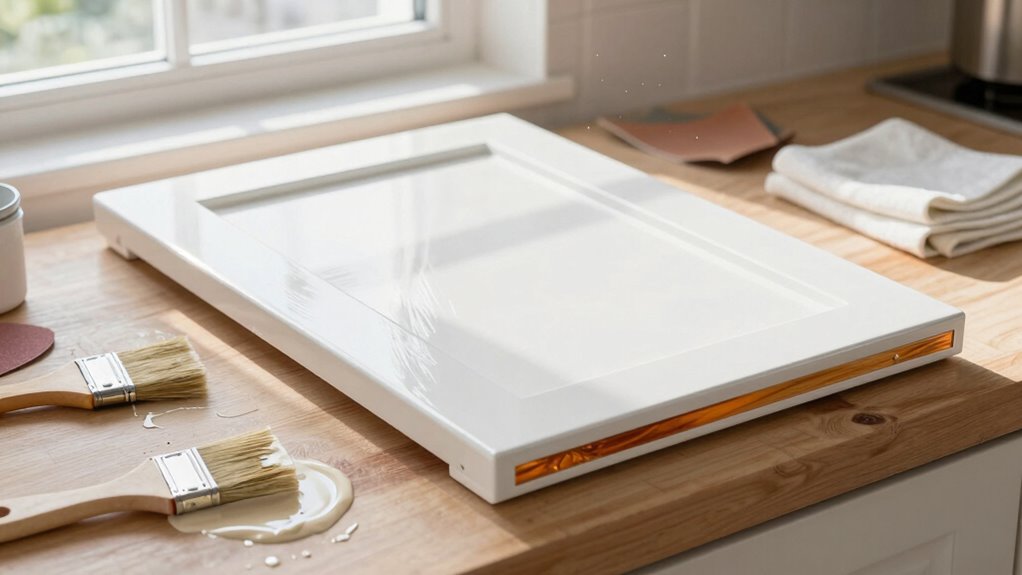
Apply Two Thin Coats: Avoid Going Too Thick
Focus on these key techniques:
- Maintain consistent pressure while brushing or spraying to guarantee even distribution across cabinet surfaces.
- Work in small sections to prevent lap marks and maintain wet edge contact throughout each area.
- Apply paint in long, smooth strokes following wood grain direction for seamless blending.
- Don’t overload your brush or spray gun – you’re aiming for translucent coverage that builds gradually.
Trust the process. Your cabinets deserve the same attention to detail that professionals bring to every job.
Wait Full Drying Time Between Every Layer
Every layer of paint needs adequate time to cure properly before you apply the next coat. You can’t rush this process if you want professional results. Most latex paints require at least two to four hours between coats, while oil-based paints need six to eight hours. Check your paint can’s instructions for specific drying times.
Don’t assume the surface feels dry enough just because it’s not tacky. Internal curing continues even when the paint feels set. Apply your next coat too soon, and you’ll trap moisture, causing peeling, bubbling, or poor adhesion.
Use a timer to guarantee you wait the full recommended duration. This patience separates amateur projects from professional-quality cabinets that last years. Your future self will thank you for taking these extra hours now rather than dealing with premature failure later.
Avoid Brush Marks With Proper Stroke Control
You’ll eliminate brush marks by maintaining a 45-degree angle with your brush, applying smooth, even strokes in long pulls, and keeping consistent pressure throughout each stroke.
These techniques work together to create professional-looking cabinet finishes that won’t show unsightly brush ridges.
Mastering this control transforms your painting results from amateur to expert quality.
Proper Brush Angle
Maintaining the correct brush angle makes all the difference between amateur-looking cabinets and a professional finish. You need to hold your brush at a consistent 45-degree angle relative to the cabinet surface for ideal paint application.
- Angle consistency: Keep your brush tilted at 45 degrees throughout each stroke, adjusting your grip rather than bending your wrist awkwardly.
- Surface positioning: Position cabinet doors horizontally when possible, allowing better angle control and reducing paint drips.
- Brush selection impact: Use angled brushes for tight corners and flat brushes for broad surfaces, matching tool geometry to surface angles.
- Pressure distribution: Apply even pressure along the bristle width, avoiding heavy edges that create visible brush marks.
Mastering proper brush angle eliminates those telltale streaks that scream “DIY job.”
Your technique should feel natural and controlled.
Smooth Stroke Technique
Consistently applying smooth, controlled strokes eliminates brush marks that instantly reveal your project’s amateur origins.
You’ll master this by maintaining steady hand movements from start to finish. Begin each stroke at the cabinet’s edge, pulling the brush toward you in one fluid motion.
Don’t rush or hesitate mid-stroke – confidence shows in your work. Keep your wrist flexible but controlled, letting the brush glide naturally across the surface.
Work in long, even passes that follow the wood grain direction. Overlap each stroke slightly to prevent visible lines between applications.
Practice this rhythm until it becomes second nature. Your finished cabinets should showcase professional-level results that make you proud to show off your skills.
Consistent Pressure Control
Proper pressure control separates professional cabinet painting from amateur attempts that leave telltale brush marks.
You need to maintain steady, even pressure throughout each stroke to achieve that flawless finish you’re after.
Keep your hand relaxed but firm, letting the brush do the work without pressing too hard against the surface. Your wrist should move smoothly, not jerkily.
- Start with lighter pressure at the beginning of each stroke
- Maintain consistent weight distribution across the brush bristles
- Avoid pressing harder in the middle of your stroke
- Practice on scrap wood until you develop muscle memory
You’ll know you’ve mastered this when your strokes blend seamlessly without visible lines or uneven texture.
Handle Cabinet Hardware Smartly During Process
You should remove cabinet hardware before painting to confirm clean edges and prevent paint from getting trapped underneath. Use a screwdriver to carefully take off handles, knobs, and hinges.
Store screws in small containers to avoid losing them. If you’re updating hardware, now’s the perfect time to shop for replacements that match your vision. Keep hardware organized by labeling containers with corresponding cabinet locations.
Don’t skip degreasing metal pieces with mineral spirits before reattachment. Clean hardware ensures better paint adherence and professional results.
When reinstalling, make sure everything aligns properly and screws are tightened securely. This attention to detail separates amateur projects from polished, professional-looking cabinets that’ll make you proud.
Protect Edges and Corners From Accidental Damage
Once you’ve handled the hardware removal and cleaning process, protecting vulnerable edges and corners becomes your next priority before paint touches the surface.
These areas attract the most wear and tear, so don’t let them sabotage your professional-looking results. You’ll want to shield them from accidental bumps, scrapes, and paint buildup that ruins crisp lines.
- Apply painter’s tape along edge seams where cabinet doors meet frames, creating clean boundaries
- Use cardboard corner protectors on exposed shelf edges and sharp cabinet corners prone to dings
- Install foam padding on areas where cabinet doors swing open, preventing paint chips
- Wrap delicate molding details with masking tape to avoid unwanted paint adhesion
These protective measures guarantee your freshly painted cabinets maintain their pristine appearance while you work.
Don’t skip this step – it separates amateur jobs from professional finishes that last years.
Deal With Old Backsplash Contact Areas
While you’re protecting cabinet edges and corners, don’t overlook the areas where your cabinets meet the backsplash, as these contact points often harbor hidden challenges that can compromise your paint job.
You’ll need to carefully scrape away any old caulk or adhesive residue using a putty knife, ensuring smooth surfaces for proper paint adhesion.
Apply painter’s tape along the backsplash edge, creating a clean line that prevents paint bleed.
Don’t skip cleaning these areas thoroughly with degreaser, as kitchen grease accumulates here and affects paint bonding.
Sand lightly to remove any remaining glossy finish, then wipe down with mineral spirits.
These contact zones require extra attention because they’re prone to moisture and temperature fluctuations that cause paint failure.
Your diligence here separates professional results from amateur attempts.
Rehang Cabinets Once Cured Completely
After the paint has fully cured, which typically takes 24 to 48 hours depending on humidity and temperature, rehanging your cabinets requires careful attention to detail.
You’ll want to handle these freshly painted surfaces like the investment they are, guaranteeing every mark counts toward your dream kitchen transformation.
- Clean all hardware with gentle soap and water before reattachment to remove any oils or debris that could compromise the fresh paint job
- Use cabinet-grade screws that match your original hardware specifications to prevent stripping or damage to cured paint surfaces
- Align doors perfectly by checking gaps consistently around all edges before tightening hinges completely
- Test door swing clearance to guarantee smooth operation without scraping newly painted cabinet boxes or neighboring doors
Most Common DIY Mistakes That Ruin Results Fast
Skipping proper surface preparation ruins more cabinet painting projects than any other factor, and you’ll kick yourself later when peeling paint reveals the glossy factory finish you didn’t bother to sand down.
You must degloss those surfaces completely with 120-grit sandpaper or a deglosser. Don’t skip primer either – it’s not optional. Cheap paint chips faster, so invest in quality semi-gloss enamel.
Apply thin, even coats instead of thick globs that sag and look amateurish. Rushing the drying process between coats creates poor adhesion. You’ll spot these shortcuts immediately, and they scream “DIY disaster.”
Clean brushes thoroughly between colors, and don’t paint over dust or debris. These mistakes separate professional-looking cabinets from embarrassing failures that make you want to hide your kitchen.
Expect Years of Durability If Done Correctly
Proper cabinet painting, when executed with attention to detail, delivers stunning results that last for years without peeling, chipping, or fading.
You’ll achieve professional-grade durability that transforms your kitchen into a space you’re proud to call home.
- Surface preparation creates the foundation – clean thoroughly, sand properly, and use quality primer to guarantee paint adheres permanently.
- Premium materials make the difference – invest in professional-grade paint and brushes that won’t let you down mid-project.
- Proper technique prevents common failures – apply thin, even coats and allow adequate drying time between layers.
- Quality topcoat protects your investment – add protective finish that resists moisture, heat, and daily wear.
When you follow these principles, your cabinets won’t just look beautiful today – they’ll maintain that showroom-quality appearance for years, giving you lasting satisfaction and pride in your home.
Conclusion
You’ve mastered the art of professional cabinet painting! With proper preparation, quality materials, and careful technique, your cabinets will look absolutely stunning for years. Don’t rush the process—each step matters enormously. Take your time, be patient, and the results will blow you away. Your newly painted cabinets will transform your kitchen completely, making every meal feel like a gourmet experience in a magazine-worthy space.
