

Unlike complicated joinery that requires years of practice, pocket hole joints let you create strong connections quickly. You’ll need just a few basic tools and can achieve professional results in minutes. The key is using the right technique from the start. Want to know the exact steps that prevent common mistakes and guarantee your joints last?
Why Pocket Hole Joints Beat Traditional Methods
Pocket hole joints offer several advantages over traditional woodworking methods like dowels, biscuits, or mortise and tenon joints.
You’ll find these connections much faster to create since you only need a pocket hole jig and basic drill. Unlike dowels that require precise hole alignment, pocket screws pull pieces together automatically. You don’t need expensive machinery or complex measuring tools either.
The joints are incredibly strong, often exceeding wood failure points. You’ll appreciate how easily adjustable connections work during assembly. Pocket hole jigs guide your drill bit precisely, eliminating guesswork that causes errors in traditional methods.
You can disassemble and reassemble joints multiple times without weakening them. These joints look clean and professional while requiring minimal skill.
You’ll complete projects faster and achieve consistent results every time.
Projects That Need Strong, Fast Joints
Several projects demand joints that are both strong and quick to assemble.
You’ll find pocket hole joints perfect for building outdoor furniture that must withstand weather and heavy use. Deck chairs, patio tables, and garden benches benefit from these reliable connections.
Kitchen cabinets require sturdy joints that won’t fail when filled with dishes and cookware. These joints also work excellently for workshop storage solutions, tool chests, and shelving units.
Birdhouse construction becomes much simpler with pocket holes, letting you focus on design rather than complex joinery.
Children’s play structures need joints that parents trust won’t come apart.
You’ll appreciate how pocket hole joints eliminate guesswork while creating professional-looking results that friends and family will admire.
The Basic Gear You Need for Pocket Holes
You’ll need a few key tools to create clean pocket holes.
Your drill must have a clutch or variable speed control to prevent over-driving screws.
Make sure you’re using the right drill bits designed specifically for pocket hole joinery.
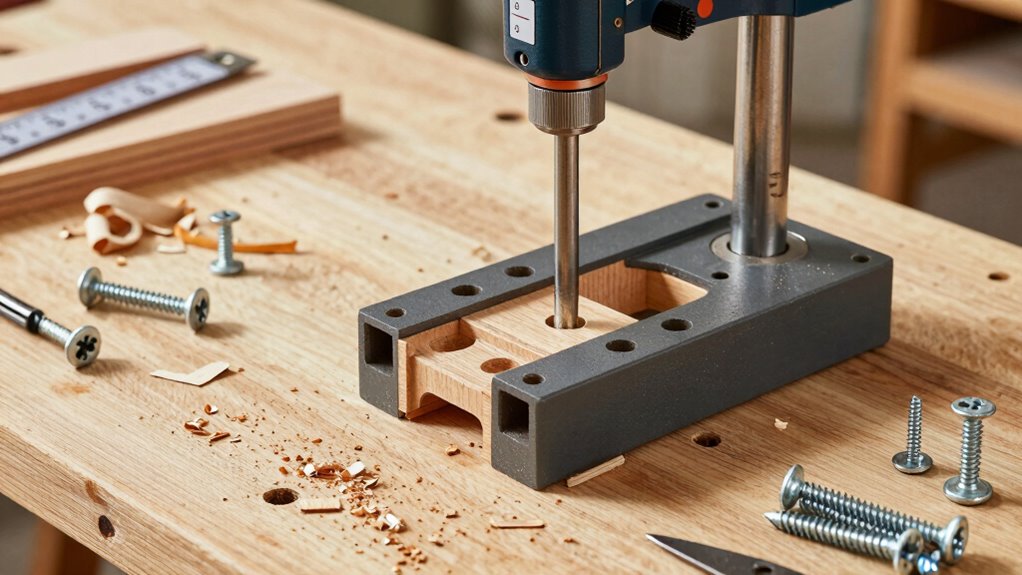
Essential Tools Required
A few key tools will help you create clean, strong pocket hole joints every time.
You’ll need a pocket hole jig system, which guides your drill at the correct angle. Choose between clamp-on or bench-mounted versions based on your workspace. A quality drill with variable speed control works best for consistent results.
You’ll also need a sturdy workbench or table to clamp your materials securely. Don’t forget bar clamps or C-clamps to hold pieces together while drilling. A pencil for marking drilling spots and a square for accurate measurements are essential.
Finally, keep sandpaper handy for smoothing rough edges. These basic tools form your foundation for successful pocket hole joinery.
With this equipment, you’ll join boards cleanly and strengthen your woodworking projects effectively every time.
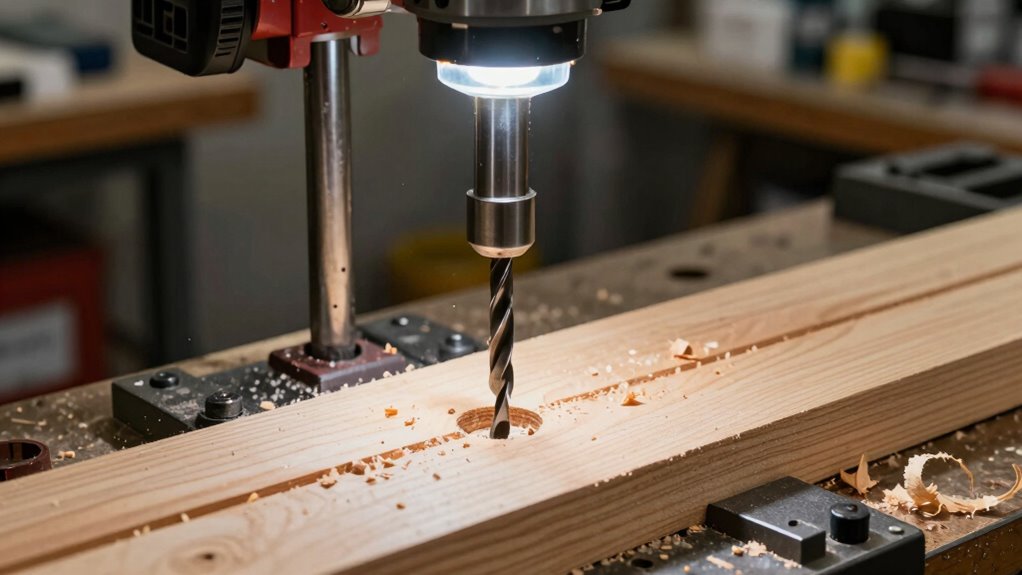
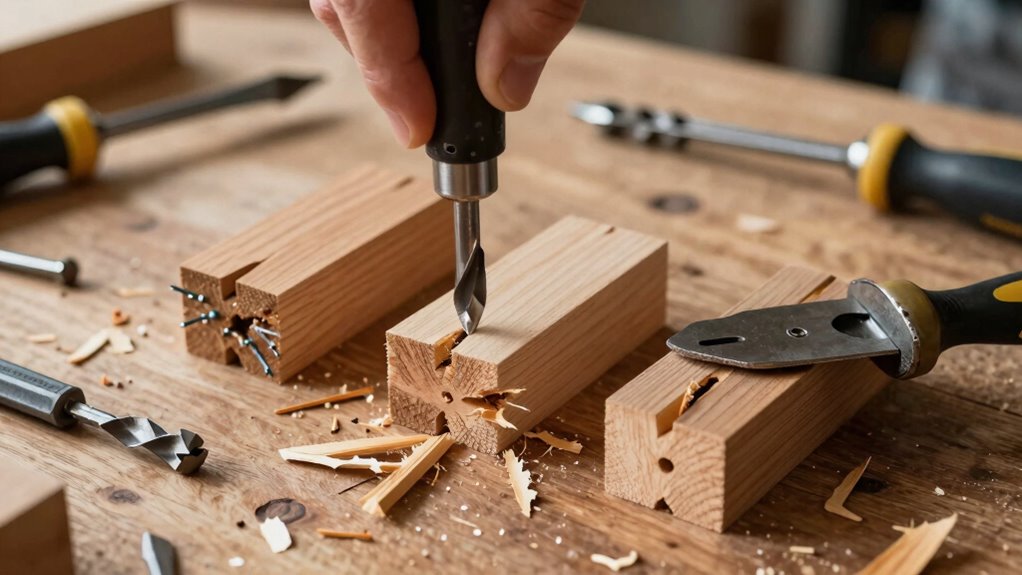
Proper Drill Bits Needed
Your pocket hole jig system relies on specific drill bits to create clean, accurate joints.
You’ll need two types: a larger bit for the pocket hole and a smaller one for the pilot hole. The pocket hole bit typically measures 3/8-inch, while the pilot bit is usually 1/8-inch. These bits work together to prevent wood splitting and guarantee proper screw alignment.
Don’t use standard drill bits because they won’t create the precise angled holes your joints require. Invest in high-quality bits designed specifically for pocket hole jigs. Carbide-tipped bits last longer and maintain their sharpness better than standard steel bits.
Check your jig’s manual for recommended bit specifications. Some systems use proprietary bits, so verify compatibility before purchasing.
Keep your bits sharp and replace them when they become dull.
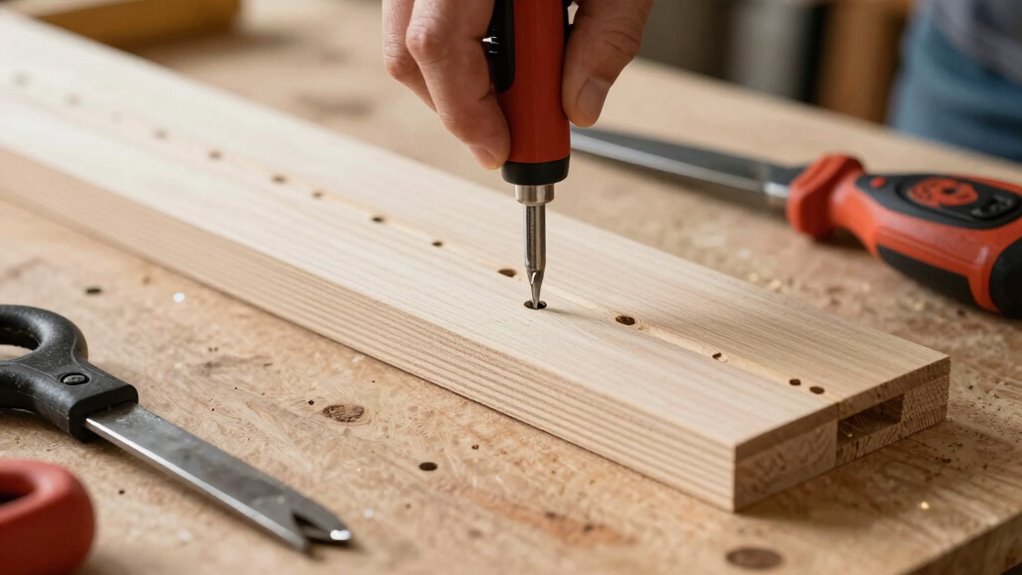
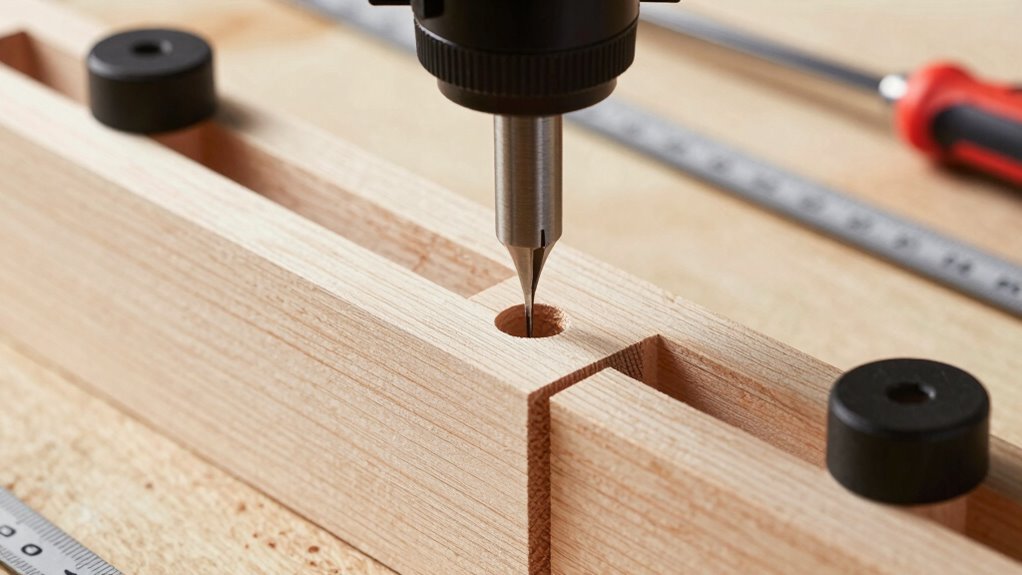
Drill Clean Pocket Holes Every Time
Drill bits designed for pocket hole joints make clean, precise holes that won’t split your wood.
You’ll want to use a drill press or portable drilling guide for consistent angles. Set your drill depth stop to prevent over-drilling. Position the bit’s shoulder against the wood surface before starting.
Apply steady pressure as you drill, letting the bit do the work. Don’t force it or you’ll create tear-out. Keep your drill perpendicular to the guide block.
Check that chips clear from the hole as you work. If binding occurs, withdraw the bit slightly to clear debris. Practice on scrap wood first to get the feel. You’ll develop muscle memory quickly.
Clean holes mean stronger joints later. Remember: slow, steady drilling creates professional results every time.
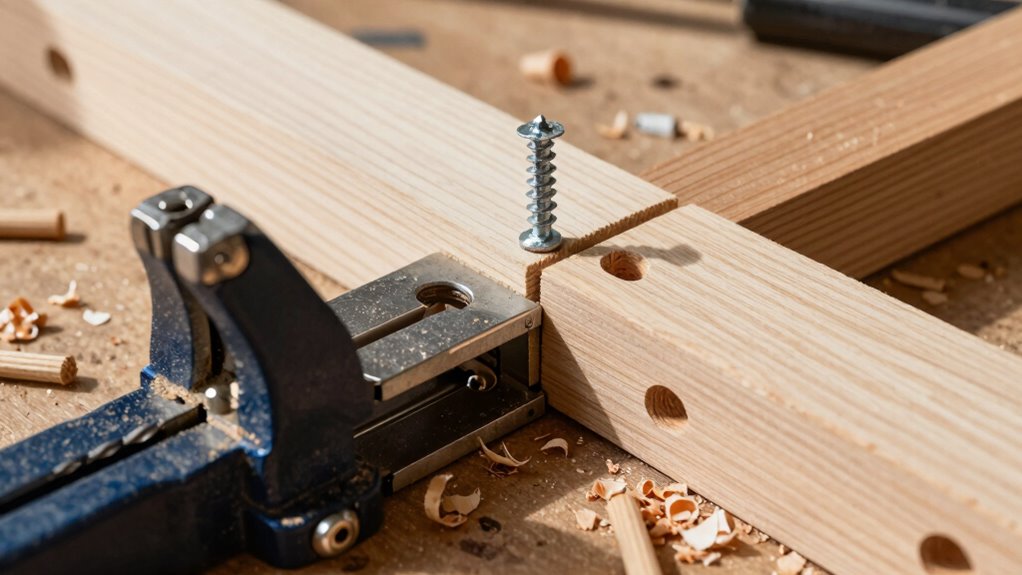
Assemble Tight, Long-Lasting Joints Easily
Position your pocket hole joint components carefully before driving screws to guarantee proper alignment. You’ll achieve stronger connections when pieces fit snugly together.
Apply wood glue to mating surfaces for extra holding power that lasts years. Drive screws slowly and steadily, letting them pull pieces tightly together. Don’t rush this step – proper assembly prevents future loosening.
Check that joints remain square as you work, adjusting pressure as needed. Tight joints shouldn’t require excessive force when assembled correctly. You’re building something that’ll belong in your workshop for decades.
Wipe away excess glue immediately with a damp cloth before it dries. This creates cleaner joints and prevents messy cleanup later. Your finished project deserves professional-looking connections that you can be proud of.
Avoid These 3 Common Pocket Hole Errors
Pocket hole joints fail when you rush through critical steps or skip proper preparation.
You’ll avoid costly mistakes by paying attention to these three common errors.
First, don’t overlook proper drill bit depth settings. Set your jig according to wood thickness, or your screws will either poke through or fail to grab securely.
Second, always pre-drill pilot holes at exact pocket hole locations. Skipping this step causes wood splitting and misaligned joints that compromise strength.
Third, never force screws through resistant wood fibers. Stop drilling, reposition your workpiece, or check bit alignment. Pushing through creates stripped holes and weak connections.
These simple mistakes separate amateur results from professional-quality joints.
Take time to execute each step properly. Your pocket hole projects will transform from frustrating failures into satisfying successes that other woodworkers admire.
Conclusion
You’ve mastered the basics, but what if you could make even stronger joints? The secret lies in perfecting your technique. Keep your screws lubricated, clamp firmly, and drill precisely. Avoid common pitfalls by double-checking angles and depths. With practice, you’ll create joints that rival professional craftsmanship. Ready to take your pocket hole skills to the next level?
