

While your garden hose might seem indestructible, improper maintenance can turn it into a costly replacement every season. You probably use it daily without thinking twice, yet few people realize how simple habits like draining, cleaning, and proper storage can extend its life dramatically. Want to avoid those frustrating spring replacements and save money? Let’s explore the essential maintenance steps that most homeowners overlook.
How to Clean Your Garden Hose Correctly
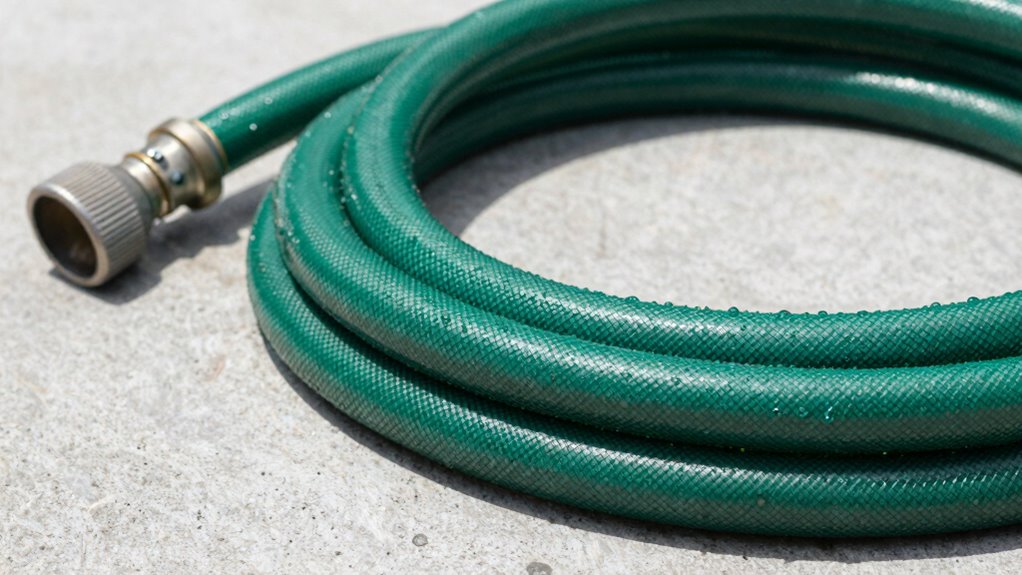
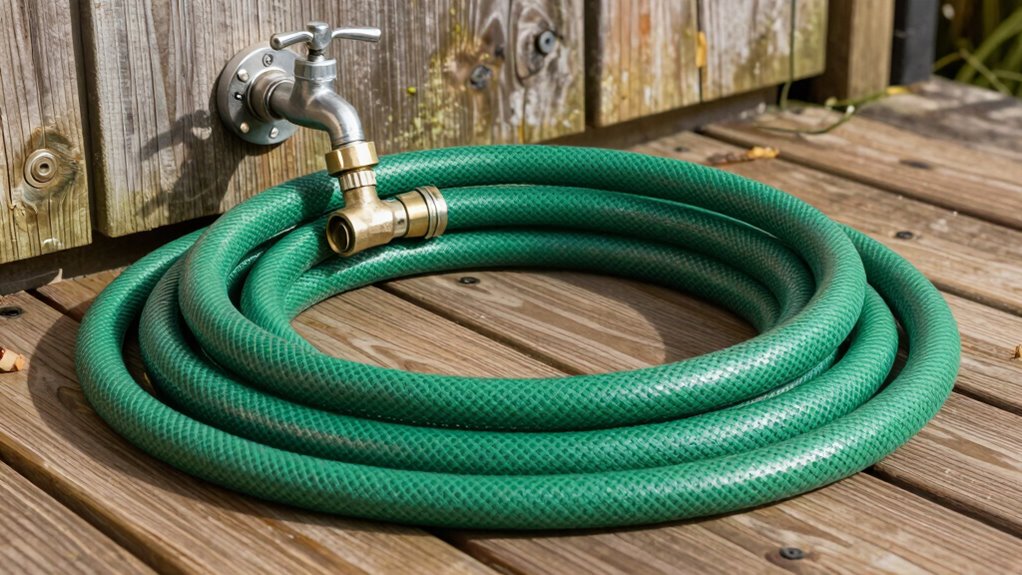
One simple step can extend your garden hose’s lifespan considerably: cleaning it properly after each use. You should disconnect the hose from both ends and drain any remaining water completely.
Run clean water through the entire length by connecting one end to a faucet and letting it flow out the other end for several minutes. This removes dirt, chemicals, and debris that cause deterioration.
You’ll want to scrub the exterior gently with mild soap and a soft brush to eliminate grime buildup. Pay special attention to the couplings where dirt accumulates.
Rinse thoroughly afterward. Store your cleaned hose in a cool, dry place away from direct sunlight.
These straightforward steps keep your hose performing reliably while preventing costly replacements. Regular cleaning becomes second nature quickly.
Why Drain Your Hose After Use
When you drain your garden hose after each use, you prevent water from sitting inside the hose and causing damage. Stagnant water creates ideal conditions for bacteria growth, leading to unpleasant odors and potential health hazards.
You also avoid freezing damage during winter months when temperatures drop below thirty-two degrees. Water expansion during freezing bursts hoses from the inside, ruining your investment.
Draining prevents kinking and cracking that occurs when water remains trapped in bends and curves. You extend your hose’s lifespan greatly by removing standing water after every gardening session.
Make draining a habit, and your hose will reward you with reliable performance season after season. Don’t skip this simple step.
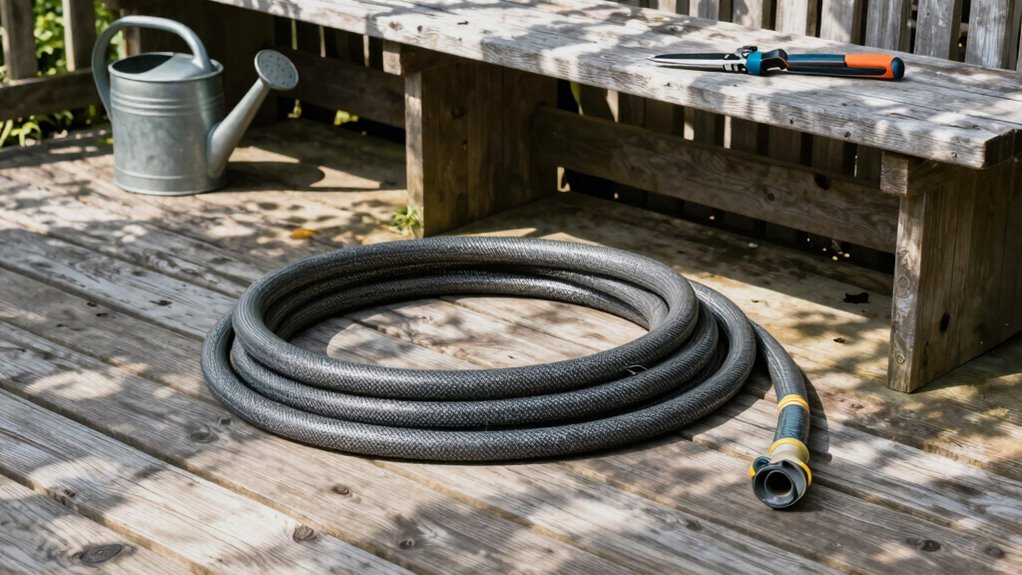
How to Store Your Garden Hose Without Damage
Proper storage extends your garden hose’s lifespan considerably. You’ll protect your investment and guarantee reliable performance season after season when you store it correctly.
- Coil your hose loosely – Avoid tight loops that create permanent kinks. Lay it flat, then form gentle curves like a large spring. This prevents memory damage that causes tangling.
- Keep it elevated – Store your hose off the ground on hooks or reels. You’ll prevent abrasion from concrete or dirt while avoiding puddles that promote mildew growth.
- Cover it completely – Use protective sleeves or store indoors away from UV rays. Sun exposure degrades rubber and plastic materials quickly.
You’re part of a community that values quality tools.
These simple steps guarantee your hose remains dependable for years.
Picking the Right Hose Material for Durability
While you mightn’t think about it during your morning watering routine, choosing the right garden hose material directly impacts how long your hose lasts. You should consider vinyl, rubber, or hybrid materials.
Vinyl hoses are lightweight and affordable but crack easily in cold weather. Rubber hoses offer superior durability and flexibility, resisting kinks and weather damage better. Hybrid versions combine benefits of both materials.
You’ll want to examine reinforcement layers too – multiple ply construction increases longevity. Don’t forget about UV resistance if you leave hoses outside.
Consider your climate and usage patterns when deciding. Heavy-duty rubber construction suits frequent users best. Lightweight vinyl works for occasional tasks.
Your investment in quality materials prevents frequent replacements and keeps your garden looking its best.
How to Check Your Hose for Damage
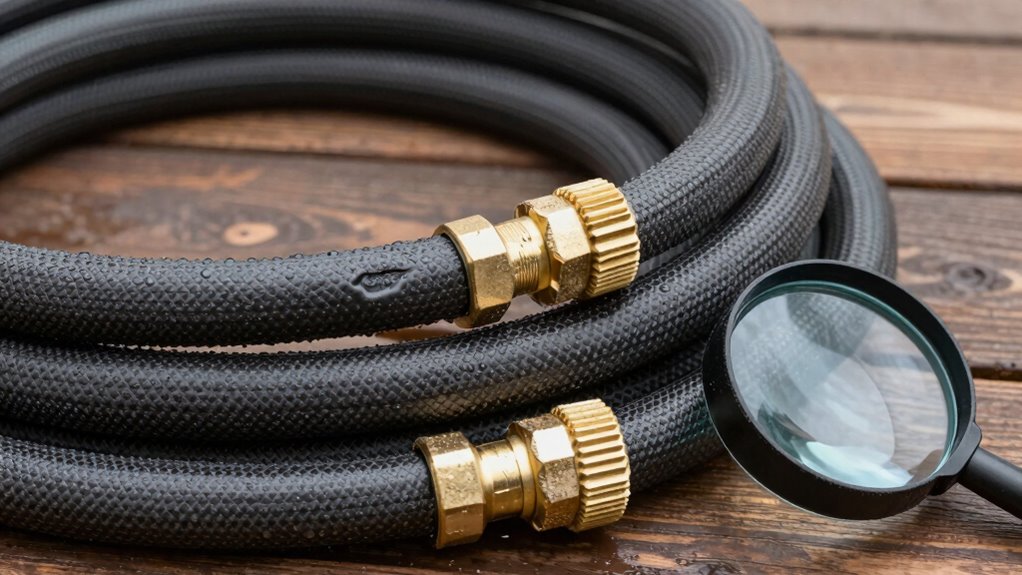
You should regularly inspect your garden hose for cracks, cuts, and worn spots along its entire length, paying special attention to areas near fittings where damage often occurs.
Test your hose’s integrity by running water through it at full pressure and watching for leaks, bulges, or weak spots that weren’t visible during your visual check.
Catching these problems early prevents costly water waste and helps you avoid sudden hose failure during important watering tasks.
Visual Inspection Techniques
When you’re checking your garden hose for damage, start by laying it out completely straight so you can see the entire length at once. This prevents missing hidden kinks or cracks tucked away in coils.
- Scan for surface cracks – Look closely at the outer covering, especially near connections where stress concentrates. Small fissures indicate aging material that could worsen.
- Check coupling areas – Examine where the hose connects to fittings. Look for bulges, loose connections, or white calcium buildup that signals leaks.
- Inspect for internal damage signs – Watch for unusual bends, flattening, or areas where water flow seems restricted. These visual cues often reveal internal liner damage affecting performance.
Regular visual checks keep your hose functioning properly while preventing unexpected failures during use.
Pressure Testing Methods
How do you know if your garden hose can handle the pressure it’s designed for? You need to pressure test it regularly. Connect your hose to a water source and turn the pressure to maximum.
Watch for bulges, leaks, or weak spots along the entire length. Feel the hose surface for soft areas that indicate internal damage. Check all connections and fittings for drips or spraying. If you notice any issues, replace the damaged sections immediately.
Don’t risk using a compromised hose that could burst unexpectedly. Test older hoses every few months, especially before peak gardening season. Pay attention to areas near connectors where stress often occurs.
A simple pressure test prevents costly water damage and guarantees your hose performs reliably when you need it most.
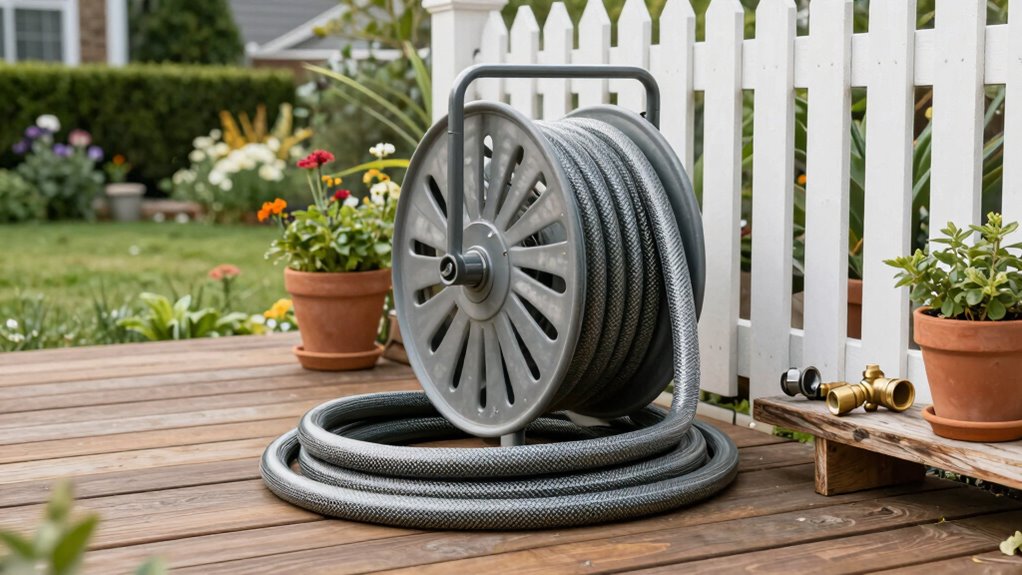
Choosing Between Hose Reels and Carts
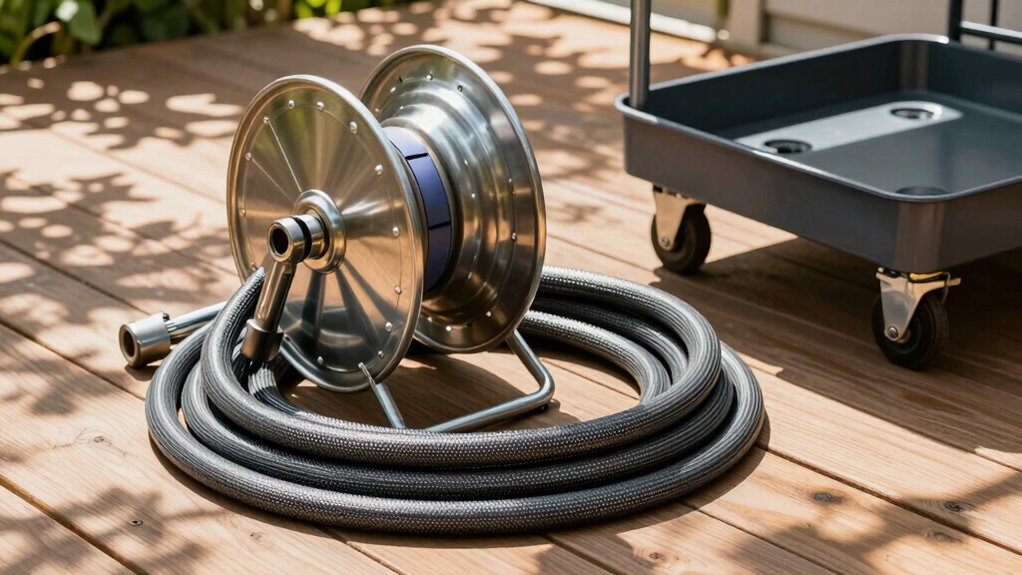
Both hose reels and carts offer distinct advantages for garden hose storage, and selecting the right option depends on your specific gardening needs and available space.
You’ll want to evaluate how each solution fits into your gardening routine and yard layout.
- Hose reels mount directly to walls or posts, keeping your hose elevated and organized while saving valuable ground space in smaller yards.
- Hose carts sit on wheels, allowing you to roll your hose setup around larger properties while keeping everything mobile and accessible near different garden areas.
- Retractable reels automatically wind your hose with a simple crank, while cart-based systems let you manually wrap and unwrap longer hoses for extended reach.
Choose reels for convenience and space-saving, or carts for flexibility and mobility.
How to Prevent UV Damage to Your Hose
Hose reels and carts help keep your garden hose organized, but they don’t protect it from the sun’s harmful rays. You need to shield your hose from UV damage to extend its lifespan greatly.
Store your hose in a shaded area when not in use, like a garage or covered patio. If shade isn’t available, use a hose cover or wrap it with UV-protective material.
Empty the hose completely before storage, as water left inside can accelerate deterioration. Consider investing in UV-resistant hoses made with special polymers designed to withstand sunlight exposure.
Check your hose regularly for cracks, brittleness, or discoloration – these indicate UV damage. Rotate your hose periodically to guarantee even exposure and prevent concentrated wear patterns that weaken the material structure.
Why Kinks Reduce Hose Lifespan
You should understand that kinked hoses trap water inside, creating pressure points that weaken the material over time.
Constant bending at these kinks causes microscopic cracks and permanent damage to the hose’s structure.
Proper storage techniques prevent these issues by keeping your hose straight and free from sharp bends.
Kinked Hoses Trap Water
A kinked garden hose doesn’t just interrupt your watering routine—it actively damages the hose itself.
When you kink your hose, you’re creating trapped water pockets that become breeding grounds for problems.
- Water pools at kink points, sitting stagnant for hours or days, promoting bacterial growth and unpleasant odors that affect your entire watering system.
- Pressure builds behind kinks, forcing water to find weak spots elsewhere, potentially causing bursts or permanent deformations in the hose wall.
- Debris collects in these water traps, accumulating dirt, minerals, and organic matter that clog your nozzle and reduce water flow efficiency.
These hidden water prisons shorten your hose’s lifespan considerably.
You’ll notice reduced pressure, strange tastes in your water, and eventual material breakdown.
Straightening your hose after each use prevents these costly problems and keeps your gardening routine flowing smoothly.
Constant Bending Weakens Material
While garden hoses seem durable, constant bending at the same spots gradually breaks down the material’s structural integrity.
You create weak points each time you kink or sharply bend your hose in identical locations. These repeated stress points cause microscopic cracks that expand over time, leading to bursts and leaks.
The rubber and plastic materials in hoses aren’t designed for constant flexing at precise positions. Instead, they perform best with gentle, varied bending patterns.
When you always bend your hose at the same two or three spots, you’re fundamentally creating permanent stress fractures.
Rotate your bending points regularly to distribute wear evenly across the hose length. This simple practice noticeably extends your hose’s usable life while preventing premature failure.
Proper Storage Prevents Kinks
When storing your garden hose improperly, kinks form that greatly reduce its lifespan.
These stubborn bends damage the internal structure, creating weak points that lead to cracks and leaks. You need to store your hose correctly to maintain its flexibility and durability.
- Straighten completely – Always drain water and lay your hose flat without sharp bends.
- Use a hose reel – Wind your hose evenly onto a proper storage reel or cart.
- Avoid tight coils – Store in loose loops rather than tight circles that create stress points.
Proper storage prevents kinks from forming in the first place.
When you take time to store your hose correctly, you’re investing in its longevity. Your hose will thank you with years of reliable service, and you’ll avoid the frustration of dealing with persistent kinks that shorten its useful life.
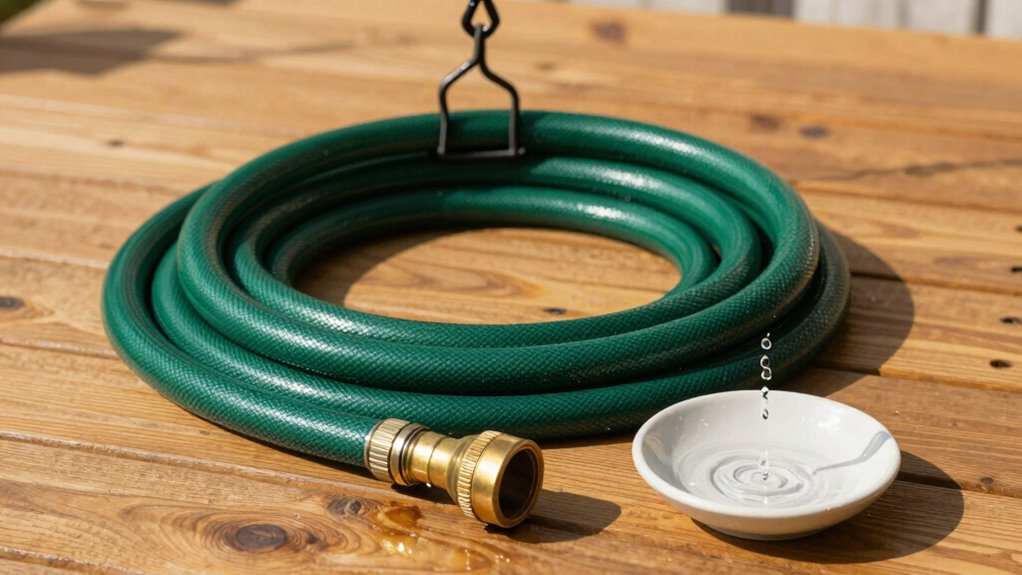
Which Hoses Are Safe for Potable Use
Why should you care about whether your garden hose is safe for drinking water?
You might use it to fill pet bowls, wash vegetables, or even drink from when you’re thirsty outdoors. Not all hoses meet potable water standards.
Look for hoses labeled “drinking water safe” or “potable.” These use non-toxic materials without lead, phthalates, or heavy metals.
Avoid hoses marked “garden use only” – they often contain harmful chemicals. Check for NSF-61 certification, which guarantees safety for drinking water.
Vinyl hoses frequently contain lead, while rubber or polyurethane options are typically safer.
You belong in the group that prioritizes family health over convenience.
Don’t risk contamination – invest in a certified potable hose. Your body deserves clean, safe water every time you turn on the spigot.
Winterize Your Hose for Cold Weather

Winter weather can destroy your garden hose if you don’t take proper precautions. Don’t let freezing temperatures catch you off guard—prepare your hose now.
You should drain all water from your hose before temperatures drop below freezing. Disconnect it from the spigot and elevate one end to let gravity do the work.
Store it in a dry, protected location like your garage or shed.
- Drain completely – Water expands when frozen, cracking hoses and fittings
- Coil neatly – Prevent kinks and damage during storage
- Store indoors – Keep away from freezing temperatures
Taking these steps protects your investment and guarantees you’re ready for spring gardening.
Your hose deserves proper care—it’s worked hard all season.
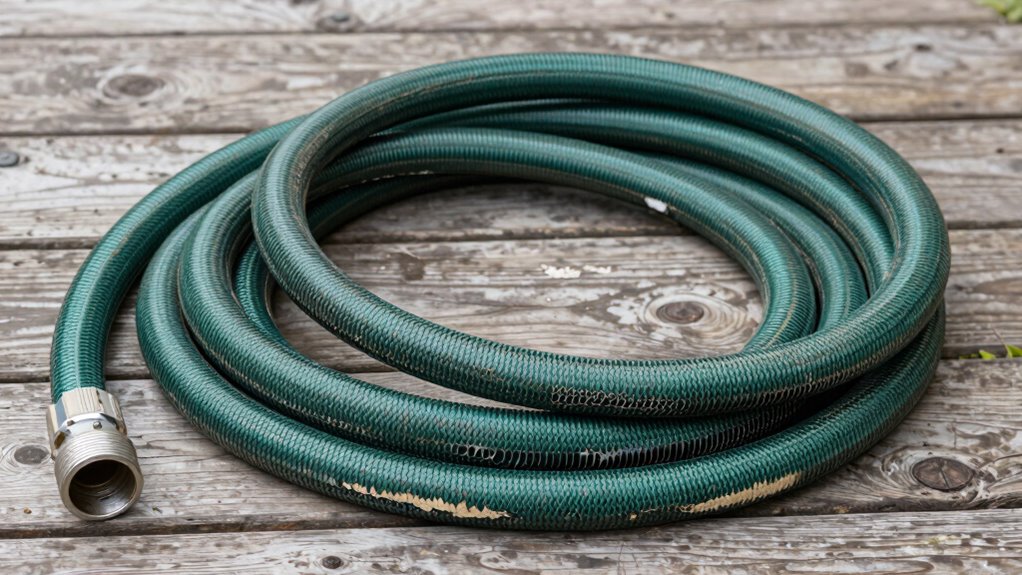
When to Replace Rather Than Repair Your Hose
While repairing minor leaks and cracks can extend your garden hose’s lifespan, there comes a point where replacement becomes the more practical solution.
You should replace your hose when multiple cracks appear along the length, indicating material fatigue. Significant kinking that won’t straighten compromises water flow and structural integrity.
Persistent leaking near connections despite tightening suggests worn threading or damaged fittings. Frayed or separated outer casing exposes inner tubing to damage and UV degradation.
Bulging sections indicate internal pressure damage that worsens over time. If your hose feels brittle or stiff rather than flexible, it’s lost its functional properties.
Frequent repairs consuming more time than buying new hose show diminishing returns. When repair costs approach fifty percent of replacement value, you’re better off investing in a fresh hose that’ll deliver reliable performance.
Conclusion
Clean your hose regularly and store it properly to extend its lifespan. Curiously, vinyl hoses can leach chemicals into water after just one season of use, making food-grade rubber hoses a smarter investment for potable water applications. Check for cracks frequently, avoid kinks, and always drain before storing. Replace damaged sections immediately rather than risking complete failure mid-season.
