

You need to position solar garden lights where they’ll catch maximum sunlight, typically 6-8 hours of direct exposure daily. Start by clearing debris and obstructions that could block solar panels. Drive stakes securely into well-draining soil, angling panels southward for ideal energy collection. Test each light’s functionality after installation and adjust positioning based on evening performance. What you do next will determine whether your lights last through the season or fail prematurely.
Pick Reliable Solar Garden Lights Based on Location
When selecting solar garden lights, you should first assess your specific location’s sunlight exposure and weather conditions to guarantee peak performance.
You’ll want to examine how many hours of direct sunlight your area receives daily, particularly during winter months when daylight is limited. Check your region’s average rainfall, humidity levels, and temperature extremes.
Lights with higher IP ratings handle moisture better in rainy climates. Consider battery capacity and solar panel efficiency for areas with less consistent sunshine. Monocrystalline panels perform better in low-light conditions than polycrystalline ones.
You should also evaluate the light sensor sensitivity and timer functions. LED brightness measured in lumens helps determine visibility range.
Quality materials like stainless steel or aluminum resist corrosion in coastal or humid environments. Don’t overlook warranty terms and manufacturer reputation when making your final choice.
Position Lights Where Sun Hits All Day
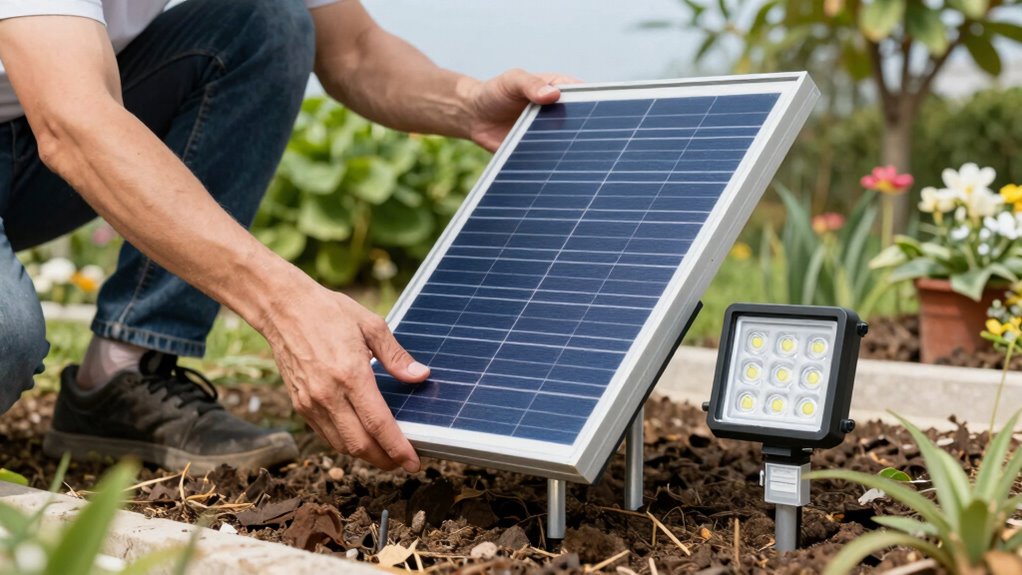
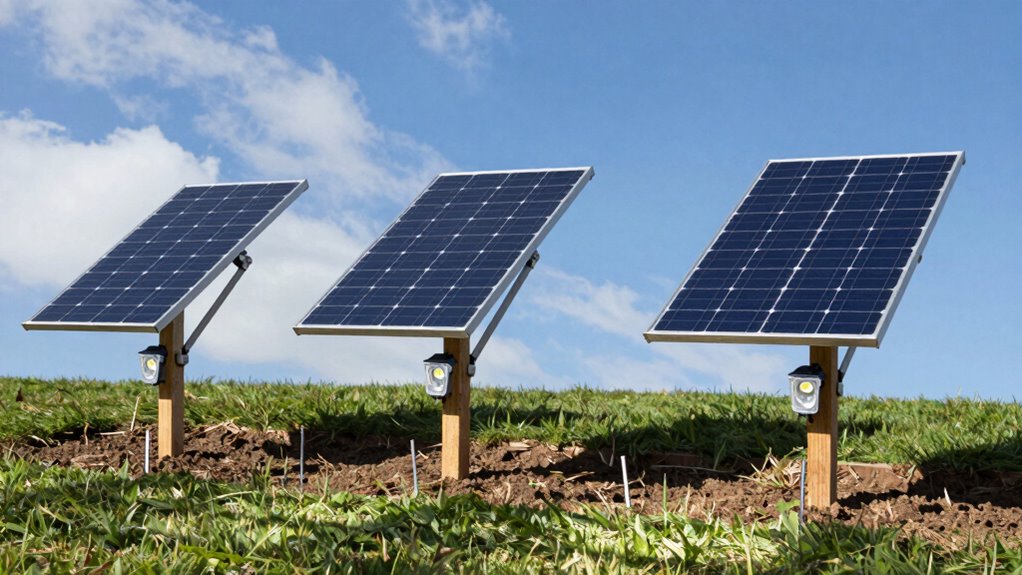
You should position your solar garden lights in areas that receive direct sunlight for at least 6-8 hours daily, typically facing south or southwest.
Clear any obstructions like tree branches, buildings, or dense vegetation that could block sunlight during peak collection hours.
This guarantees your lights absorb maximum solar energy to provide consistent illumination throughout the night.
Optimal Sunlight Exposure Areas
Where should you position solar garden lights to maximize their charging efficiency? You’ll want to place them in areas receiving direct sunlight for at least six hours daily. South-facing locations typically provide ideal exposure in the northern hemisphere.
Avoid positions shaded by buildings, trees, or fences during peak daylight hours. Clear any obstructions that might cast shadows on solar panels throughout the day.
Monitor sunlight patterns in your specific installation area. Morning and late afternoon shade reduces charging time considerably. You should position lights away from large objects that block sunlight during midday when solar intensity peaks.
Consider seasonal sun angle changes affecting exposure duration.
Test different spots using temporary placement before final installation. You’ll achieve better results by investing time upfront rather than relocating poorly positioned lights later. Proper positioning guarantees maximum battery charging and consistent nighttime performance.
Maximize Daily Solar Collection
Positioning solar garden lights for prime sun exposure builds directly on understanding seasonal sunlight patterns. You should place lights where they receive maximum sunlight during peak hours, typically between 10 AM and 2 PM.
South-facing locations usually provide ideal exposure in the Northern Hemisphere. Track sun angles throughout seasons, as winter requires different positioning than summer. Clear any surrounding vegetation that might cast shadows during daylight hours.
Install lights at appropriate heights to avoid self-shading from nearby structures. Face solar panels directly toward the sun’s path, adjusting for your specific latitude.
Consider using adjustable mounting systems that let you reposition lights seasonally. Monitor light performance regularly, making micro-adjustments to enhance energy collection.
Proper positioning guarantees batteries charge fully, extending light operation hours. You’re creating an efficient solar collection system that works harmoniously with natural light cycles.
Ensure Unobstructed Light Absorption
While maximizing daily solar collection focuses on ideal positioning during peak sun hours, ensuring unobstructed light absorption requires maintaining clear exposure from dawn to dusk.
You should position lights where surrounding structures, trees, or shrubs won’t cast shadows during critical charging periods. Check for potential obstructions that develop seasonally when leaves grow full. Face solar panels toward true south for maximum exposure. Clear away overhanging branches, tall grass, or decorative elements that block morning or evening sunlight.
Consider future growth patterns of nearby vegetation. Install lights at appropriate heights to avoid self-shading from fence posts or deck railings. Regular maintenance means trimming vegetation that encroaches on light paths.
Monitor performance during different seasons to identify new obstruction issues. Your system’s efficiency depends on consistent, unfiltered solar contact throughout daylight hours.
Clear Away Debris Before Installation Day
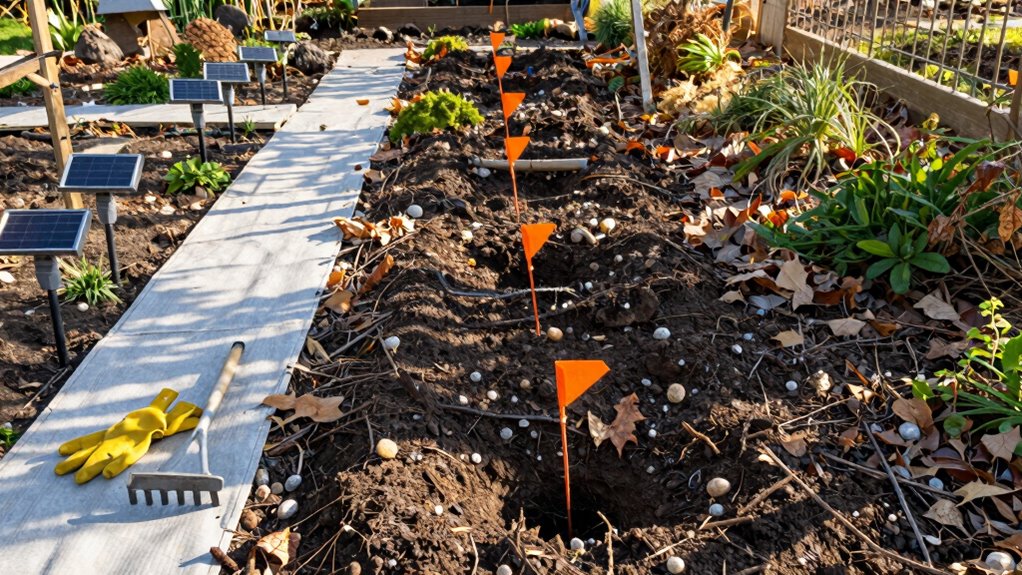
Before you begin installing your solar garden lights, you should clear away any debris from the installation area to guarantee proper ground contact and ideal performance.
Remove leaves, twigs, stones, and grass clippings that accumulated during transportation or storage. These materials block sunlight absorption and create unstable mounting surfaces.
Use a soft brush or cloth to wipe solar panels clean, making certain of maximum energy collection. Clear vegetation around installation spots prevents future obstructions.
You’ll want to check for puddles or standing water that could interfere with electrical components. Proper debris removal eliminates potential performance issues and extends your lights’ operational lifespan.
This preparation step makes certain you’ll achieve consistent illumination throughout the night while maintaining system efficiency.
Don’t skip this essential groundwork.
Follow Easy Steps to Set Lights Securely
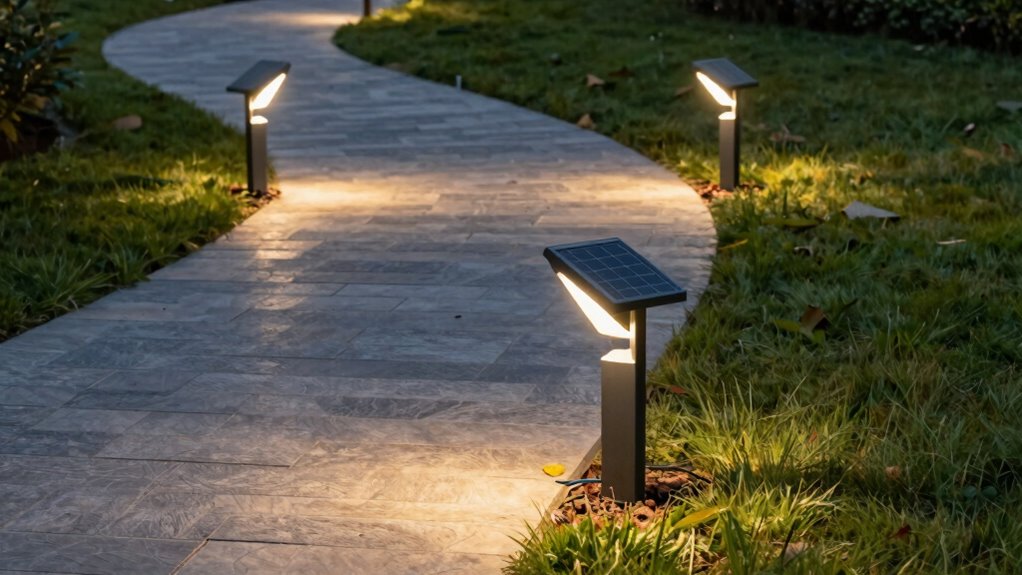
You’ll want to select locations that receive maximum sunlight exposure while ensuring your lights won’t cast unwanted shadows on walkways or plants.
Position each light so the solar panel faces south (in the Northern Hemisphere) and push the stake into the ground at least 6-8 inches deep to prevent shifting during weather changes.
Test the stability of each installation by gently shaking the fixture to confirm it won’t topple over in wind conditions.
Choose Optimal Placement Location
Since solar garden lights rely on direct sunlight exposure, you’ll need to carefully evaluate potential placement locations to guarantee peak performance.
Position lights where they receive unobstructed sunlight for at least six hours daily, typically facing south. Avoid areas shaded by trees, buildings, or other structures that block solar panel exposure.
Check for nearby light sources that might interfere with automatic sensors. Ascertain placement allows easy access for maintenance while maintaining aesthetic appeal.
Consider proximity to walkways, driveways, or gathering areas where illumination benefits users. Evaluate soil conditions and drainage to prevent water accumulation around base components.
Test different locations during various times to identify best sun exposure patterns throughout seasons. Remember that seasonal changes affect sun angles, so choose positions that maintain consistent exposure year-round for reliable performance.
Ensure Proper Soil Penetration Depth
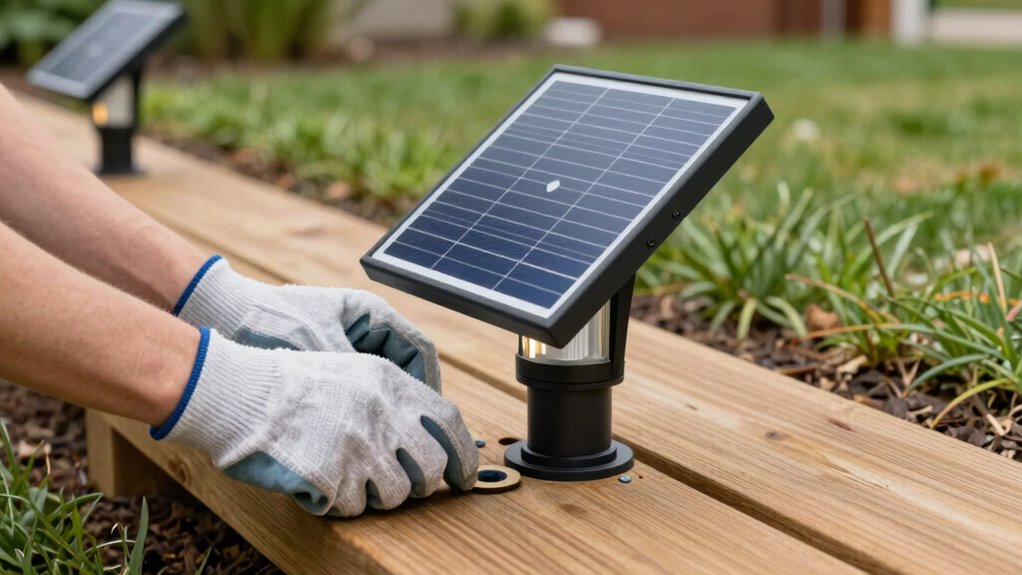
Once you’ve identified the ideal location for your solar garden lights, securing them properly in the ground guarantees stability and maximum performance.
You’ll need to drive the stakes at least 6-8 inches deep into firm soil for adequate support. Avoid shallow insertion that causes wobbling or tipping. Push firmly until resistance increases, ensuring the entire stake penetrates evenly.
Test stability by gently shaking each light after installation. If movement occurs, deepen the hole slightly and reinsert. Compact loose soil around the base afterward.
For clay or rocky ground, use a rubber mallet to assist penetration without damaging the stake. Proper depth prevents wind damage and maintains peak solar panel angle exposure throughout seasons.
Adjust Angles for Better Light Output at Night
Properly positioning solar garden lights guarantees maximum energy absorption during daylight hours, which directly impacts their performance after sunset.
You should tilt solar panels toward the sun’s path, typically south-facing at a 30-45 degree angle.
Adjust the light heads downward at 45-60 degrees to illuminate your targeted area effectively. Position lights higher for broader coverage or lower for focused lighting.
Face solar panels away from shadows cast by trees, buildings, or other obstructions. You’ll want to angle lights slightly inward toward pathways or gathering areas.
Consider seasonal sun angle changes and adjust accordingly. Test different angles during installation by observing light patterns after dusk.
Fine-tune positions based on your specific landscape layout and lighting needs. These adjustments guarantee peak performance and energy efficiency throughout the night.
Don’t Make These Frequent Setup Errors
While adjusting solar garden lights for ideal performance seems straightforward, several common mistakes can greatly reduce their effectiveness and energy efficiency.
You shouldn’t install lights in shaded areas where tree branches or structures block sunlight exposure.
Don’t place units too close together, as this creates unnecessary battery drain and reduced runtime.
Avoid mounting lights at incorrect angles that prevent peak solar panel orientation toward the sun.
You mustn’t ignore soil drainage issues around installation sites, since water accumulation damages electrical components.
Don’t forget to check manufacturer specifications for proper spacing requirements between multiple units.
You shouldn’t overlook local weather conditions that affect battery charging cycles.
Avoid installing lights on unstable surfaces that shift or settle after placement.
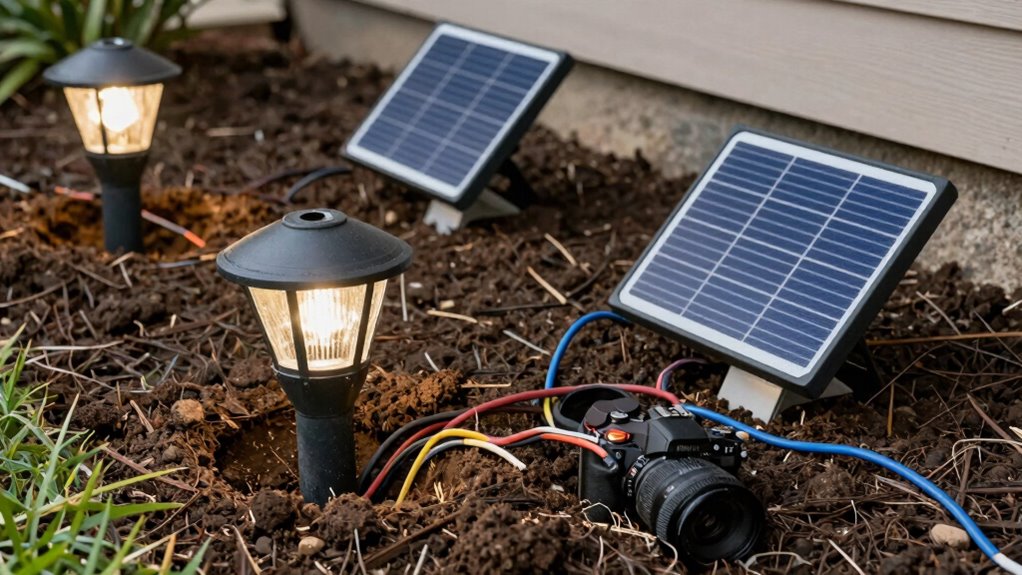
Don’t neglect to test light functionality immediately after installation to identify any positioning errors before permanent placement.
Keep Panels Clean for Continuous Power
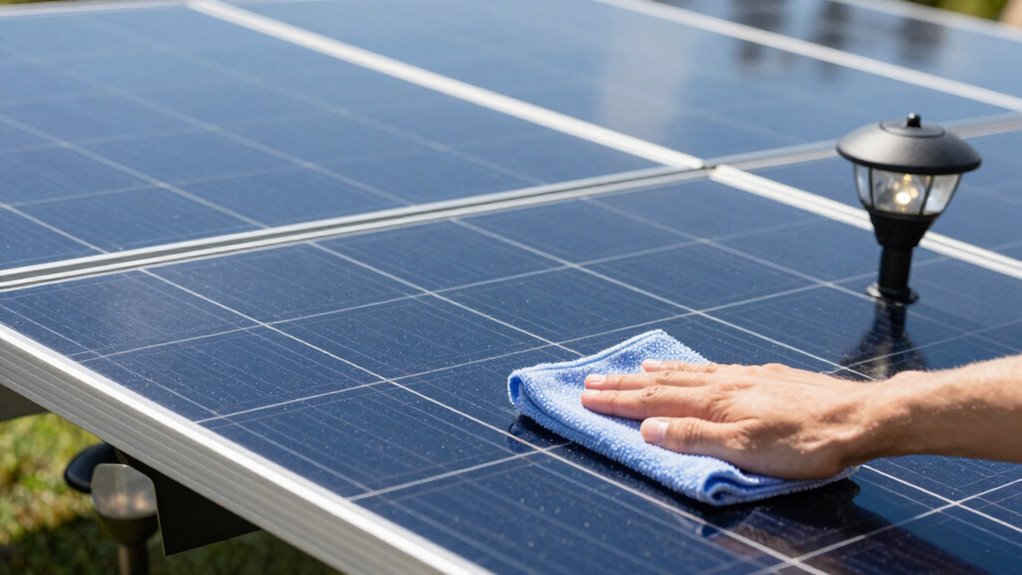
Solar panels rely on direct sunlight exposure to generate maximum power, making cleanliness a critical factor in maintaining peak performance. Dirt, debris, and moisture buildup reduces energy absorption considerably.
You should clean your solar panels regularly using these methods:
- Wipe panels monthly with a soft, damp cloth to remove dust and grime accumulation.
- Use mild soap solution for stubborn residue, avoiding abrasive cleaners that damage protective coatings.
- Check for shading from nearby vegetation growth and trim accordingly.
Your solar garden lights depend on consistent solar absorption for reliable nighttime illumination. Establish a monthly cleaning routine during installation to maintain peak performance.
Pay special attention to panels positioned near sprinkler systems or under trees where debris accumulates faster. Clean panels equal brighter lights and longer battery life, ensuring your garden stays illuminated throughout the season.
Fix Common Issues Like Dimming or Failure to Turn On

Why do your solar garden lights suddenly dim or refuse to turn on when they worked perfectly last week?
Check the battery first – replace it if it’s dead or damaged.
Clean the solar panel thoroughly, removing dirt, leaves, or debris that blocks sunlight absorption.
Examine the wiring connections for corrosion or loose contacts.
Tighten any loose connections and replace damaged wires.
Reset the light sensor by turning the fixture off, waiting thirty seconds, then turning it back on.
If your lights use motion sensors, adjust the sensitivity settings.
Check for water damage in the housing unit.
Replace faulty LED bulbs individually rather than entire fixtures.
Verify the solar panel receives adequate sunlight exposure throughout the day.
Conclusion
You’ve now mastered proper solar garden light installation. Remember, “measure twice, cut once” – take time to position lights correctly initially. Make certain panels face south, clear debris, and secure stakes firmly. Test functionality after installation and make necessary adjustments. Keep panels clean for peak performance. Avoid common mistakes like poor positioning or neglecting maintenance. These technical details guarantee efficient, long-lasting solar illumination for your landscape.
