

Isn’t it frustrating when you can’t find anything in your cluttered garage? You’ll want to start by measuring your space and identifying what items need storage. Consider how often you use each item – this determines where you place them. Wall-mounted shelves work best for heavy tools, while lighter items can go on adjustable units. Don’t forget to leave enough room to move around comfortably while maximizing every inch of vertical space.
Measure Your Space and Define Storage Goals
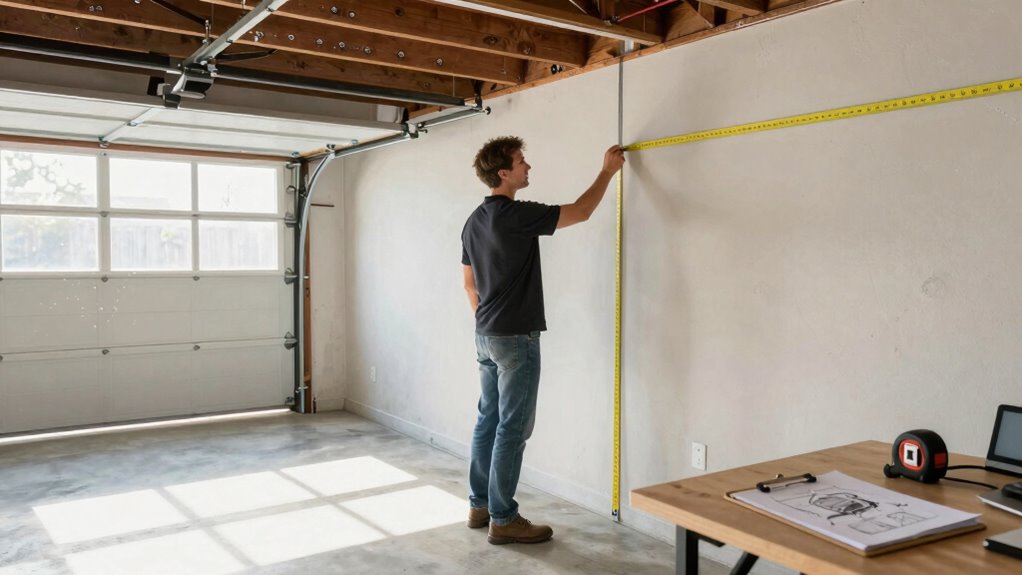
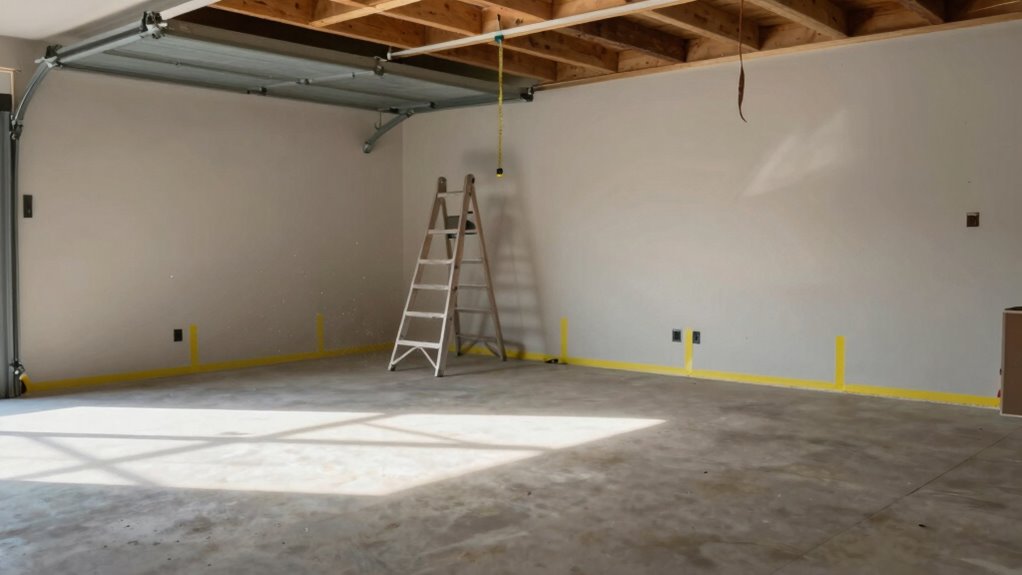
Before you begin installing any garage storage system, you’ll need to take precise measurements of your space and clearly define what you want to store. Grab a tape measure and record the length, width, and height of your garage walls, ceiling, and any obstacles like water heaters or electrical panels.
Don’t forget to measure door clearance areas and note where electrical outlets are located.
Next, inventory everything you plan to store. Separate items by frequency of use – daily, weekly, seasonal, or rarely accessed.
Consider grouping similar items together: tools, sports equipment, holiday decorations, and automotive supplies. This organization approach helps you determine what storage solutions work best for your specific needs and creates a sense of belonging within your organized space.
Pick the Best Garage Shelving Style
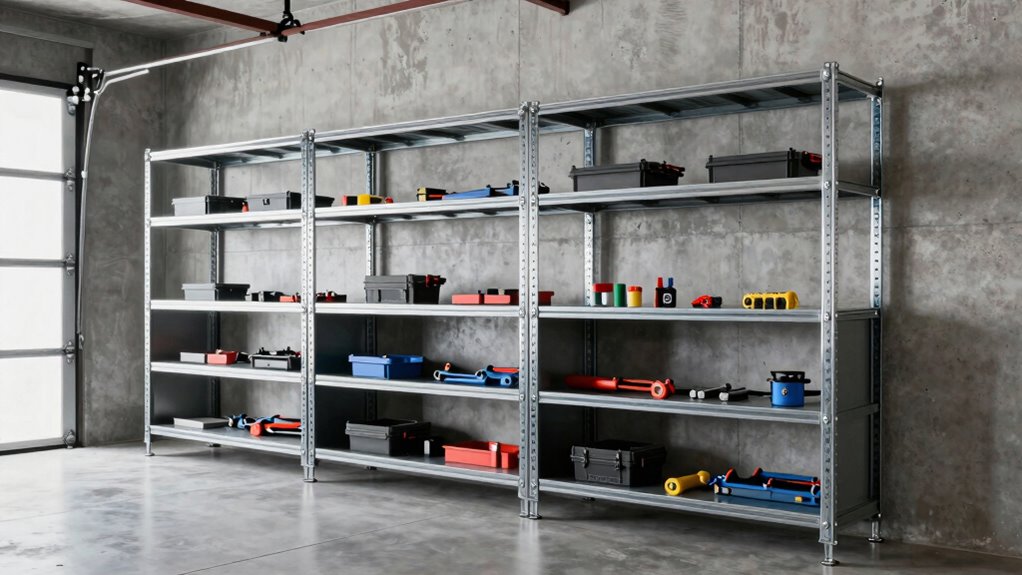
When you’ve measured your garage and organized your items by usage frequency, you can choose shelving that maximizes both accessibility and storage capacity. Your shelving style should match your specific needs and空间.
- Fixed shelving provides maximum stability for heavy items like tools and seasonal decorations.
- Adjustable shelves let you customize spacing for different item sizes.
- Wall-mounted systems keep floors clear while utilizing vertical space efficiently.
- Mobile shelving units offer flexibility to reposition based on changing storage demands.
Consider your heaviest items when selecting materials. Steel shelving handles more weight than plastic, while wooden shelves blend well with workshop environments.
Think about ceiling height too – tall units need secure anchoring. Your chosen style becomes part of your garage’s functionality, so pick options that reflect how you actually use your space.
Matching your lifestyle makes everything feel organized and intentional.
Map an Efficient Layout for Smooth Access
You should position shelves and bins strategically to create clear pathways and easy reach to frequently used items.
Maximize your garage’s vertical space by installing taller shelving units and using wall-mounted storage solutions.
This layout guarantees you can access everything quickly without moving obstacles or climbing over stored items.
Strategic Placement Of Shelves And Bins
An efficient garage storage layout starts with mapping your space systematically.
You’ll want to create zones for different item categories while maintaining clear pathways throughout the area.
- Position frequently-used items at eye level and within easy reach, placing them where you naturally walk.
- Keep seasonal items and rarely-used tools on higher or lower shelves, away from daily traffic patterns.
- Install bins and containers at varying heights to accommodate different item sizes, guaranteeing everything has its designated home.
- Leave adequate clearance around doors, vehicles, and walkways to prevent obstruction and maintain safe access.
This strategic placement guarantees you’ll always know where things belong and can find them quickly when needed.
Maximizing Vertical Space For Easy Access
Installing storage solutions from floor to ceiling makes the most of your garage’s vertical space while keeping everything accessible.
You should mount shelves at varying heights to accommodate different item sizes. Place frequently used items at eye level, between 4-6 feet high, where you can easily reach them.
Store seasonal items and less-used tools on higher shelves, but don’t stack beyond your comfortable reach. Install pegboards near your workbench for quick tool access.
Use ceiling-mounted racks for bulky items like ladders or holiday decorations. Leave adequate clearance between shelves – at least 12 inches for easy grabbing.
Position your most-used items within arm’s reach without needing step stools. Create designated zones for similar items, keeping everything organized and accessible.
Gather Key Hardware and Mounting Gear
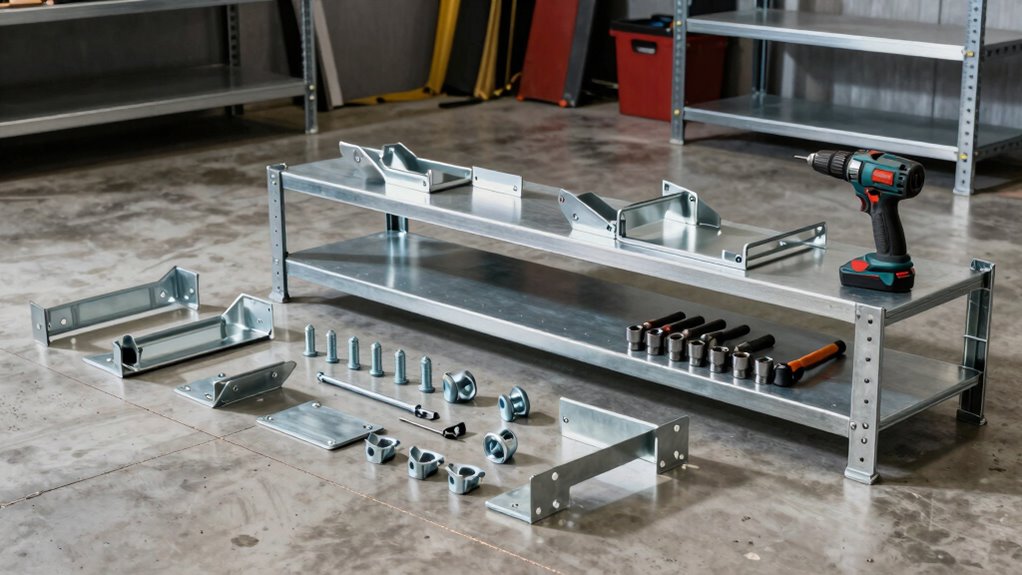
You’ll need to collect essential mounting brackets that match your wall type and storage system specifications.
Pre-drilled hardware kits save time and guarantee proper alignment during installation.
Adjustable shelf supports let you customize spacing based on your stored items’ heights.
Essential Mounting Brackets
Before you begin mounting your garage storage system, gather all essential mounting brackets and hardware to confirm a smooth installation process.
You’ll need specific brackets that match your storage system’s design and weight requirements.
- Wall brackets – These attach directly to wall studs and provide primary support for shelves and cabinets.
- Adjustable brackets – Allow height customization and accommodate uneven wall surfaces.
- Ceiling brackets – Essential for overhead storage systems and pulldown racks.
- Specialized corner brackets – Perfect for maximizing unused corner spaces and creating custom configurations.
Check your storage system’s manual for bracket specifications.
Having the right brackets confirms your installation stays secure and functional.
Don’t skip this step – proper brackets prevent future sagging or detachment issues.
Pre-Drilled Hardware Kits
Having confirmed you have the correct mounting brackets, now focus on gathering pre-drilled hardware kits that contain all necessary fasteners and mounting gear.
These kits typically include screws, bolts, washers, and specialized hardware specific to your storage system. Check that each kit matches your bracket type and wall material requirements.
Don’t overlook small components like wall anchors or plastic sleeves that might be essential for secure installation. Verify the quantity of each fastener type before starting installation. Pre-drilled kits save time and prevent missing hardware issues during setup.
Organize hardware by size and type in small containers or the original packaging compartments. This approach keeps everything accessible while you work.
Confirm compatibility between hardware and your garage wall substrate, whether concrete, drywall, or wood studs.
Adjustable Shelf Supports
How exactly do adjustable shelf supports transform your garage storage capabilities? These versatile components give you the flexibility to customize your storage system as your needs change over time.
- Choose the right type – Select adjustable supports that match your shelf material and weight requirements, whether you’re using wood, metal, or plastic shelves.
- Measure spacing carefully – Standard 16-inch intervals work for most applications, but you can adjust based on your specific storage items and ceiling height.
- Install mounting brackets first – Secure the vertical supports to wall studs using appropriate screws and anchors for maximum stability.
- Test adjustability – Once installed, verify that shelves slide smoothly and lock securely at different height positions.
Adjustable supports eliminate guesswork and provide professional-grade storage solutions that grow with your needs.
Clear Out Obstacles and Mark Stud Locations
Several obstacles must be removed from your garage before you can properly install a storage system. Start by clearing away old items, debris, and anything hanging on the walls. Move vehicles out if possible, giving you full access to work areas.
You’ll need this space to maneuver and properly assess your installation zones.
Next, locate and mark your wall studs using a stud finder. Mark every 16 inches horizontally across each wall section.
These marks show exactly where your storage system’s mounting points should align. Don’t guess – accurate stud location prevents weak installations that won’t support weight appropriately.
Use a pencil to make clear, visible marks at each stud location. Double-check your measurements to verify everything lines up correctly before proceeding to the next installation steps.
Hang Wall Units to Support Tool Storage

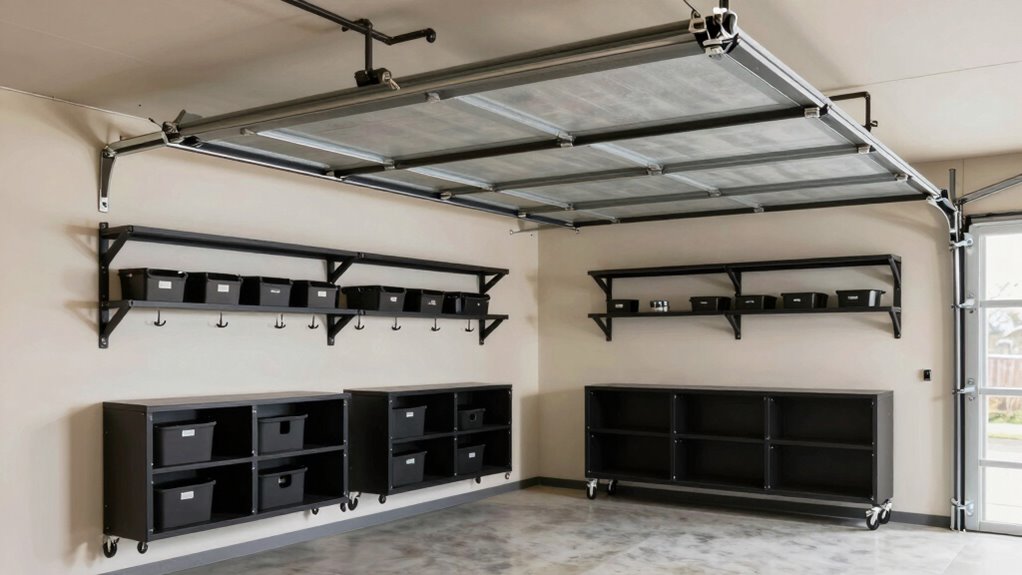
Wall-mounted storage units provide the foundation for organizing your garage tools efficiently. These systems maximize your vertical space while keeping everything within easy reach.
- Choose sturdy wall panels that span between studs, ensuring they can handle heavy tool weight without sagging or pulling away from the wall.
- Install horizontal rails first, using a level to guarantee straight mounting. Secure them directly into wall studs with appropriate lag bolts for maximum holding power.
- Add vertical hooks and slots systematically, spacing them according to your most frequently used tools. Place larger items like shovels and rakes at comfortable heights.
- Mount accessory bins and small parts organizers at eye level for quick access. Group similar tools together to create intuitive storage zones that make sense to you and your family.
Mount Overhead Racks for Off-Floor Clearance
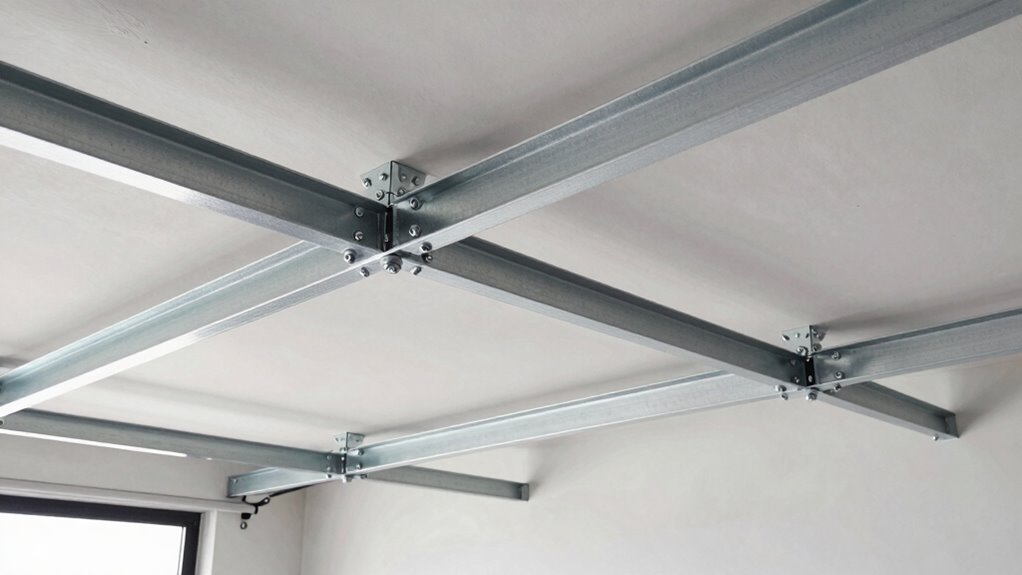
Overhead racks free up valuable floor space while keeping seasonal items and bulky equipment safely stored above head height.
You’ll need a stud finder, drill, lag bolts, and ladder for this installation. Locate ceiling joists every 16 or 24 inches using your stud finder. Mark drilling points directly below joist centers.
Pre-drill holes slightly smaller than your lag bolts to prevent wood splitting. Attach mounting brackets securely into joists, ensuring they’re level and properly aligned.
Slide rack sections onto brackets according to manufacturer instructions. Tighten all connections firmly but avoid over-tightening.
Test rack stability by applying gentle pressure before loading items. Position frequently accessed items within easy reach.
Keep heavy loads centered on racks to maintain balance and prevent sagging.
Arrange Mobile Bins and Stackable Containers

While overhead racks maximize vertical space, mobile bins and stackable containers provide flexible storage solutions that you can easily reconfigure as your needs change.
These versatile storage options help you stay organized while maintaining accessibility to your belongings.
- Position mobile bins on smooth garage flooring, ensuring wheels roll freely without obstruction from cracks or debris.
- Stack containers with heavier items on bottom levels, lighter materials on top shelves for stability and safety.
- Label each container clearly with contents and date stored, making retrieval quick and efficient when you need specific items.
- Create designated pathways between stacked units, maintaining clear access routes so you can reach any container without moving others.
This systematic approach helps you feel organized and in control of your garage space.
Sort Items Into Defined Functional Zones
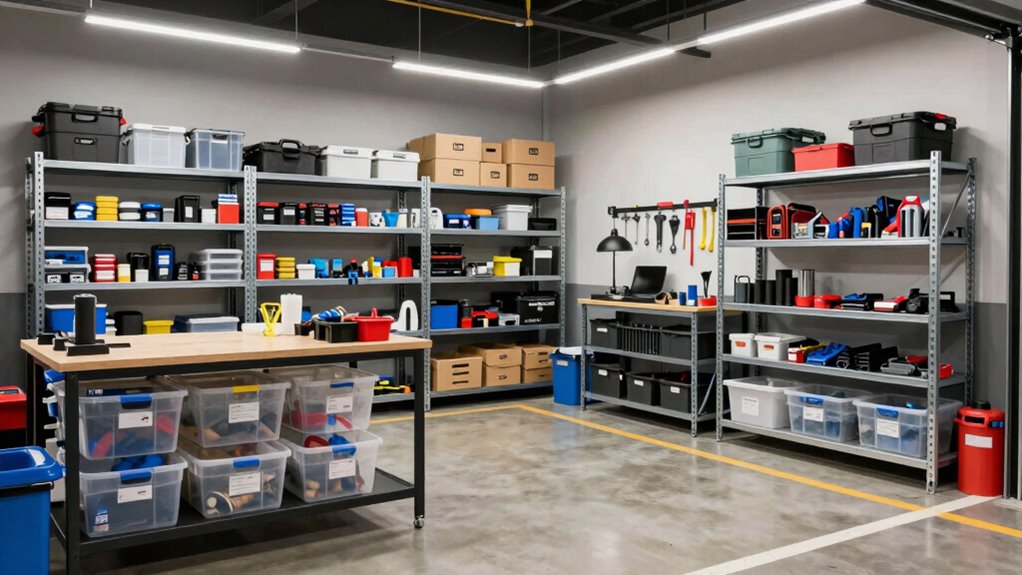
One effective way to organize your garage is by sorting items into defined functional zones.
Start by identifying your primary activity areas: gardening, automotive maintenance, woodworking, or sports equipment storage. Group similar items together within each zone rather than scattering them throughout the space.
Create designated spaces for frequently used tools and supplies. Keep gardening tools near your outdoor entrance, automotive items close to your vehicle access, and seasonal decorations in easily accessible locations.
Label each zone clearly so every family member knows where items belong.
Assign specific areas for different item categories: hooks for tools, shelves for containers, and pegboards for frequently used equipment.
This systematic approach guarantees everything has a designated home, making your garage feel organized and inviting for everyone who uses it.
Store Bulk Seasonals in Labeled Clear Bins
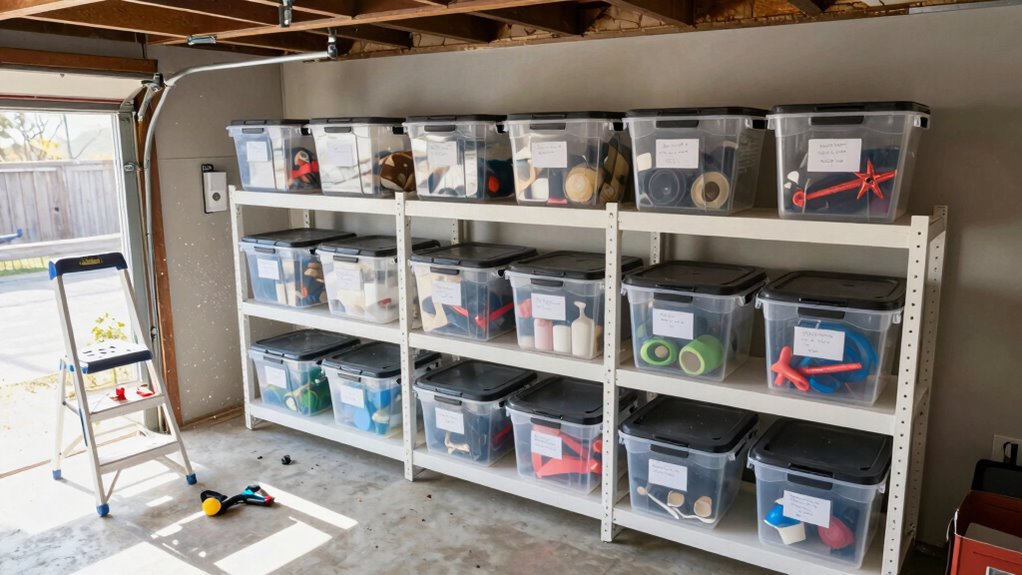
Clear bins let you quickly identify contents without opening containers, making seasonal item management much more efficient.
You’ll appreciate how these transparent storage solutions keep your seasonal belongings organized and accessible.
- Choose uniform bin sizes – Select matching clear bins that stack securely, creating a cohesive storage system everyone can navigate easily.
- Label everything clearly – Use bold, readable labels positioned at eye level so family members can find items without searching through multiple containers.
- Group similar items together – Keep all holiday decorations, seasonal tools, or weather-specific gear in designated bin collections.
- Maintain consistent placement – Store bins in predetermined locations within your functional zones, ensuring everyone knows exactly where to find and return items.
This approach creates belonging through shared understanding of your storage system.
Anchor Bulky Gear Securely Against Movement
You’ll need to secure heavy equipment storage units to prevent them from shifting during use or when bumped.
Fasten your tool boxes with brackets or straps to keep them from sliding across shelves or walls.
Stabilize large items by anchoring them directly to wall studs or using heavy-duty mounting hardware.
Secure Heavy Equipment Storage
Heavy equipment storage requires careful planning to prevent dangerous movement during earthquakes, strong winds, or accidental impacts. You need a systematic approach to keep your valuable tools safe.
- Choose sturdy mounting points – Use wall studs or ceiling joists that can handle equipment weight plus movement forces.
- Install heavy-duty anchors – Select lag bolts or toggle bolts rated for your equipment’s weight and movement stress.
- Create secure mounting brackets – Build or buy brackets that fully support equipment bases and prevent tipping.
- Add secondary restraints – Use additional straps or chains as backup security measures.
Your garage should feel like an organized workshop where everything has its place. Proper heavy equipment storage creates belonging and confidence in your space.
Prevent Tool Box Sliding
When storing bulky gear in your garage, securing tool boxes and heavy equipment prevents dangerous sliding during sudden movements or vibrations.
You should anchor tool boxes directly to wall studs using heavy-duty screws or bolts. Position heavier items on lower shelves where movement is minimal. Install rubber mats or non-slip pads underneath containers to create friction.
Use bungee cords or straps as temporary measures when rearranging storage. Consider investing in storage units with built-in lip edges that naturally prevent items from sliding off.
Always distribute weight evenly across shelves rather than concentrating heavy items in one area. Check that all mounting hardware remains tight and secure after installation.
These simple steps keep your valuable tools safe while creating a more organized workspace you can trust.
Stabilize Large Item Movement
Large equipment and bulky gear require more than just placement on shelves to keep them secure. You need reliable stabilization methods that prevent dangerous movement during storage.
- Use adjustable straps or bungee cords to tether large items directly to wall anchors or sturdy shelf brackets, creating secure anchor points.
- Install corner braces on shelves to create physical barriers that prevent tools and equipment from sliding off edges during vibrations.
- Add non-slip padding underneath heavy machinery and bulky items to increase friction and reduce shifting caused by temperature changes or minor impacts.
- Create custom containment solutions using plywood dividers or metal brackets that fit your specific gear dimensions, ensuring everything stays exactly where you put it.
Test Shelf Strength and Accessibility Levels
Before you finalize your garage storage system installation, you should test each shelf’s strength and accessibility to guarantee peak performance.
Start by applying gradual weight to each shelf, working up to maximum capacity. Check for wobbling, sagging, or unstable brackets.
Accessibility matters just as much as strength. Reach across each shelf’s full length and depth to ascertain comfortable access. Test different heights for frequently used items. Make certain you can easily retrieve stored belongings without straining or overreaching.
Verify that shelf spacing accommodates your largest containers. Check that aisles provide adequate walking room between sections.
If any shelf fails these tests, reinforce weak points immediately. Don’t skip this vital step, because proper testing prevents future frustration and guarantees your storage system works efficiently for your specific needs.
Dustproof and Rotate Stored Essentials Weekly
Proper testing of your garage storage system guarantees stability and accessibility, but maintaining those standards requires ongoing attention to how you store and organize your belongings.
You need to protect items from dust accumulation while ensuring everything stays fresh and accessible.
- Cover frequently-used items with breathable storage boxes or bins that prevent dust buildup while allowing air circulation.
- Label all containers clearly so you can quickly identify contents without opening multiple boxes during weekly rotations.
- Move stored essentials from back to front weekly, bringing older items forward and pushing newer ones toward the rear.
- Wipe down shelves and containers monthly using a damp cloth to remove accumulated dust and maintain clean storage conditions.
This systematic approach keeps your garage organized and your belongings protected.
Adjust Shelving Heights Based on Usage Patterns
You should optimize shelf spacing by placing frequently accessed items at eye level and within easy reach.
Position heavy items on lower shelves to maintain stability and reduce the risk of accidents.
Create customized storage zones that match your specific usage patterns rather than sticking to standard shelf heights.
Optimize Shelf Spacing
Most garage storage systems fail because homeowners don’t customize shelf heights to match their actual storage needs.
You’ll maximize efficiency by tailoring spacing to your specific items and usage patterns.
- Measure your most frequently used items first, then set shelf heights accordingly for easy access.
- Create zones for similar items like gardening tools, seasonal decorations, and sporting equipment at comfortable heights.
- Leave adjustable space between shelves so you can modify heights as your storage needs change over time.
- Install taller sections for less frequently accessed items like holiday decorations or archived materials.
Smart shelf spacing eliminates wasted space while making everything more accessible.
You’ll spend less time searching and more time enjoying your organized garage.
Prioritize Heavy Item Placement
Smart shelf spacing from the previous step sets the foundation for safe and efficient storage, but placing heavy items correctly guarantees your system works effectively over time.
You should position heavy items on lower shelves, ideally between waist and knee height, to prevent strut overloading and maintain stability. This placement reduces bending strain when accessing frequently used items.
Adjust shelf heights so heavy tools, paint cans, and storage boxes sit on the strongest support levels. Don’t ignore usage patterns—place everyday items at comfortable reaching height while seasonal or rarely used heavy items can occupy less accessible zones.
You’ll create a system that feels intuitive and prevents unnecessary strain, making your garage storage work seamlessly for your specific needs.
Customize Storage Zones
The key to maximizing your garage storage system lies in customizing zones that match how you actually use your space. You’ll want to adjust shelving heights based on your specific usage patterns to create an efficient storage layout that works for your lifestyle.
- Frequently accessed items – Place these at eye level between 4-6 feet high for easy reach.
- Heavy seasonal items – Store these on lower shelves or the floor, no higher than 3 feet.
- Lightweight rarely-used items – Position these on upper shelves, 6-8 feet high.
- Tools and supplies – Keep these in middle zones, 3-5 feet high, for comfortable daily access.
This systematic approach guarantees everything has its place while working with your natural usage habits.
Conclusion
You’ve now tackled the essentials of efficient garage storage installation. By measuring carefully, choosing suitable shelving, and mapping smart layouts, you’re well-equipped to create order from chaos. Gather your hardware, mark stud locations, and secure bulky items properly. Test your setup’s strength and accessibility, then maintain it weekly. Adjust shelving as needed based on how you actually use the space. Your systematic approach transforms any garage into a functional storage solution.
