

You’re ready to start woodworking at home, but where do you begin? Setting up a safe workspace matters more than you think. You’ll need essential tools like a tape measure, combination square, and proper safety gear. Don’t overlook the importance of choosing the right wood type for your first projects. Mastering basic cutting techniques and joinery methods will build your confidence. What common mistakes should you avoid from the start?
Essential Woodworking Tools for Beginners
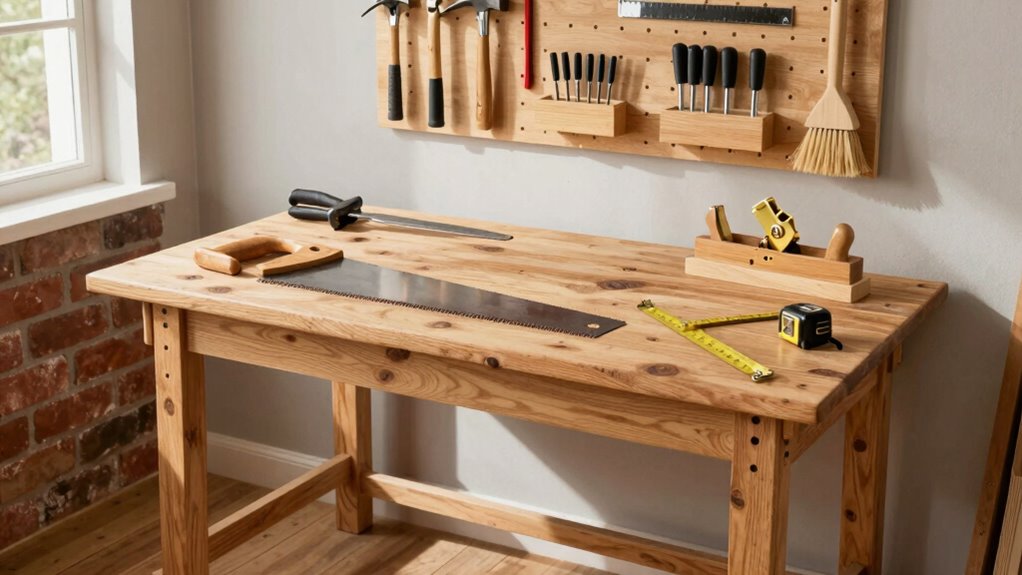
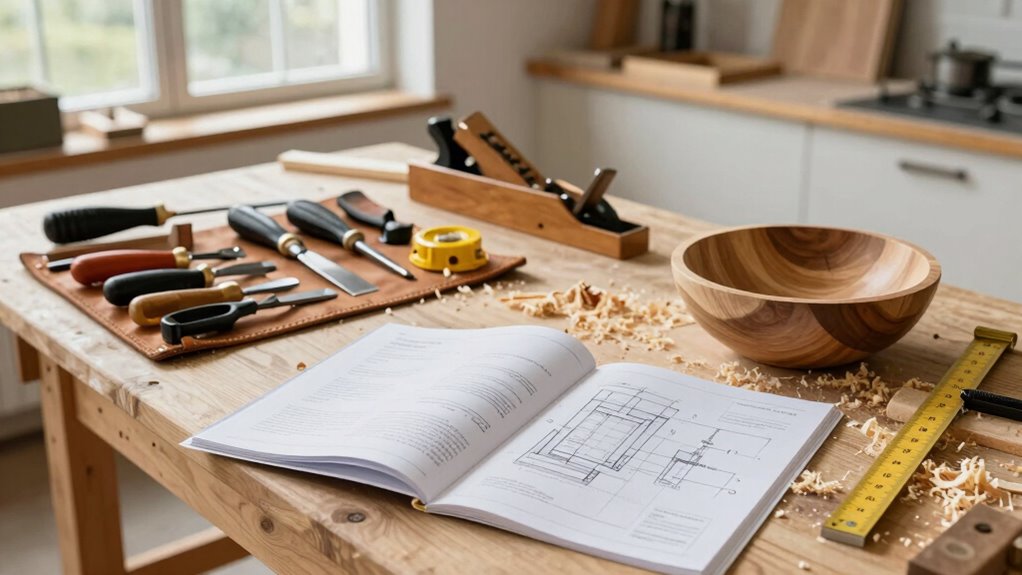
Starting your woodworking journey requires some fundamental tools that’ll serve as the foundation for most projects you’ll tackle.
You’ll need a tape measure for accurate dimensions and a combination square for marking lines and checking angles. A chisel set handles detailed work and cleaning joints. Choose between a hand saw or circular saw for cutting wood to length. A block plane smooths surfaces and trims end grain effectively.
Don’t overlook sandpaper in various grits for surface preparation. A reliable workbench provides stable support while you build.
Invest in quality screwdrivers, both flathead and Phillips, plus a drill with basic bits. These essentials equip you to complete beginner projects confidently.
You’ll develop skills gradually, joining the woodworking community through shared experiences and craftsmanship pride.
Safe Home Workshop Setup Guide
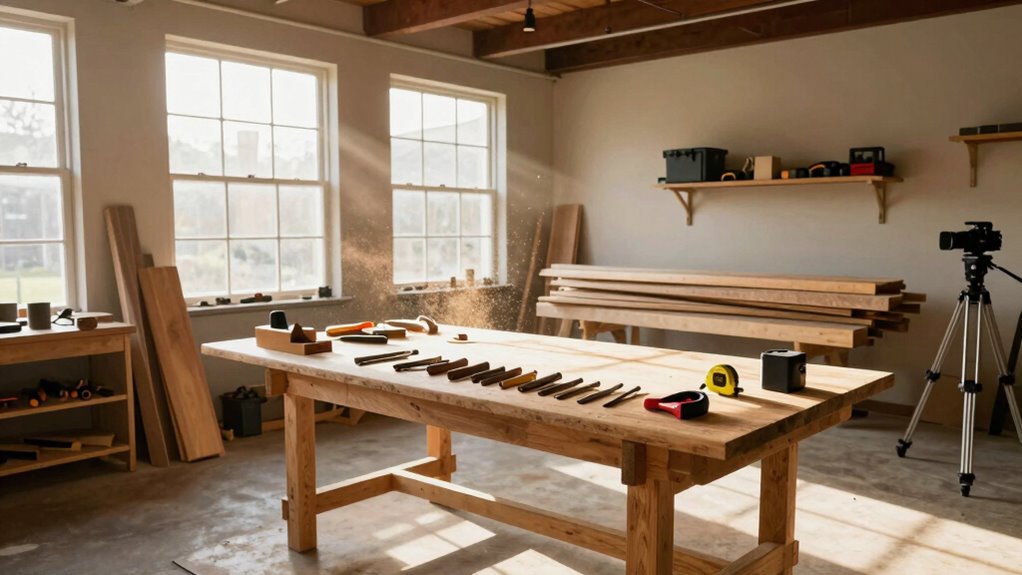
You’ll want to establish proper safety measures before setting up your home workshop, starting with essential equipment like dust collection systems, fire extinguishers, and adequate lighting.
Your tool storage solutions should keep sharp blades and heavy equipment organized and secure to prevent accidents.
These foundational safety steps will protect you and create an efficient workspace where you can focus on your projects.
Essential Safety Equipment Setup
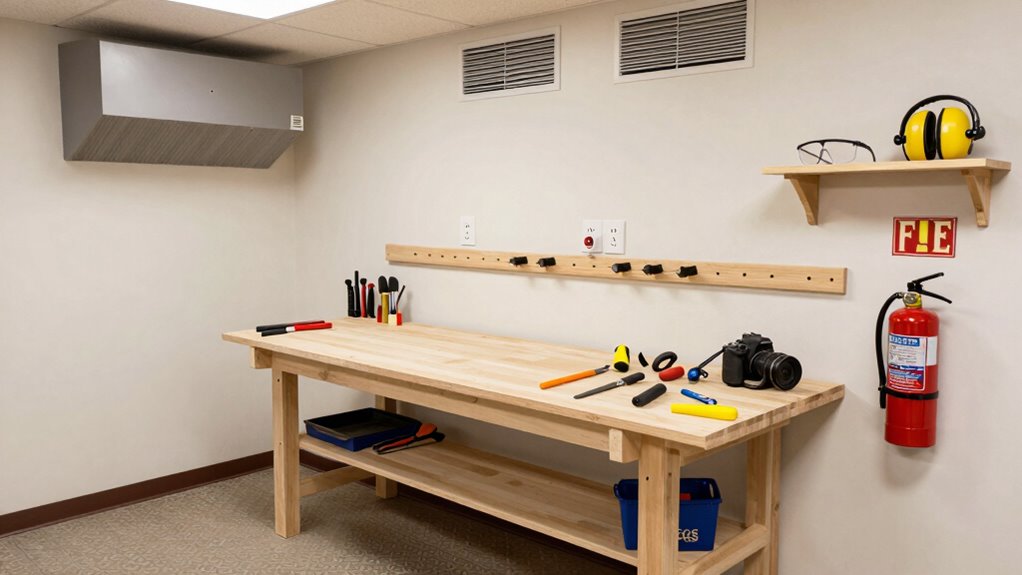
Before you begin any woodworking project, setting up proper safety equipment in your home workshop is crucial for preventing accidents and protecting yourself from injury.
Start by installing adequate lighting throughout your workspace to eliminate shadows and improve visibility. Position your workbench at a comfortable height to reduce strain on your back and shoulders. Secure heavy tools to prevent tipping, and guarantee electrical outlets are properly grounded.
Keep a fire extinguisher nearby and maintain clear pathways between tools. Install dust collection systems or use shop vacuums to minimize airborne particles.
Position first aid supplies within easy reach, and wear safety glasses, hearing protection, and dust masks when operating power tools.
Create designated storage areas for safety equipment so everything stays accessible and organized.
Proper Tool Storage Solutions
Because proper tool storage directly impacts both safety and efficiency in your home workshop, organizing your tools correctly prevents accidents while making projects easier to complete.
You should store sharp tools like chisels and planes in designated holders or magnetic strips mounted on walls. Keep hand saws in wooden boxes or plastic cases to protect teeth from damage.
Hang power tools on pegboards or store them in labeled bins when not in use. Organize smaller accessories like screws and nails in compartmentalized containers.
Position frequently used items at eye level for easy access. Maintain a clean workspace by returning tools to their designated spots after each use.
This systematic approach helps you work faster while reducing injury risks. Good storage solutions make you feel more confident and professional in your craft.
Woodworking Safety Fundamentals
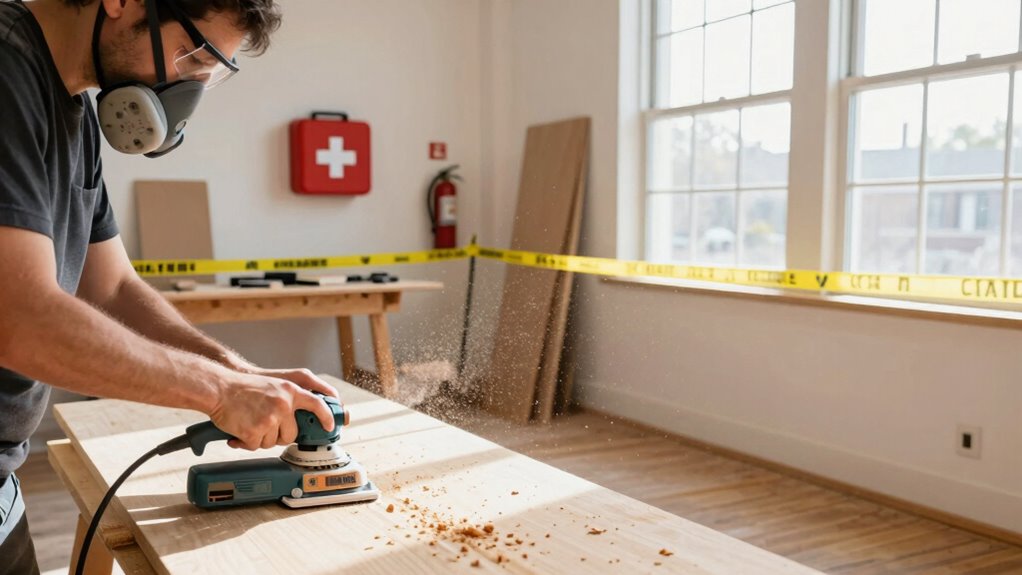
Safety in woodworking requires constant attention to three critical areas: proper tool handling, workspace organization, and protective equipment usage.
You must always grip tools firmly and maintain control while cutting. Keep your workspace clean and well-lit, removing clutter that could cause accidents. Store tools properly when not in use to prevent injuries.
Wear safety glasses to protect your eyes from flying debris. Use hearing protection when operating loud machinery. Steel-toed boots and dust masks are essential防护.
Never rush through cuts or ignore safety protocols. Take your time to measure twice and cut once. Keep sharp tools properly maintained. You belong in this craft when you respect these fundamentals.
Your family and fellow woodworkers count on you returning home safely after every project.
How to Choose the Right Wood Type
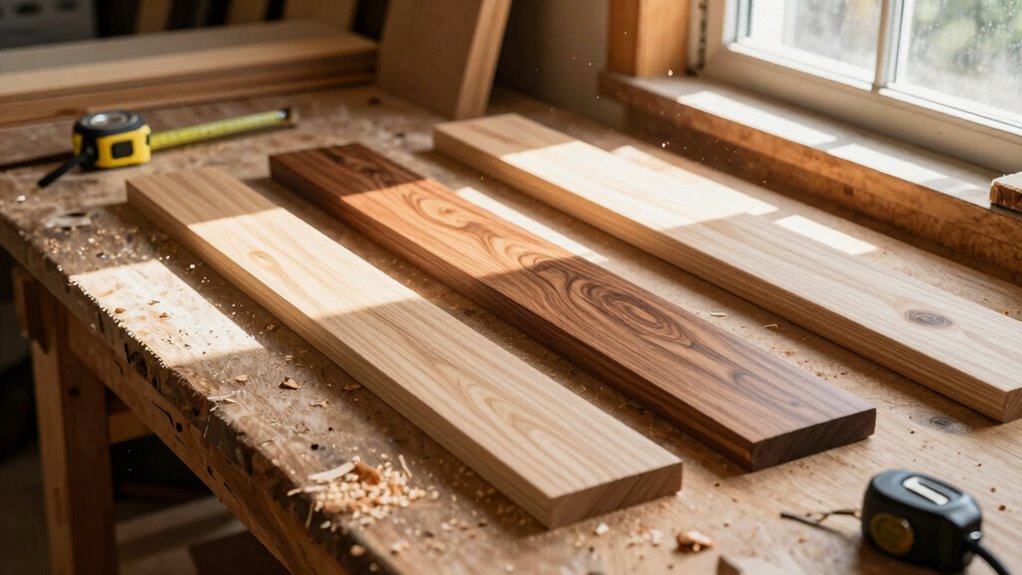
How do you know which wood type works best for your project? Start by considering your project’s purpose and budget.
Softwoods like pine and cedar are affordable and easy to work with, making them perfect for beginners. Hardwoods such as oak and maple offer durability and beautiful grain patterns but cost more.
Think about where your project will live – outdoor pieces need weather-resistant woods like teak or cedar. Indoor furniture benefits from hardwoods’ strength and appearance.
Check your local lumber yard’s selection and prices before deciding. Don’t feel pressured to choose exotic woods initially; common varieties serve most projects well.
Read Woodworking Plans Like a Pro
You’ll need to recognize common symbols and abbreviations on woodworking plans, such as dashed lines for hidden edges and specific notations for different joint types.
Understanding how measurements are presented and scaled on these plans helps you cut materials accurately and avoid costly mistakes.
Take time to study each symbol and measurement carefully before starting your project.
Understanding Plan Symbols And Abbreviations
Understanding woodworking plan symbols and abbreviations can seem overwhelming at first, but breaking them down piece by piece will help you master reading plans like a pro.
You’ll encounter common symbols like solid lines for visible edges and dashed lines for hidden ones. Abbreviations such as “OA” for overall dimensions or “CL” for center line become second nature quickly.
Pay attention to finish marks indicating which surfaces need sanding or staining. Hardware symbols show screw locations and types clearly.
Don’t skip the legend or key section – it’s your roadmap. Practice identifying these elements on simple projects first.
Soon, you’ll recognize patterns and symbols instantly, making complex plans feel familiar and achievable.
Interpreting Measurements And Dimensions
Mastering measurements and dimensions on woodworking plans requires attention to several key details that make the difference between a successful project and costly mistakes.
You’ll need to understand whether plans use inches, feet, or metric measurements. Always check the scale first.
Look for fractional measurements like 1/4″ or 1/8″ markings. Pay close attention to overall dimensions versus individual piece measurements. Notice if dimensions show finished sizes or rough lumber sizes.
You should also distinguish between nominal and actual dimensions. For example, a 2×4 board is actually 1.5″ x 3.5″.
Study the plan’s legend for measurement abbreviations. Take time to verify all critical measurements before cutting any wood. Double-check your math and conversions.
Accurate Measuring and Cutting Tips
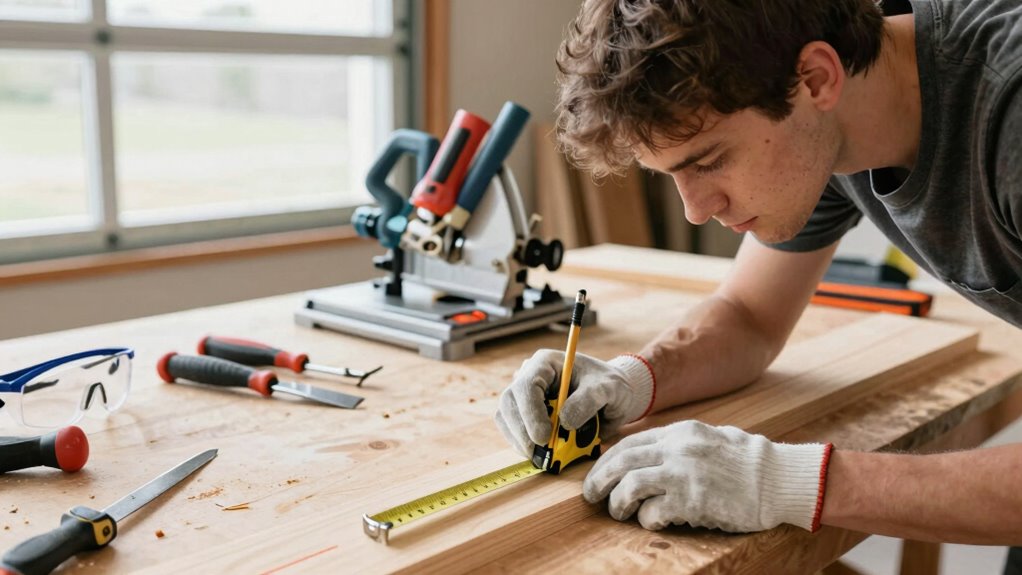
Whether you’re cutting lumber for a project or measuring precise dimensions, accuracy forms the foundation of successful woodworking. You’ll want to invest in a reliable tape measure and combination square for consistent results.
Always measure twice, cut once – this timeless advice prevents costly mistakes. When marking measurements, use a sharp pencil and make clear, distinct lines. Don’t rush this step; take your time to double-check every measurement before cutting.
For straight cuts, clamp your wood securely and use a miter box or guide. Keep your saw blade aligned with your marked line throughout the cut. If you’re unsure about a measurement, err on the side of caution and recheck it.
5 Beginner-Friendly Woodworking Projects
You can start your woodworking journey with simple projects that build confidence and skills.
A basic bookshelf design teaches you essential measuring and assembly techniques without overwhelming complexity.
These beginner-friendly projects help you practice fundamental cutting techniques while creating useful items for your home.
Simple Bookshelf Design
Since you’re just starting out with woodworking, building a simple bookshelf makes an ideal first project that doesn’t require advanced skills or expensive tools.
You’ll need basic materials like pine boards, wood screws, and sandpaper. Start by cutting two side panels, three shelves, and one back panel to your desired dimensions. Measure twice and cut once – this habit will save you frustration later.
Assemble the frame first, then attach the shelves at equal intervals. Use a level to guarantee everything sits straight. Sand all surfaces smooth before applying stain or paint.
This project teaches you fundamental skills like measuring, cutting, and assembly while creating something practical for your home. You’re joining a community of woodworkers who started exactly where you’re now.
Easy Birdhouse Construction
Building a simple birdhouse follows many of the same principles you just applied to your bookshelf project. You’ll cut five pieces: front, back, two sides, and a floor. Measure carefully – accuracy matters more than speed. Your saw cuts don’t need perfect edges since sanding smooths rough spots later.
Drill the entry hole before assembly – it’s easier than reaching inside awkward angles afterward. Position the hole near the front panel’s top edge, sized appropriately for your target birds. Join pieces using wood glue and small nails or screws. Clamp sections temporarily while glue sets – this prevents gaps.
Leave the roof unattached initially so you can insert the floor piece. Check that all joints fit snugly without forcing materials. Apply gentle pressure when securing connections. Your birdhouse doesn’t require complex joinery methods yet still provides practical experience with fundamental woodworking concepts essential for future projects.
Basic Cutting Techniques
Hand saws and power tools each have their place when cutting wood at home.
You’ll want to start with a good crosscut saw for cutting across wood grain and a rip saw for cutting along the grain. Keep your saw blade perpendicular to the wood surface and let the tool do the work. Don’t force it.
For power tools, a circular saw offers straight cuts while a jigsaw handles curves nicely. Always measure twice and mark your cut lines clearly with a pencil. Clamp your wood securely before cutting to prevent movement. Maintain steady pressure and follow your marked lines carefully.
Practice these techniques on scrap wood first. You’ll build confidence and develop muscle memory that makes clean, accurate cuts become second nature.
Basic Wood Joints and Joinery Methods

Wood joints form the backbone of any solid woodworking project, connecting pieces together with strength and precision.
You’ll discover that mastering these fundamental connections builds not just furniture, but confidence in your craft.
- Butt joints simply meet two pieces at right angles, perfect for basic boxes and frames when reinforced with screws or nails.
- Miter joints cut ends at 45-degree angles, creating seamless corners for picture frames and trim work that looks professional.
- Lap joints overlap pieces horizontally, offering excellent strength for table legs and shelf supports where durability matters.
- Dovetail joints interlock wedge-shaped pins and tails, providing exceptional holding power for drawers and boxes that’ll last generations.
These joints become your foundation for creating lasting woodworking projects.
Keep Your Tools Sharp and Ready
Sharp tools make all the difference between a clean cut and a frustrating struggle, especially when you’re working with the joints you’ve just learned to create.
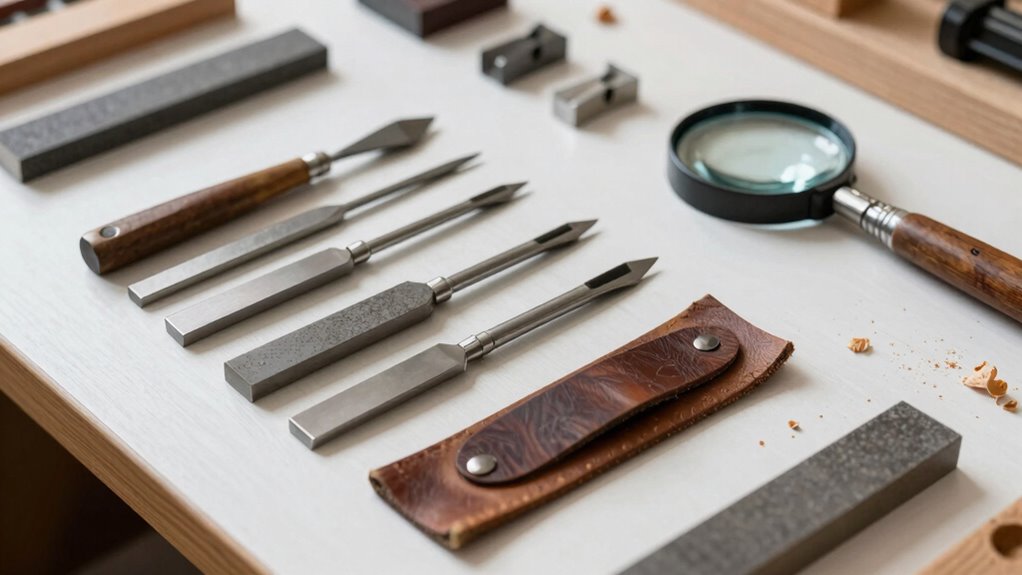
You’ll notice how your chisels glide smoothly through wood when they’re properly sharpened, rather than fighting against every fiber. Keep your plane blades honed for silky shavings that curl away effortlessly.
Dull saws tear wood instead of cutting cleanly, leaving rough edges that compromise your joint fit. Invest in a simple sharpening stone or honing guide – these tools become your best friends.
Check your tool edges regularly by running your thumb lightly across them (carefully). When cutting feels difficult or results look messy, it’s time to sharpen.
Proper tool maintenance builds confidence and guarantees your projects turn out the way you envision them.
Common Mistakes and How to Fix Them
Although you’re enthusiastic to plunge into your projects, mistakes are bound to happen when you’re learning. Don’t let these setbacks discourage you – every woodworker has been there.
- Measure twice, cut once – You’ll avoid wasting wood and time by double-checking measurements before cutting. Use a pencil to mark clearly and measure from the same reference point consistently.
- Sand properly – Start with coarse grit and work toward finer grits. Skipping steps leaves scratches and uneven surfaces that ruin your project’s appearance.
- Don’t rush joinery – Poorly fitted joints weaken your work. Take time to ascertain pieces fit snugly before gluing or nailing.
- Maintain steady pressure – Let tools do the work instead of forcing them through wood, which causes tear-out and uneven cuts.
Next Steps: Taking Your Skills Further
Once you’ve mastered the fundamentals and gained confidence with basic techniques, you’ll want to expand your skills into more advanced territory.
Start exploring joinery methods like dovetails and mortise-and-tenon joints that create stronger, more professional-looking pieces. Invest in specialized tools such as chisels, hand planes, or a router to achieve finer details and smoother finishes.
Don’t hesitate to tackle more complex projects that challenge your abilities. Join online woodworking communities where you can share experiences and learn from others’ mistakes.
Consider taking local classes or workshops to refine specific skills under expert guidance.
Push yourself to work with different wood species, each offering unique characteristics and challenges.
Practice patience as you develop these new techniques, remembering that every master craftsman started exactly where you’re now.
Conclusion
You might think woodworking requires natural talent, but here’s the truth: anyone can master it with practice. Your journey starts with proper setup and safety, then builds through simple projects. Don’t believe the myth that mistakes ruin everything—they’re actually your best teachers. Keep tools sharp, measure twice, and embrace each project as learning. Woodworking isn’t about perfection; it’s about patience, practice, and persistence. Your first project won’t be perfect, but it’ll be yours.
