

You’ve noticed that scratch on your favorite wooden table, haven’t you? Before you assume it’s permanent damage, consider this: most scratches are more repairable than you think. The key lies in properly evaluating the damage first. Don’t just grab any filler or stain randomly – understanding the scratch’s depth and your wood’s finish type will determine your success. What’s your next move when you realize this might be simpler than expected?
Can You Fix That Scratch? Start Here
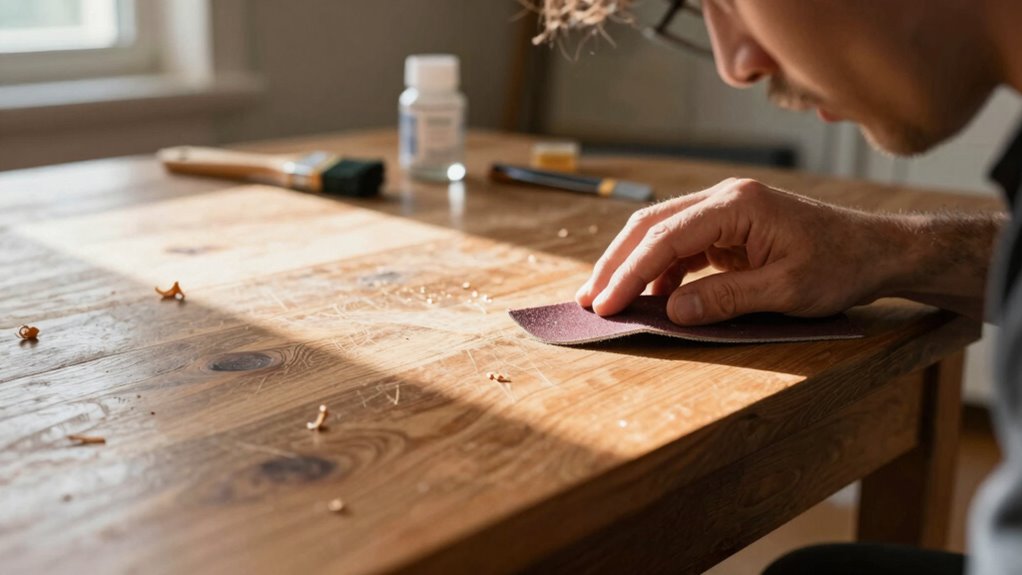
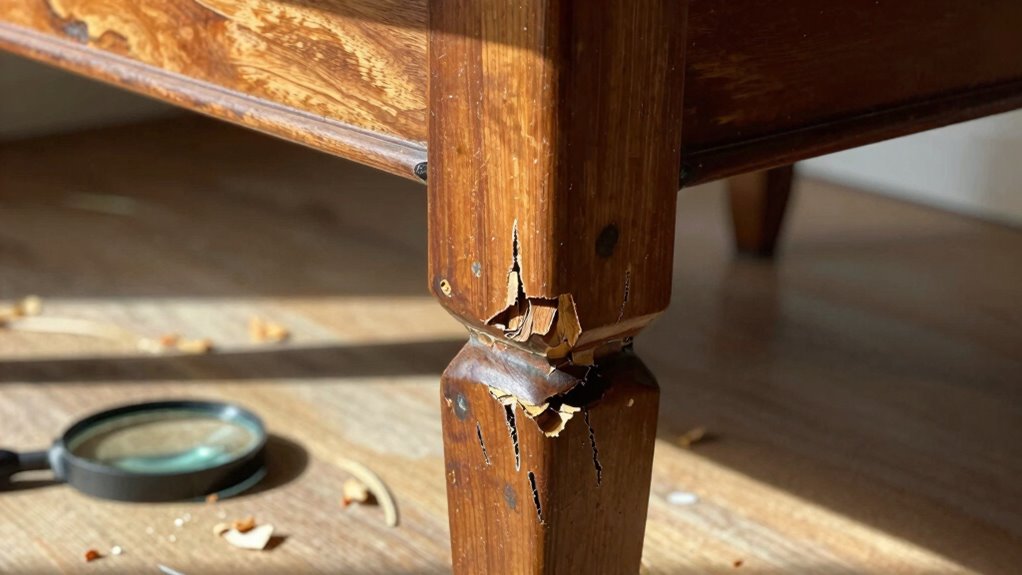
How deep does that scratch actually go? You need to determine if it’s a surface-level mark or penetrates the wood’s finish. Surface scratches only affect the top coating and are easier to address.
Deeper scratches reach the wood itself, requiring more intensive repair work. Examine the scratch under good lighting, running your fingernail across it to feel its depth. If your nail catches, it’s likely deep enough to need filler or professional attention.
Check whether the scratch is in the finish only or has gouged into the wood fibers. This assessment determines your repair approach and helps you choose appropriate techniques. Understanding the scratch’s severity prevents you from applying ineffective solutions and wasting time on repairs that won’t work for your specific damage type.
Fix Minor Scuffmarks With Everyday Items
You can remove minor scuffmarks by rubbing walnut shells directly onto the affected area in circular motions until the scratch disappears.
Apply a thin layer of mayonnaise to discolored spots and let it sit for fifteen minutes before wiping clean to restore the wood’s natural appearance.
Buff the repaired surface gently with fine-grade steel wool to blend any remaining marks and achieve a uniform finish.
Use Walnut Shells For Scratch Removal
Walnut shells contain natural oils and tannins that make them particularly effective for addressing minor scratches and scuffmarks on wooden furniture.
You’ll discover how this kitchen waste transforms into a powerful repair tool.
- Collect and prepare – Gather fresh walnut shells and crush them into fine particles using a mortar and pestle or food processor.
- Apply directly – Rub the crushed shells firmly along scratch lines using circular motions, allowing oils to penetrate wood fibers.
- Work gradually – Build color and finish incrementally rather than applying heavy pressure that might damage surrounding areas.
- Buff thoroughly – Wipe away excess material with clean cloth, then polish surface gently to blend repaired area seamlessly.
This method works exceptionally well on darker wood finishes where walnut’s natural staining properties create nearly invisible repairs.
Apply Mayonnaise To Disguise Scuffs
While mayonnaise might seem like an unusual choice for furniture repair, its combination of oils and acids makes it surprisingly effective for disguising minor scuffmarks on wooden surfaces.
You should apply a small amount directly onto the affected area using a clean cloth. The egg yolks contain proteins that help fill microscopic scratches, while the vinegar content assists in breaking down surface oxidation.
Work the mayonnaise into the wood using circular motions, ensuring complete coverage of the scuffed region. Allow it to penetrate for fifteen minutes before proceeding.
The oils penetrate the wood grain, temporarily masking the appearance of shallow marks. This technique works best on finished surfaces where deep scratches aren’t present.
You’ll discover this kitchen staple transforms minor blemishes effectively.
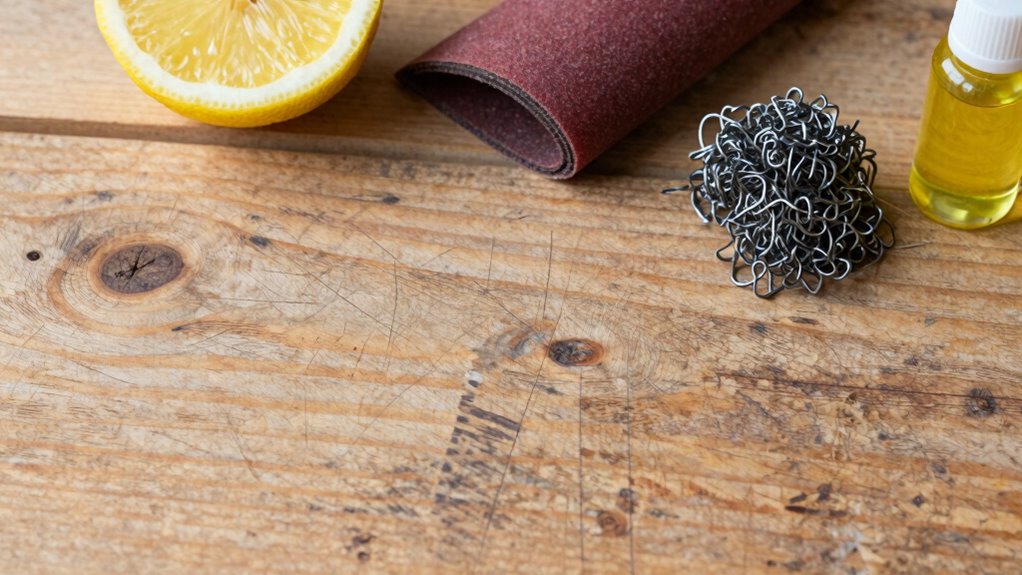
Buff With Steel Wool Gently
A single grade of steel wool can transform stubborn scuffmarks into barely visible blemishes when applied correctly.
You’ll want to choose #0000 grade steel wool for this delicate work – it’s fine enough to smooth surfaces without causing damage.
- Wrap the steel wool around your index finger, creating a small pad for better control
- Apply gentle, circular motions across the scuffed area, following the wood grain direction
- Maintain light pressure – let the steel wool do the work rather than forcing it
- Wipe away debris frequently with a clean cloth to prevent scratching
Work systematically across the damaged area until scratches blend seamlessly.
Steel wool removes only the top finish layer, smoothing imperfections while preserving the wood’s integrity underneath.
You’re fundamentally sanding away microscopic roughness that catches light and creates visible marks.
Tackle Deep Grooves Step-by-Step
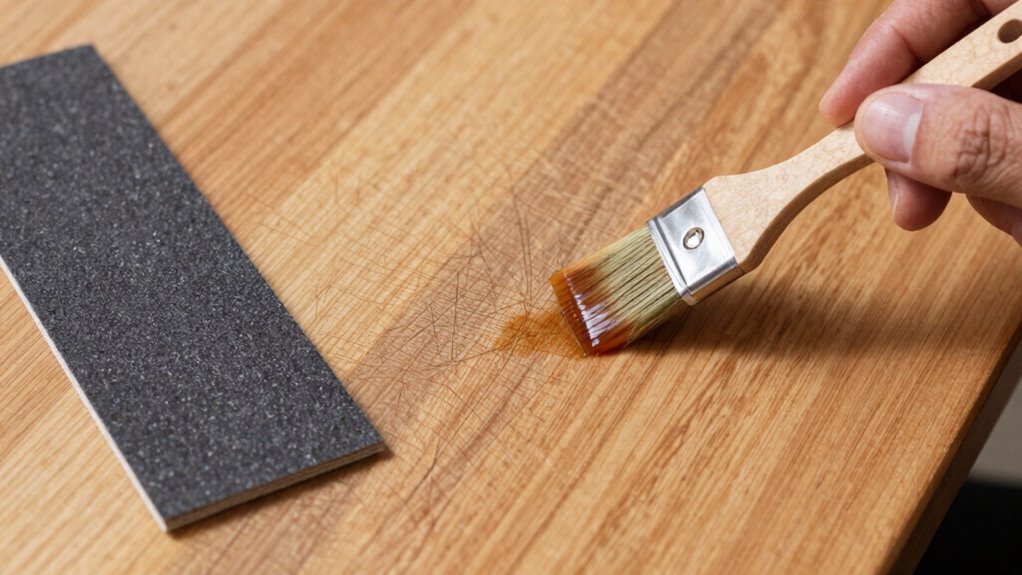
Deep grooves require a methodical approach that begins with evaluating the damage’s extent and selecting the appropriate filler material.
You’ll need to determine if the groove penetrates through the wood’s surface layer or merely scratches the finish. For deep scratches reaching the bare wood, choose a wood filler that matches your furniture’s species and stain color.
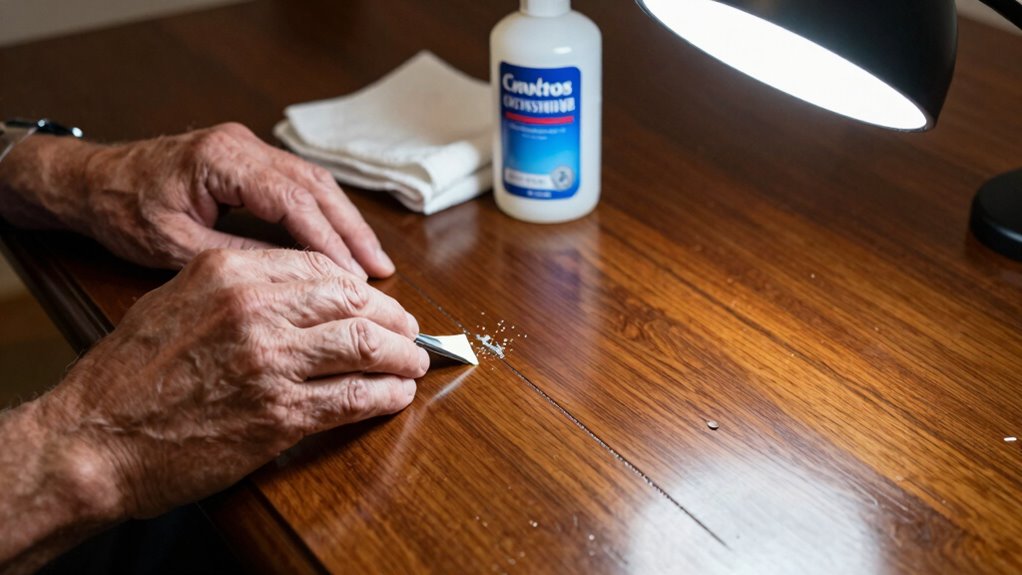
Clean the groove thoroughly with a tack cloth to remove debris and dust particles. Apply the filler using a putty knife, working it deeply into the groove while maintaining a smooth, even surface.
Allow the filler to dry completely according to manufacturer specifications. Once dry, sand the filled area using fine-grit sandpaper until it’s flush with the surrounding wood surface.
Go-To Repair Kits That Actually Work
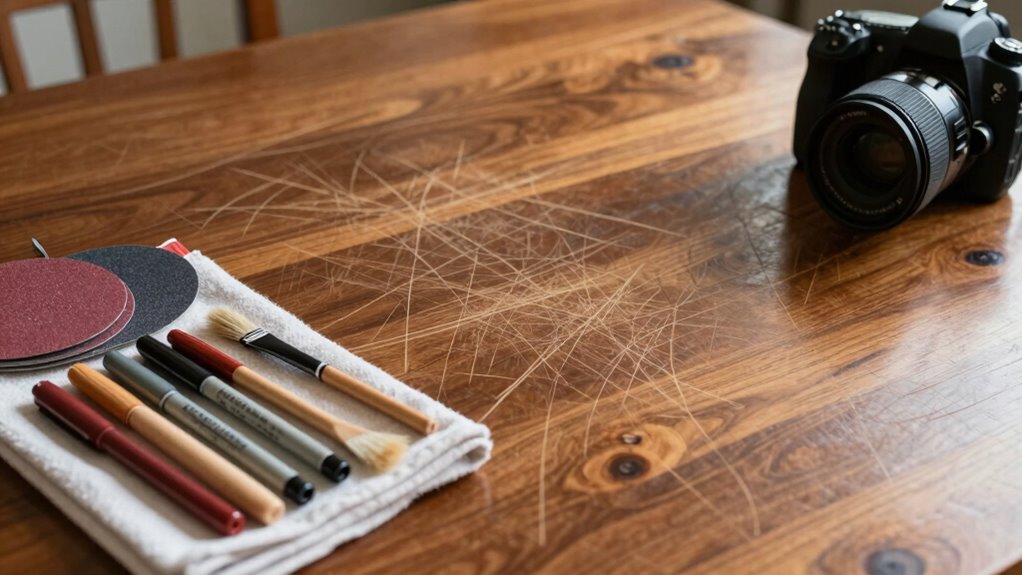
Repairing those deep scratches you’ve just addressed requires the right tools and materials, which is where quality repair kits come into play.
You’ll want reliable options that deliver professional results without breaking the bank.
- Minwax Wood Putty Kit – Contains pre-mixed putty that matches existing wood tones, eliminating guesswork for seamless blending.
- J-B Weld Wood Repair Kit – Offers two-part epoxy that hardens permanently, ideal for structural damage and heavy-use areas.
- Famowood Glazcoat Kit – Provides gel stain and finish in one application, perfect for refinishing entire damaged sections.
- Howard Products Restor-A-Finish – Combines cleaning and coloring agents specifically designed for antique and vintage furniture restoration.
These kits contain everything needed for successful repairs.
Signs You Need a Pro, Not a Glue Stick
While surface-level scratches might seem manageable with basic DIY techniques, certain types of wood damage require professional intervention to prevent further deterioration.
You need expert help when scratches penetrate beyond the finish into the wood substrate itself. Deep gouges that catch your fingernail indicate structural compromise requiring specialized tools and expertise.
Water damage causing warping, cupping, or significant swelling demands professional assessment immediately. Cracks extending across grain lines or multiple pieces signal underlying stability issues beyond simple scratch repair.
Discoloration spreading beneath the surface suggests chemical damage needing specific treatment protocols.
Multiple scratches covering large surface areas become cost-prohibitive for amateur attempts. Antique or high-value pieces deserve specialist handling to maintain authenticity and market value.
When you notice wood fibers lifting or surface texture severely compromised, put down the glue stick and call professionals who possess proper equipment, materials, and experience necessary for proper restoration work.
Stop New Scratches Before They Start
You’ll want to apply protective coatings like polyurethane or wax finishes annually to create a barrier between your furniture’s surface and potential scratching agents.
Establishing a regular maintenance schedule guarantees these protective layers remain intact and continue deflecting everyday wear.
These preventive measures stop microscopic abrasions from developing into visible scratches that require more extensive repair work.
Protective Coatings Application
Applying protective coatings creates a barrier that prevents new scratches from compromising your wooden furniture’s finish.
You’ll want to choose the right product for your specific wood type and existing finish.
- Clean your furniture thoroughly with mineral spirits to remove dirt, oils, and wax buildup before application.
- Sand lightly with 220-grit sandpaper to create proper surface adhesion for the coating.
- Apply thin, even coats using a high-quality brush or lint-free cloth, allowing each layer to dry completely according to manufacturer specifications.
- Buff lightly between coats with 0000 steel wool to guarantee smooth, professional results.
Polyurethane, varnish, or wipe-on finishes work best for most wooden furniture pieces.
Regular Maintenance Schedule
A protective coating won’t maintain its effectiveness without consistent upkeep that prevents new damage from accumulating.
You should inspect your furniture monthly for early scratch signs, addressing them immediately with targeted touch-ups. Clean surfaces weekly using microfiber cloths and pH-neutral cleaners specifically designed for wood finishes.
Apply furniture wax or polish every three months to replenish protective barriers and maintain luster. Rotate decorative items and coasters regularly to prevent concentrated wear patterns.
Monitor humidity levels between 40-50% to prevent wood expansion that compromises finish integrity. Reapply protective coatings annually in high-traffic areas.
Document maintenance activities in a furniture care log to track coating performance and identify vulnerable spots requiring extra attention. Your commitment to this schedule guarantees lasting protection.
Conclusion
You’ve got this! Don’t let scratches ruin your furniture’s beauty. With the right techniques, you can restore that pristine look. Remember, practice makes perfect, and soon you’ll be tackling any scratch like a pro. Keep those repair kits handy and maintain your wood properly. Your furniture will thank you for the extra care and attention.
