

Like a master chef preparing the perfect dish, you must lay the proper foundation before diving into indoor seed starting. Your success hinges on selecting the right containers, soil mix, and lighting setup from the beginning. Don’t overlook critical factors like drainage, temperature control, and hardening off procedures. Without addressing these essentials upfront, even the highest quality seeds will struggle to thrive. What specific challenges have you encountered when starting seeds indoors?
Why Start Seeds Indoors?
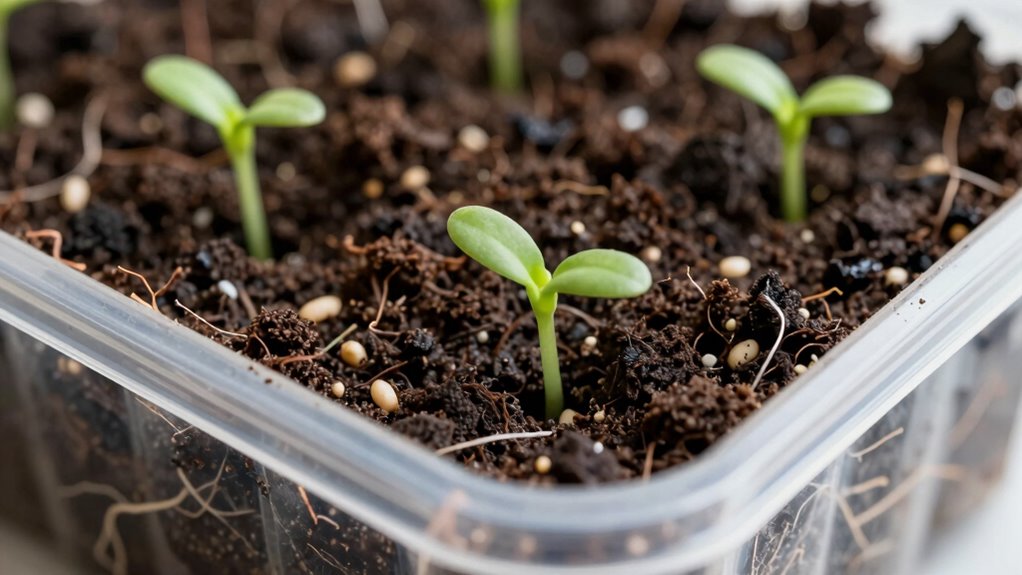
Starting seeds indoors gives you a significant advantage over direct sowing, especially when you live in regions with short growing seasons. You extend your growing season by weeks or months, allowing heat-loving crops like tomatoes and peppers to mature properly.
Indoor conditions let you control temperature, humidity, and light exposure precisely. You avoid unpredictable weather damage, pest predation, and soil temperature fluctuations that devastate outdoor-sown seeds.
Starting indoors also enables you to grow varieties unsuited for your climate zone. You gain confidence watching seedlings emerge in controlled conditions rather than hoping they survive harsh outdoor elements.
This method maximizes your garden’s productivity while minimizing crop failures. You become part of a community that masters season extension techniques, sharing tips and celebrating successful harvests together.
What You Need to Begin Indoor Seed Starting
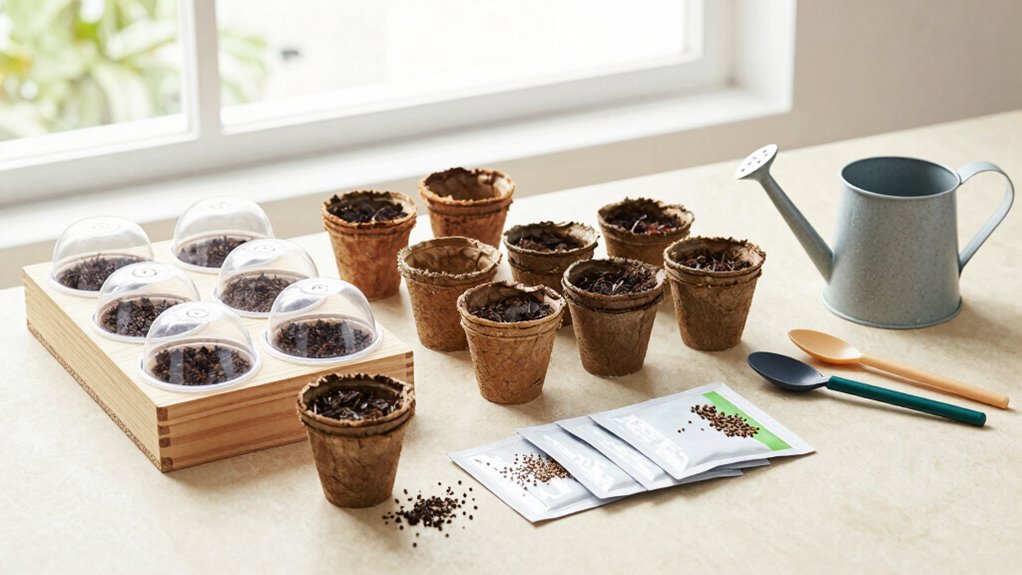
Several essential components form the foundation of successful indoor seed starting.
You’ll need high-quality seed starting mix, not regular potting soil, because it provides proper drainage and aeration.
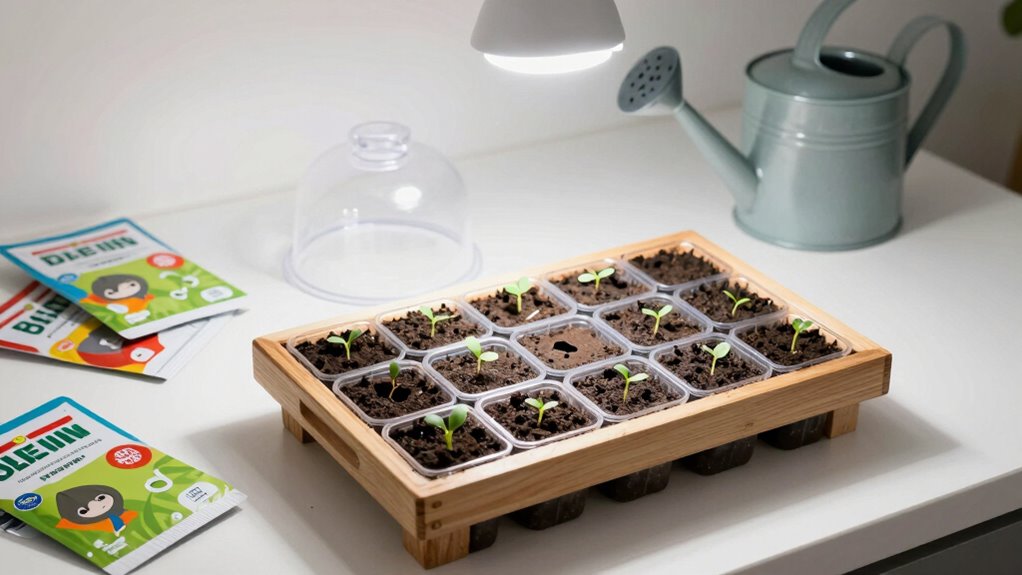
Choose containers with drainage holes – trays, pots, or recycled containers work well.
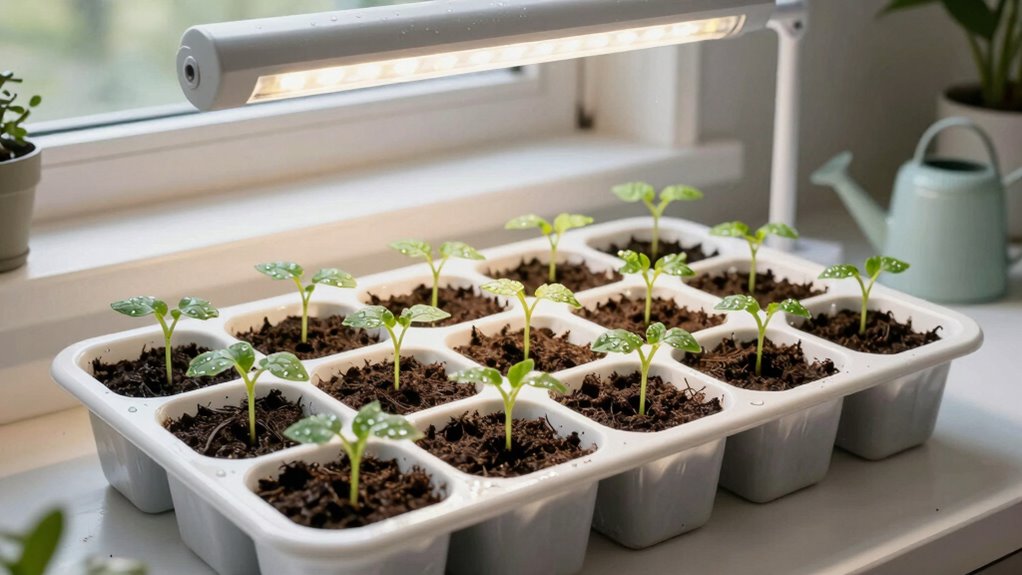
Invest in grow lights or place seedlings in a sunny south-facing window.
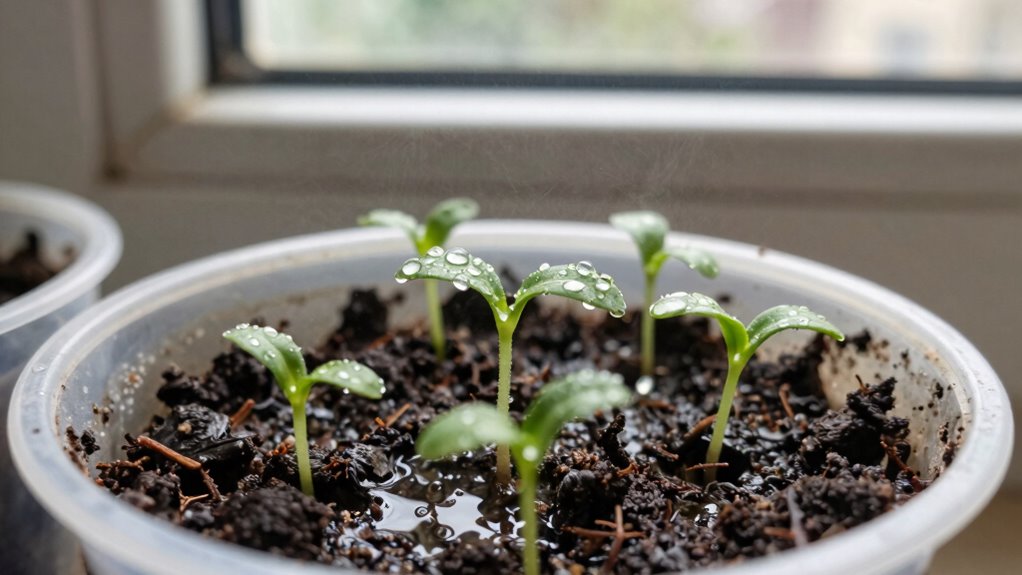
Maintain consistent moisture with a spray bottle or bottom watering method.
You’ll need a heat mat or warm location since most seeds germinate best at 70-75°F.
Label your seedlings immediately to avoid confusion later.
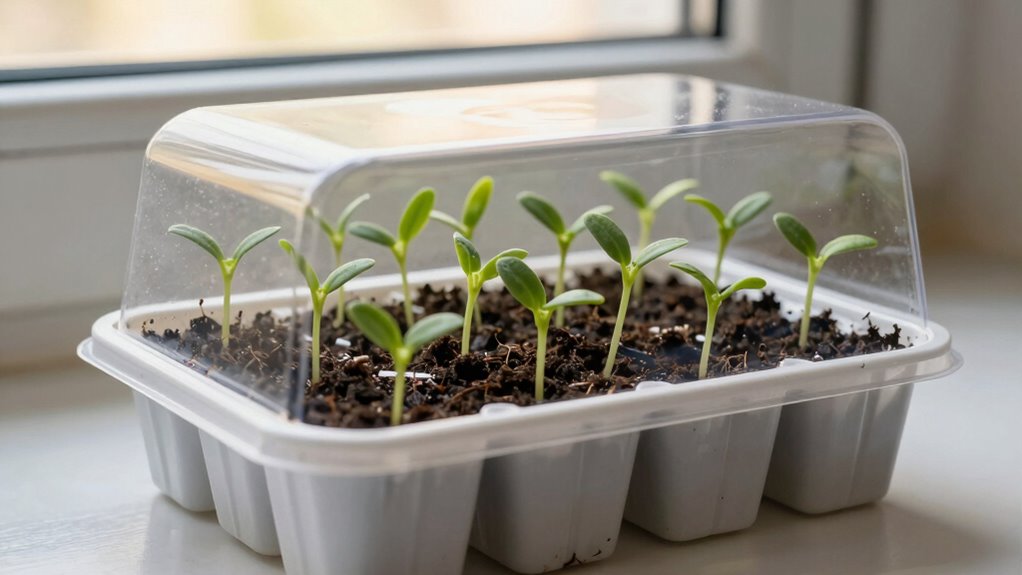
Keep a humidity dome or plastic wrap handy to retain moisture during germination.
Finally, verify you have a reliable thermometer to monitor temperatures accurately.
These tools create ideal growing conditions that mimic spring’s natural environment.
When to Start Your Seeds Indoors
While you might be enthusiastic to begin your indoor seed starting journey, timing your efforts correctly depends on understanding each plant’s specific requirements and your local growing conditions.
You need to calculate backward from your area’s last expected frost date, typically found through your county extension office or gardening resources. Most seeds require six to twelve weeks indoors before transplanting.
Cool-season crops like lettuce and peas need less time than warm-season plants like tomatoes and peppers. You should also consider your home’s temperature consistency and available lighting.
South-facing windows provide better natural light than north-facing ones. Don’t forget to account for your specific hardiness zone when planning your indoor seed starting schedule.
How to Choose Seeds for Indoor Planting
Selection of appropriate seeds for indoor planting requires careful consideration of multiple factors including plant hardiness, germination requirements, and your specific growing conditions.
You should choose seeds that match your indoor environment’s light, temperature, and humidity levels. Select varieties with shorter growing seasons since indoor spaces limit plant size and development time.
Check seed packets for ideal germination temperatures and light requirements. Heirloom and hybrid varieties both work well indoors, but hybrids often provide better disease resistance.
Consider your end goals: herbs, vegetables, or flowers each have different indoor growing characteristics. Purchase seeds from reputable suppliers to guarantee viability and genetic purity.
Avoid seeds requiring extensive stratification or outdoor conditions that indoor environments can’t replicate. Your success depends on matching seed requirements to your indoor growing capabilities.
Best Soil Mix for Seed Starting Indoors
You’ll want to use a soilless mix specifically designed for seed starting, which provides better drainage and aeration than regular potting soil.
These mixes typically contain peat moss, perlite, and vermiculite in precise ratios that prevent compaction while retaining adequate moisture.
Soilless mediums also reduce the risk of damping-off disease and give your seeds ideal conditions for germination and early root development.
Best Soil Mix for Seed Starting Indoors
A soilless growing medium provides the perfect foundation for successful indoor seed starting. You should mix equal parts peat moss, vermiculite, and perlite for best results. This combination delivers excellent drainage while retaining adequate moisture.
Peat moss provides organic matter and maintains proper pH levels between 5.5 and 6.5. Vermiculite enhances water retention and nutrient availability. Perlite guarantees adequate aeration and prevents compaction.
Avoid using garden soil, which harbors pathogens and creates drainage issues. Your seedlings require sterile, lightweight conditions that promote healthy root development.
Commercial seed-starting mixes work well, but you can create your own blend. Verify all components are thoroughly moistened before filling containers. The mix shouldn’t be overly wet, just damp enough to form a loose ball when squeezed.
This foundation supports successful germination and early growth stages.
Soilless Mix Benefits
Three key advantages make soilless mixes superior for indoor seed starting.
You’ll achieve better drainage since these mixes contain perlite, vermiculite, or coarse sand that prevents waterlogging. This eliminates damping-off disease risks that destroy seedlings in traditional potting soil.
Sterility matters because soilless mixes don’t harbor fungi, bacteria, or weed seeds that compete with your plants. You’re starting with a clean, pathogen-free medium.
Every ingredient serves seedling needs specifically. Peat moss provides acidity and moisture retention while maintaining air pockets essential for root development. Coconut coir offers sustainable alternatives with similar benefits.
These mixes won’t compact like garden soil, ensuring consistent texture throughout germination. You’ll see improved seedling emergence rates and stronger root systems.
Professional growers rely on soilless mixes because they deliver predictable results every time you start seeds indoors.
How Deep to Plant Seeds Indoors
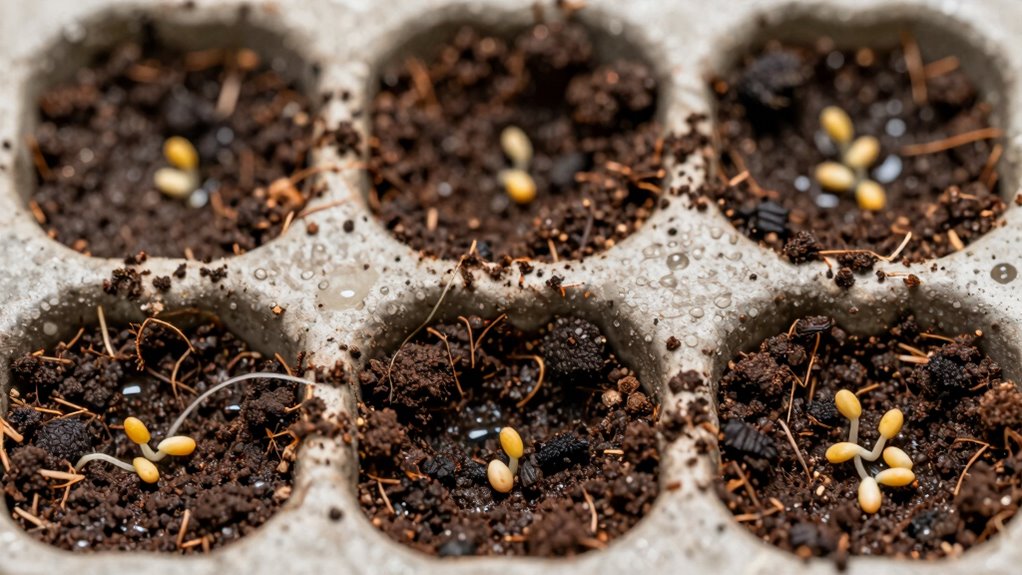
You must plant seeds at specific depths to guarantee successful germination and healthy seedling development.
General guidelines call for planting seeds two to three times their diameter deep, though this varies considerably between seed types and sizes. Proper soil coverage prevents seeds from drying out while allowing adequate oxygen flow for germination.
Seed Depth Guidelines
Most seeds require planting at specific depths to guarantee proper germination and healthy seedling development.
You should plant seeds at a depth that’s typically two to three times their diameter. Small seeds like lettuce and basil need shallow planting, often just barely covered with soil. Medium seeds such as beans and peas require deeper placement, usually about half an inch to one inch deep. Large seeds like squash and pumpkins need the deepest planting, typically one to two inches down.
Always check seed packets for specific requirements since exceptions exist. Planting too shallow causes seeds to dry out quickly, while planting too deep prevents emergence. Your seedlings will struggle if depth isn’t correct.
Proper depth guarantees adequate moisture retention and ideal soil temperature for germination.
Soil Coverage Rules
While proper seed depth guarantees successful germination, covering seeds with the correct amount of soil prevents them from washing away while maintaining essential moisture levels.
You should use fine, sterile potting mix to cover seeds, ensuring contact without compacting. Lightly sprinkle soil over seeds using a sieve or your fingers for control. Coverage depth typically equals two to three times the seed’s diameter.
Fine seeds like lettuce need minimal coverage, sometimes just pressing into soil surface. Larger seeds require deeper placement.
Keep soil consistently moist but not waterlogged. You’ll achieve excellent results by using clean tools and avoiding excessive handling.
Monitor humidity levels closely during germination. Proper soil coverage creates ideal conditions for your seeds to develop into healthy seedlings, giving you the satisfaction of successful indoor growing.
Planting Depth Variations
Building upon proper soil coverage techniques, understanding specific planting depths becomes the next critical factor for successful indoor seed starting. You must plant seeds at depths ranging from 1/8 inch to 1 inch, depending on seed size and type.
Tiny seeds like lettuce and herbs need only light coverage, while larger seeds such as beans require deeper placement. Generally, plant seeds two to three times their diameter deep. Light-dependent germinators need surface sowing with minimal coverage.
Medium-sized seeds like tomatoes and peppers thrive at 1/4 inch depth. Heavy seeds, including squash and cucumbers, require 1/2 to 1 inch planting depth. Always check seed packets for specific requirements.
Consistent depth guarantees uniform germination and prevents seed rot from excessive burial.
Light Requirements for Healthy Seedlings
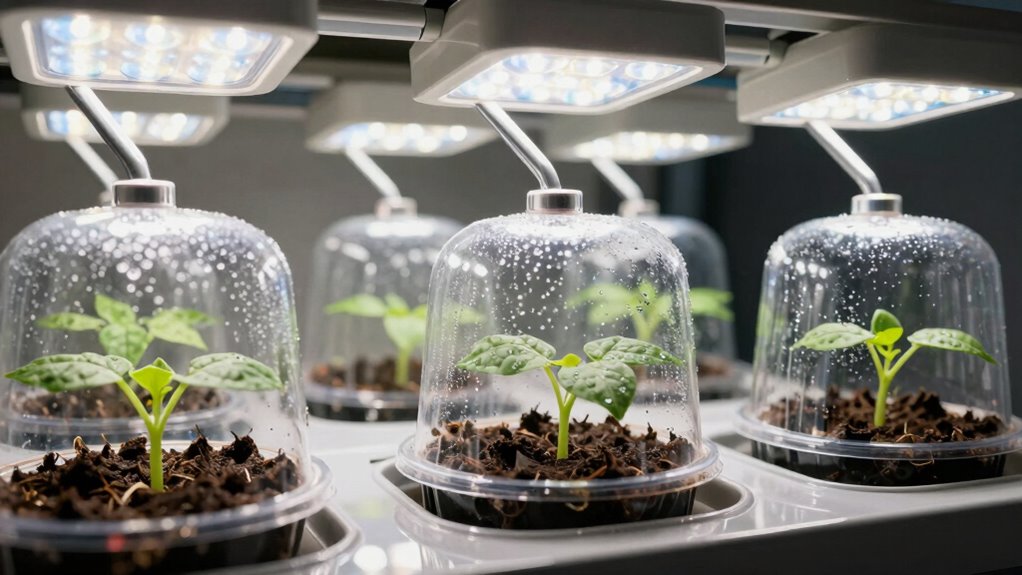
Seedlings require specific light conditions to develop strong stems and healthy foliage, so understanding the technical requirements for indoor lighting is essential for successful transplantation.
You’ll need 14-16 hours of light daily, mimicking natural daylight cycles. LED grow lights are ideal because they’re energy-efficient and produce less heat than traditional bulbs. Position lights 2-4 inches above seedlings, adjusting height as plants grow.
Light intensity should measure 2,000-3,000 lumens per square foot for optimal photosynthesis. Avoid placing seedlings near windows exclusively, as natural light fluctuates and often insufficient. Supplement with fluorescent tubes if LEDs aren’t available.
Monitor seedlings closely; leggy, stretched growth indicates insufficient light. Your seedlings need consistent, adequate lighting to develop proper chlorophyll production and sturdy cellular structure.
Don’t guess—use a light meter for accuracy.
Ideal Indoor Temperatures for Germination
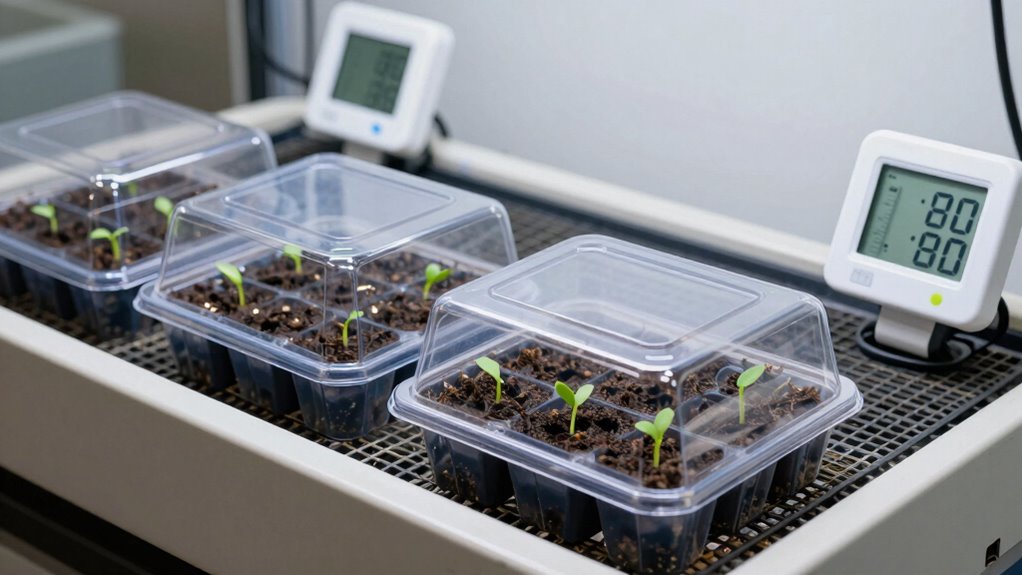
Temperature control plays an essential role in successful seed germination, and maintaining ideal warmth greatly improves your chances of healthy sprouts. Most seeds germinate best between 70-80°F, though specific requirements vary by plant type.
Cool-season crops like lettuce prefer 60-70°F, while warm-season plants such as tomatoes and peppers need 75-85°F. You should use a soil thermometer to monitor conditions accurately.
Bottom heat mats provide consistent warmth from beneath, promoting faster, more uniform germination. Don’t place seed trays near drafty windows or heat vents where temperatures fluctuate dramatically.
Cool basement environments often require supplemental heating. Maintain steady temperatures day and night, as inconsistent warmth stresses developing seedlings.
Research your specific plant varieties’ temperature preferences before starting seeds. Proper warmth management prevents damping off and encourages strong root development.
Watering Seedlings Without Overdoing It
You must monitor soil moisture levels daily by inserting your finger knuckle-deep into the growing medium to determine when watering becomes necessary.
Apply water directly to the soil surface using a fine-mist spray bottle or gentle stream from a watering can with a diffuser attachment, avoiding overhead saturation that can damage delicate seedling stems.
Wait until the top layer feels slightly dry before initiating another watering cycle, as overwatering creates anaerobic conditions that promote fungal growth and root rot.
Check Soil Moisture Levels
One essential aspect of indoor seedling care involves monitoring soil moisture levels to prevent both underwatering and overwatering.
You should check moisture by inserting your finger one inch into the soil, or use a moisture meter for accuracy. Soil should feel damp but not soggy. Wilting leaves often indicate dry soil, while yellowing suggests overwatering.
Check containers daily since indoor conditions fluctuate. Small pots dry faster than larger ones. Seedlings need consistent moisture until established roots develop.
Don’t rely solely on surface appearance; soil compaction can mask dryness below. Your goal involves maintaining even moisture without saturation. Wet soil promotes fungal growth and root rot.
Proper moisture monitoring guarantees healthy root development and prevents transplant shock. Regular checking becomes habit quickly.
Use Proper Watering Techniques
Mastering watering techniques requires careful attention to method and timing to avoid drowning your seedlings. You should water from below by filling trays or using self-watering containers, allowing roots to draw moisture upward naturally. This prevents fungal diseases and stem rot that overhead watering causes.
Check soil moisture daily by inserting your finger one inch deep; water only when top layer feels dry. Use room-temperature water to avoid shocking delicate roots. Water thoroughly until drainage holes seep, then empty excess from trays within thirty minutes.
Adjust frequency based on container size, soil mix, and ambient humidity levels. Smaller containers dry faster, requiring more frequent watering. You’ll develop intuition through observation, noticing when seedlings look slightly wilted or soil pulls away from container edges.
Consistent, measured watering creates strong, healthy plants.
Prevent Damping Off in Seedlings
Although damping off can devastate your indoor seedlings within hours, preventing this fungal disease requires understanding its causes and implementing specific cultural practices.
You must use sterile seed starting mix and clean containers to eliminate pathogens. Maintain proper air circulation with small fans to reduce humidity around seedlings. Water from below when possible, avoiding wetting stems and leaves. Provide adequate spacing between containers for air movement. Use fresh seeds from reputable sources, as old seeds harbor more pathogens.
Maintain soil temperatures between 65-75°F to promote rapid germination and strong root development. Apply beneficial fungi like trichoderma to growing medium. Remove infected seedlings immediately and dispose properly.
You should monitor seedlings daily for signs of wilting, stem constriction, or sudden collapse. Prevention eliminates the need for fungicides while ensuring healthy plant development.
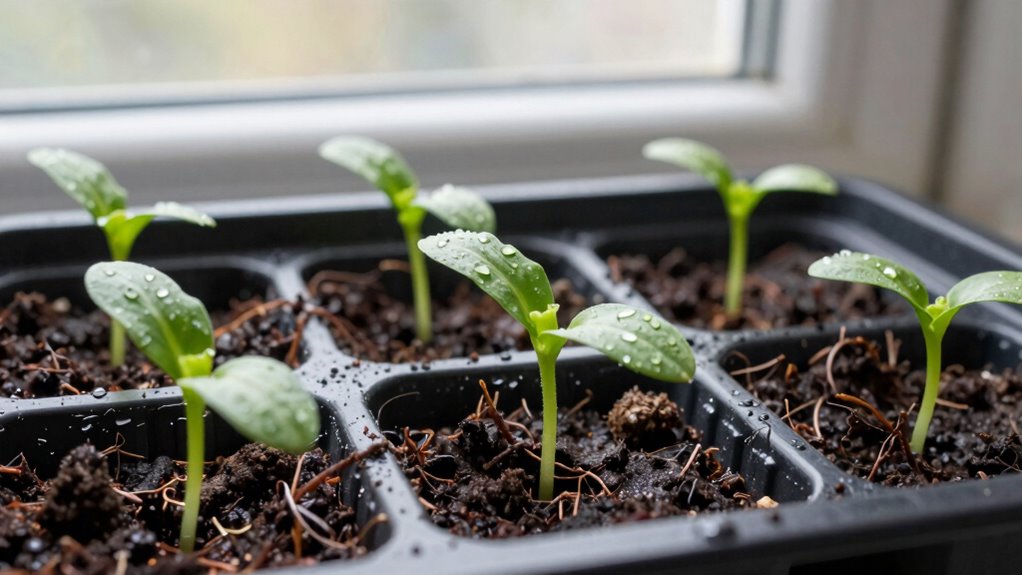
How to Thin Seedlings for Stronger Growth
When seedlings emerge crowded in trays or pots, thinning becomes essential for developing robust plants with adequate space for root expansion. You should wait until seedlings develop their first set of true leaves before thinning.
Use sharp, clean scissors to snip weaker seedlings at soil level rather than pulling them, which disturbs remaining roots. Select the strongest, most vigorous seedlings to keep, removing stunted or yellowing ones.
Maintain proper spacing based on mature plant size requirements specified on seed packets. For most vegetables, this means 2-4 inches between plants.
Thinning prevents competition for nutrients, light, and water while promoting air circulation. Don’t transplant thinned seedlings unless they’re healthy and properly spaced from remaining plants.
Work gently to avoid damaging stems or roots during the process.
Common Seedling Problems and Fixes
You’ll encounter damping off when seedlings suddenly collapse at the soil line, but you can prevent this fungal disease by using sterile potting mix and avoiding overwatering.
Leggy seedlings stretching toward light indicate insufficient illumination, which you can correct by providing 14-16 hours of bright, direct light daily.
Nutrient deficiencies manifest as yellowing leaves or stunted growth, so you’ll need to identify specific deficiency symptoms and apply appropriate fertilizers or soil amendments.
Damping Off Prevention
Damping off affects one in every three indoor seedling batches, making it the most devastating problem growers face during germination and early development.
You must sterilize all containers, tools, and growing medium before use. Use fresh, sterile potting mix rather than garden soil.
Maintain proper air circulation with small fans positioned near your seedlings. Avoid overwatering by allowing the top inch of soil to dry between waterings. Space seedlings adequately to prevent humidity buildup.
Consider using copper fungicide or beneficial bacteria like Bacillus subtilis as preventive treatments. Remove affected seedlings immediately and dispose of contaminated soil.
Keep seeding depth consistent and avoid burying stems too deeply. Monitor soil temperature closely, maintaining 65-75°F for ideal growth.
You’ll greatly reduce damping off risk by implementing these precise cultural practices from day one.
Leggy Seedling Solutions
Leggy seedlings present another significant challenge that often follows poor damping off prevention practices.
You’ll notice elongated stems with sparse foliage, indicating insufficient light exposure. Move your seedlings closer to grow lights or position them near south-facing windows.
Maintain proper spacing between plants to prevent competition for light. Reduce indoor temperatures slightly, as excessive heat promotes leggy growth.
You should also increase air circulation with small fans to strengthen stems. Pinch back the growing tips of severely leggy seedlings to encourage bushier development.
Transplant seedlings deeper into soil, burying part of the stem to provide structural support.
Remember that prevention works better than correction, so guarantee adequate lighting from germination.
Nutrient Deficiency Signs
Why do your seedlings develop yellowing leaves and stunted growth despite adequate watering and lighting?
You’re likely dealing with nutrient deficiencies that stunt healthy development. Seedlings exhaust nutrients quickly, requiring immediate attention.
- Nitrogen deficiency shows as uniform yellowing starting with lower leaves, slowing overall growth considerably.
- Phosphorus shortage causes dark green or purple stems and leaves, with poor root development.
- Potassium lack creates yellow or brown leaf margins, weakening disease resistance.
- Iron deficiency produces interveinal chlorosis on younger leaves while veins stay green.
Test your growing medium’s pH regularly. Most seedlings need 6.0-6.8 pH for ideal nutrient uptake.
Address deficiencies immediately using balanced liquid fertilizers or specific nutrient supplements. Monitor plants closely after treatment, adjusting applications based on visible improvements.
How to Harden Off Indoor Seedlings
Before transplanting your indoor seedlings outdoors permanently, you’ll need to gradually acclimate them to external conditions through a process called hardening off.
Start this process 7-10 days before your planned outdoor move. Begin by placing seedlings in a sheltered outdoor location for 2-3 hours on the first day. Gradually increase their outdoor exposure by 1-2 hours daily.
Reduce watering frequency slightly during this period to encourage stronger root development. Expose plants to direct sunlight incrementally, starting with morning sun only. Monitor temperature fluctuations closely.
If temperatures drop below 50°F, bring seedlings indoors overnight. By day seven, your seedlings should withstand full outdoor conditions for 24 hours.
This gradual adaptation prevents transplant shock and guarantees successful establishment in your garden.
When and How to Transplant Seedlings Outside
Once your seedlings have completed the hardening off process and can withstand full outdoor conditions, you’ll need to transplant them into their permanent garden locations.
Choose a cloudy morning or late afternoon to minimize stress. Dig holes twice as wide as the root ball and at the same depth. Gently remove seedlings from containers, keeping root balls intact. Water thoroughly after planting.
- Timing: Transplant after your area’s last frost date when soil temperature reaches 60°F
- Spacing: Follow seed packet instructions for proper distance between plants
- Soil preparation: Work compost into planting holes for nutrient-rich environment
- Support systems: Install stakes or cages during transplanting to avoid root damage later
Monitor transplanted seedlings daily for the first week.
Conclusion
Like a seed breaking through hard soil, your indoor seedlings have pushed through challenges to reach this moment. You’ve mastered the essentials: proper lighting, consistent moisture, and timely hardening off. Now watch as your carefully nurtured plants transform from delicate seedlings into resilient garden champions, ready to flourish in their outdoor sanctuary.
