

You’re dealing with clay soil that barely drains, turning your garden into a waterlogged mess every time it rains. Before you start digging, you need to understand why clay holds water like a sponge. The tiny particles pack tightly together, leaving no room for air pockets or proper water flow. You’ll need to test your soil’s current drainage rate first.
Why Clay Soil Drains Poorly
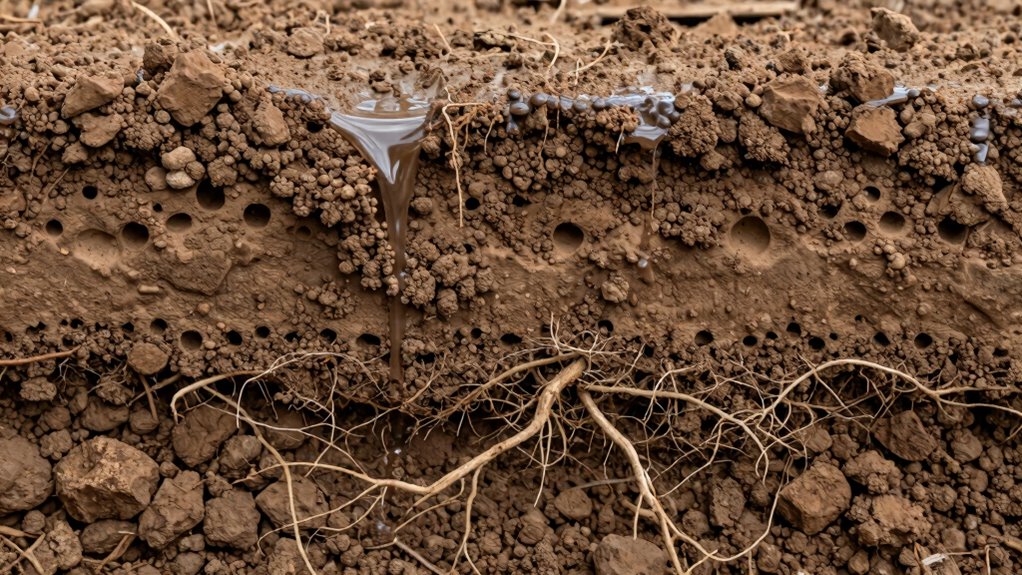
Clay soil’s poor drainage stems from its unique particle structure and composition. You face challenges because clay particles are extremely small and flat, creating tiny pores that trap water.
These microscopic spaces lack adequate air circulation, preventing proper water movement. You’ll notice that clay particles pack tightly together, forming dense layers that water can’t penetrate easily.
The soil’s plastic-like consistency when wet creates surface sealing, where water pools instead of infiltrating deeper. You’re dealing with minimal macropores, which are essential for rapid water transport.
Clay’s high surface area also attracts water molecules through electrostatic forces, holding moisture tightly against particles. This creates waterlogged conditions that suffocate plant roots.
Understanding these characteristics helps you recognize why clay soil requires specific amendments rather than generic gardening solutions. You belong among gardeners who master soil science.
Check Clay Soil Drainage First
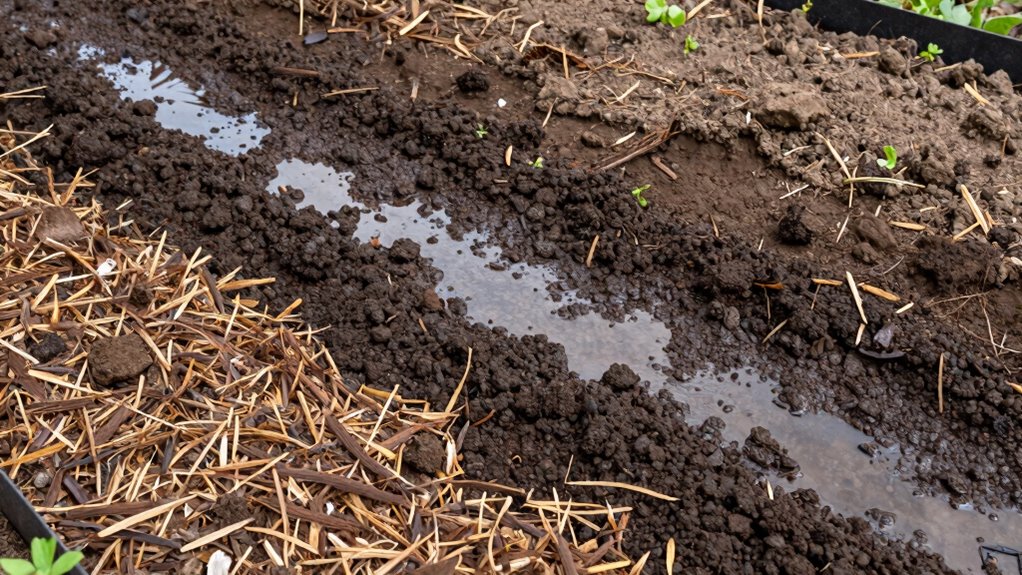
You need to test your clay soil’s drainage speed by digging a 12-inch hole, filling it with water, and measuring how long it takes to drain completely.
Observe areas where water pools or stands after rainfall, as these spots indicate poor drainage zones that require immediate attention.
These preliminary assessments help you identify problem areas before implementing drainage improvement strategies.
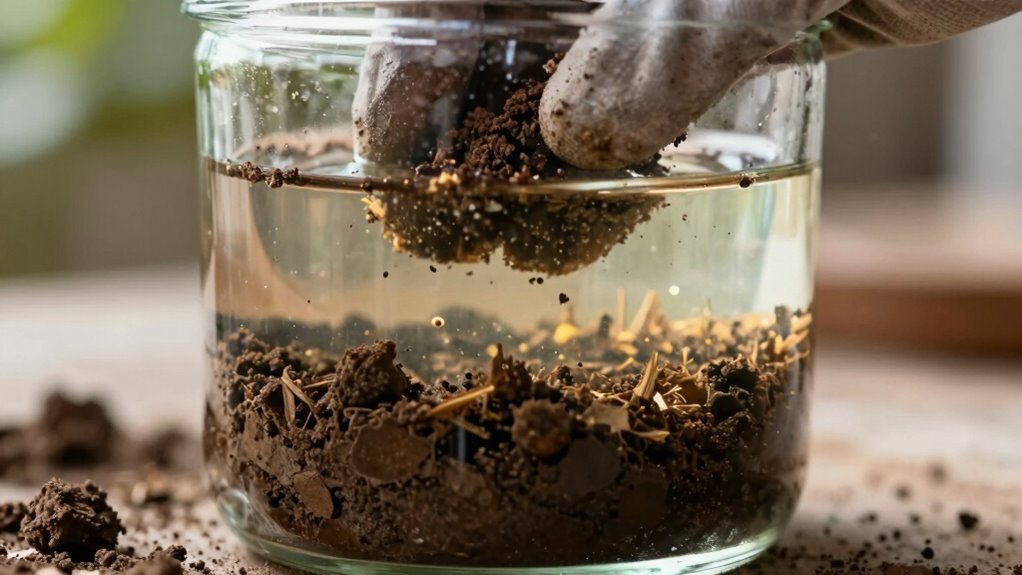
Test Soil Drainage Speed
One simple test reveals your soil’s drainage capabilities within 24 hours. You’ll need to dig a hole twelve inches deep and wide, then fill it completely with water. Mark the water level and timing on a stick placed vertically in the hole.
Observe how quickly the water drains.
- Fast drainage: Water level drops more than three inches per hour
- Moderate drainage: Water drops one to three inches per hour
- Poor drainage: Water level decreases less than one inch per hour
Clay soils typically drain slowly, often taking several hours to show significant water level changes.
This test helps you understand your soil’s current drainage rate before implementing improvement strategies.
You’re not alone in dealing with drainage challenges; most gardeners face similar issues with clay soils.
Observe Water Pooling Areas
Where exactly does water accumulate in your yard during and after rainfall?
You need to identify these problem areas before improving drainage. Walk your property during heavy rain or immediately after storms end. Look for standing water that persists longer than thirty minutes. These pooling zones indicate poor clay soil drainage.
Mark spots where water sits stagnant, flows slowly, or creates muddy conditions. Pay attention to low-lying areas, compacted zones near foundations, and locations where runoff collects. Document measurements showing water depth and duration.
Clay particles bind tightly, preventing proper water infiltration. Your observations reveal drainage failure points requiring immediate attention.
Don’t overlook areas that seem dry initially but become waterlogged hours later. These delayed responses show clay’s characteristic slow drainage behavior.
Understanding your specific pooling patterns helps target effective drainage solutions precisely where needed most.
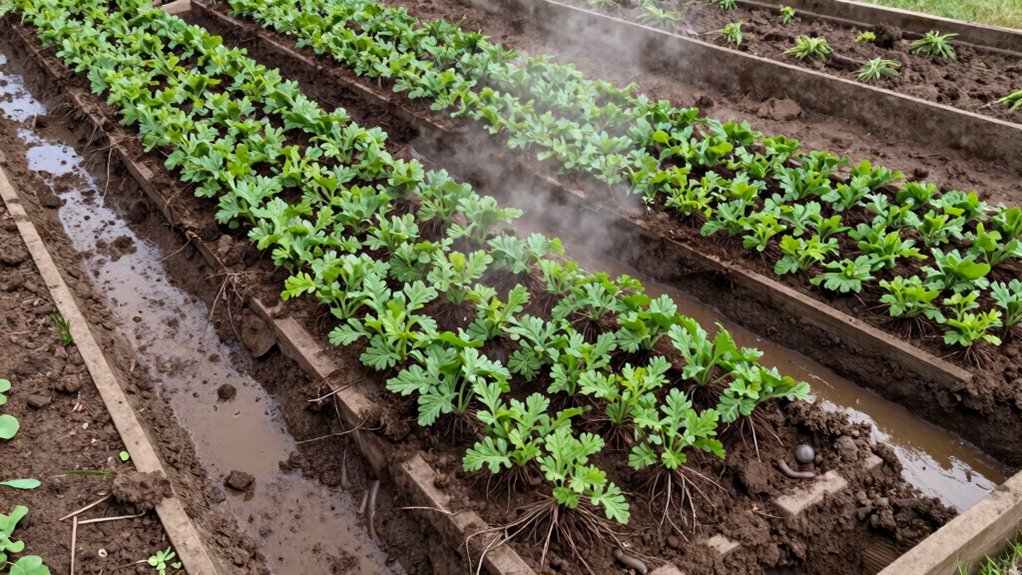
Add Compost and Leaf Mold to Loosen Clay
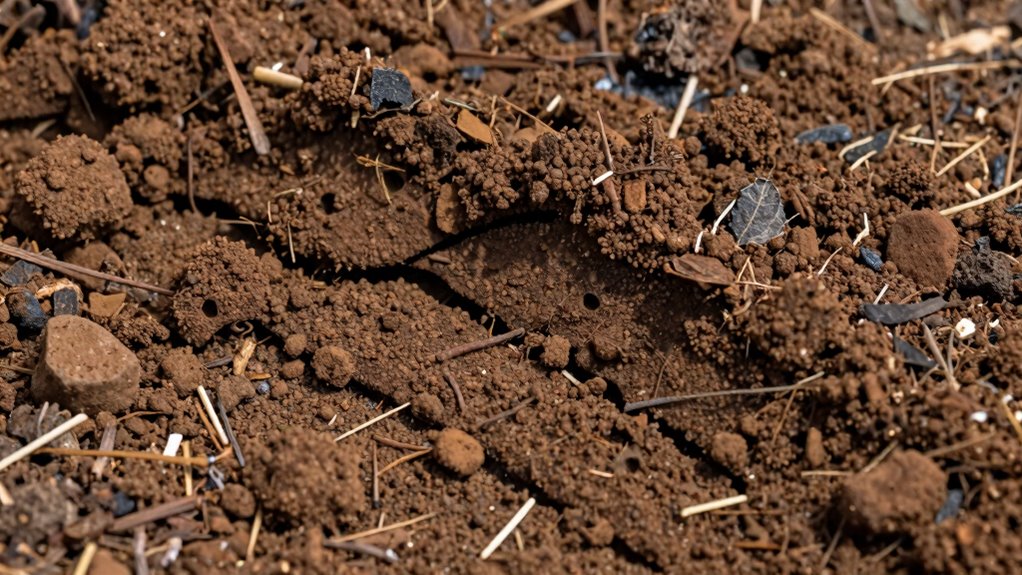
Adding compost and leaf mold to clay soil creates immediate improvements in soil structure and drainage capacity. You should work these organic materials into the top 6-8 inches of clay soil during planting season.
- Compost addition: Mix 2-4 inches of well-aged compost into clay soil to increase porosity and create pathways for water movement.
- Leaf mold incorporation: Add 1-2 inches of decomposed leaf mold annually to enhance soil aggregation and prevent compaction.
- Application timing: Work organic matter into soil when clay is moist but not waterlogged, typically early spring or fall.
These amendments break up dense clay particles, creating air pockets that allow excess water to drain while retaining adequate moisture for plant roots.
You’ll notice improved soil workability and reduced surface runoff within one growing season.
Use Coarse Sand and Gravel Below Clay
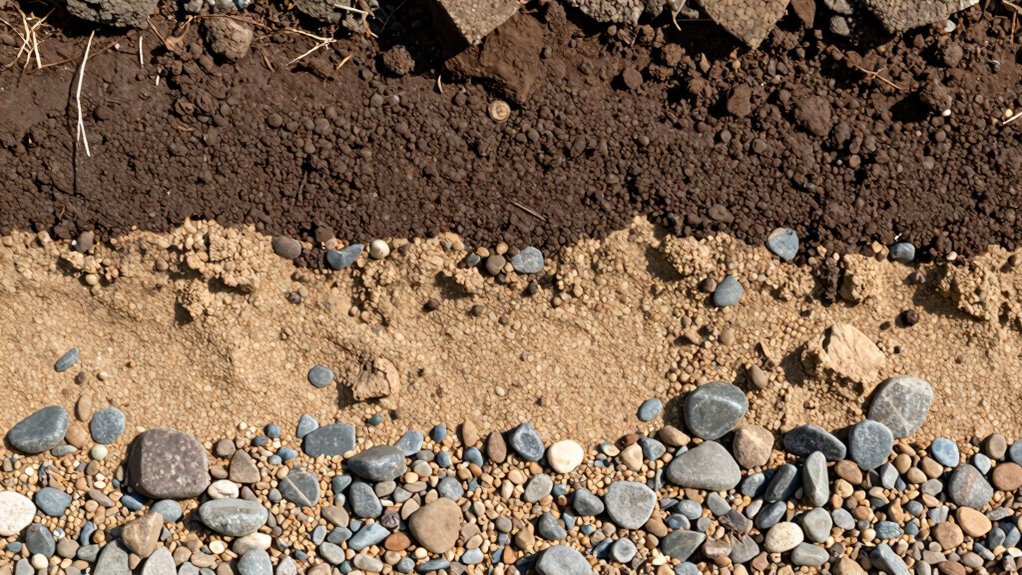
While compost and leaf mold improve clay soil’s surface structure, you’ll achieve more dramatic drainage results by installing coarse sand and gravel layers beneath the clay.
Dig trenches twelve inches deep where water pools frequently. Fill bottoms with two inches of coarse gravel, then add four inches of coarse sand. These materials create underground drainage channels that clay can’t form naturally.
Replace remaining soil, ensuring layers don’t mix. Coarse particles maintain pore spaces longer than fine materials, preventing compaction. Your drainage system works best when sand and gravel extend beyond clay boundaries.
Install perforated drain pipes within gravel layers for severe drainage problems. This subterranean infrastructure transforms soggy clay into productive growing areas that your garden community will envy.
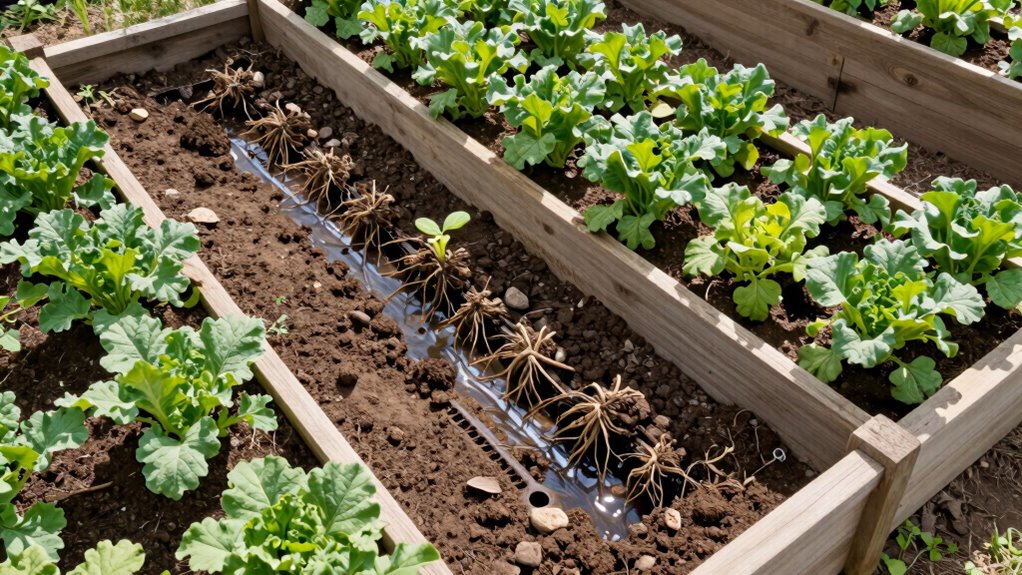
Plant Cover Crops Inside Clay Beds
When you plant cover crops inside clay beds, you’re establishing a biological solution that enhances soil structure through root penetration and organic matter production.
These crops break up compacted layers while their decomposing roots create natural channels for water flow.
Choose cover crops that thrive in clay conditions and provide maximum biomass:
- Winter rye – develops deep fibrous roots that penetrate hardpan layers and add significant organic matter when tilled under.
- Buckwheat – grows rapidly with taproots that break up surface compaction and produces quick biomass for soil improvement.
- Clover mixes – nitrogen-fixing varieties that create both organic matter and nutrient availability while their root systems enhance soil porosity.
Plant these crops during off-seasons when vegetable beds are empty.
Till them under before seed production to maximize organic matter incorporation and drainage benefits.
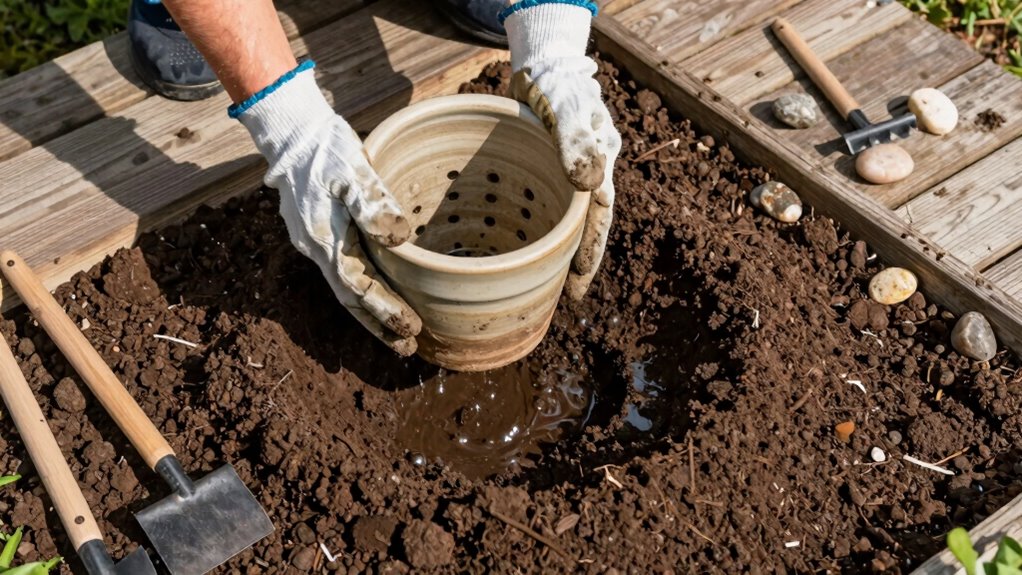
Build Raised Beds in Clay Soil Areas
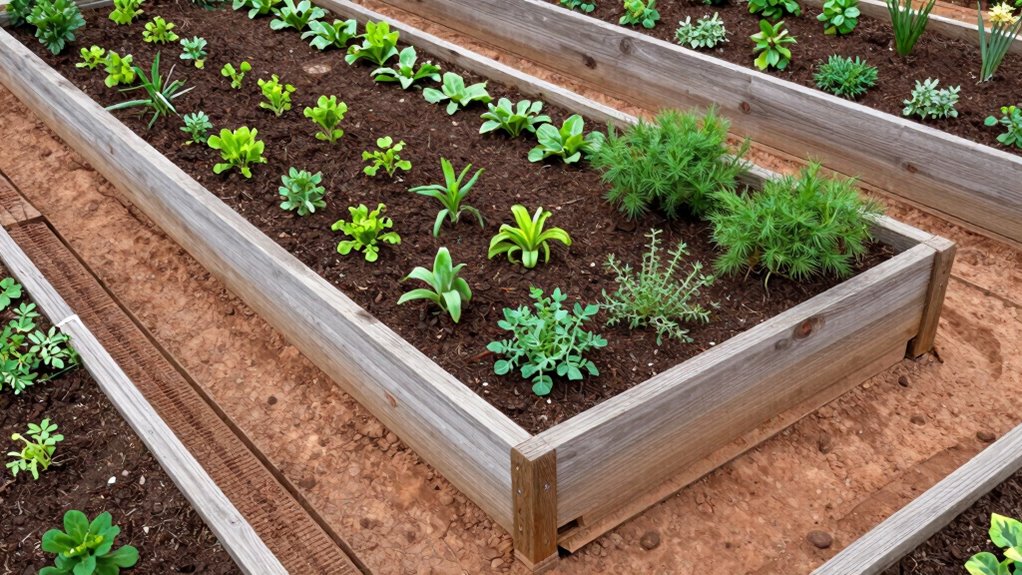
Raised beds offer a practical approach to overcoming drainage challenges in clay soil areas, building upon the structural improvements started with cover crops.
You should construct beds at least 12 inches high using materials like untreated lumber, concrete blocks, or stone. Fill them with well-draining soil mix containing compost, perlite, and coarse sand. This creates ideal growing conditions while preventing waterlogging that damages plant roots.
Guarantee proper bed width doesn’t exceed four feet for easy maintenance access. Install adequate spacing between beds for water runoff. The elevated structure allows excess moisture to drain away from plant roots efficiently.
Your raised bed system transforms problematic clay areas into productive growing spaces. Consider adding bottom drainage holes if using solid containers. This investment pays dividends through healthier plants and better harvests.
You’re creating an environment where crops thrive despite underlying clay conditions.
Dig French Drains Around Clay Areas
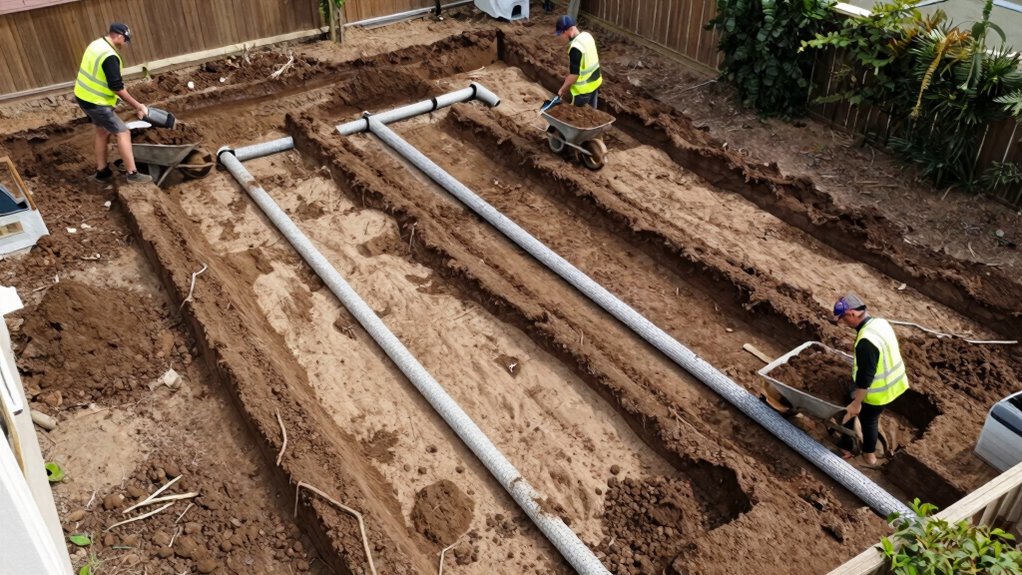
You should install a perforated pipe system that captures excess water before it saturates clay soil areas.
Position the drain lines at least 12 inches below surface level where water naturally pools or flows toward your foundation.
This system redirects problematic water away from structures while allowing clay soil to maintain better moisture balance.
Install Perforated Pipe System
Installing a perforated pipe system, commonly known as French drains, around clay areas greatly improves water movement through poorly draining soil.
You’ll need to dig trenches at least 18 inches deep and wide enough to accommodate the pipe with surrounding gravel. Position the perforated pipes with holes facing down to prevent clogging while allowing maximum water intake.
- Pipe selection: Use 4-inch diameter corrugated PVC pipes with evenly spaced perforations for ideal flow capacity
- Trench preparation: Line trenches with landscape fabric before adding washed gravel to prevent soil infiltration
- Gravel backfill: Surround pipes with 1-inch washed gravel, maintaining minimum 6-inch depth above pipe for effective drainage
You’re creating pathways that gravity naturally follows, directing excess moisture away from problematic clay zones toward more suitable exit points.
Redirect Water Away From Foundation
French drains installed around clay areas work best when they channel water away from your home’s foundation, preventing basement flooding and structural damage.
You’ll need to dig trenches at least 18 inches deep around problematic clay zones, maintaining a 2% slope away from foundations. Line trenches with landscape fabric, then add coarse gravel before placing perforated drain pipes. Make certain outlets direct water to safe discharge points like storm drains or swales.
Clay soil’s poor permeability makes proper grading vital – you’re creating artificial drainage pathways where nature failed. Connect French drains to existing downspouts and sump pumps for maximum effectiveness.
Regular maintenance prevents clogging from sediment and debris accumulation.
Grow Plants That Thrive Despite Clay Drainage
While clay soil presents significant drainage challenges, selecting appropriate plant species that naturally tolerate waterlogged conditions can transform problematic areas into thriving landscapes. You should choose plants with deep root systems that break up compacted soil while handling excess moisture effectively.
- Perennials: Hostas, astilbe, and daylilies tolerate clay’s water retention while establishing strong root networks that improve soil structure over time.
- Trees: River birch, bald cypress, and willow species naturally thrive in poorly drained conditions, providing canopy coverage while absorbing excess water through extensive root systems.
- Shrubs: Hydrangeas, spirea, and elderberry handle clay soil’s moisture challenges while adding seasonal interest and wildlife habitat to your landscape.
These plants create sustainable solutions rather than temporary fixes.
Stop Surface Compaction With Proper Mulching
You should apply organic mulch materials like wood chips, straw, or compost to prevent surface compaction that worsens clay soil drainage problems.
These mulch layers protect soil structure by absorbing impact from raindrops and foot traffic that would otherwise compress clay particles.
You’ll also reduce erosion while improving water infiltration rates through this protective barrier.
Organic Mulch Benefits
Organic mulch prevents surface compaction that commonly plagues clay soil by creating a protective barrier between heavy rainfall and the soil surface.
You’ll notice immediate improvements in soil structure when applying mulch correctly.
- Water infiltration increases – Mulch absorbs impact from raindrops, preventing soil particles from sealing together and allowing water to penetrate deeper into clay layers naturally.
- Root zone aeration improves – As organic matter decomposes, it creates air pockets that combat clay’s dense, suffocating properties, giving plant roots room to breathe and expand.
- Soil organism activity boosts – Earthworms and beneficial microbes thrive in mulched conditions, breaking down organic material while creating natural drainage channels throughout compacted zones.
Apply 2-4 inches of mulch annually, maintaining consistent coverage without smothering plant stems.
You’re building a supportive community ecosystem that transforms problematic clay into productive, well-draining soil.
Prevent Soil Erosion
Three key principles govern effective mulch application for preventing soil erosion in clay conditions.
You must apply mulch at ideal thickness—typically three to four inches—to create adequate protection without suffocating underlying plants. Clay soil’s tendency toward compaction makes proper mulching essential for maintaining surface permeability.
You should choose organic materials like shredded bark, wood chips, or composted leaves that decompose gradually, improving soil structure over time. Apply mulch evenly across slopes and high-traffic areas where erosion typically occurs.
Avoid piling mulch directly against plant stems, which can cause rot and attract pests. You’ll want to replenish mulch annually as it breaks down, ensuring continuous erosion protection.
Proper mulching stops surface compaction while allowing water infiltration, creating better drainage conditions in clay soils.
Don’t Work Clay Soil When Wet
Working clay soil while wet leads to compaction and structural damage that undermines your drainage improvements.
You destroy the soil’s natural pore structure when you work wet clay, creating dense layers that water can’t penetrate. This compaction reverses any progress you’ve made enhancing drainage.
Wait until soil moisture decreases before digging or amending.
Test readiness by squeezing a handful of soil – if it forms a tight ball that doesn’t crumble, it’s too wet.
- Clay particles swell when wet, making them sticky and prone to clumping
- Heavy equipment or foot traffic creates permanent compacted zones
- Wet clay becomes impermeable, trapping water and preventing root penetration
You’ll achieve better results working soil at ideal moisture levels.
When Soil Drainage Problems Need a Pro
When should you consider calling a professional for your clay soil drainage issues?
You need expert help when water accumulates more than two inches deep after moderate rainfall, creating standing water that persists for over 48 hours.
Professional assessment becomes essential when your yard slopes toward your foundation, basement walls show moisture stains, or neighbors experience similar drainage problems.
Compacted clay layers deeper than twelve inches require specialized equipment most homeowners lack.
If your soil tests reveal poor permeability rates below 0.5 inches per hour, you’re dealing with severe drainage issues that demand professional intervention.
Tree roots interfering with drainage systems, complex grading problems affecting multiple properties, or installation of French drains exceeding fifty feet in length indicate you’ve moved beyond DIY territory.
Professionals bring excavation equipment, soil analysis tools, and expertise in redirecting water flow effectively.
Maintain Clay Drainage Long-Term
Maintaining proper drainage in clay soil requires ongoing attention long after initial improvements are complete. You must monitor water flow patterns regularly, especially after heavy rains or seasonal changes.
Clay soils compact easily, so preventing surface sealing becomes essential for sustained drainage performance.
You should implement these long-term maintenance strategies:
- Annual aeration: Core aerate compacted areas every spring to maintain pore space and prevent water pooling
- Mulch management: Apply organic mulch layers consistently to protect soil structure and promote beneficial microbial activity
- Drainage system inspection: Check French drains, swales, and grading twice yearly to verify they’re directing water away from problem areas
Regular soil testing helps you track pH levels and organic matter content, confirming your clay soil maintains ideal drainage characteristics throughout different growing seasons.
Conclusion
You’ve learned that clay soil drainage coincides with proper testing, amendment, and maintenance. By adding organic matter, using coarse materials, and implementing mulching techniques, you transform problematic clay into productive garden beds. Don’t forget to check drainage regularly and avoid working wet soil. When problems persist, consider professional help for long-term success.
