

Most woodworkers don’t realize that using the wrong grit progression can double your sanding time. You’re about to discover how selecting the right grit sequence transforms rough lumber into glass-smooth surfaces ready for staining. Starting with the proper grit prevents deep scratches that ruin finishes and waste hours of work. Let’s explore which grits cut fastest and why your project’s success depends on proper grit selection.
Which Grit to Use First: A Quick Start Guide
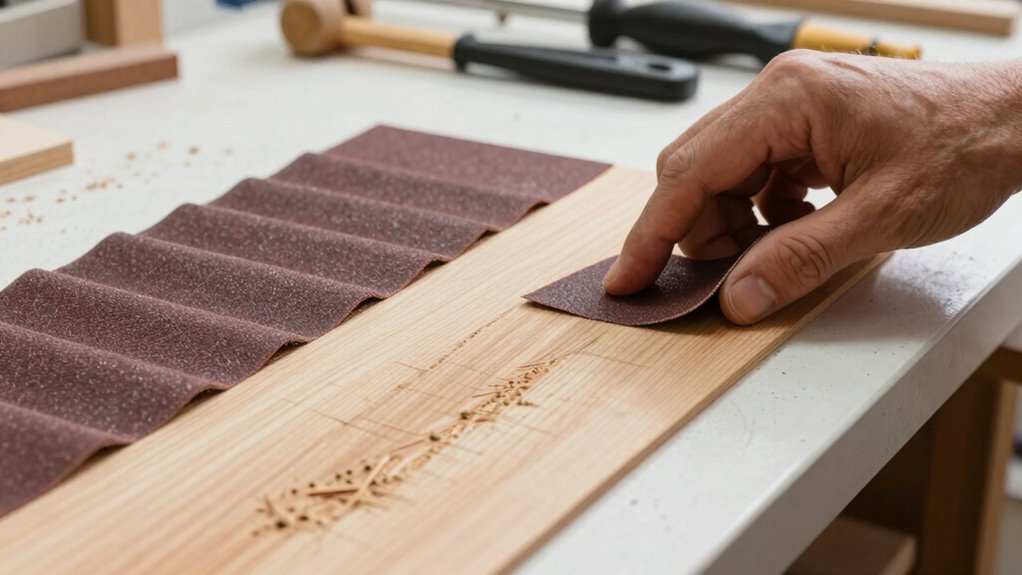
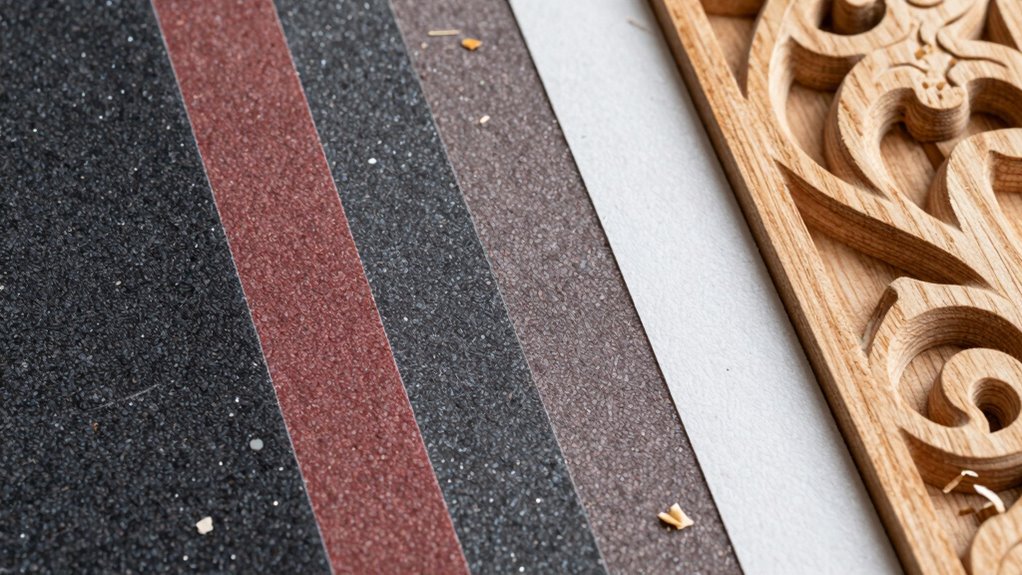
When you’re starting a wood project, choosing the right sandpaper grit first can make or break your finish. You should begin with 80-120 grit for rough shaping and removing mill marks.
Don’t skip this important step thinking you’ll save time. Starting too fine leaves scratches that finer grits can’t remove efficiently.
If you’re new to woodworking, stick with 100-grit aluminum oxide paper. It cuts fast, lasts long, and works on most woods.
You’ll feel more confident progressing through grits systematically. Test your chosen grit on scrap wood first – you’ll see exactly how it performs.
Remember that grit progression matters. Each step removes the previous grit’s scratches while smoothing the surface.
You’re not just sanding – you’re creating the foundation for your project’s success. Take time with this initial stage.
Your finished piece will show everyone you belong in the workshop.
Strip Old Finish: Grits That Cut Fastest
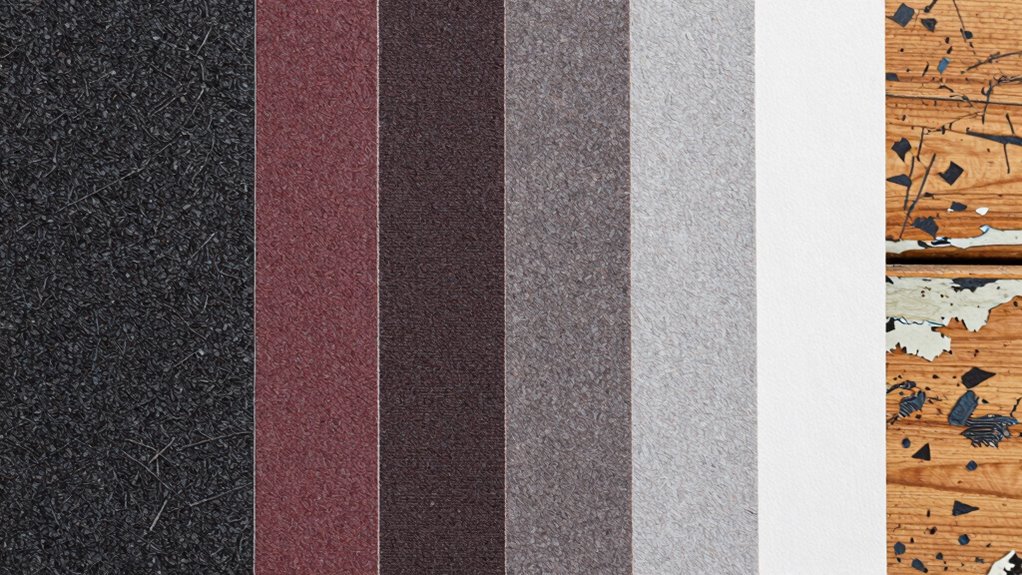
You’ll want to start with coarse grits when stripping old finish because they cut through paint and varnish fastest.
Medium grits work best for smoothing rough surfaces once the old finish is removed.
Fine grits prepare your wood surface for new finish application.
Coarse Grits Remove Finishes Fast
80-grit sandpaper strips away old finishes quicker than finer grits due to its aggressive cutting action. You’ll remove paint, varnish, and stain rapidly when you use coarse grits as your starting point. The sharp, jagged particles tear through cured finishes faster than smooth abrasives.
Don’t hesitate to use 60 or 80-grit when tackling heavily finished surfaces. These grits cut deepest and remove material quickest. You’re not trying to achieve a smooth surface yet – that comes later. Focus on stripping first. Coarse grits save you time and elbow grease compared to starting with medium grits.
Work systematically across your project, letting the paper do the heavy lifting. You’ll see dramatic results fast, revealing the bare wood underneath.
Medium Grits Smooth Surfaces
Medium grits like 120 and 150 quickly smooth rough surfaces after stripping. You’ll want these when you need to remove old finish efficiently while preparing wood for finishing.
These grits cut faster than finer options, making them ideal for initial surface preparation.
Start with 120 grit to knock down stubborn remnants from aggressive stripping. Work systematically across the grain, maintaining even pressure.
Switch to 150 grit once scratches disappear and surfaces feel consistently smooth. Don’t skip this progression – rushing causes uneven results.
You’re not aiming for glass-smooth perfection yet. Instead, focus on creating uniform texture that accepts stain or paint properly.
Pay attention to edges and corners where finish tends to accumulate. These medium grits bridge the gap between aggressive removal and final smoothing stages effectively.
Fine Grits Prepare Wood
Fine grits like 220 and 320 remove the last traces of old finish while smoothing wood for final finishing.
You’ll want to work systematically through these finer grits, paying attention to how each pass eliminates scratches left by coarser sandpaper.
Don’t rush this stage – taking time here guarantees professional results. For stubborn old finishes, start with 150 grit before moving to 220.
Keep your sandpaper clean and sharp; dull paper creates more problems than it solves.
Feel the wood’s surface frequently – you’re looking for that glass-smooth texture.
Wipe away dust regularly to check your progress visually.
Fine grits cut slower but deliver superior surface quality essential for stain absorption and finish adhesion.
Smoothing Surfaces With Medium Grits
You’ll want to choose medium grits between 120 and 180 for smoothing surfaces after stripping, since they remove scratches left by coarser paper while preparing the wood for finer finishing grits.
Start with 120-grit to knock down any remaining rough spots, then work your way up to 150 or 180-grit for a smooth surface that’s ready for staining or sealing.
These medium grits give you the control you need to eliminate imperfections without removing too much material.
Medium Grit Selection Tips
When working with wood surfaces that need smoothing, 120- to 150-grit sandpaper removes scratches left by coarser grits while preparing the surface for finer finishing.
You should always sand with the grain to avoid cross-hatching marks that’ll show through your finish. Test your grit selection on a scrap piece first – what works for one wood species might tear up another.
Pressure matters too; let the sandpaper do the work instead of pressing hard. You’ll know you’ve chosen the right grit when the surface feels smooth but still has slight texture.
Don’t skip around grits – progress systematically from coarse to medium to fine. Keep your sandpaper clean by tapping off dust frequently.
Wet-dry paper works well for medium grit applications when you need extra smoothness. Remember that denser woods require more attention to grit progression than softer materials.
Surface Preparation Methods
While medium grits like 120- to 150-grit sandpaper effectively smooth wood surfaces, proper technique verifies you achieve the best results without damaging the material.
You should always sand with the grain, moving in smooth, even strokes. Apply consistent pressure and avoid dwelling in one spot too long.
Check your progress frequently by running your hand over the surface to feel for rough spots or splinters. Medium grits remove scratches from coarser sandpaper while preparing the wood for finer grits.
Keep your sandpaper clean by tapping off debris regularly. If you’re working on a project with others, maintain consistent technique across all pieces to confirm uniform results.
This approach helps you blend seamlessly with experienced woodworkers.
Prepping Wood for Stain: Why Fine Grits Matter
Fine grit sandpaper creates the smooth foundation your wood needs to accept stain evenly, and skipping this step leads to blotchy, uneven results.
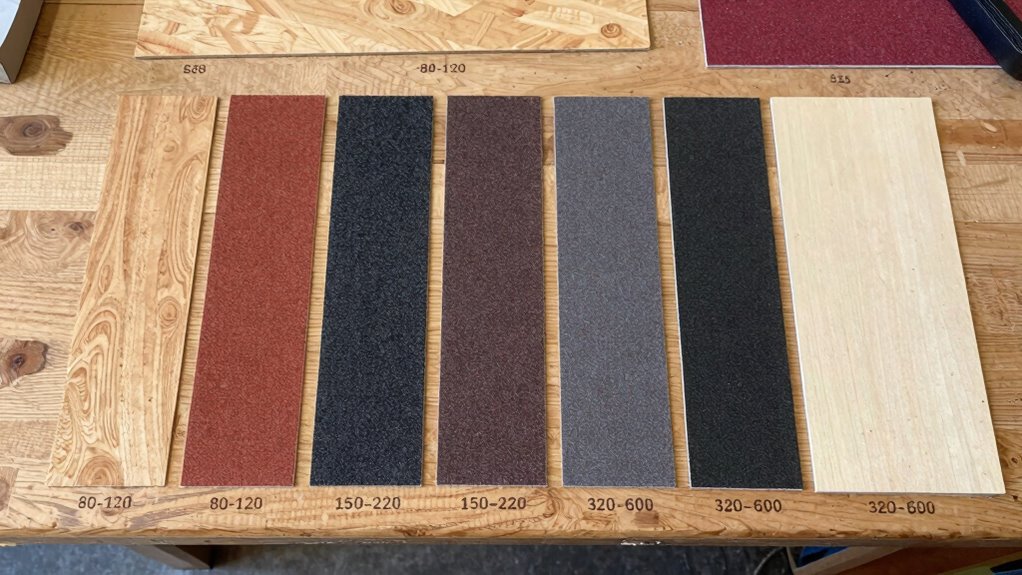
You’ll want to work through grit progression systematically. Start with coarser grits to remove imperfections, then move to finer grits like 120, 150, and finally 180-220. These finer grits eliminate scratches and create the smooth surface that guarantees consistent stain penetration.
Stain sits on the wood’s surface and penetrates into pores. If you leave scratches or rough spots, the stain collects unevenly.
Fine grits matter because they create uniform texture. Your final sanding should feel like silk under your fingers.
Don’t rush this process. Take time to sand thoroughly with fine grits. The extra effort pays off when you achieve that professional, even finish you’re aiming for.
Your project deserves this attention to detail.
The Right Progression: Avoid Deep Scratch Marks
Although you might be tempted to start with a coarse grit to quickly remove imperfections, beginning with too aggressive a sandpaper can create deep scratches that are difficult to eliminate later.
You should always progress systematically through grits, moving from coarse to fine. Start around 80-100 grit for rough shaping, then jump to 120-150 grit to smooth out scratches. This approach prevents you from fighting deeper marks later.
Skipping grits creates problems. Each subsequent grit should remove the scratches left by the previous one.
You’ll achieve better results working patiently through proper progression rather than rushing. Remember that sandpaper progression matters more than speed. Your finished piece will thank you for taking time with each grit level.
Final Prep: Grit Between Finish Coats
You’ll want to use fine-grit sandpaper between finish coats to smooth any raised grain or imperfections.
Lightly sand the surface with 220-320 grit paper, then wipe away all dust particles with a tack cloth.
This final prep guarantees proper adhesion for your next finish coat.
Surface Smoothing Techniques
The final sanding stage requires 220- to 320-grit paper for smoothing between finish coats.
You’ll want to sand lightly with the grain, using barely enough pressure to remove any raised grain or minor imperfections.
Don’t over-sand or you’ll create swirl marks that show through your finish.
Keep your sandpaper fresh – dull paper won’t cut effectively and may clog.
Work systematically across the entire surface, checking your progress frequently.
Sand just enough to create a smooth base for your next coat.
This step guarantees proper adhesion between finish layers while maintaining the wood’s integrity.
Your patience here pays off with professional results that’ll make you proud to show off your work.
Dust Removal Methods
Since you’ve just finished sanding between finish coats, removing every trace of dust becomes critical for achieving a flawless final result.
Start by vacuuming loose particles with a brush attachment, working from coarse to fine grit areas. Wipe surfaces clean using lint-free cloths dampened with mineral spirits or tack cloth solution.
Don’t overlook corners, edges, and detailed areas where dust accumulates. For stubborn particles, use a slightly dampened cloth with clean water, then immediately dry thoroughly.
Compressed air works well for blowing dust from intricate moldings and crevices.
Always check your work under good lighting, running your hands over surfaces to feel for remaining grit. Remember that even microscopic dust particles will show through your finish, so take time to guarantee complete removal before applying the next coat.
Finish Adhesion Preparation
Proper surface preparation makes all the difference when you’re ready to apply each finish coat.
You’ll want to use fine-grit sandpaper between coats to guarantee proper adhesion and smooth results. Start with 220-grit for your first sanding, then move to 320-grit for subsequent coats. Sand lightly in the direction of the wood grain, removing any raised fibers or imperfections.
Wipe away all dust thoroughly before applying the next coat. If you skip this step, your finish won’t adhere properly, leading to peeling or bubbling later.
Don’t rush this process – taking time to prep correctly means your project will look professional and last longer. Your effort shows in the final result.
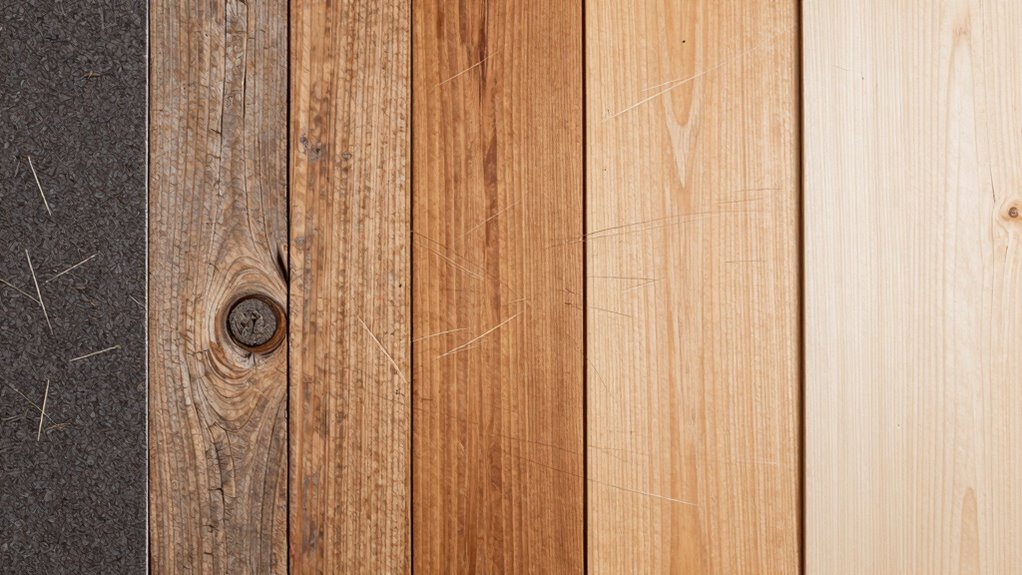
Softwoods vs Hardwoods: Sanding Grit Tips
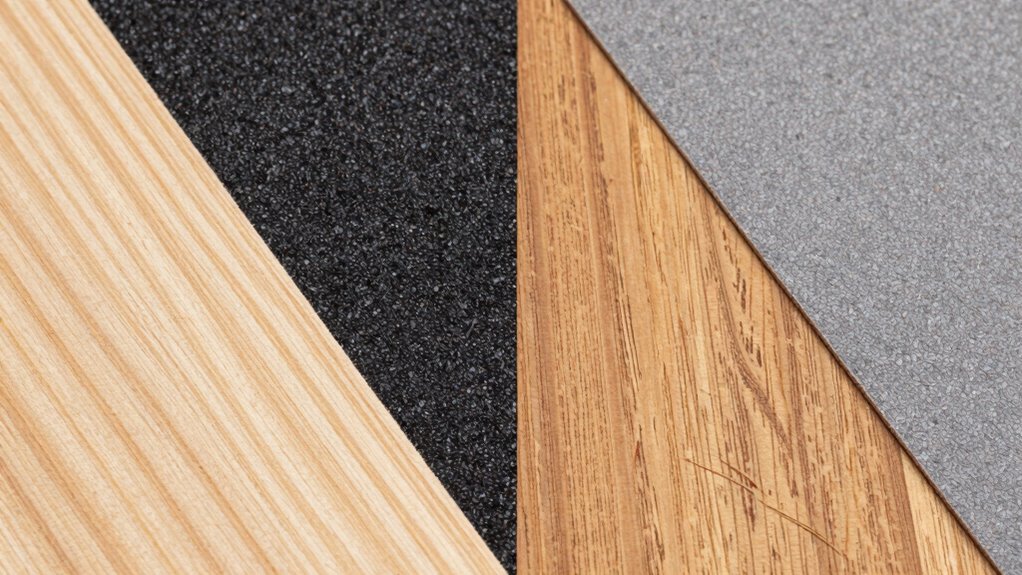
Softwoods like pine and cedar require different grit progression than hardwoods due to their varying densities and grain structures.
You’ll want to start with coarser grits when working softwoods, typically beginning at 80-100 grit to remove mill marks and scratches. Softwoods sand faster but 易导致 tear-out, so you shouldn’t skip grits.
Hardwoods like oak and maple need finer initial grits around 120-150 because they’re denser and more abrasive-resistant. You can progress more quickly through grits with hardwoods since they don’t tear as easily.
Both wood types benefit from finishing with 220-320 grit for smooth surfaces.
Remember that softwoods require lighter pressure to avoid gouging, while hardwoods can handle more aggressive sanding.
Your final grit choice depends on your intended finish and personal preference for surface smoothness.
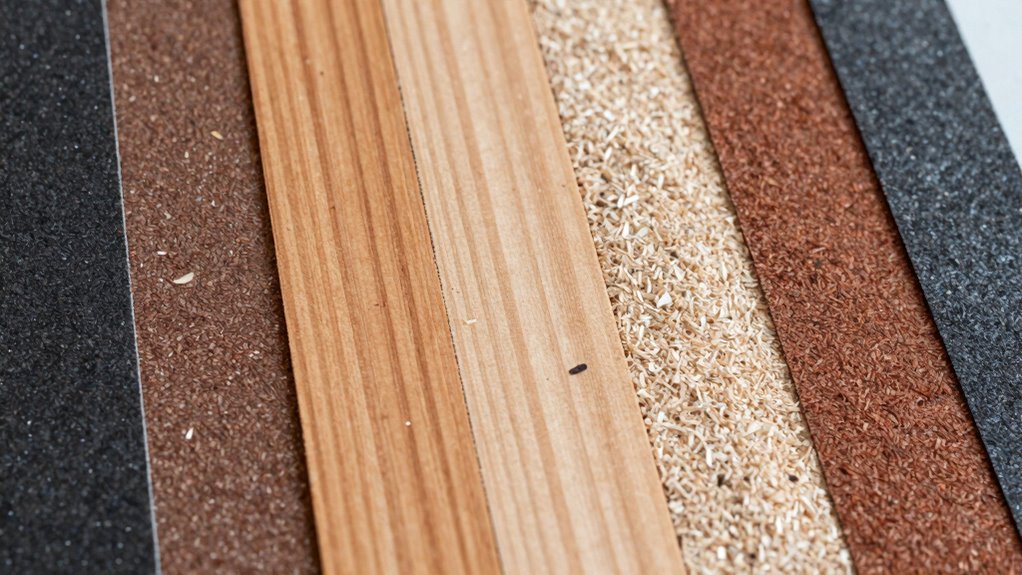
Plywood and MDF: Best Sanding Grits
Plywood and MDF demand different grit strategies than solid woods due to their composite nature.
You’ll want to start with 80-100 grit to remove mill marks and surface irregularities. These materials often have glue lines and voids that require aggressive initial sanding. Progress to 120-150 grit to smooth rough surfaces and prepare for finishing.
Unlike solid wood, plywood’s cross-grain construction means you don’t need to worry about grain direction as much. MDF sands uniformly in all directions.
For final sanding, use 180-220 grit to achieve smooth surfaces ready for stain or paint. Always sand with the grain when possible, even though it’s less critical than with solid wood.
Avoid over-sanding, which can expose core layers in plywood.
Curved and Intricate Wood: Grits for Detail Work
You’ll need to adjust your sanding approach when working with curved and intricate wood pieces. Start with 120-grit sandpaper to remove tool marks and rough spots efficiently.
Progress to 150-grit for smoothing curved surfaces without removing too much material. For detailed areas, switch to 180-grit to achieve a finer finish. Use 220-grit for your final sanding pass, ensuring all scratches are gone.
Curved sections require flexible sanding blocks or your fingers wrapped in sandpaper. Intricate details demand patience and smaller sandpaper pieces.
Don’t rush through grit progression on complex curves. Feel the wood’s surface with your fingertips between each grit change. Maintain consistent pressure while following the wood’s natural contours.
This methodical approach guarantees professional results every time.
Match Grit to Tool: Power vs Hand Sanding
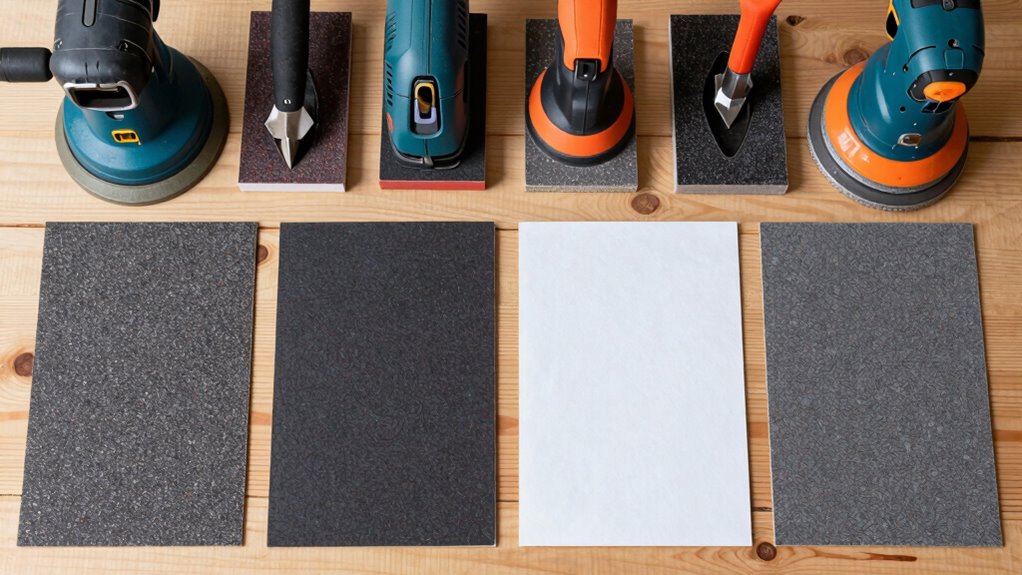
Power sanders require different grit progression than hand sanding due to their aggressive material removal rate.
You’ll want to start with coarser grits like 60-80 for power tools, then jump to medium grits like 120-150 before finishing. Hand sanding demands gentler progression: begin at 100-120 grit and work upward by smaller increments.
Power tools remove material quickly but leave deeper scratches, so you must be more strategic with grit jumps. Hand sanding offers better control and removes less material per pass.
Choose drum sanders for aggressive stock removal, orbital sanders for general smoothing, and detail sanders for tight spots. Your tool choice dictates your grit sequence, so match them appropriately for best results.
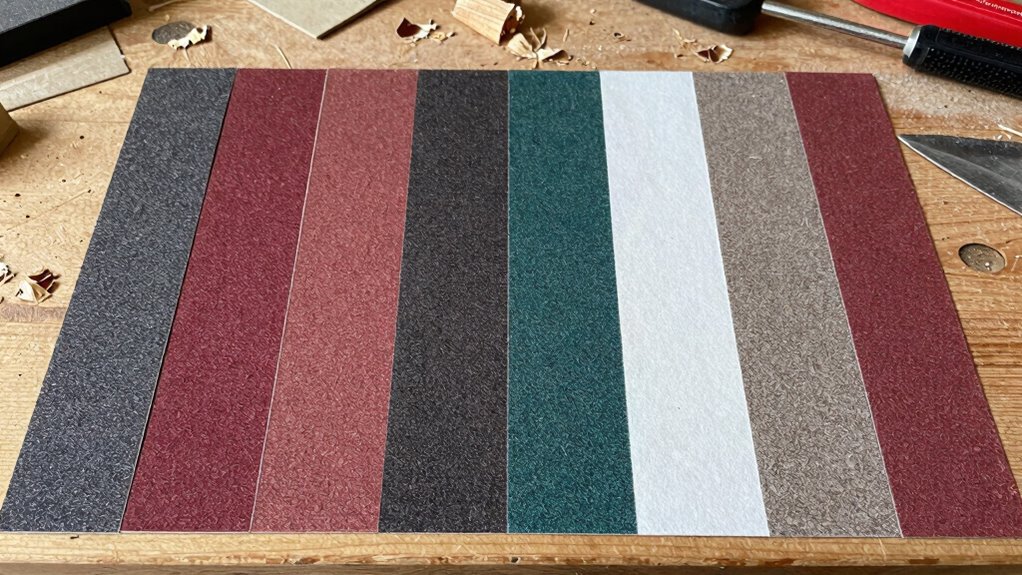
Grit Mistakes That Ruin Finishes
Skipping grits or using the wrong sequence can destroy an otherwise perfect finish.
You’ll create scratches that show through stain or paint, leaving you with a blotchy, unprofessional result that screams amateur hour.
These common grit mistakes sabotage your hard work:
- Jumping from coarse to fine grits too quickly, leaving deep scratches
- Using the same grit for entire project regardless of wood type or condition
- Starting with too fine a grit on rough surfaces, wasting time and effort
- Sanding with dirty sandpaper that clogs and creates inconsistent finishes
You’re not alone in making these errors – everyone learns through trial and error.
The key is understanding that each grit prepares the surface for the next, creating that smooth foundation you crave for professional-looking results.
Wet vs Dry Sanding: Grit Matters
While both wet and dry sanding methods have their place in woodworking, choosing the right grit becomes even more critical when you’re working with moisture.
Wet sanding requires finer grits initially since water softens wood fibers, making them easier to smooth. Start with 220-grit when wet sanding, then work up to 320 or 400-grit for glass-like finishes.
Dry sanding lets you use coarser grits effectively, so begin with 120 or 150-grit for rough shaping. You’ll progress through grits more aggressively when sanding dry.
Your choice between methods depends on your project’s requirements and personal preferences.
Wet sanding excels for finishing work, while dry sanding works better for initial shaping and material removal.
Outdoor vs Indoor Projects: Grit Selection
When you’re working on outdoor projects, you’ll need to account for environmental factors that don’t affect indoor work.
Weather, UV exposure, and moisture levels demand different grit choices than controlled indoor environments.
Outdoor projects require more aggressive initial sanding to remove weathered surfaces and imperfections. You’ll want to start with coarser grits like 60-80 for rough stock removal.
- Weathered wood needs heavier grits – Start with 60-80 grit for sun-damaged surfaces
- Humidity affects finish adhesion – Use slightly finer grits in damp conditions
- UV damage requires extra stock removal – Budget extra time for surface preparation
- Temperature changes cause wood movement – Sand with grain using consistent pressure
Indoor projects allow finer grit progressions since controlled environments minimize surface degradation.
You can skip coarse grits entirely for pristine indoor木材 that hasn’t faced the elements.
Conclusion
You’ve got this! Remember, 80% of woodworkers skip proper grit progression and end up with scratch marks. Don’t be part of that statistic. Start coarse, work your way up, and always sand with the grain. Your project deserves the extra effort for a flawless finish.
