

You’re about to discover why your wood finishing efforts keep falling short. Those frustrating streaks and uneven spots don’t have to be permanent. Proper preparation makes all the difference, but most people skip essential steps that separate amateur results from professional quality. What if you could achieve glass-smooth finishes consistently? The real secret lies in understanding how wood grain, stain selection, and application technique work together. Keep going to learn the specific methods that eliminate those embarrassing streaks for good.
Choose the Best Stain for Your Project
Why should you settle for a stain that doesn’t complement your wood’s natural beauty? You shouldn’t. Your project deserves better.
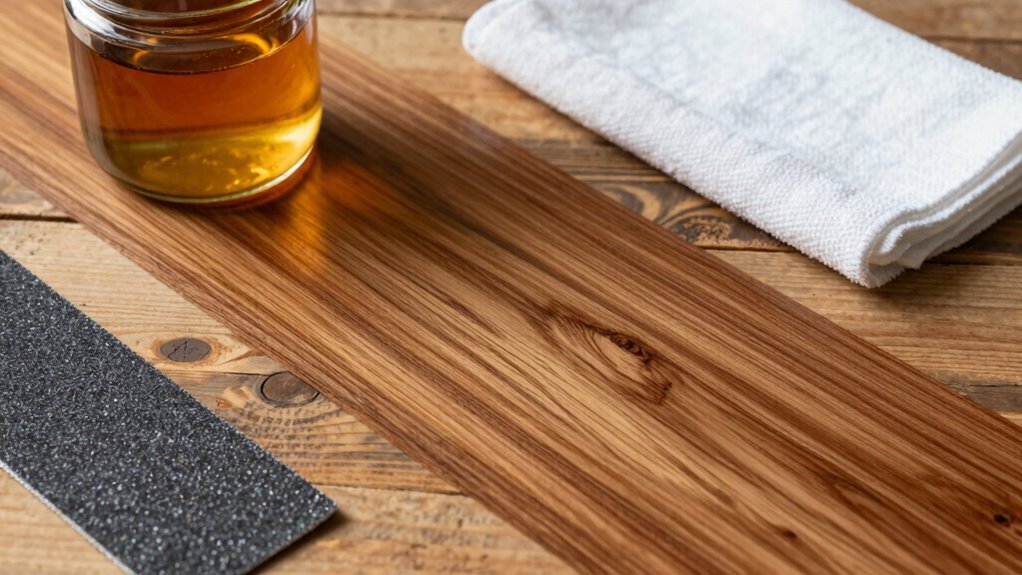
Choose stains that enhance grain patterns and highlight the wood’s unique characteristics. Oil-based stains penetrate deeper, creating richer colors that last longer. Water-based options dry faster but may not penetrate as thoroughly. Gel stains work excellently on vertical surfaces, preventing drips and runs.
Consider the final environment too. Outdoor projects need UV-resistant formulas. Interior pieces can use decorative stains that accentuate warmth and depth.
Test stains on scrap wood first. This simple step prevents costly mistakes and guarantees you achieve that professional finish you want.
Your woodworking community will notice the difference. Make your project stand out by selecting the right stain from the beginning.
Identify Your Wood Species Before Starting
Knowing which stain complements your project starts with understanding what type of wood you’re working with.
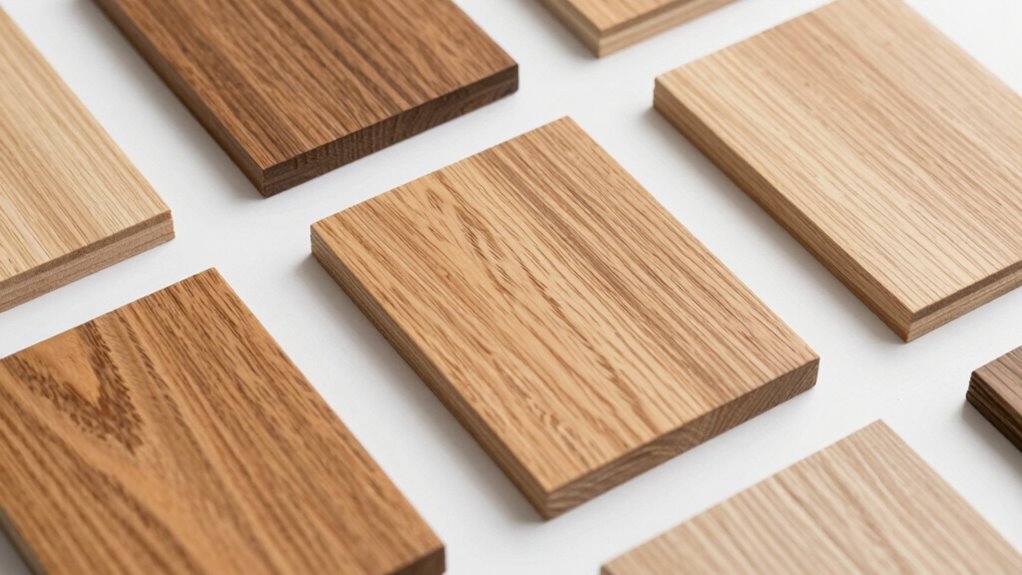
Different woods absorb stain differently, affecting your final result. You need to identify whether you’re working with hardwood or softwood before applying any finish.
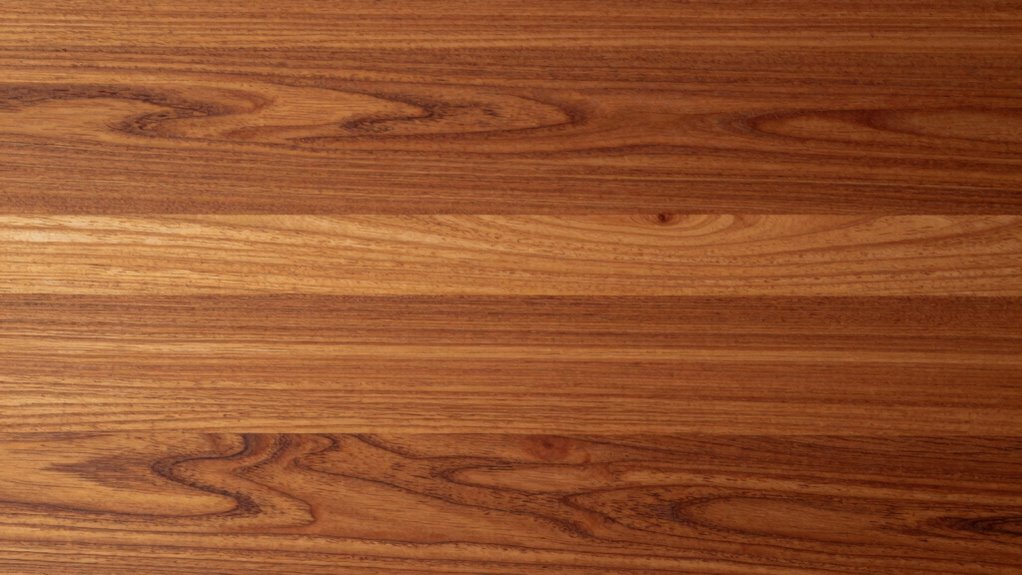
Hardwoods like oak, maple, and cherry have distinct grain patterns that require specific staining approaches.
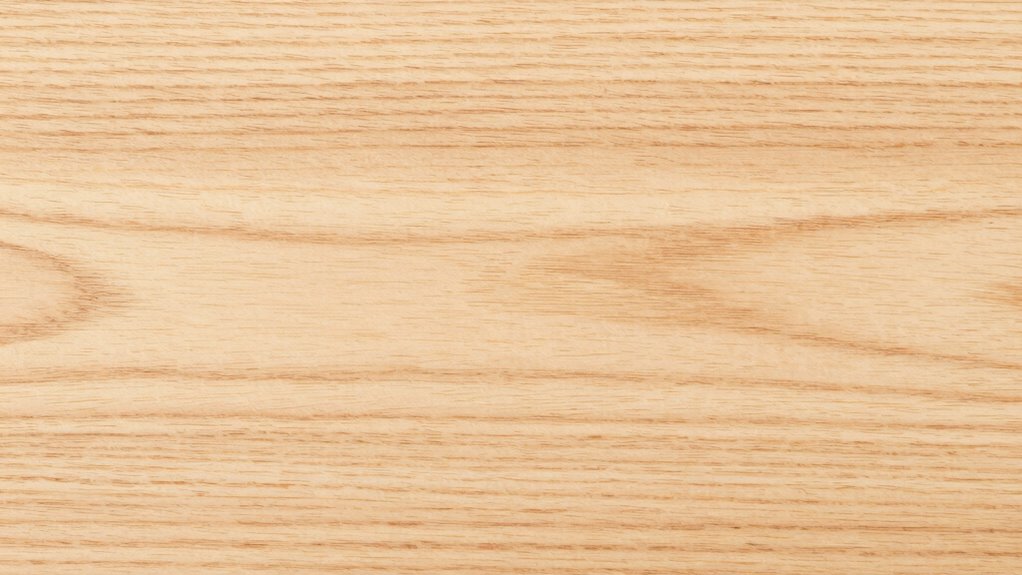
Softwoods including pine and cedar absorb stain more evenly but may need pre-treatment.
- Examine the grain pattern closely – Hardwoods show complex, varied grains
- Check the wood’s weight and density – Hardwoods feel heavier and denser
- Look at the end grain – Hardwoods display tighter, more pronounced growth rings
Identifying your wood species prevents costly mistakes and guarantees professional results.
You’ll achieve that smooth, streak-free finish you want.
Prep Wood Surfaces for a Flawless Finish
Before you apply any stain or finish, you must properly prepare your wood surfaces to secure a flawless result.
Start by cleaning your wood thoroughly, removing all dirt, grease, and debris with a tack cloth or damp rag.
Sand your surface systematically, beginning with coarse grit and progressing to fine grit sandpaper. Always sand with the grain to avoid scratches.
Fill any imperfections with wood filler, then sand again once dry.
Remove all sanding dust completely using a vacuum and tack cloth.
Check for smoothness by running your hand over the entire surface. Address any rough spots immediately.
Proper preparation prevents blotchiness, assures even stain absorption, and creates the smooth foundation you need for professional-looking results that’ll make you proud.
Decide Between Oil-Based vs Water-Based Stains
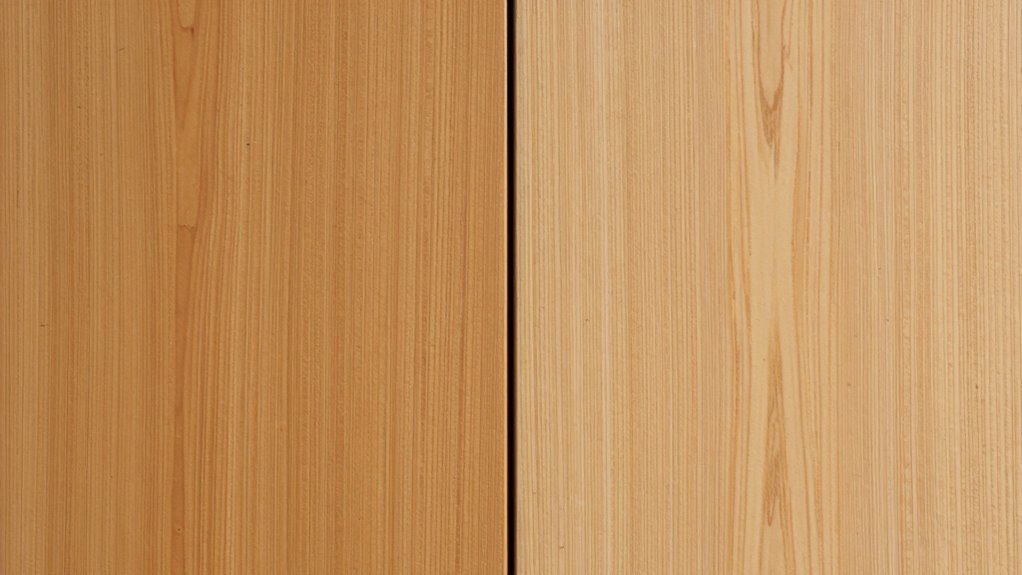
With your wood properly prepped and smooth to the touch, you’re ready to choose the right stain for your project. Your decision between oil-based and water-based stains affects your final results considerably.
Oil-based stains penetrate deeper, enhancing wood grain beautifully. They’re ideal for high-traffic areas since they’re more durable and moisture-resistant. However, they take longer to dry and require mineral spirits for cleanup.
Water-based stains dry faster and clean up easily with soap and water. They won’t amber or yellow over time like oil-based options. These work excellently on lighter woods where you want colors to remain vibrant.
Consider these key factors when choosing:
- Drying time requirements for your schedule
- Desired color longevity and appearance
- Maintenance and cleanup preferences
Your choice determines how smoothly your finish applies and looks long-term. Pick according to your specific project needs and desired outcome.
Test All Finishes on Scrap First
You should always test your chosen finish on scrap wood that matches your project’s species, as different woods absorb finishes differently.
Apply multiple thin coats rather than one thick layer, sanding lightly between each application to achieve maximum smoothness.
This preliminary testing prevents costly mistakes and guarantees your final piece meets your quality standards.
Choose Compatible Wood Species
Different wood species react uniquely to various finishes, so testing compatibility is vital for achieving smooth results. You shouldn’t assume that what works on one wood type will work on another.
Each species has distinct grain patterns, density, and porosity that affect how finishes penetrate and dry.
Before committing to your project, always test your chosen finish on scrap pieces of your actual wood species. This prevents costly mistakes and guarantees you achieve the smooth, streak-free finish you want.
Consider these important factors when selecting wood-finish combinations:
- Pine and other softwoods absorb finishes quickly but may raise grain
- Hardwoods like oak require pre-stain conditioners for even absorption
- Exotic woods often need specialized finishes to prevent blotching
Your project deserves professional results, so don’t skip this important compatibility testing step.
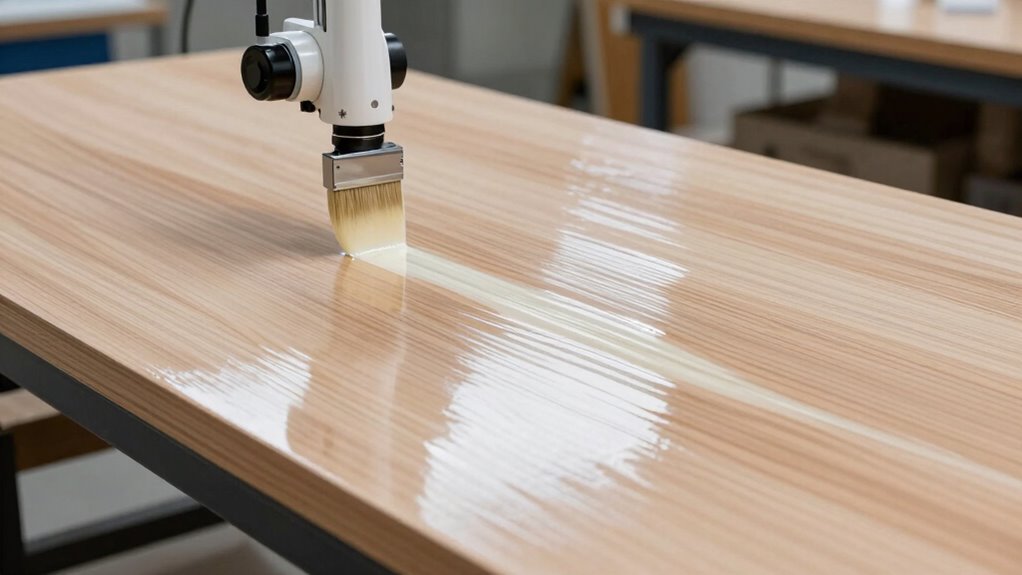
Apply Multiple Thin Coats
Applying multiple thin coats guarantees a smooth, professional finish that’s far superior to what you’ll get from thick applications.
Thick coats create runs, sags, and uneven coverage that ruin your project’s appearance. You’ll achieve better results by building up protection gradually with several light applications.
Always test your chosen finish on scrap wood first. This lets you see exactly how the product behaves on your specific wood type.
You’ll discover whether it raises the grain, creates blotchiness, or reacts unexpectedly. Testing prevents costly mistakes and assures you’re happy with the final look.
Work in a dust-free environment and maintain consistent application techniques.
Let each coat dry completely before applying the next one. Don’t rush this process – patience pays off greatly.
Your final result will showcase even coverage and professional-quality smoothness that you can be proud to display.
Sand Between Each Layer
Light sanding between coats removes any raised grain, brush marks, or surface imperfections that appeared during drying. You’ll achieve professional results by using 220-grit sandpaper with light pressure. This step guarantees each layer bonds properly while maintaining a smooth surface.
Don’t skip this vital step because:
- Dust particles will show through subsequent coats if not removed
- Poor adhesion occurs between incompatible surfaces
- Visible scratches become more pronounced with additional layers
Sand in the direction of the wood grain using a sanding block for even pressure. Wipe away all dust with a tack cloth before applying the next coat.
Test this process on scrap wood first to perfect your technique and verify compatibility with your chosen finish. Your final result will showcase the smooth, streak-free appearance you desire.
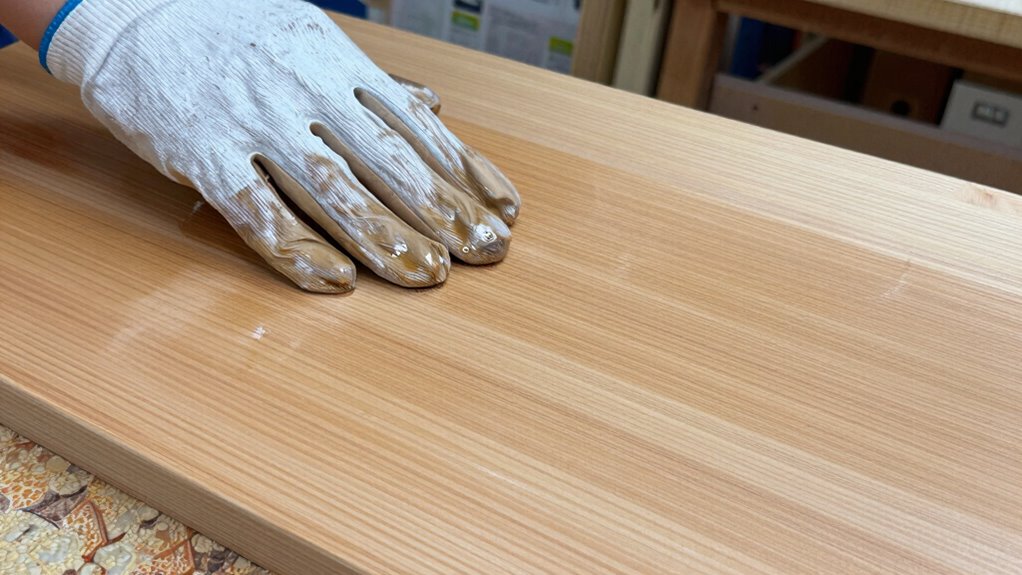
Apply Pre-Stain Conditioner Where Needed
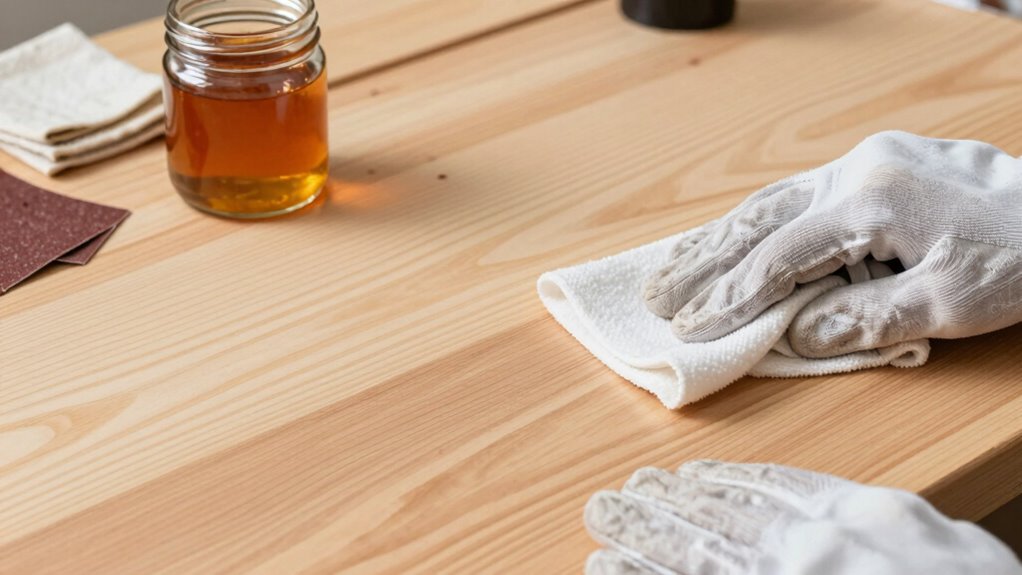
While you’re preparing wood for staining, you’ll want to apply pre-stain conditioner to prevent uneven absorption that can cause blotchy results. Certain woods like pine, cherry, and maple absorb stain irregularly, creating dark and light patches.
You should test your wood first by applying a small amount of stain to see how it reacts. If you notice uneven coloring, apply pre-stain conditioner immediately. Use a clean cloth or brush to spread the conditioner evenly across the surface.
Work in long, smooth strokes following the wood grain. Don’t let the conditioner dry completely – you’re ready for staining when it’s mostly absorbed but still slightly tacky. This extra step guarantees professional-looking results that’ll make your project stand out.
Skip this step only on hardwoods that absorb stain uniformly, like oak or walnut.
Master the Art of Even Staining
You’ll achieve professional results by selecting premium staining products that match your wood type and desired finish.
Apply thin, even coats using a quality brush or cloth, working with the grain to prevent lap marks and uneven absorption.
These fundamental techniques guarantee smooth, consistent color that enhances your wood’s natural beauty.
Choose Quality Staining Products
One key factor that separates professional-looking wood finishes from amateur attempts is selecting high-quality staining products. You shouldn’t compromise on quality when choosing stains, as cheap products often contain inconsistent pigments that create uneven results.
Premium stains may cost more upfront, but they deliver superior color penetration and smooth application.
When evaluating staining products, focus on these essential qualities:
- Pigment consistency – guarantees even color distribution across wood surfaces
- Proper viscosity – allows smooth flow without drips or streaks
- Color accuracy – matches manufacturer samples reliably
Your choice of staining products directly impacts your final results. Low-quality stains frequently require multiple coats and extensive sanding between applications.
Don’t let poor product selection undermine your hard work. Invest in reputable brands that professionals trust. Quality staining products provide better coverage, reduce touch-up work, and deliver the polished finish you deserve.
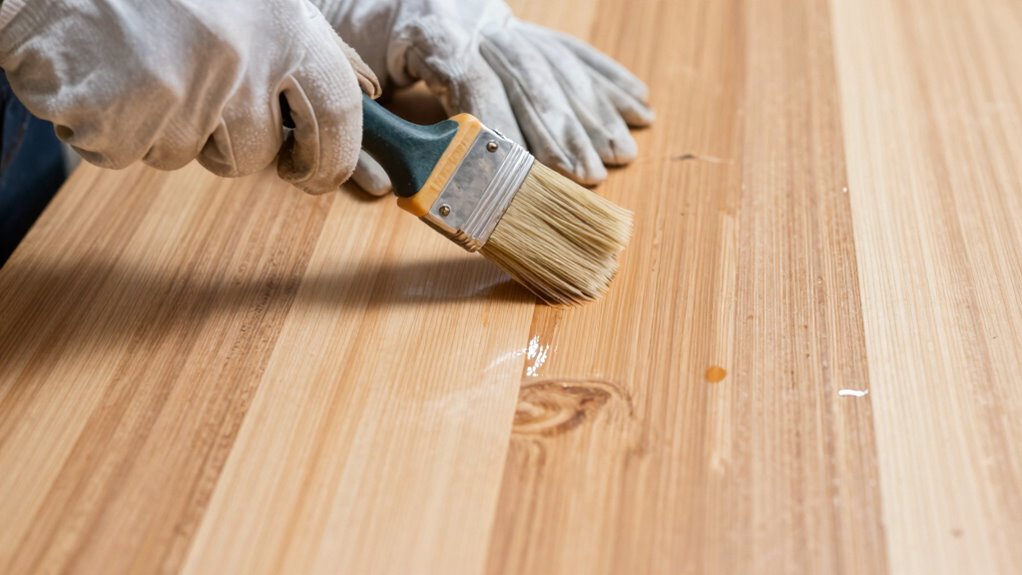
Apply Thin, Even Coats
Mastering the art of even staining requires applying thin, consistent coats that build up smooth, professional results.
You should work in long, smooth strokes following the wood grain pattern. Don’t rush or apply heavy pressure that creates puddles or thick spots. Keep your brush or cloth slightly damp but not saturated.
Work in small sections you can complete before the stain starts drying. Apply one thin coat, let it dry completely, then lightly sand with fine-grit paper. Remove all dust before adding the next coat.
Two to three thin coats deliver better coverage than one thick application. You’re creating even color distribution that professional finishers use. This technique prevents streaks, blotches, and uneven absorption that ruin otherwise good projects.
Your wood deserves this careful attention.
Use Proper Tools to Reduce Brush Marks
Brush marks can ruin an otherwise flawless wood finish, but proper tool selection makes all the difference.
You’ll achieve smoother results when you choose the right equipment for your project.
Don’t underestimate how much your brush quality affects the final outcome. Cheap brushes shed bristles and leave visible marks in your finish. Instead, invest in high-quality brushes designed specifically for your chosen finish type.
- Natural bristle brushes work best with oil-based finishes and provide excellent control
- Synthetic brushes perform effectively with water-based finishes and won’t leave bristle marks
- Foam brushes eliminate brush marks entirely but require careful handling to avoid streaks
Your tool choice directly impacts your success, so select wisely based on your specific finish and wood type.
Eliminate Lap Marks During Your Passes
Lap marks appear when wet finish overlaps with areas that have already started to dry, creating visible ridges and inconsistent texture. You need to work quickly and maintain a wet edge as you apply finish.
Keep your brush loaded with finish and avoid going back over areas that are beginning to set up. Work in long, smooth strokes following the wood grain. Don’t pause mid-stroke or you’ll create thick spots that dry differently.
Maintain consistent pressure and speed throughout each pass. If you notice the finish starting to drag or feel thick, you’re moving too slowly. Keep your movements fluid and continuous.
Work systematically across the surface, overlapping each stroke slightly while the previous area is still wet. This prevents those unsightly ridges that scream “amateur hour.” Stay ahead of the drying edge.
Apply Thin, Even Coats Automatically
One of the most common finishing mistakes is applying too much product in a single pass. You end up with runs, drips, and an uneven surface that requires extra sanding.
Instead, you should develop a consistent rhythm that applies thin, even coats automatically. Set your sprayer or brush to a steady pace and maintain constant pressure. Your technique becomes muscle memory with practice.
- Keep your wrist steady and move your entire arm
- Maintain consistent distance from the wood surface
- Apply overlapping passes at regular intervals
You’ll notice immediate improvement when you stop rushing and start trusting your automatic movements. The wood absorbs thin coats better, creating a professional finish without streaks.
Your confidence grows as you master this fundamental skill.
Count Exactly How Many Coats You Need
Three coats often make the difference between a good finish and a great one, but counting precisely how many you need prevents both under-application and over-saturation. You should assess your wood’s porosity and previous finish condition before starting.
Dense hardwoods typically require fewer coats than softwoods. Check manufacturer specifications for your specific product’s recommended application count. Don’t guess—measure your progress after each coat by observing coverage uniformity and surface smoothness.
If you see bare spots or uneven sheen, you need another coat. Stop when the surface looks uniformly smooth and professional. Remember that each coat should feel noticeably smoother than the last.
Your goal is achieving that perfect, streak-free finish that makes your project look like it belongs in any high-end furniture showroom. Precision matters more than speed.
Allow Ample Time Between Each Layer
Although you might be enthusiastic to complete your project quickly, allowing adequate drying time between coats is essential for achieving a smooth, professional finish. Rushing through layers creates uneven absorption and visible streaks that ruin your hard work.
You must patience each layer dry completely before applying the next coat. Environmental factors affect drying time considerably:
- Temperature and humidity levels impact how quickly finishes cure
- Wood type and porosity determine absorption rates
- Finish thickness affects surface drying versus penetration
Don’t sand between coats until you’re certain each layer has fully hardened. Test drying by gently touching the surface; if it feels tacky or leaves fingerprints, wait longer.
Remember that most wood finishes require minimum two-hour intervals, though thicker applications need four hours or more. Your patience during this waiting period separates amateur results from professional-quality work.
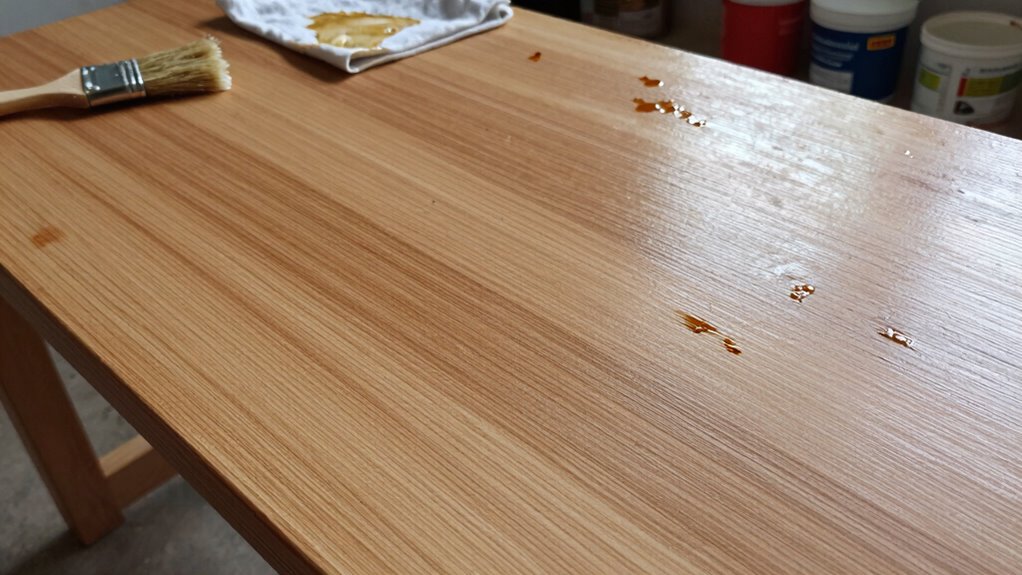
Troubleshoot Wet Streaks or Blotches Immediately
When you notice wet streaks or blotches appearing during application, act quickly to prevent them from becoming permanent defects.
Don’t wait for them to dry – immediate action saves your finish. Grab a clean cloth and gently smooth out excess finish in long, even strokes.
Work from the center outward to prevent spreading the problem. If streaks persist, lightly brush over the area with a clean applicator.
Keep your touch gentle – aggressive scrubbing creates more issues. Maintain steady pressure and consistent motion.
Remember that prevention beats correction every time. Stay alert during application and address problems immediately.
Your wood deserves professional treatment, and quick troubleshooting separates amateurs from craftsmen.
Keep working confidently, knowing you can handle any finish challenges that arise.
Light Sanding Between Finish Layers Works
You should lightly sand between finish layers to eliminate any imperfections and create a smooth base for your next coat.
This technique removes dust nibs, brush marks, and minor flaws that can compromise your final result.
Proper light sanding guarantees each layer adheres well and contributes to a professional, glass-smooth finish.
Light Sanding Techniques
Light sanding between finish layers works because it removes any raised grain, smooths out imperfections, and creates better adhesion for subsequent coats. You should use fine-grit sandpaper, typically 220-320 grit, for this process.
Focus on these key techniques:
- Sand lightly with the grain using smooth, even strokes
- Avoid aggressive pressure that might damage previous finish layers
- Keep sanding consistent across the entire surface
Maintain a steady rhythm and check your progress frequently. Sanding too heavily will create new problems and require additional finish coats.
Your goal is achieving that smooth, professional look that makes your project stand out. This step guarantees each finish layer bonds properly while maintaining the wood’s natural beauty throughout the entire finishing process.
Smooth Finish Application
Fine-grit sandpaper removes any remaining imperfections and creates the ideal surface for your next finish coat. You should lightly sand between each layer using 220-320 grit paper, depending on your wood’s condition. This step guarantees smooth adhesion and eliminates potential streaks.
Don’t skip cleaning afterward – wipe away all dust particles with a tack cloth or damp rag. Your future self will thank you for this extra effort.
Apply subsequent finish coats following the same meticulous process. Light sanding between layers works because it creates mechanical adhesion points for new finish while smoothing previous coats.
You’re not removing material aggressively; you’re simply preparing each layer to accept the next properly, ensuring professional results every time.
Maintain Ideal Temperature and Humidity
While temperature and humidity often seem like minor concerns, they greatly impact your wood finishing results. You need to control these environmental factors for smooth, streak-free finishes.
Keep your workspace between 70-75°F and maintain humidity levels around 40-50%. These conditions allow finishes to dry properly without developing issues.
- Temperature extremes cause finishes to dry too quickly or slowly, creating uneven surfaces.
- High humidity leads to cloudy, milky finishes and extended drying times.
- Low humidity makes finishes dry too fast, trapping bubbles and causing streaks.
Monitor conditions with reliable gauges. Adjust using dehumidifiers, humidifiers, or fans as needed.
Your effort to control temperature and humidity separates professional results from amateur mistakes, helping you achieve that flawless finish you want.
Compare Brush-on vs Spray Finish Techniques
Brush-on and spray finishing techniques each have distinct advantages for achieving smooth wood surfaces. You choose brush-on for better control and easier cleanup, especially on detailed or vertical surfaces where drips are problematic.
Spray finishing delivers ultra-smooth results without brush marks, making it ideal for large, flat areas. You’ll find spray techniques faster for extensive projects, while brush methods work better in tight corners.
Both require proper preparation and thin, even coats. You should consider your project’s scope, your skill level, and desired finish quality.
Brush-on feels more familiar and controllable, while spray techniques might intimidate beginners. You’ll achieve professional results either way when you master your chosen method’s specific requirements and application节奏.
Avoid These Common Finishing Mistakes
You’ll ruin your finish if you skip proper sanding between coats or use the wrong brush technique.
These mistakes create visible flaws that compromise both appearance and durability.
Let’s examine how to avoid these critical errors.
Skipping Sanding Steps
Skipping sanding steps might seem like a time-saver, but it’s one of the most common mistakes that leads to poor wood finishing results.
You’ll end up with streaks, bumps, and an uneven surface that screams amateur hour.
Don’t think you can rush through the process – each grit serves a specific purpose:
- Start with coarser grits to remove major imperfections and scratches
- Progress through medium grits to smooth out the previous scratches
- Finish with fine grits to create that glass-smooth surface you crave
Skipping from 120 to 220 grit? Big mistake.
You’re not saving time – you’re guaranteeing frustration.
Take pride in your work and sand properly.
Your finished piece will thank you, and you’ll join the ranks of woodworkers who know quality results come from patient, methodical preparation.
Using Wrong Brush Technique
The wrong brush technique can ruin hours of careful preparation and leave your wood finish looking amateurish.
You shouldn’t apply finish with aggressive, sweeping motions that create air bubbles and uneven coverage. Instead, work in long, smooth strokes following the wood grain.
Don’t overload your brush with finish – this causes drips and streaks that scream beginner. You’ll achieve better results by loading your brush lightly and applying thin, even coats.
Avoid brushing back and forth over areas you’ve already finished, as this introduces swirl marks. Keep your brush moving steadily forward.
Don’t rush the process or apply too much pressure, which distorts the finish texture. You belong among skilled woodworkers who understand that proper brush technique makes the difference between professional-looking results and disappointing failures.
Conclusion
You’ve learned the essential techniques for achieving smooth, streak-free wood finishes. Remember that 80% of professional woodworkers sand between coats, yet only 30% of DIYers do this critical step. Don’t skip this—light sanding removes dust nibs and creates better adhesion. Keep your workspace at 70°F with 50% humidity, apply thin coats, and always follow the wood grain. Your patience and attention to these details will transform rough wood into glass-smooth perfection.
