

Like a chef who sharpens their knife before slicing, you’ll achieve better results by preparing your soil properly before planting vegetables. Most gardeners skip this essential step, then wonder why their plants struggle. You’re about to discover the simple tests and adjustments that transform ordinary dirt into a productive growing medium. Ready to reveal your soil’s true potential?
Why Preparing Soil First Boosts Yield

When you properly prepare your soil before planting vegetables, you’re fundamentally laying the foundation for a successful harvest. Healthy soil structure allows roots to penetrate deeply, accessing nutrients and moisture essential for robust plant development.
You’ll discover that loose, well-draining soil prevents waterlogging while retaining adequate moisture levels plants need. Proper soil preparation creates ideal conditions for beneficial microorganisms that break down organic matter into plant-available nutrients.
These microbes form symbiotic relationships with plant roots, boosting nutrient uptake markedly. You’ll notice dramatic differences in plant vigor, disease resistance, and ultimately, your vegetable yield.
Taking time to amend soil pH, add compost, and guarantee proper drainage before planting means you’re investing in your garden’s future success. Prepared soil supports stronger root systems, leading to healthier plants that produce abundant harvests throughout the growing season.
Find Out What Soil You’re Working With
You need to identify your soil type first, whether it’s clay, sand, silt, or loam, because each type requires different preparation methods.
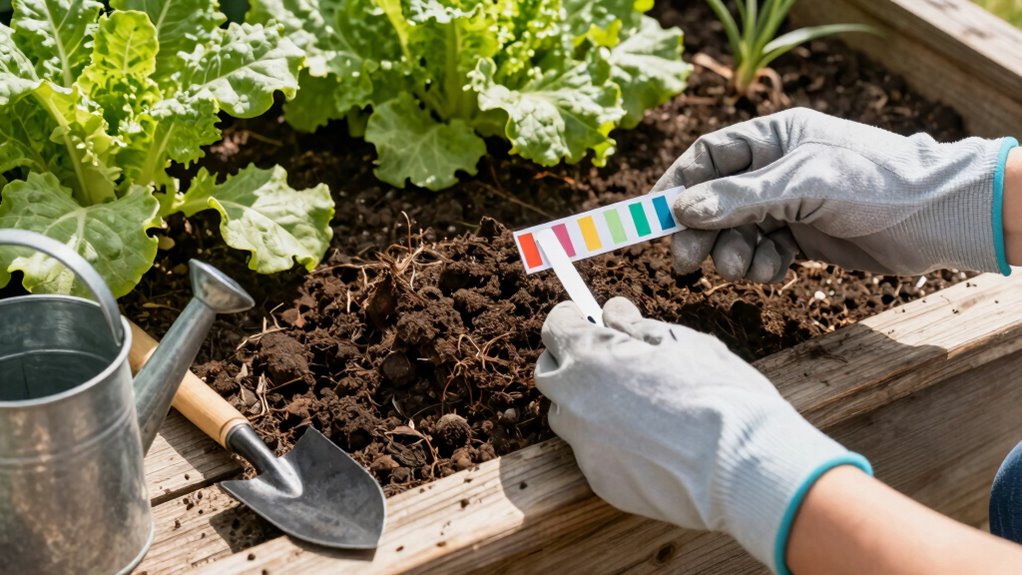
Test your soil’s texture and drainage by squeezing a handful of moist soil and observing how it holds together and drains water.
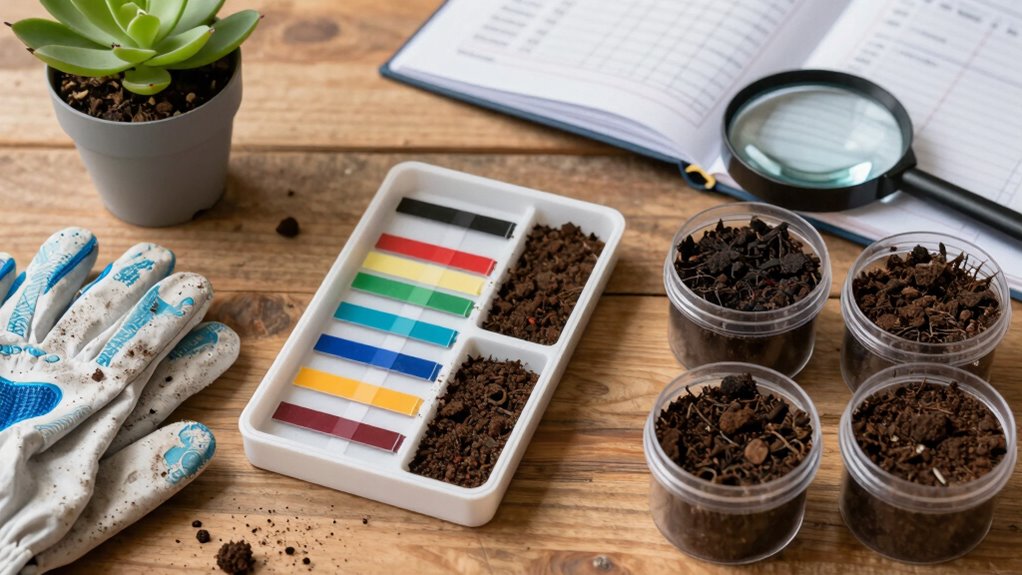
Check your soil’s pH level using a simple test kit or sending samples to your local extension office, since most vegetables thrive in slightly acidic to neutral soil between 6.0 and 7.0 pH.
Soil Type Identification
Before you can properly prepare your soil for vegetables, identifying what type of soil you’re working with becomes essential.
You need to understand your foundation before building anything successful.
- Clay soil feels sticky and dense when wet, often leaving you frustrated with poor drainage and hard, compacted areas that seem impossible to work with.
- Sandy soil crumbles easily through your fingers, drains too quickly, and leaves you worried about nutrients washing away before plants can absorb them.
- Loamy soil feels like gardener’s gold – it’s the perfect balance that makes you feel confident and excited about your growing potential.
Knowing your soil type helps you connect with other gardeners who share similar challenges and victories.
Texture And Drainage Test
Everyone needs to understand their soil’s texture and drainage capabilities before planting vegetables.
You can perform a simple test by grabbing a handful of moist soil and squeezing it. Sandy soil feels gritty and won’t form a ball, while clay soil feels smooth and forms a tight ball that won’t break apart. Loamy soil, the ideal type, feels slightly gritty but holds its shape when squeezed.
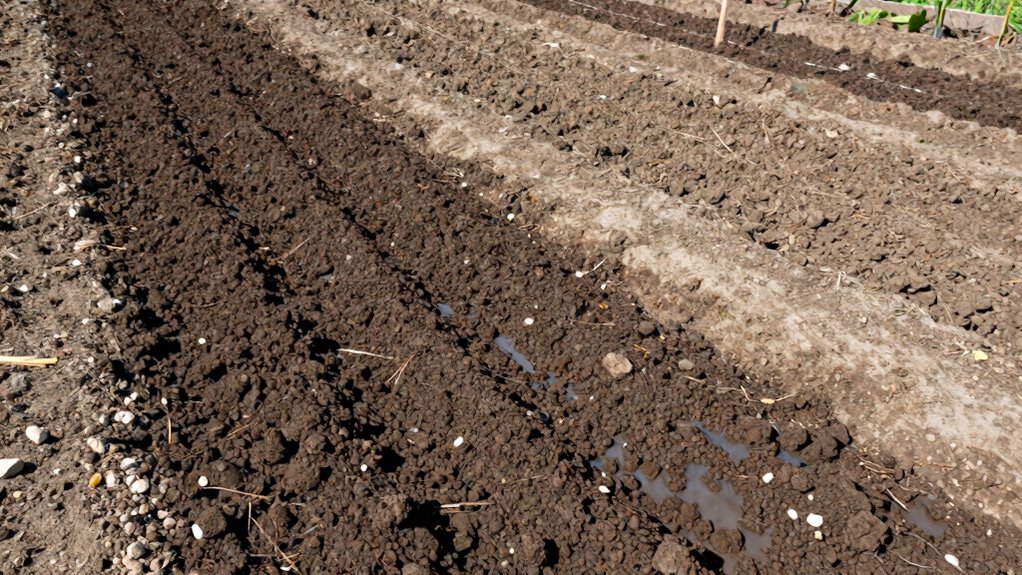
For drainage testing, dig a twelve-inch hole and fill it with water. If water drains within an hour, your soil drains well. Standing water after two hours indicates poor drainage.
Most vegetables need well-draining soil to prevent root rot and promote healthy growth.
PH Level Assessment
Understanding your soil’s drainage and texture sets the foundation for successful vegetable gardening, but knowing your pH level is equally important for plant health. You need to test your soil’s acidity because different vegetables thrive in specific pH ranges.
- Test your soil personally – Grab a home testing kit or send samples to your local extension office. You’ll feel empowered knowing exactly what you’re working with rather than guessing.
- Adjust accordingly – If your soil is too acidic, add lime to raise pH. Too alkaline? Incorporate sulfur or organic matter to lower it. You’re taking control of your garden’s success.
- Monitor regularly – pH levels shift over time due to rainfall, fertilizers, and decomposition. Test annually to stay connected with your soil’s changing needs.
Most vegetables prefer slightly acidic to neutral soil between 6.0-7.0 pH.
How to Test Soil pH & Nutrients Easily
You’ll need to test your soil’s pH levels to determine if it’s too acidic or alkaline for vegetables, which directly affects nutrient availability.
Check for common nutrient deficiencies like nitrogen, phosphorus, and potassium that can stunt plant growth or reduce yields.
Once you’ve identified these issues, you can adjust your soil composition with lime, sulfur, or organic matter to create the ideal growing conditions.
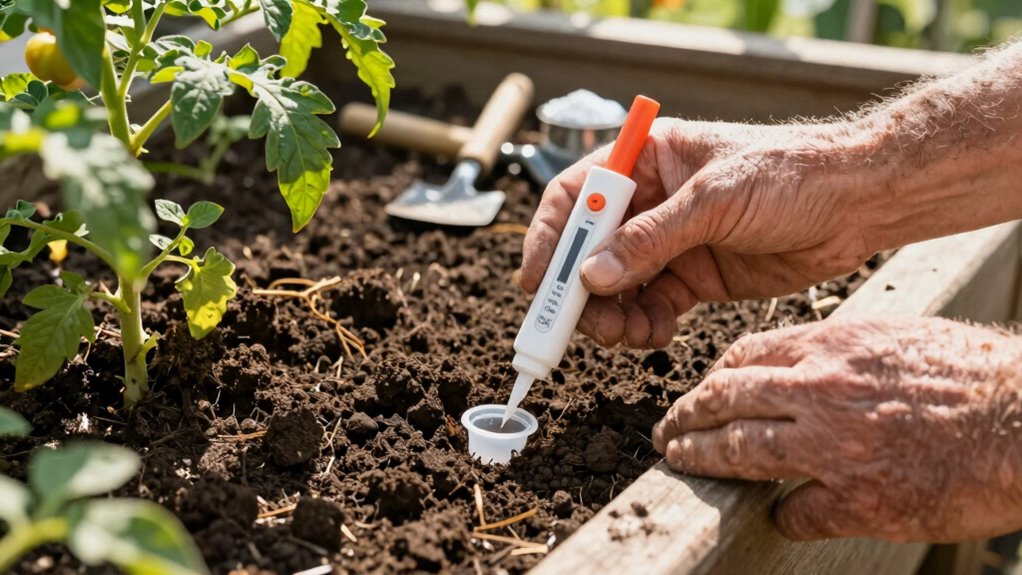
Test Soil Ph Levels
Before planting your vegetable garden, testing your soil’s pH levels provides essential information about nutrient availability and plant health.
You’ll discover whether your soil is acidic, neutral, or alkaline, which directly affects how well your plants absorb nutrients.
- Purchase a reliable soil test kit – You don’t want to guess about something so vital to your garden’s success.
- Collect samples from multiple spots – Your entire garden shouldn’t depend on one soil sample.
- Test early in the season – Gives you time to make necessary adjustments before planting.
Most vegetables thrive in slightly acidic to neutral soil, with pH levels between 6.0 and 7.0.
Testing now means you’ll join the community of gardeners who take charge of their soil health seriously.
Don’t skip this essential step.
Check Nutrient Deficiencies
While testing your soil’s pH levels reveals acidity or alkalinity, checking nutrient deficiencies tells you exactly what your soil lacks for ideal vegetable growth.
You’ll want to test for nitrogen, phosphorus, and potassium – the big three nutrients vegetables need most. Purchase a soil test kit from your local garden center or send samples to a county extension service. Follow package directions carefully for accurate results.
Watch for signs like yellowing leaves, stunted growth, or poor flowering, which indicate specific deficiencies. Nitrogen deficiency shows as pale green or yellow leaves starting from the bottom up. Phosphorus shortage causes purplish tinting on leaf undersides. Potassium-deficient plants develop brown leaf edges.
Record your test results to track improvements after amending. Regular testing prevents over-fertilization while ensuring your vegetables receive exactly what they need for healthy development.
Adjust Soil Composition
Testing your soil’s pH and nutrient levels directly impacts how well your vegetables will grow, so understanding how to do it properly is essential.
You’ll discover what your soil truly needs to support healthy plant development.
- Collect samples from multiple spots in your garden – don’t just grab soil from one area. Mix these samples together for an accurate representation of your entire growing space.
- Use a simple home testing kit or send samples to your local extension office. These tests reveal pH levels and essential nutrients like nitrogen, phosphorus, and potassium that your vegetables crave.
- Interpret results immediately and take action. If pH’s too low, add lime; if too high, incorporate sulfur.
Missing nutrients? You’ll know exactly which amendments to mix in before planting.
Clean Up Before You Cultivate
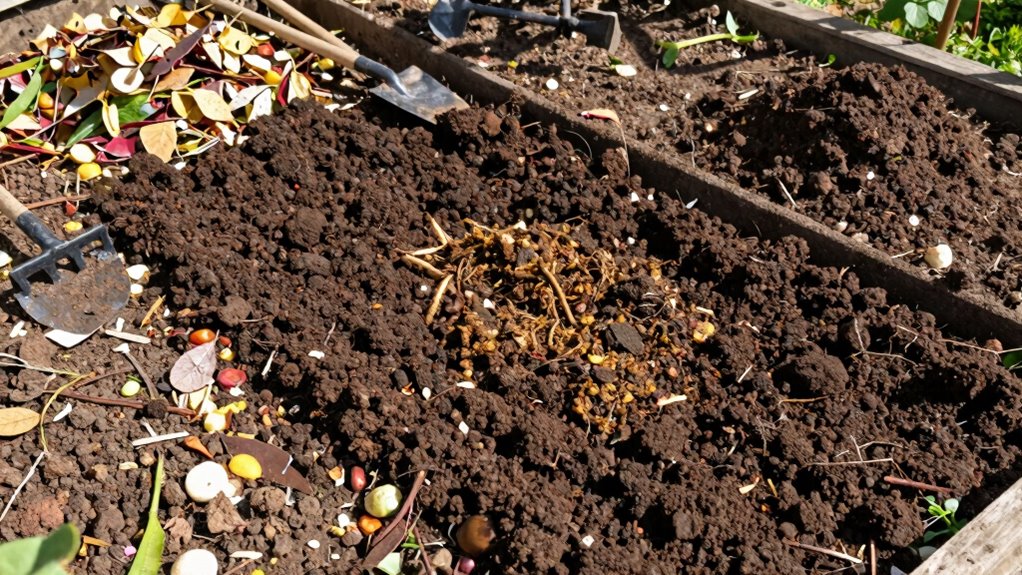
Once you’ve selected your vegetable growing area, you’ll need to clear away any existing vegetation, debris, or obstacles that could interfere with your soil preparation. Remove weeds, grass, and unwanted plants by hand or using a garden fork.
Clear away rocks, sticks, and any trash that might hinder cultivation. Don’t forget to check for buried items like old fence posts or metal objects that could damage tools later.
Pull out any remaining roots thoroughly, especially from invasive weeds. This cleanup process guarantees your soil preparation efforts won’t be undermined by competing growth or physical barriers.
Taking time to properly clear your space creates a clean foundation for healthy vegetable growth and makes future maintenance much easier.
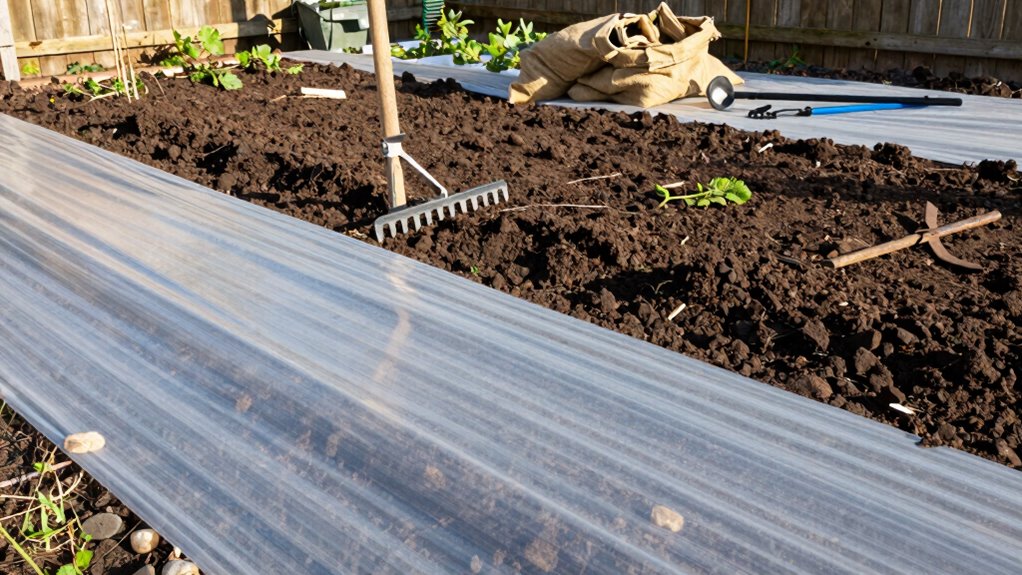
Improve Drainage To Prevent Root Rot
Poor drainage can quickly undo the clean foundation you’ve established, so address water management before planting your vegetables.
Standing water creates ideal conditions for root rot, which devastates your garden dreams.
1. Test your soil’s drainage by digging a 12-inch hole and filling it with water.
If water hasn’t drained completely within 24 hours, you’re facing a serious problem that threatens your entire harvest.
2. Create raised beds or mounds to elevate your planting area above water-logged zones.
Your plants will thank you as their roots breathe freely instead of drowning in saturated soil.
3. Install French drains or redirect downspouts away from garden areas.
These solutions prevent water accumulation that destroys root systems and ruins seasons of hard work.
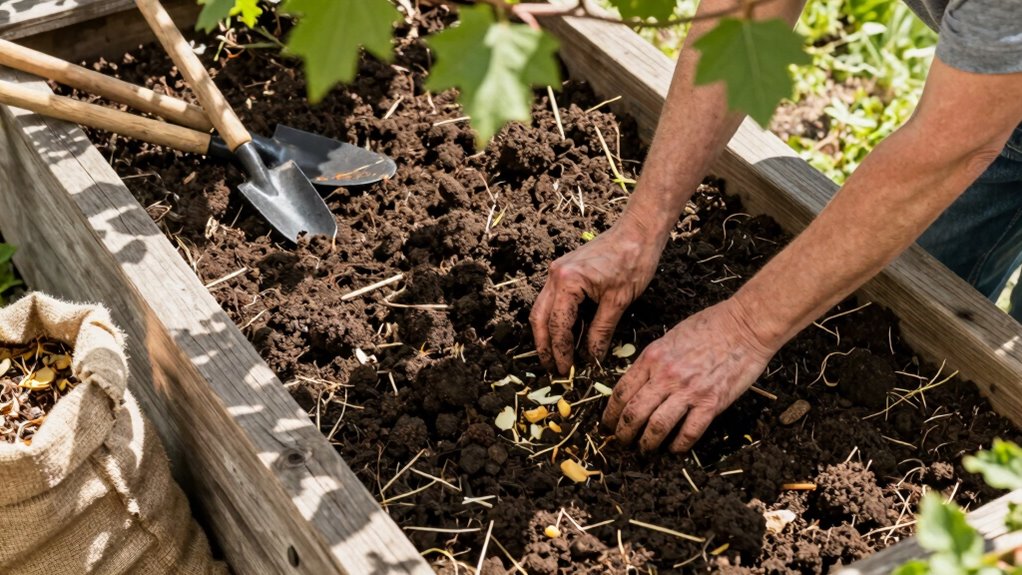
Enrich Soil Naturally With Additives
Why settle for plain dirt when you can transform your garden into a nutrient-rich haven that feeds your vegetables naturally?
You’ll want to add compost first – it’s decomposed organic matter that improves soil structure and provides essential nutrients. Spread 2-3 inches over your planting area.
Don’t forget aged manure, which adds nitrogen and beneficial microbes, but avoid fresh manure that can burn plants.
Consider bone meal for phosphorus, kelp meal for trace minerals, and wood ash for potassium. Coffee grounds boost nitrogen while improving drainage.
You should also try eggshells for calcium and grass clippings for quick nutrient release. These natural amendments create living soil that supports strong root development.
Mix amendments into topsoil thoroughly. Your vegetables will thrive in this enriched environment, and you’ll become part of the sustainable gardening community that values healthy, chemical-free soil preparation.
Should You Till or Go No-Till?
You’ll need to weigh the pros and cons of tilling versus no-till methods based on your soil’s current condition and your gardening goals.
Tilling can quickly incorporate amendments and break up compacted layers, but it may disrupt beneficial soil organisms and lead to erosion over time.
Consider your soil type, climate, and the specific vegetables you plan to grow when deciding which approach works best for your garden.
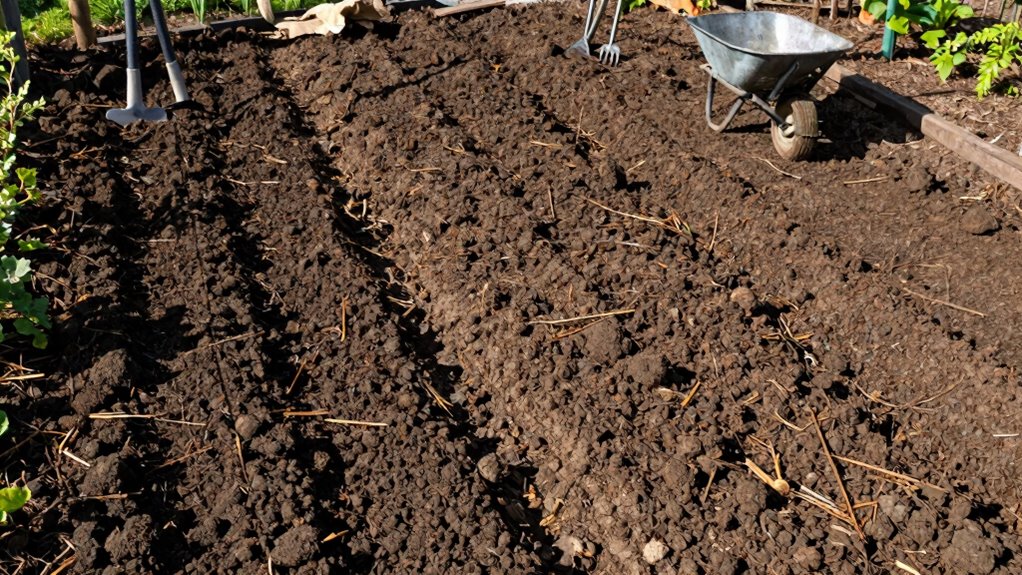
Tilling Methods Compared
While both tilling and no-till methods can prepare your soil for vegetables, each approach offers distinct advantages and challenges that directly impact your garden’s success.
You’ll need to take into account your specific situation before deciding which method works best for your growing needs.
1. Traditional tilling breaks up compacted soil quickly, giving you that satisfying feeling of starting fresh.
You’ll see immediate results as weeds disappear and soil becomes workable.
2. No-till gardening preserves beneficial soil structure and organisms, making you feel connected to nature’s natural processes.
Your soil ecosystem thrives when you avoid disruption.
3. Deep ripping combines benefits of both methods, allowing you to feel like you’re taking control while minimizing damage to soil layers.
Choose based on your garden’s specific needs and your personal gardening philosophy.
Soil Health Benefits
Understanding the impact of your soil preparation method on long-term soil health helps you make informed decisions about tilling practices. Tilling breaks up compacted layers and incorporates organic matter quickly, but it also destroys beneficial soil structure and microorganisms.
No-till methods preserve soil ecology, reduce erosion, and maintain natural nutrient cycles. You’ll find that no-till approaches build stronger soil communities over time, though they require more patience initially.
Consider your garden’s specific needs: heavy clay soils might benefit from occasional light tilling, while well-established beds often thrive with minimal disturbance. Your choice affects earthworm populations, water retention, and root development.
Healthy soil isn’t just about immediate results—it’s about creating a sustainable foundation that supports robust plant growth season after season.
Garden Preparation Tips
When preparing your garden bed, choosing between tilling and no-till methods depends on your soil’s current condition and long-term goals.
You’ll want to reflect on how each approach affects your gardening community’s success.
- Traditional tilling breaks up compacted soil quickly, giving you immediate results that make you feel like you’re actively transforming your garden space.
- No-till gardening preserves beneficial soil organisms and creates stable structure over time, making you part of a sustainable growing movement that protects earthworms and microorganisms.
- Hybrid approaches let you till only when necessary while building soil health gradually, helping you balance immediate needs with long-term soil health.
Test your soil’s texture and compaction level before deciding which method works best for your specific situation and gardening philosophy.
Boost Soil Quality With Compost
Compost transforms ordinary soil into a nutrient-rich foundation that vegetables crave.
You’ll want to spread 2-3 inches of finished compost over your garden bed before planting. Work it into the top 6-8 inches of soil using a garden fork or tiller. This adds essential nutrients like nitrogen, phosphorus, and potassium that plants need to thrive.
Compost also improves soil structure, helping it retain moisture while preventing waterlogging. You’re creating an environment where beneficial microorganisms flourish, supporting plant health naturally.
Don’t use unfinished compost as it can rob soil of nitrogen while decomposing. Look for dark, crumbly compost with an earthy smell.
Your vegetables will thank you for this nutrient boost.
Fix Soil pH for Healthier Plants
Soil pH directly affects how well your vegetables can absorb nutrients, making it essential to test and adjust before planting. Most vegetables thrive in slightly acidic to neutral soil ranging from 6.0 to 7.0 pH.
- Test your soil first – You’ll feel empowered knowing exactly what your garden needs instead of guessing blindly.
- Add lime to raise pH – Your plants will thank you as they finally access nutrients they’ve been missing in acidic soil.
- Use sulfur to lower pH – Watch your vegetables transform from struggling to thriving once they’re in their ideal growing conditions.
Adjust pH gradually over several weeks before planting. Mix amendments thoroughly into the top six inches of soil for best results.
Build Raised Beds for Control & Growth
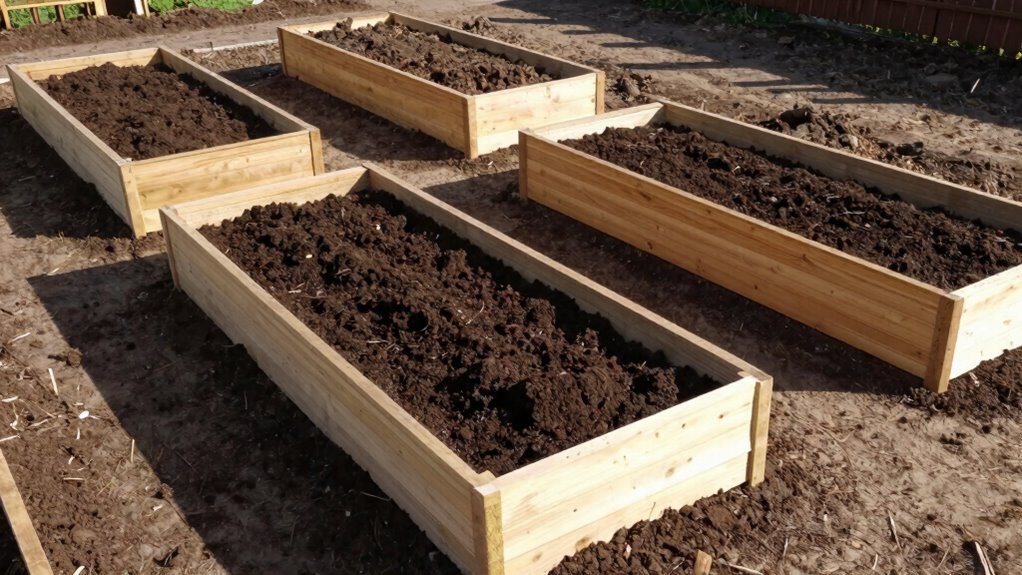
Building raised beds gives you greater control over soil conditions while promoting better drainage and earlier warming in spring.
You’ll avoid compacted earth and create ideal growing conditions for your vegetables. Start by selecting untreated lumber or composite materials for bed frames. Make beds no wider than four feet so you can easily reach the center from both sides.
Fill beds with quality soil mix containing compost, peat moss, and aged manure. Depth matters – aim for at least twelve inches of loose, fertile soil.
Raised beds prevent soil erosion and reduce bending stress on your back. You’ll enjoy faster seed germination and stronger root development.
Construct beds in sunny locations with good air circulation. Your vegetables will thrive in these controlled environments, giving you healthier plants and better harvests.
Protect Soil With Strategic Mulching
Once you’ve established your raised beds with ideal soil conditions, protecting that investment becomes your next priority. Mulching strategically keeps your garden thriving while reducing work.
- Organic mulch like straw or leaves transforms into nutrient-rich compost, feeding your vegetables while suppressing weeds that compete for resources.
- Apply 2-3 inches thick – not too thin that weeds push through, not too thick that water can’t penetrate. You’ll feel confident knowing you’re supporting healthy plant growth.
- Choose locally-sourced materials connects you to your community gardening network. Neighbors often share wood chips or grass clippings, building relationships while saving money.
Mulch retains moisture, regulates soil temperature, and prevents erosion.
Your plants will thank you with abundant harvests.
Avoid These Common Prep Mistakes
While preparing your vegetable garden beds, you’ll want to sidestep these frequent errors that can undermine your harvest success.
Don’t skip soil testing – it’s your roadmap to proper amendments. Avoid working wet soil; you’ll create damaging compaction that suffocates plant roots.
Don’t ignore pH levels either – most vegetables thrive between 6.0-7.0. Steering clear of shallow preparation is essential; roots need deep, loose soil.
Don’t over-till, which destroys beneficial soil structure and microorganisms. Resist adding fresh manure directly before planting; it can burn tender seedlings.
Finally, don’t forget to remove weeds completely – they compete aggressively for nutrients and water.
These mistakes cost you valuable growing time and reduce yields considerably when avoided properly.
Conclusion
You’ve now learned the essential steps for preparing your vegetable garden soil. Remember that 90% of plant problems stem from poor soil conditions, making proper preparation vital for success. By testing your soil, clearing debris, improving drainage, and adding organic matter, you’re setting the foundation for a thriving garden. Don’t skip mulching to retain moisture and suppress weeds. Avoid common mistakes like over-tilling or ignoring pH levels to guarantee your vegetables grow strong and healthy.
