

You need a clear plan before starting your garden fence project. Measure your property boundaries accurately and check local zoning laws first. Choosing the right fence style depends on your garden’s purpose – picket fences work well for decorative borders while wire mesh suits functional needs. Your fence placement must align with property lines and existing structures. Gather essential tools like post hole diggers and levels before purchasing materials. Marking the fence path precisely guarantees straight installation and prevents costly mistakes later.
Start Your Garden Fence Project Right
Before you begin installing your garden fence, proper planning and preparation will save you significant time and money throughout the project.
You should measure your property boundaries accurately and mark them clearly. Check local zoning laws and homeowners association rules to avoid permit issues. Contact utility companies to mark underground lines before digging. Assess your soil conditions and drainage patterns.
Determine your budget and timeline realistically. Gather necessary tools including measuring tape, level, post hole digger, and safety equipment. Research material requirements based on your chosen fence type.
Create a detailed shopping list. Consider renting equipment if needed. Plan for weather conditions and seasonal factors. Having everything organized beforehand makes you feel confident and prepared.
Proper preparation prevents costly mistakes. You’ll join the community of successful DIY fence builders who started right.
Pick the Right Garden Fence Style
While you plan your garden fence project, selecting the appropriate fence style becomes essential for achieving both functional and aesthetic goals.
You’ll want to contemplate your garden’s purpose, whether it’s keeping pets contained or creating a privacy barrier. Popular styles include picket fences for classic charm, privacy fences for seclusion, and decorative panel designs that complement your home’s architecture.
Wire mesh works well for vegetable gardens, while bamboo offers natural appeal. Your neighborhood’s character should influence your choice too, ensuring your fence fits community standards.
Don’t forget to check local codes and HOA requirements before finalizing your decision. Reflect on materials like wood, vinyl, or metal based on durability needs and maintenance preferences.
Choose a style that reflects your personal taste while serving your garden’s specific requirements effectively.
Plan Your Fence Placement
You’ll need to measure your boundary lines carefully to determine the exact dimensions and alignment of your new fence.
Check your soil conditions thoroughly since different ground types require specific post installation techniques and materials.
Mark each post location clearly using stakes and string to guarantee proper spacing and alignment before you begin digging.
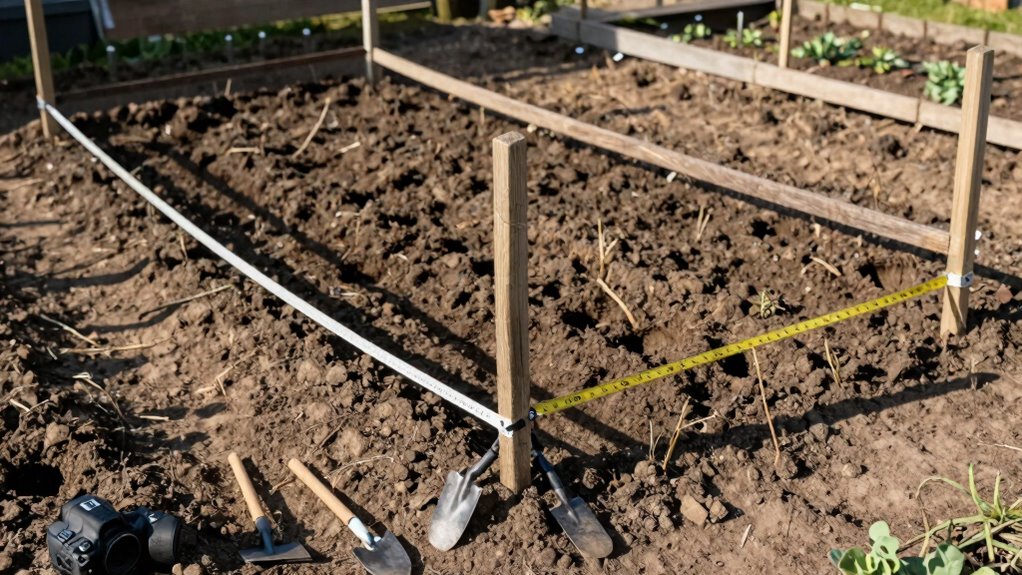
Measure Boundary Lines
Accurate measurement of your property boundary lines forms the foundation of successful fence installation.
You’ll need a measuring tape, wooden stakes, and spray paint to mark your planned fence line precisely. Start by locating your property corners using existing markers or surveyor records. Drive stakes at each corner, then measure the exact distance between them. Mark intermediate points every few feet along the boundary.
Double-check all measurements to prevent costly mistakes later. Consider hiring a professional surveyor if boundary disputes exist with neighbors. Your local building department may require accurate property line documentation before issuing permits.
Take time to verify measurements thoroughly since correcting errors after installation becomes expensive and frustrating. Proper boundary measurement guarantees your fence complies with property lines and local regulations.
Check Soil Conditions
Before you dig any post holes, assess the soil conditions along your planned fence line to guarantee proper installation and long-term stability.
You’ll need to determine if your soil is clay, sand, loam, or something else entirely. Clay soils expand and contract with moisture changes, potentially shifting fence posts over time. Sandy soils drain well but may not provide adequate support without deeper post holes.
Test soil drainage by digging a small hole and filling it with water. If water drains within minutes, you’ve got excellent drainage. If it sits for hours, drainage is poor.
Check for rocks, roots, or debris that could obstruct post hole digging. Soil composition directly affects how deep you’ll need to set posts and whether you’ll require concrete footings for best stability.
Mark Post Locations
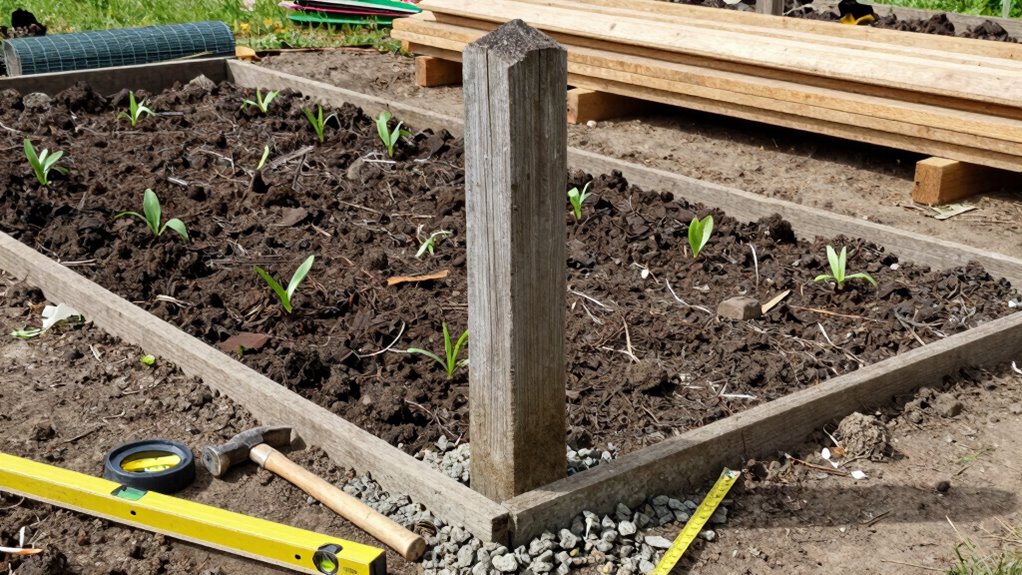
With your soil conditions assessed and any necessary adjustments made, it’s time to mark precise locations for your fence posts. Grab wooden stakes and a hammer to mark each post position along your planned fence line.
Space stakes evenly according to your fence panel dimensions, typically eight to twelve feet apart. Use a string line stretched tightly between stakes to guarantee straight alignment. Check corners carefully, making sure they’re square by measuring diagonals.
Mark gate locations by leaving appropriate openings, usually three to four feet wide. Verify all measurements twice before proceeding. Clear vegetation and debris from marked areas. Spray paint can help highlight exact post hole spots.
Confirm property boundaries match your planned layout. These precise marks become your foundation for a professional-looking fence that enhances your garden’s structure and defines your outdoor space effectively.
Gather Tools and Materials
You’ll need to gather essential tools like a post hole digger, level, and measuring tape before selecting your fence materials.
Choose from wood, vinyl, or metal panels based on your budget, maintenance preferences, and aesthetic goals.
Prepare your workspace by clearing debris and organizing your tools near the fence line.
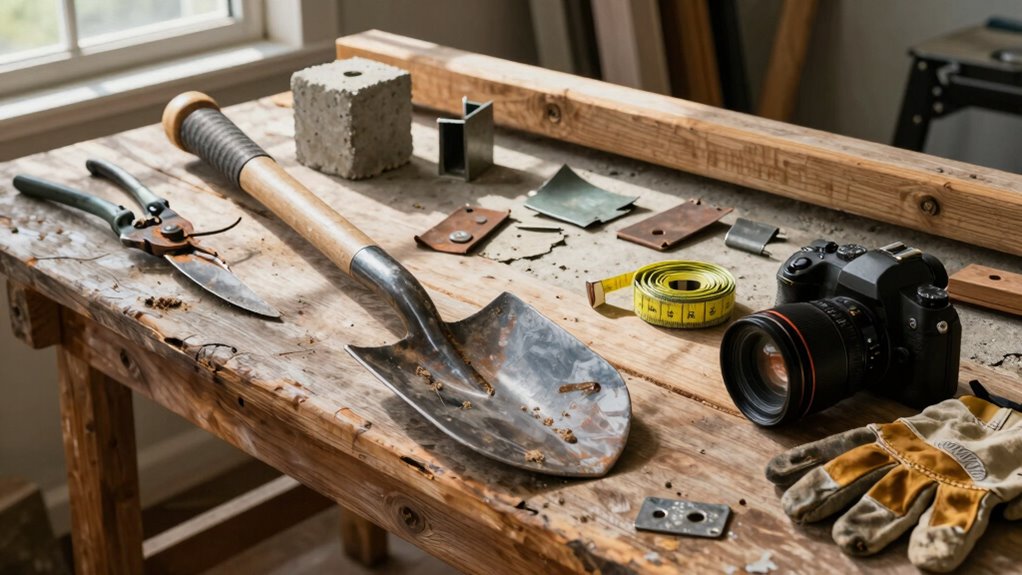
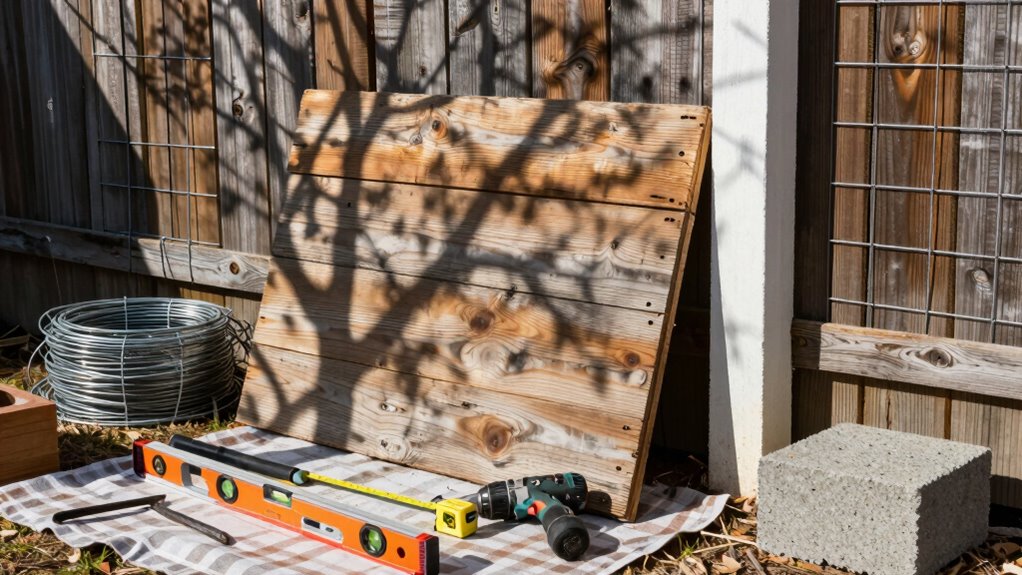
Essential Tools Needed
Gathering the right tools and materials beforehand secures your garden fence project proceeds smoothly and efficiently.
You’ll need a tape measure for accurate measurements and marking stakes to outline your fence line. A post hole digger or auger makes digging footing holes much easier.
Essential cutting tools include a handsaw or circular saw for cutting lumber to length. You’ll require a level to make certain posts are straight and a hammer or drill for driving fasteners.
Don’t forget safety equipment like work gloves and safety glasses. A wheelbarrow helps transport materials around your yard.
Basic supplies like concrete mix, gravel, and fasteners complete your toolkit. Having these essentials ready prevents unnecessary trips to the hardware store and keeps your project moving forward consistently.
Material Selection Guide
Selecting the right materials for your garden fence depends on your specific needs, budget, and aesthetic preferences.
You should consider wood, vinyl, metal, or composite options based on durability and maintenance requirements.
Wood offers natural beauty but needs regular staining or painting. Vinyl provides low maintenance and various colors without fading concerns. Metal fencing works well for security but may rust over time. Composite materials combine durability with minimal upkeep.
Evaluate your property’s style and neighborhood character to choose materials that complement existing structures. Consider local climate conditions affecting material performance.
Check homeowner association guidelines before making final decisions. Your material choice affects both initial costs and long-term investment value.
Preparation Steps
Before beginning your garden fence installation, prepare by assembling all necessary tools and materials.
You’ll need a measuring tape, level, post hole digger, hammer, drill, saw, and work gloves. Gather your chosen fence materials including posts, rails, pickets, concrete mix, and galvanized screws or nails. Don’t forget safety equipment like safety glasses and ear protection.
Check your measurements twice to verify proper post spacing and gate placement.
Lay out materials systematically near your work area for easy access. Confirm you have adequate support stakes and string line for maintaining straight installation lines.
Organize tools in a sturdy container or tool belt for efficient workflow. Having everything ready prevents frustrating interruptions and keeps your project moving smoothly from start to finish.
Mark Your Fence Path Precisely
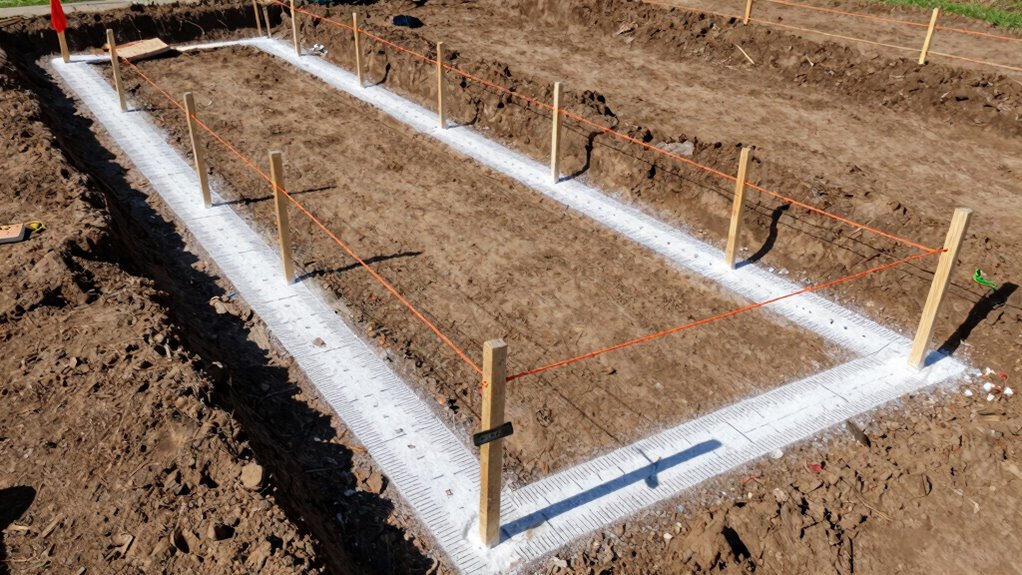
One essential step in fence installation requires you to mark your fence path precisely using stakes and string. Start by measuring and marking each corner post location with wooden stakes.
Tie mason’s twine tightly between stakes to create straight guide lines. Check that corners form perfect 90-degree angles using the 3-4-5 triangle method. Adjust stake positions until your string lines align perfectly with property boundaries. Verify measurements twice before proceeding.
Use spray paint to mark ground directly beneath string lines for clear visual reference. Ascertain gate openings are clearly marked and measured according to planned width. Double-check all dimensions match your planned fence layout.
This precise marking creates professional results others will admire. Your careful preparation shows dedication to quality workmanship. Proper path marking prevents costly mistakes during post installation.
Accuracy now saves time and materials later. You’re creating something worthwhile through attention to detail.
Set Strong Fence Posts Fast
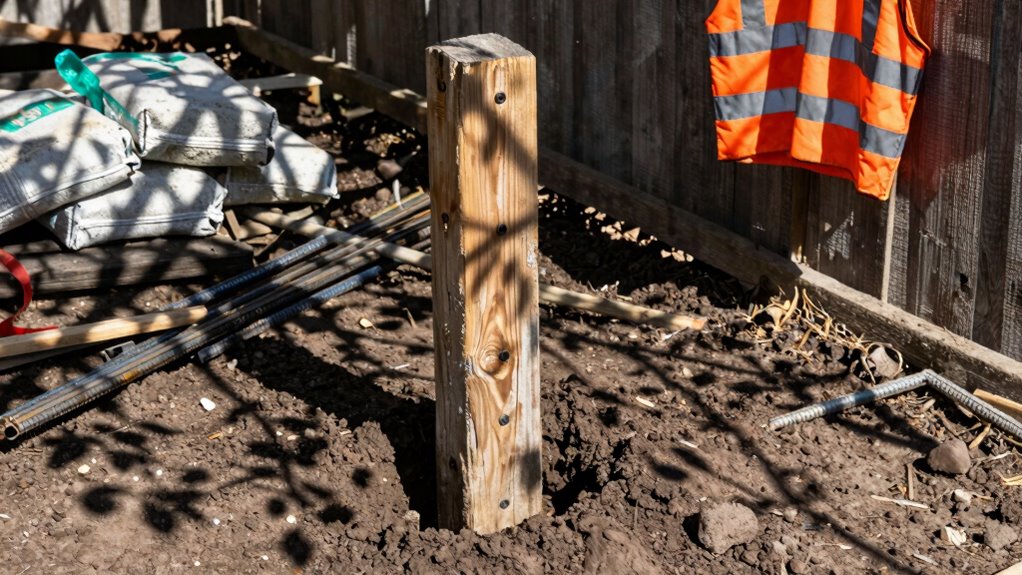
You’ll need to choose durable materials like pressure-treated lumber or metal posts that can withstand weather conditions and soil moisture.
Dig holes that are at least one-third the height of your posts deep, ensuring proper depth for maximum stability.
Set your posts securely using concrete mix to create a strong foundation that won’t shift or settle over time.
Choose Durable Materials
Durability starts with your foundation. You need materials that withstand weather, pests, and time while maintaining your fence’s structural integrity.
When selecting materials, consider these essential factors:
- Pressure-treated lumber resists rot and insects, making it ideal for ground contact posts.
- Cedar and redwood naturally repel insects and resist decay without chemical treatment.
- Galvanized steel posts provide unmatched strength and longevity in challenging conditions.
- Concrete footings create permanent, stable bases that won’t shift or settle.
- Stainless steel hardware prevents rust and maintains secure connections throughout your fence’s lifespan.
Choose materials that match your climate and soil conditions. Your investment should reflect your commitment to creating a lasting boundary that protects your space for years.
Quality materials prevent costly repairs and guarantee your fence remains a reliable part of your property.
Dig Proper Depth Holes
Proper hole depth determines your fence’s stability and longevity. You’ll want to dig holes that are one-third the length of your fence posts, typically 24-36 inches deep for standard 8-foot posts. Use a post hole digger or auger to create clean, straight holes slightly wider than your posts.
Check local frost lines in your area, as you’ll need to dig below this depth to prevent shifting. Mark your hole locations carefully using a string line and measuring tape to guarantee proper spacing between posts.
Remove all rocks, roots, and debris from each hole before setting your posts. Wet soil conditions might require you to wait for better weather or take extra steps to stabilize loose dirt.
These properly dug holes will support your fence for years.
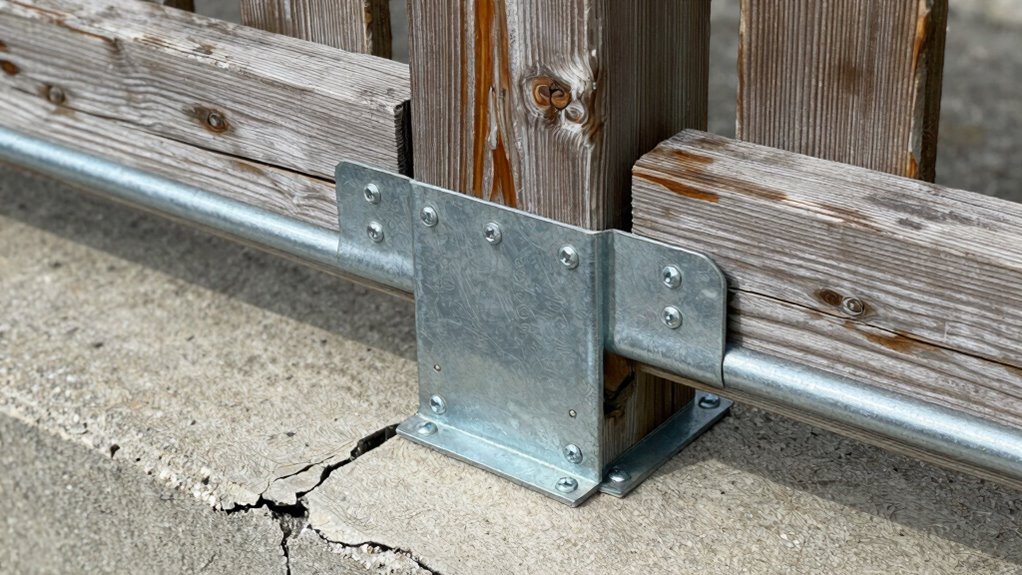
Use Concrete For Stability
Concrete setting compounds the stability of your fence posts greatly. You’ll create a foundation that lasts decades when you properly secure posts with concrete.
- Mix concrete according to package directions until you achieve a thick, workable consistency
- Pour concrete around the post base, ensuring even distribution in the hole
- Use a level to check post alignment before concrete sets completely
- Tamp concrete down firmly to eliminate air pockets and gaps
- Allow concrete to cure fully before attaching fence panels or rails
Your fence becomes part of your property’s permanent structure through proper concrete setting.
This technique prevents wobbling, leaning, and premature failure. You’re not just building a fence—you’re creating a reliable boundary that enhances your outdoor space for years.
The extra effort pays dividends in durability and peace of mind.
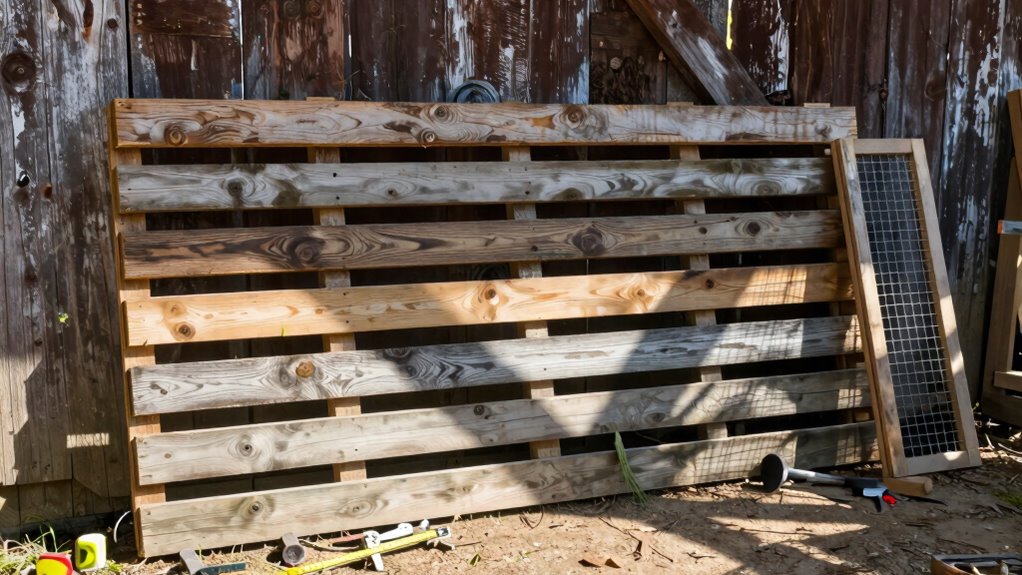
Select Panel or Mesh Option
When selecting between panel and mesh options for your garden fence, you’ll need to evaluate several key factors that directly impact your project’s success.
Consider your primary purpose: panels offer superior privacy and wind resistance, while mesh provides visibility and airflow.
Your budget matters too—mesh typically costs less upfront.
Think about maintenance requirements; panels often need periodic cleaning, whereas mesh resists debris buildup.
Your neighborhood’s aesthetic standards should influence your choice, as panels create a more traditional appearance that blends with established landscaping.
Mesh offers a modern, clean look that appeals to contemporary tastes.
Don’t forget about installation complexity—panels require precise measurements and heavy lifting, while mesh installs more easily.
Your timeline affects this decision, since panels need more preparation time.
Consider your long-term plans for the space, as panels provide better property value enhancement.
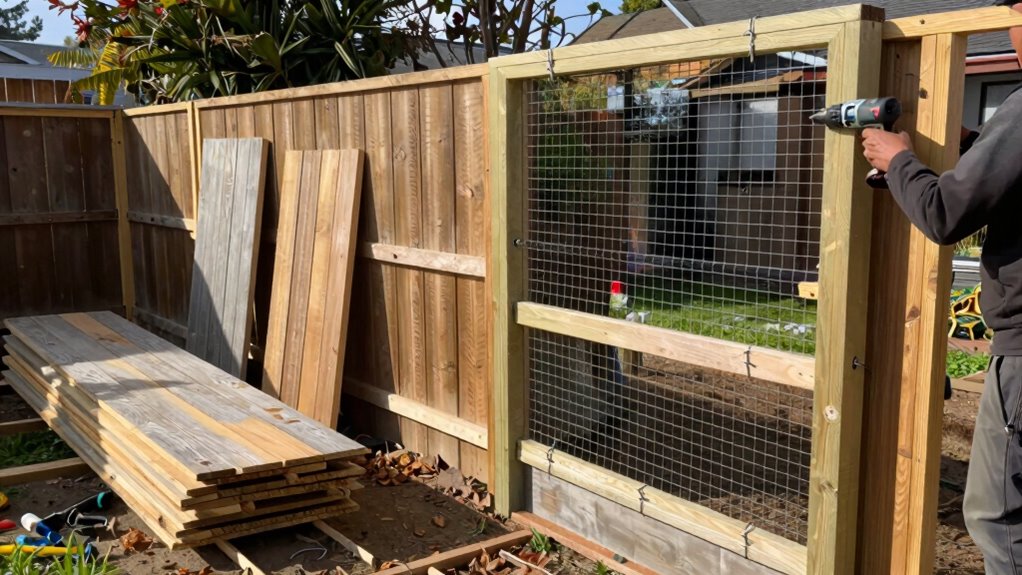
Attach Rails Securely
Having chosen your panel or mesh fencing material, you’ll now focus on securing the rails that form your fence’s structural backbone. Proper rail attachment guarantees your fence remains stable and durable for years.
- Position horizontal rails between vertical posts at 24-inch intervals for peak support
- Use galvanized screws or bolts to prevent rust and maintain structural integrity
- Pre-drill holes to avoid splitting wood and guarantee clean, straight attachments
- Check rail alignment with a level before tightening all connections
- Apply construction adhesive at joint connections for extra strength
These steps create a solid foundation that you can rely on.
Your careful attention to detail here will make your fence a lasting part of your outdoor space.
Seal Gaps and Clean Up Edges
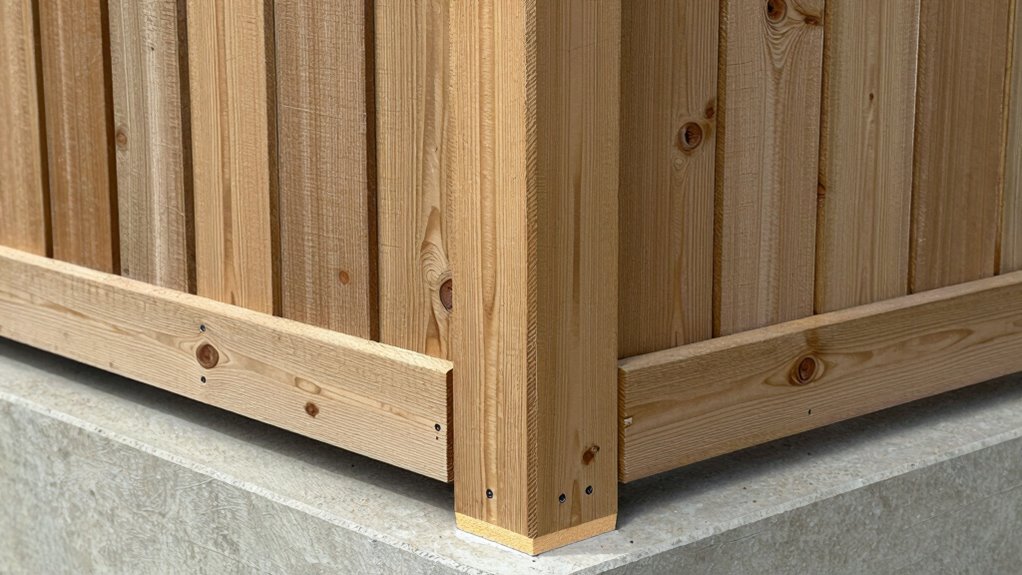
After securing your fence panels tightly against the posts, you’ll want to seal any gaps and clean up the edges to confirm a professional finish.
Check for cracks or spaces where moisture could penetrate and cause damage. Apply exterior-grade caulk or wood filler to seal gaps between panels and posts. Use a putty knife to smooth the sealant evenly.
Sand any rough edges with fine-grit sandpaper for a clean appearance. Wipe away excess dust and debris with a damp cloth. Proper sealing prevents water infiltration that leads to rot and extends your fence’s lifespan.
Clean edges ensure your fence looks polished and prevents splinters. Take time to inspect each joint carefully. Your effort creates a finished look that enhances your garden’s appearance.
Maintain Your New Garden Fence
Your newly built garden fence will require regular maintenance to preserve its appearance and structural integrity over time. Proper upkeep guarantees your fence remains a proud boundary that enhances your outdoor space for years.
Follow these essential maintenance practices:
- Inspect wooden fences quarterly for loose boards, rusted hardware, or weather damage that needs immediate attention.
- Clean debris, dirt, and mildew from fence surfaces annually using appropriate cleaning solutions and tools.
- Apply protective sealant or stain every 2-3 years to prevent moisture damage and UV degradation.
- Trim vegetation growing around or against fence panels to prevent damage and maintain accessibility.
- Check gate hinges and latches monthly, lubricating moving parts to guarantee smooth operation.
Consistent maintenance prevents costly repairs while keeping your fence looking its best.
Fix Common Installation Issues
While building a garden fence may seem straightforward, several common installation issues can compromise your fence’s stability and appearance if not addressed promptly.
Uneven post heights create visual inconsistencies that you can fix by adjusting soil levels or using concrete pads. Wobbly posts require additional backfilling or concrete reinforcement at the base.
Gaps between fence panels need proper spacing measurements and secure fastening techniques. Check for proper post depth—insufficient burial causes instability.
Misaligned rails affect overall structure integrity and need realignment before securing. Loose pickets create maintenance headaches you can prevent with consistent spacing and proper nail placement.
Addressing these issues immediately guarantees your fence remains sturdy and visually appealing for years. Regular inspection during installation helps catch problems early.
Estimate Your Garden Fence Budget
Because proper planning prevents costly mistakes, estimating your garden fence budget requires careful consideration of materials, labor, and potential obstacles before breaking ground.
You’ll want to account for all expenses upfront to avoid surprises during installation.
When calculating costs, consider these essential factors:
- Materials: Wood, vinyl, or metal panels plus posts, rails, and hardware
- Labor: Professional installation versus DIY requiring tools and time
- Permits: Local building codes may require permits and inspections
- Site preparation: Clearing vegetation, leveling ground, removing existing structures
- Additional features: Gates, decorative elements, or staining/sealing requirements
Your total budget should include a contingency fund for unexpected expenses.
Research local suppliers and obtain multiple quotes to guarantee competitive pricing.
Remember that quality materials and proper installation create lasting value for your property and community.
Upgrade or Extend Later (Optional)
Although you may have completed your initial fence installation, planning for future upgrades or extensions can save you considerable time and expense down the road.
Consider leaving extra posts embedded deeper than necessary, creating anchor points for additional sections. Keep leftover materials stored properly in a dry location where you can easily access them later. Document your original installation methods and material specifications so matching components seamlessly integrate with existing structures.
Plan electrical conduits during initial construction if you anticipate adding lighting or automated gates. Leave adequate space between fence panels and property boundaries for potential expansion.
These thoughtful preparations guarantee your fence evolves with your gardening needs while maintaining structural integrity and aesthetic continuity throughout your outdoor space.
Conclusion
Your garden fence project doesn’t have to be a uphill battle. With proper planning and the right materials, you’ll create a beautiful boundary that stands the test of time. Remember to check local codes, measure twice, and don’t cut corners on post installation. A well-built fence is like a faithful guard dog – it protects your investment and enhances your property’s curb appeal for years to come.
