

You’ve probably noticed how easily plywood can splinter during cutting, leaving rough, uneven edges that require extra sanding. The key to clean cuts lies in choosing the right blade and technique. Before you make any cut, consider the plywood’s grain direction and prepare your workspace properly. Let’s explore the essential steps that’ll help you achieve professional results every time.
Match Plywood Type to Cutting Method
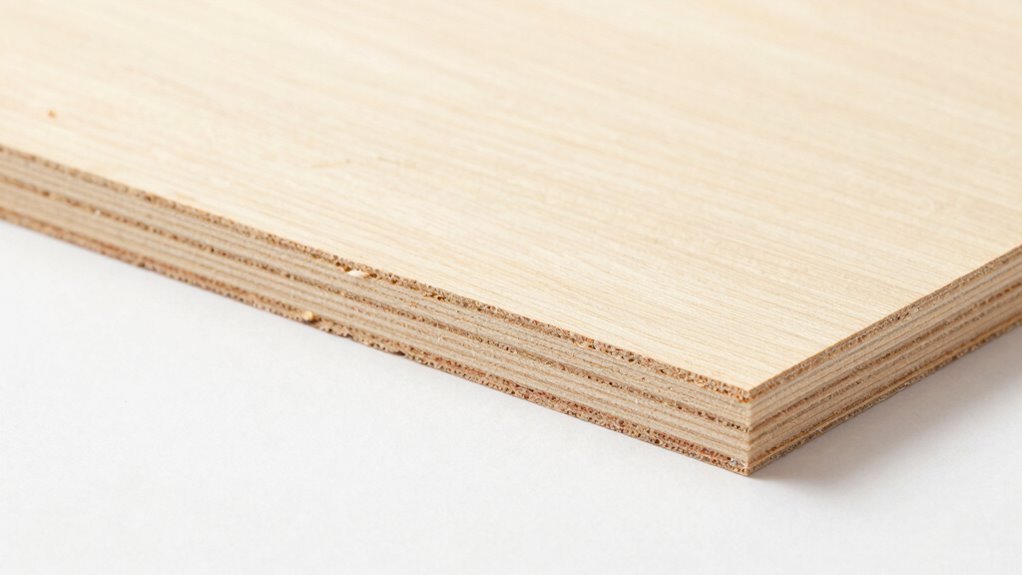
Before you begin cutting plywood, you must first identify the specific type of plywood you’re working with, as different varieties require distinct cutting approaches.
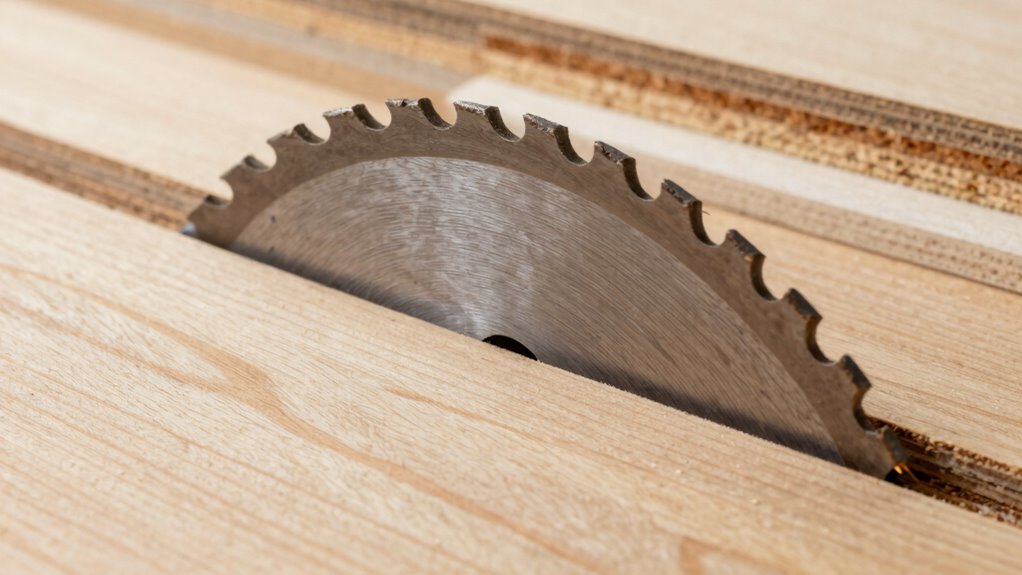
Softwood plywood needs carbide-tipped blades with fewer teeth to prevent tear-out. Hardwood plywood requires fine-tooth blades for clean cuts. Marine-grade plywood demands stainless steel blades due to its waterproof glue content.
You should match your blade selection to each plywood’s core construction and surface veneer. Particleboard-core plywood cuts best with compression spiral blades. Veneer-core types need sharp, thin-kerf blades to avoid chipping delicate surfaces.
Always check plywood thickness and adjust your cutting depth accordingly. Mismatched blades cause splintering, rough edges, and wasted material.
Your cutting method becomes successful when you respect each plywood type’s unique characteristics and respond with appropriate blade selection.
Prepare Tools and Workspace First
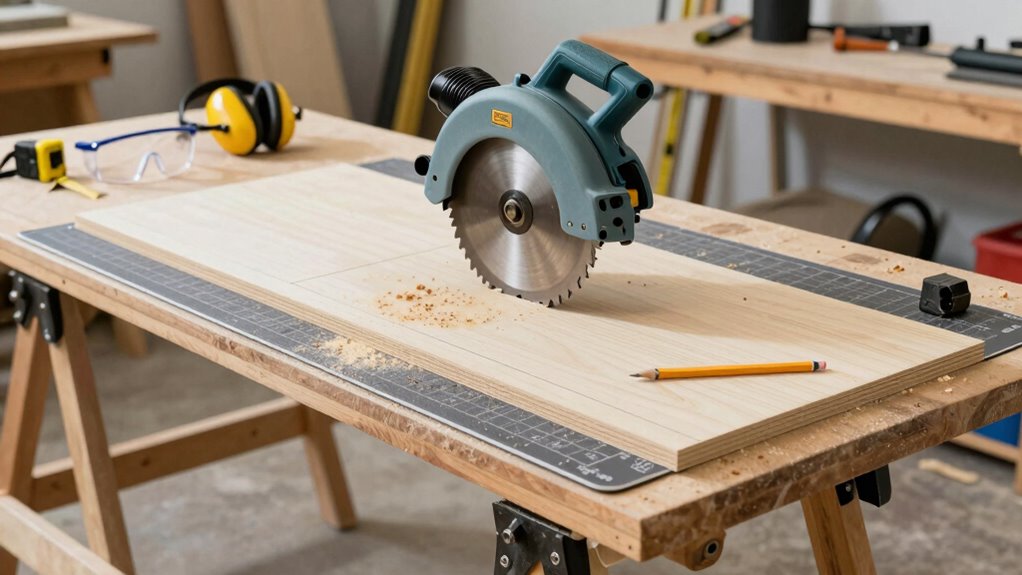
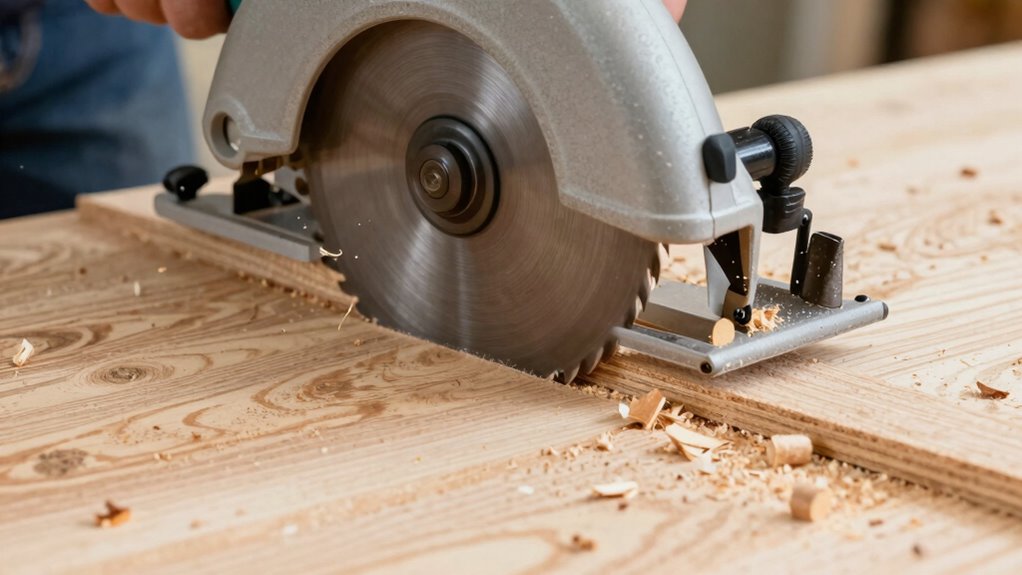
A clean, well-organized workspace and properly prepared tools are essential for accurate plywood cutting. You’ll want to clear your work area of debris and guarantee adequate lighting. Check that your circular saw blade is sharp and appropriate for plywood. Dull blades cause tear-out and splintering.
Verify your straightedge guide is perfectly aligned and secure. Measure twice, mark clearly with a pencil line on the waste side. Position your plywood so good faces are up or down, depending on your blade’s rotation direction. Clamp everything firmly to prevent movement during cuts.
Keep your workspace dust-free by using a vacuum or shop cloth nearby. Having the right setup eliminates guesswork and delivers clean, precise results every time.
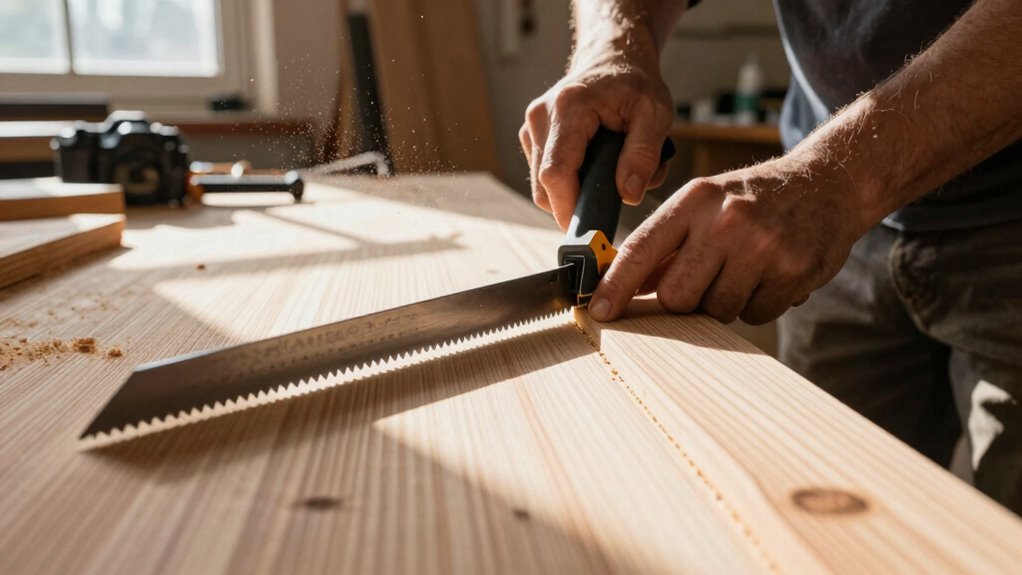
Score Plywood to Prevent Splintering
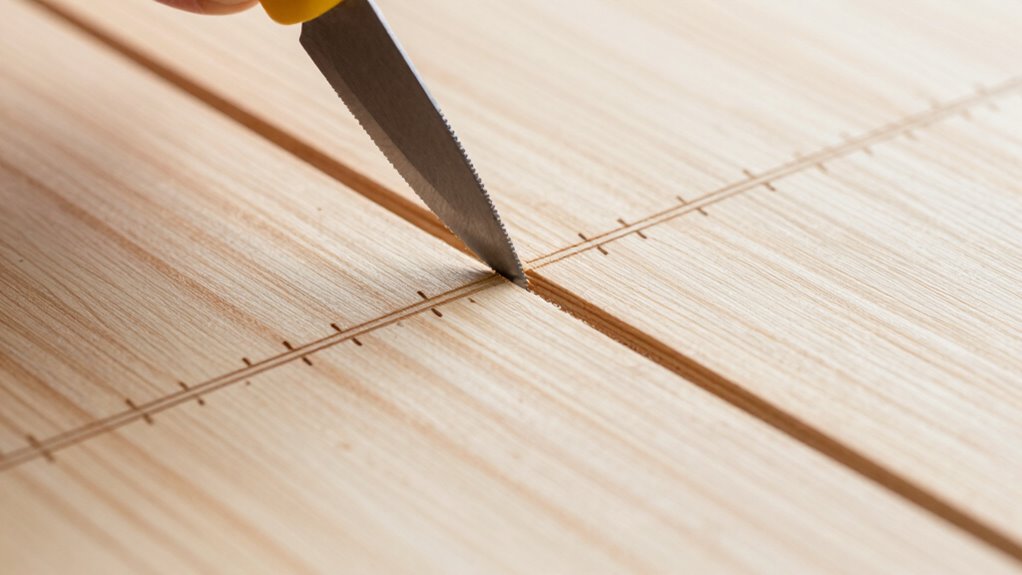
Scoring plywood along your cut line prevents unsightly splintering that ruins otherwise clean edges.
You’ll create a controlled break that guides your saw blade precisely where you want it to go.
- Use a utility knife – Make multiple light passes along your measured line, applying steady pressure to create a visible groove through the top veneer layer.
- Score both sides – Flip your plywood and repeat the scoring process on the opposite face to prevent tear-out during cutting.
- Maintain consistent depth – Keep your knife angle and pressure uniform throughout the entire length to guarantee even material removal.
This simple technique transforms rough, jagged cuts into smooth, professional edges that make your project pride-worthy.
Use Sharp Blades for Clean Cuts
You need sharp blades to achieve clean cuts through plywood without tearing or chipping the surface layers.
Select carbide-tipped or high-quality steel blades with fine teeth that match your cutting tool’s specifications.
Maintain proper cutting technique by letting the blade do the work without forcing it through the material.
Sharp Blade Selection
When you’re cutting plywood, dull blades will tear through the material and leave rough edges that require additional sanding.
You need sharp blades that slice cleanly through wood fibers instead of crushing them. Your blade selection directly impacts cut quality and your project’s final appearance.
Choose carbide-tipped blades with 40-80 teeth for plywood cutting. These blades maintain sharpness longer than standard steel options.
Fine-tooth blades prevent tear-out on plywood’s thin surface layers. You’ll achieve cleaner cuts that require minimal post-processing.
- Select 40-80 tooth carbide blades for clean cuts
- Avoid coarse blades that cause splintering
- Invest in quality blades that maintain sharpness
Don’t compromise on blade quality. Sharp, appropriate blades make clean cuts possible.
You deserve professional results that reflect your effort and skill level.
Proper Cutting Technique
One essential technique for clean plywood cuts involves maintaining proper blade engagement throughout the cutting process. You should keep consistent pressure and let the blade do the work without forcing it.
Start cuts slowly and increase speed gradually as the blade penetrates the material. Always support plywood adequately underneath to prevent tear-out on the exit side.
Position your cutting line slightly away from the measured edge to account for blade kerf. Move steadily through the cut without stopping or reversing direction.
Let the blade spin freely without binding or excessive resistance. These methodical approaches guarantee splinter-free results every time.
Adjust Speed to Reduce Tear-Out
You must optimize your blade speed and control feed rate to prevent tear-out when cutting plywood.
Set your saw’s RPM according to the material thickness and wood species you’re working with.
Maintain steady, consistent pressure while feeding the stock through the blade at an appropriate pace.
Optimize Blade Speed
Why does blade speed matter so much when cutting plywood? Your saw’s RPM directly affects how cleanly you slice through wood fibers.
Too fast, and you’ll burn or tear the veneer layer. Too slow, and the blade drags, causing rough edges that ruin your project’s finish.
You need to find that sweet spot where the blade cuts smoothly without hesitation. Plywood’s thin layers demand precision, not power. Match your speed to the material thickness and blade tooth configuration.
- Thin plywood needs slower speeds – Reduce RPM for 1/4-inch or thinner sheets
- Thicker materials allow higher speeds – 3/4-inch plywood cuts cleanly at standard RPM
- Test on scrap pieces first – Adjust speed gradually until you achieve clean cuts
Your blade should slice through plywood like a hot knife through butter, leaving edges smooth enough to sand lightly.
Control Feed Rate
Blade speed alone won’t guarantee clean cuts through plywood’s delicate layers. You must control your feed rate to prevent tear-out and splintering. Push the material too fast, and the blade will grab aggressively, tearing fibers. Move too slow, and you’ll burn the edges or stall the cut.
Maintain steady, consistent pressure. Let the blade do the work while you guide the plywood smoothly through the cut.
Experienced woodworkers know the sweet spot varies by material thickness and blade type. Thicker plywood requires slower feed rates. Carbide-tipped blades handle faster speeds than standard steel.
Watch for signs your feed rate needs adjustment. Burning indicates too slow movement. Rough tear-out means you’re rushing.
Find your rhythm and stick to it for consistently clean results.
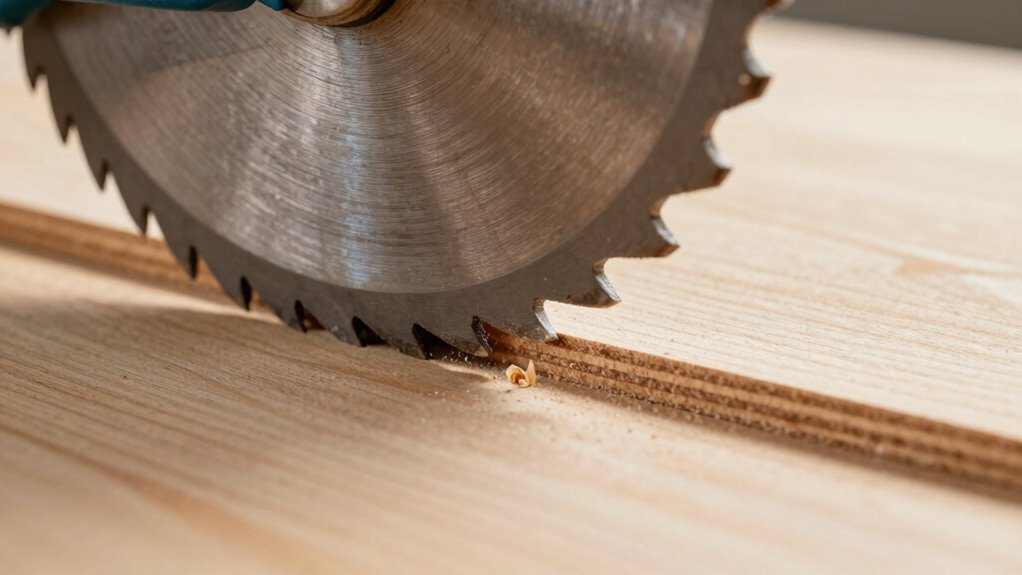
Support Plywood Fully When Cutting
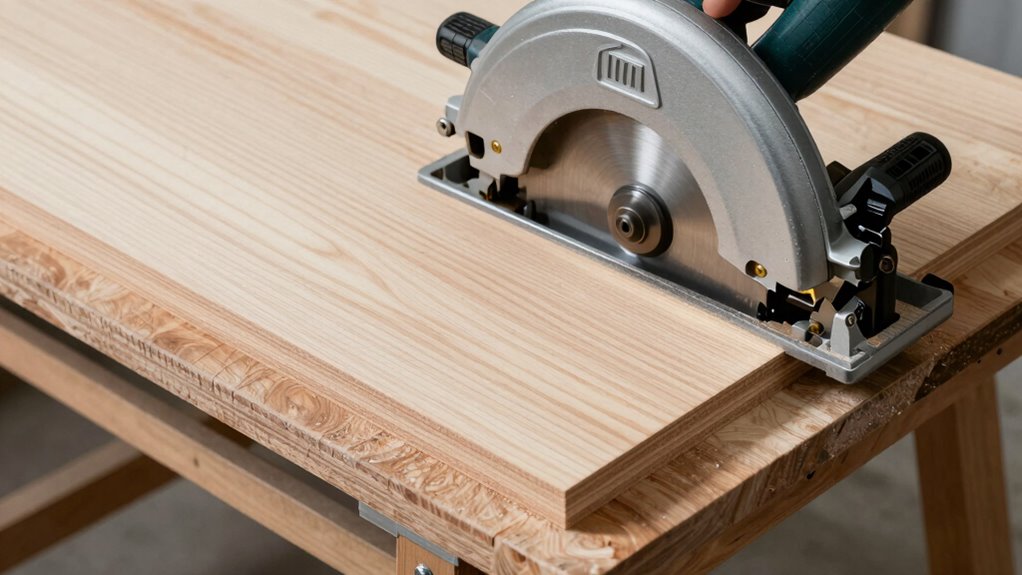
One essential requirement for clean plywood cuts is providing complete support underneath the material throughout the cutting process. You must eliminate any unsupported sections that could cause tear-out or splintering.
- Use sturdy sawhorses or workbenches positioned close together to prevent plywood from flexing during cuts.
- Place scrap pieces underneath the cutting line to reinforce weak spots and maintain consistent support.
- Clamp supports directly beneath cutting zones to eliminate vibration and guarantee stable material handling.
You’ll notice immediate improvement in cut quality when plywood remains fully supported. Unsupported areas create stress points where chipping occurs.
Position your supports so they don’t interfere with blade path while maintaining maximum material stability throughout the entire cutting operation.
Cut With the Grain for Smooth Edges
When cutting plywood, you’ll achieve cleaner edges by following the wood’s natural grain direction rather than fighting against it.
Examine each panel carefully before making cuts, identifying where the grain flows smoothly. Position your blade to cut along these lines whenever possible.
Your saw teeth should slice parallel to the grain pattern, not across it. This technique prevents tear-out and reduces splintering considerably.
For best results, mark your cutting lines clearly and maintain steady, consistent pressure throughout each pass.
Let the tool follow the wood’s natural structure rather than forcing it through resistant areas.
You’ll notice immediately how much smoother your edges become when working with the grain instead of against it.
Apply Masking Tape to Minimize Splinters

While cutting plywood often leads to unsightly splinters along the edges, you can considerably reduce this problem by applying masking tape before making your cuts. This simple technique creates a protective barrier that holds wood fibers together during cutting.
- Apply tape generously along your planned cut line, extending at least two inches beyond where you’ll make your cuts.
- Use quality masking tape with strong adhesive that won’t peel off easily during the cutting process.
- Score firmly through the tape with your utility knife or saw, ensuring the blade penetrates completely through both tape and plywood.
The tape acts as reinforcement, preventing wood layers from separating unevenly. You’ll achieve cleaner edges that require less sanding afterward.
This method works exceptionally well with crosscuts and when using circular saws. Remember to remove the tape immediately after cutting while the adhesive is still fresh.
Make Relief Cuts for Curved Shapes
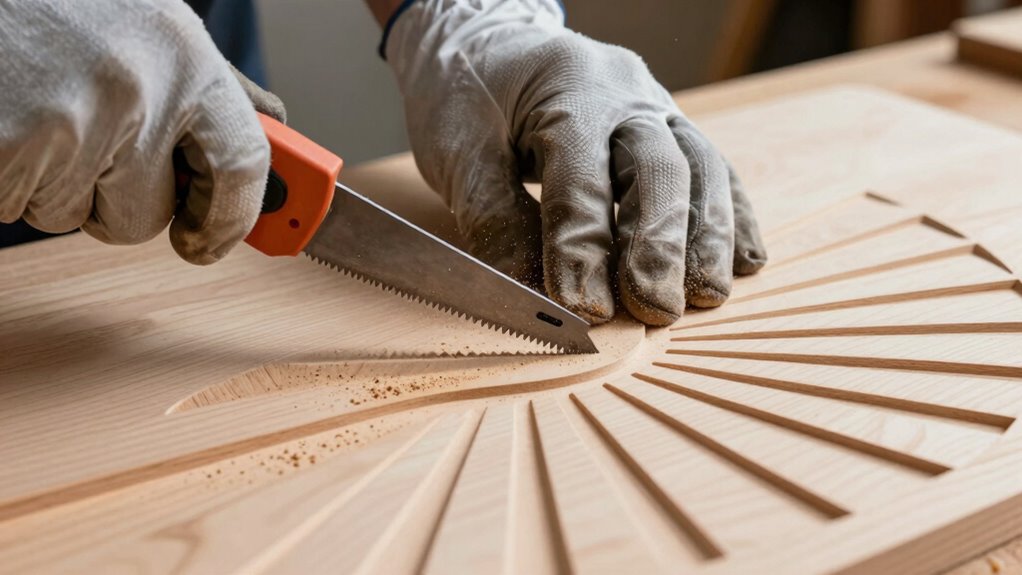
Relief cuts are critical for achieving clean, accurate curved cuts in plywood. You’ll need to make strategic perpendicular cuts from your main cut line toward the curve’s interior. These relief cuts prevent tear-out by creating controlled break points along the wood fibers.
Start by marking your curved cutting line clearly with a pencil or marking knife. Then make relief cuts every inch or two along curves, stopping about 1/8-inch from your intended edge. Cut deeper into tighter curves where splintering risks are higher. Position relief cuts on the waste side of your marked line for cleaner results.
You’re fundamentally creating small, manageable sections that follow your jigsaw or coping saw blade smoothly through complex shapes while maintaining control over wood fibers.
Smooth and Seal Plywood Edges
You’ll achieve clean plywood edges by using smooth cutting techniques like scoring along your cut line with a utility knife before making your final cut.
Apply steady, even pressure with your cutting tool to prevent tear-out and splintering.
Once you’ve made your cuts, seal the edges immediately with wood glue or edge banding to prevent moisture absorption and improve the finished appearance.
Smooth Cutting Techniques
A sharp blade and steady hand produce clean plywood cuts that require minimal post-processing. You’ll achieve smoother results by controlling your cutting speed and maintaining consistent pressure throughout the cut.
- Use a fine-tooth blade with 80-100 teeth specifically designed for plywood to minimize tear-out and splintering.
- Score your cut line first by running a utility knife along the cutting path before making your main cut, which helps prevent surface chipping.
- Support plywood properly with sacrificial backing material underneath to eliminate exit-side splintering during cuts.
Maintain steady, even feed rates while cutting. Let the blade do the work without forcing it through the material.
Proper support prevents vibration that causes rough edges. These techniques belong in every woodworker’s skill set.
Edge Sealing Methods
While cutting plywood produces clean edges when done properly, sealing those edges becomes essential for both appearance and durability. You should apply wood glue along cut edges immediately after cutting to prevent moisture absorption.
Sand rough spots with 120-grit sandpaper before sealing. Use a quality wood sealer or primer designed for plywood. Apply thin, even coats with a brush or roller, allowing each layer to dry completely. Two coats provide maximum protection.
For exposed edges, consider using edge banding tape or wood veneer strips. These create a professional finish while blocking moisture penetration.
Don’t skip this step if your project will face humidity or temperature changes. Seal edges before final assembly when possible. This prevents swelling and delamination that compromises structural integrity.
Conclusion
You’ll find that scoring, taping, and cutting with the grain aren’t just techniques—they’re your roadmap to splinter-free edges. Match your blade to the plywood type, keep your workspace prepared, and maintain steady pressure throughout each cut. Relief cuts prevent tear-out on curves while sharp blades guarantee clean results every time. Don’t forget to smooth and seal those edges afterward. These methods work together perfectly, creating professional results consistently.
