

Nearly 70% of woodworking errors stem from inaccurate measurements, yet most woodworkers overlook basic techniques that prevent these mistakes. You’re probably making simple errors that compound into costly mistakes. Don’t let imprecise cuts ruin your project’s integrity when the solution lies in mastering fundamental measuring practices. What if you could eliminate measurement errors completely?
Start With the Right Tools for Wood Measurement
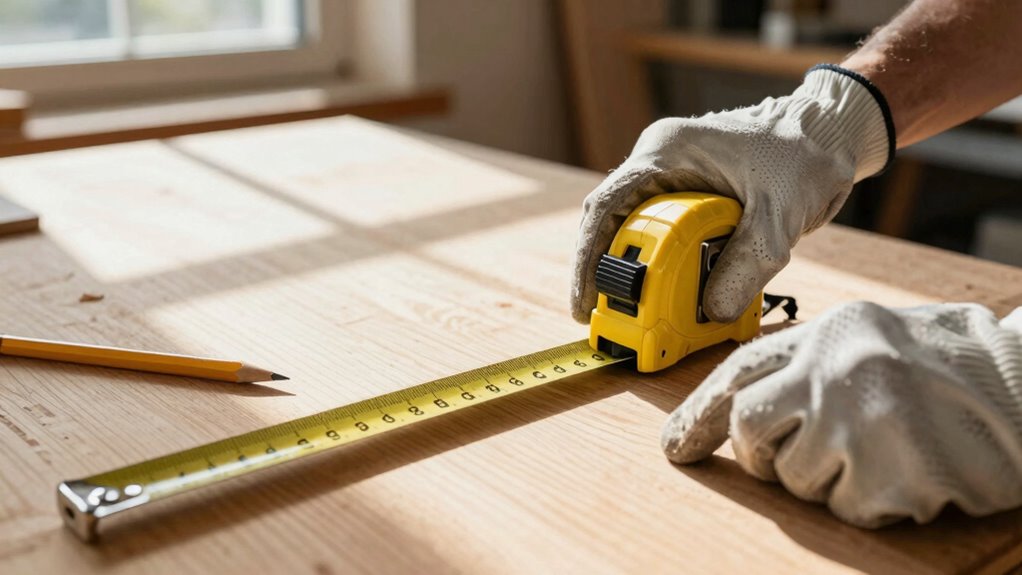
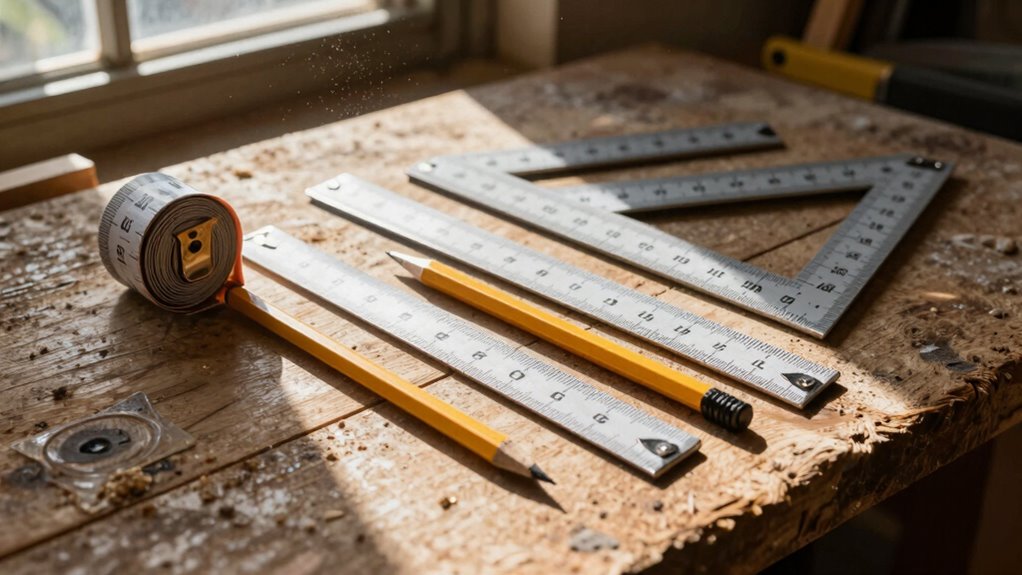
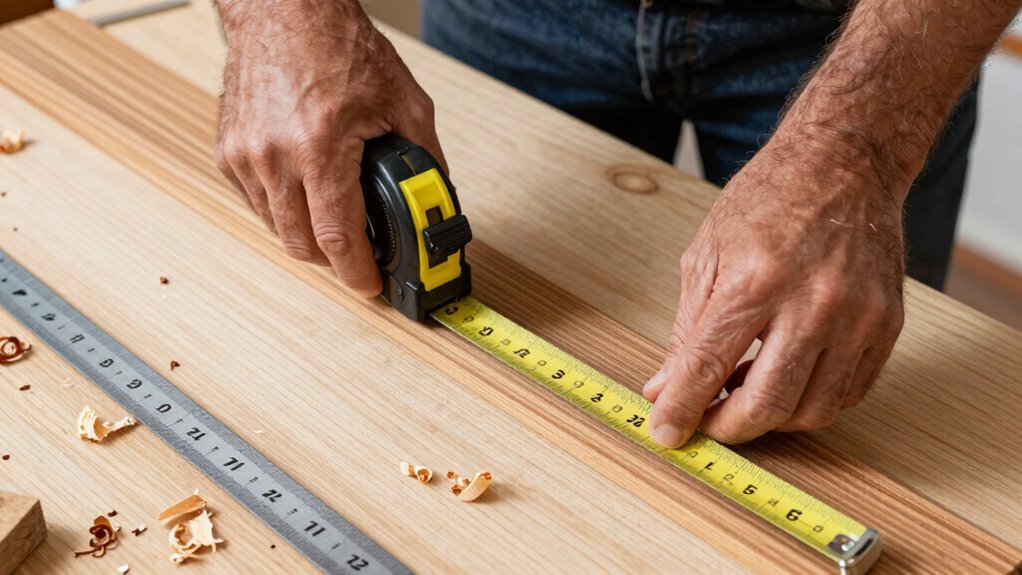
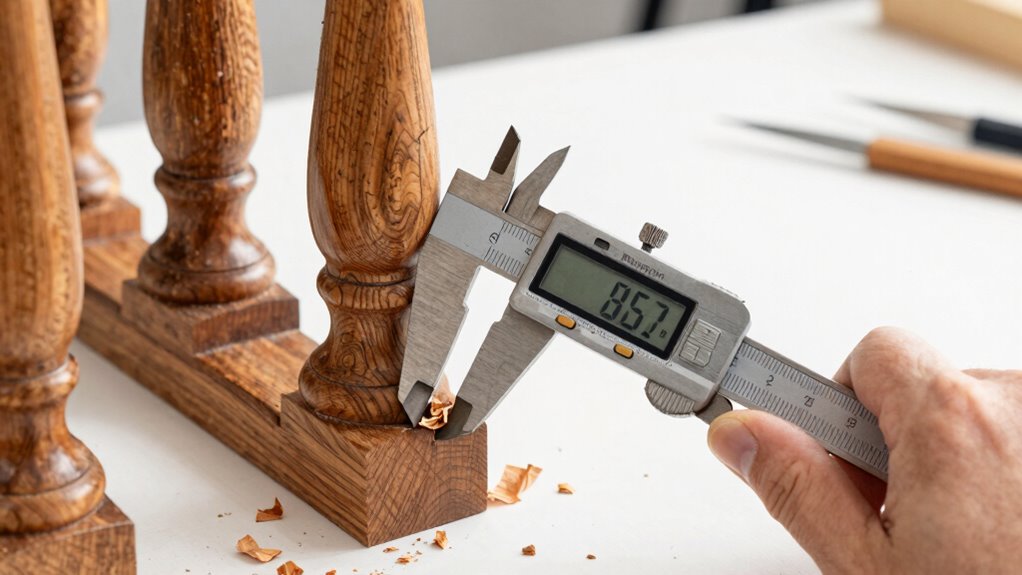
When you’re measuring wood, having the right tools makes all the difference between accurate cuts and costly mistakes. You need a reliable tape measure with clear markings and a sturdy hook. A combination square helps you mark precise lines and check angles.
Get a good straightedge for long measurements. Choose metal rulers for short, precise cuts. Your pencil should be sharp, not fat. A marking knife works better than pencils for fine woodworking.
Keep your tools clean and store them properly. Invest in quality measuring tools because they last longer and provide consistent results. Cheap tools lead to errors that waste materials and time.
You belong in the workshop when you have the proper equipment.
Master Reading Your Tape Measure Fast
Because accurate wood measurement depends on quickly interpreting your tape measure’s markings, mastering this skill saves you time and prevents costly errors.
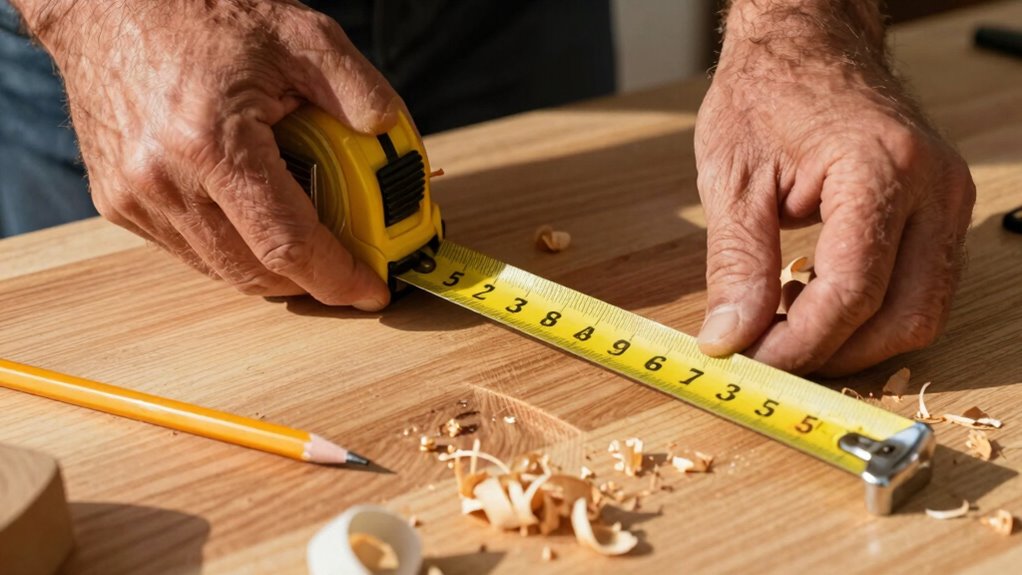
You need to recognize the inch marks first – they’re the longest lines with numbers. Half-inch marks are shorter and sit between inch marks. Quarter-inch marks are even smaller, dividing each half-inch section. Eighth-inch marks are tiny but visible, splitting quarter-inch segments. Sixteenth-inch marks barely show up but matter for precision work.
Focus on the hook end – it moves slightly to account for its own thickness. When you’re measuring, don’t worry about perfectly aligning the hook; just press firmly against your material.
Practice reading measurements quickly by pointing to random spots on your tape and calling out the fractions. You’ll develop muscle memory faster than you think.
Avoid These Common Measuring Mistakes

Even experienced woodworkers make measuring mistakes that compromise their projects’ accuracy. You’re not alone in rushing through measurements, but this habit costs you precision.
Don’t let your tape measure sag or bend while reading – keep it straight and taut. Always double-check your starting point; measure twice, cut once isn’t just a saying.
Watch for parallax errors when reading markings – position your eyes directly above the measurement. Don’t trust your memory – write down measurements immediately.
Avoid measuring from worn or damaged tape edges. Keep your workspace well-lit to prevent misreading numbers. Don’t assume materials are perfectly square or straight – verify dimensions yourself.
Rushing leads to costly errors that ruin projects and waste materials. Take your time, stay focused, and develop consistent measuring habits that become second nature.
Pick the Best Measuring Method for Your Project
How do you choose the right measuring approach for your specific woodworking project? Start by considering your project’s precision requirements. Fine furniture demands meticulous attention to detail, so use tape measures and combination squares for accuracy.
Rough framing allows for slightly more tolerance, making speed squares and retractable tapes ideal. For repetitive cuts, create measuring jigs or use story sticks to maintain consistency. Cabinet work requires precise measuring techniques, while outdoor projects might need quick, efficient methods.
Match your measuring tool to the job’s demands. Don’t overcomplicate simple tasks with unnecessary precision, but never sacrifice accuracy when joinery matters. Your experience level should guide tool selection too.
Master basic techniques first, then advance to specialized methods. Remember, the right approach prevents costly mistakes and guarantees your project’s success.
Measure Hardwood vs. Softwood the Right Way
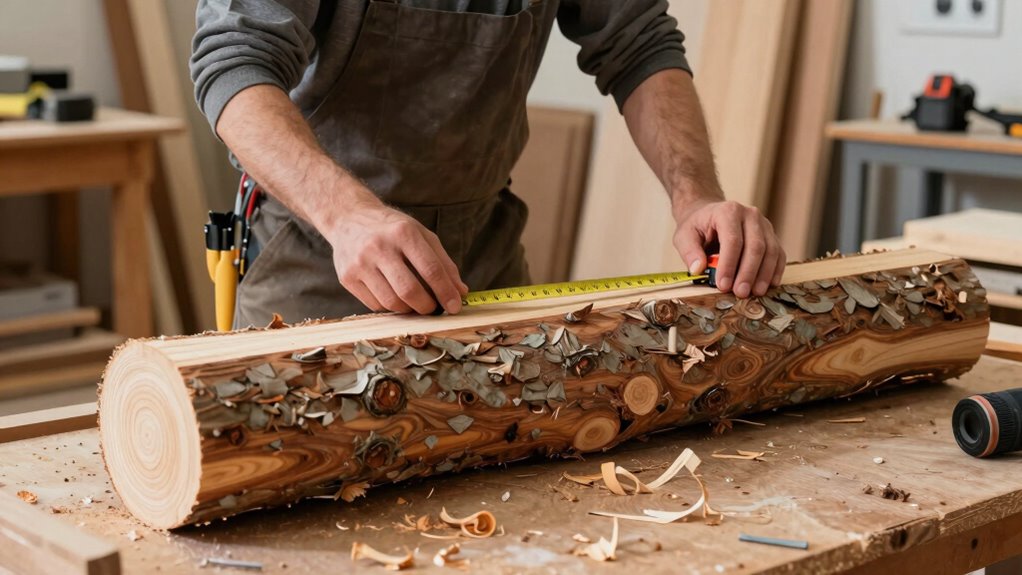
Hardwood and softwood require different measuring approaches due to their distinct characteristics. You’ll want to account for hardwood’s density and grain patterns that can affect your measurements. Measure hardwood twice, as its tight grain can trick your eye during layout.
Softwood’s looser structure demands attention to grain direction too. You should always measure with the grain rather than against it. Hardwood’s tendency to dent requires more careful marking techniques. Use sharp pencils and avoid heavy pressure that creates indentations.
Softwood accepts markings easily but can tear out if you’re not careful. You’ll get better results measuring both wood types at their widest points first, then refining your cuts.
Keep your measuring tools clean and sharp for consistent readings every time.
Plan for Wood Movement Before You Cut
You should always let wood acclimate to your workshop’s moisture content before measuring and cutting.
Seasonal changes in humidity cause wood to expand and contract, so account for this movement when planning your cuts. Ignoring these factors leads to warped, cracked, or ill-fitting joints down the road.
Allow Wood To Acclimate
Wood moves unpredictably when exposed to changing humidity and temperature conditions, so proper acclimation prevents costly mistakes. You should bring wood into your workshop at least 48 hours before cutting. Don’t rush this process.
Store materials in your working environment, not outdoors or in unheated spaces. Check moisture content with a reliable meter. Wood expands across grain when absorbing moisture and contracts when drying. Measure after acclimation, not before.
You’ll avoid gaps, tight joints, and warped projects. Experienced woodworkers know seasonal storage conditions differ from workshop environments. Let wood reach equilibrium moisture content matching your workspace.
This simple step separates amateur results from professional craftsmanship. Your projects will fit together properly when you respect wood’s natural movement patterns.
Account For Seasonal Changes
Seasonal humidity swings demand attention to wood’s natural expansion and contraction patterns before you make any cuts. You must understand that wood moves across grain, not along it. Measure your stock’s moisture content using a reliable meter.
Softwoods typically expand 1-2% across grain between seasons. Hardwoods show similar movement patterns. Always cut your wood slightly oversized, then plane or sand to final dimensions after seasonal acclimation.
Winter cuts should allow extra room for summer expansion. Summer cuts need less tolerance. Don’t fight wood’s natural behavior. Work with it.
Mark your cutting lists with seasonal notes. Your joints will stay tight, your projects won’t crack, and your craftsmanship will show respect for this living material’s predictable yet powerful movement patterns throughout the year.
Mark and Layout Like a Pro
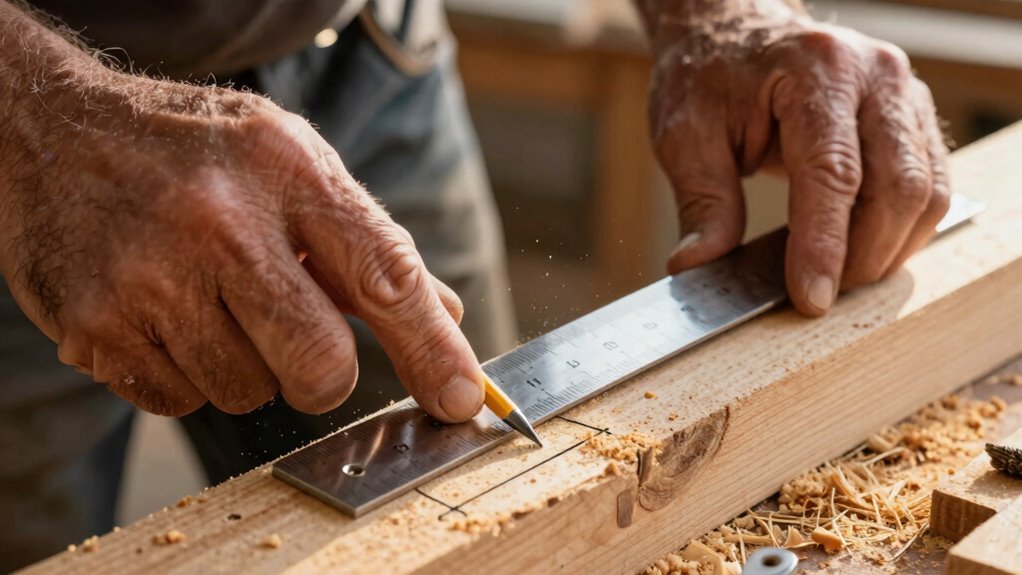
When you’re marking and laying out cuts on wood, accuracy depends on using the right techniques from the start. You should always use a sharp pencil or marking knife for clean, precise lines. Hold your measuring tool firmly against the wood and double-check measurements before marking.
Make tick marks rather than long lines that can blur dimensions. Use a consistent reference edge throughout your project to maintain alignment. Mark your cutting lines clearly but don’t overcrowd the wood with unnecessary marks.
You’ll build confidence faster when you develop muscle memory for these fundamental skills. Experienced woodworkers know that taking time to mark properly prevents costly mistakes later. Your work will show professional results when you master these basic layout techniques from the beginning.
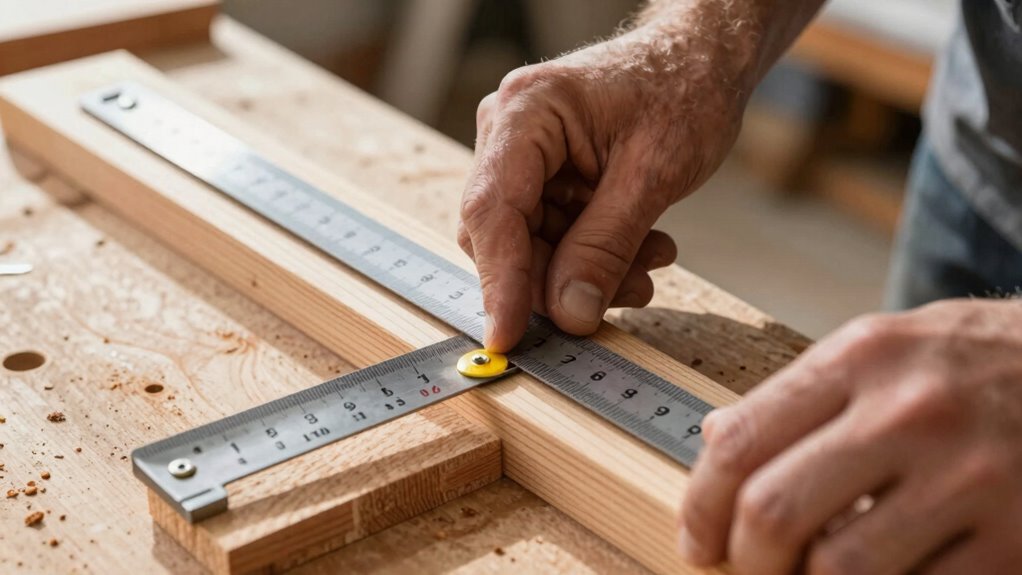
Use a Combination Square for Sharp Corners
A combination square becomes your best ally for creating sharp, accurate corners that professional woodworkers rely on.
You’ll use the steel ruler and movable head to mark precise 90-degree angles every time. Position the square’s base against your wood’s edge, ensuring the ruler extends perfectly perpendicular. Mark your cut line along the ruler’s edge with a sharp pencil.
Don’t eyeball it—trust the tool’s accuracy. The combination square eliminates guesswork that leads to crooked cuts and poorly fitted joints. You’ll achieve those crisp corners that make your projects look professionally crafted.
Keep the square’s blade clean and straight for consistent results. Professionals wouldn’t start a project without theirs, and neither should you.
Master this tool, and your woodworking accuracy improves dramatically.
Measure and Mark Angles With Confidence
Unless you’re working with simple right angles, measuring and marking precise angles can make or break your woodworking project.
You’ll need a reliable bevel gauge or angle finder to tackle angled cuts confidently. Set your tool against the angle you need, then transfer that measurement to your workpiece. Don’t eyeball it – take time to verify your settings before cutting. Mark your lines clearly with a sharp pencil or marking knife.
Remember that inaccurate angle measurements compound quickly, creating gaps and misaligned joints. Practice setting common angles like 45 and 30 degrees until you can do it instinctively. Your projects will fit together better when you master this fundamental skill.
Get Curved and Irregular Shapes Just Right
You’ll need a flexible measuring tape to handle curves that straight rulers can’t follow.
Trace your irregular shape onto paper first, then mark key reference points where measurements change direction or angles shift.
These reference points become your roadmap for cutting and fitting curved wood pieces accurately.
Use Flexible Measuring Tape
Flexible measuring tapes bend around curves and conform to irregular shapes that rigid rulers can’t reach. You’ll find them indispensable when measuring contoured furniture pieces or angled trim work.
Hold the tape’s end firmly against your starting point, then guide it along the wood’s natural contours. Keep tension consistent to prevent sagging that causes inaccurate readings. For best results, position the tape parallel to the surface you’re measuring. Press gently but firmly to maintain contact throughout the entire measurement span.
Read the measurement directly where the tape meets your endpoint. This technique eliminates guesswork and guarantees precise cuts every time. Professional woodworkers rely on this method because it works consistently across all project types.
Trace Outline Onto Paper
When you’re working with curved or irregular wood pieces that won’t lay flat against a measuring tape, tracing the outline onto paper becomes your most reliable method.
Place the wood piece firmly on your paper and trace around its perimeter using a sharp pencil. Keep your tracing close to the wood’s edge for accuracy. Don’t worry about perfection – you’re creating a working template, not art.
For complex curves, work in small sections, rotating the wood as needed. Press firmly enough to create visible lines, but avoid tearing the paper.
This paper template becomes your measuring tool, capturing every nuance of the wood’s shape. You’ll use this outline for cutting guides, pattern matching, or transferring measurements to other materials.
Keep the traced paper flat and undamaged for reliable results.
Mark Key Reference Points
Tracing the outline provides only the foundation—you must now identify specific reference points to confirm accurate measurements. Mark the widest and narrowest points first, then locate where curves change direction.
Don’t forget to note any angles or corners that deviate from standard measurements. Use a pencil to mark these key spots clearly on your paper template. These reference points become your measuring anchors, affirming consistency when you transfer dimensions to the actual wood.
For irregular shapes, mark every significant curve inflection point. Take your time with this step—it’s what separates amateur cuts from professional results. Your reference points should logically connect to create accurate measuring segments.
Double-check each mark before moving forward. This systematic approach eliminates guesswork and assures your final piece fits perfectly.
Double-Check Every Cut Before You Make It
Before you make any cut, always measure twice and verify your measurements against the original plan. You’ll develop this habit quickly when you realize how much time and material one wrong cut wastes.
Stand back and review your marks from different angles – your eye catches mistakes better this way. Have someone else check your work when possible; fresh eyes spot errors you miss.
Check your measuring tape’s hook isn’t loose or damaged, as this creates consistent inaccuracies. Verify your pencil marks are clear and distinct, not smudged or faint.
Remember that rushing leads to costly mistakes nobody wants to admit making. Take pride in doing it right the first time rather than explaining why you didn’t.
Your project deserves precision, and so does your reputation among fellow woodworkers who value accuracy.
Work With Fractional Inches Without Guessing
Accurate measuring doesn’t end with double-checking your cuts – you also need to master fractional inches to avoid costly mistakes. You’ll work faster when you stop guessing between marks.
Learn to read 1/16-inch increments clearly. Practice converting fractions to decimals for calculator use. When you measure 3/8-inch, you’re working with 0.375 inches – remember that relationship.
Stack fractional measurements mentally by adding 1/16-inch increments. You’ll build confidence tackling 7/16-inch or 11/32-inch cuts. Mark your tape measure with small ticks for quick reference.
Keep a fraction-to-decimal chart handy until memorization kicks in. You’ll soon recognize that 13/16-inch equals roughly 0.8125 inches. This knowledge prevents expensive errors and makes you part of the precise woodworker community you respect.
Measure Precisely for Wood Joints
When you’re cutting wood joints, precision becomes even more critical since poorly measured pieces won’t fit together correctly.
You need reliable techniques that guarantee tight, professional connections every time.
- Use a quality combination square to mark perpendicular lines exactly where your cuts need to be. Don’t eyeball it – measure twice and mark once with confidence.
- Account for blade width by subtracting half your saw blade’s thickness from your final measurement. This prevents pieces that are too short after cutting.
- Test fit joints before final assembly by dry-fitting pieces together. Make micro-adjustments with sandpaper or a plane until you achieve that snug, gap-free connection you’re after.
Measure Installed Trim and Moldings Easily
Take precise measurements of existing trim and moldings to guarantee perfect replacements or additions. You’ll need your measuring tape, pencil, and keen eye for accuracy.
Start by measuring the overall length of each piece from corner to corner. Don’t forget to check heights and widths at multiple points since walls aren’t always perfectly straight. Mark your measurements clearly on a sketch or take photos for reference.
Pay attention to mitered corners and note any gaps or inconsistencies. Measure twice, mark clearly, and double-check your work before cutting new pieces.
You’re not just measuring wood – you’re ensuring your craftsmanship fits seamlessly with existing work. This attention to detail separates professionals from hobbyists.
Your precise measurements build confidence in your abilities and deliver results that make you proud. Accuracy here means fewer callbacks and happier clients.
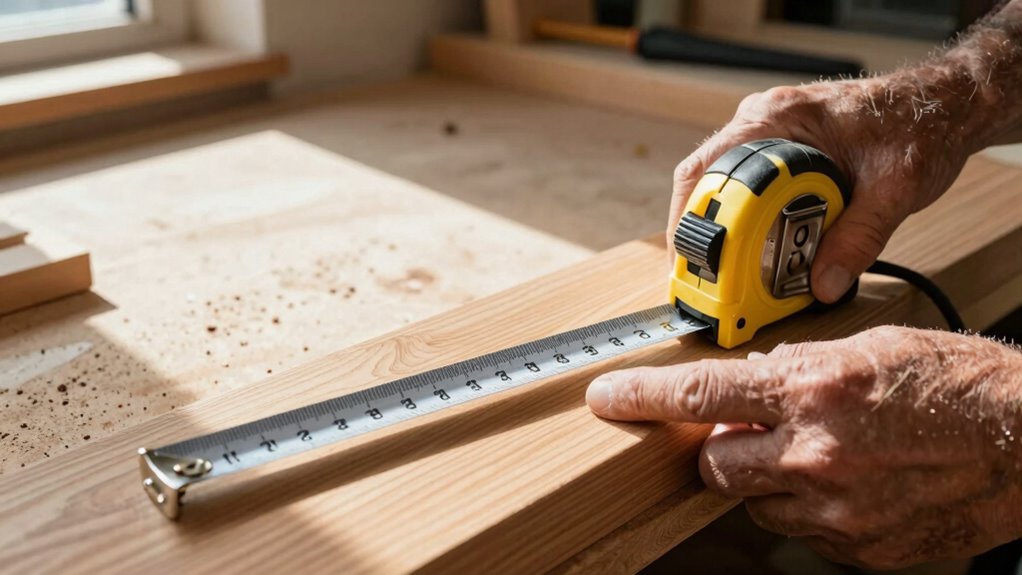
Use Measuring Tapes Efficiently
Proper tape measure technique makes all the difference in your woodworking accuracy. You need to master these essential skills to join the ranks of confident woodworkers who cut perfectly every time.
1. Hook the end correctly – You either catch the metal tab on the wood edge or push it firmly against the surface.
Don’t let it float or you’ll add unwanted gaps to your measurements.
2. Read the tape clearly – Position yourself directly above the measurement mark.
Angled viewing causes parallax errors that throw off your cuts and make pieces not fit properly.
3. Use the right tape length – Don’t stretch a 6-foot tape across 8-foot boards.
Grab the appropriate length tool or you’ll fight with sagging tape and inaccurate readings.
Fix Inconsistent or Wrong Measurements Fast
You’ll need to spot measurement errors quickly when they happen, so keep your eye out for common mistakes like misreading the tape or measuring from the wrong starting point.
Apply correction techniques immediately by double-checking your work and using reference marks to guarantee accuracy.
These fast fixes will save you time and prevent costly mistakes in your woodworking projects.
Identify Measurement Errors
When measuring wood repeatedly, inconsistencies often reveal themselves through mismatched cuts or gaps that shouldn’t exist.
You’ll notice problems when joints don’t fit properly or pieces don’t align as expected.
- Check your starting point – Ascertain you’re measuring from the correct edge or reference point consistently throughout your project.
- Verify your tool calibration – Test your tape measure, ruler, or measuring device against known accurate measurements to confirm precision.
- Look for parallax errors – Position yourself directly above measurement marks when reading them to avoid angular viewing mistakes that throw off accuracy.
These quick verification steps help you catch measurement errors before they become costly mistakes, keeping your woodworking projects precise and professional.
Apply Correction Techniques
Once you’ve identified measurement errors through mismatched cuts or alignment issues, it’s time to implement correction techniques that save your project from costly mistakes.
Adjust your measuring tape’s hook end – it slides slightly to account for wood thickness. When cuts don’t align, use a pencil line as your cutting guide instead of relying solely on tape measurements.
For repeated inconsistencies, check if your square’s blade is loose or damaged. Mark your measurements twice, then verify against the original plan.
If pieces still won’t fit, trim incrementally rather than removing large amounts. Keep your tools clean; sawdust buildup affects accuracy.
Always measure from the same reference point throughout your project. These corrections become intuitive with practice, helping you avoid wasteful missteps.
Know When to Round Up or Down Safely
While precise measurements are essential for most woodworking projects, there are times when rounding up or down won’t compromise your work’s integrity.
You’ll save time and reduce frustration when you understand when flexibility works.
- Gap filling: When working with joints or seams, round down measurements by 1/16 inch to guarantee proper fit and leave room for wood movement or adhesive.
- Rough cuts: Primary cuts for rough framing or temporary structures can safely round to the nearest quarter-inch without affecting final results.
- Material optimization: When cutting multiple pieces from one board, round measurements to match your saw’s kerf width or common fractional increments.
Trust your experience.
Your seasoned judgment beats rigid precision when circumstances allow flexibility.
Build Better Measuring Habits Over Time
You need to develop consistent measuring techniques that become second nature through repetition.
Regular practice helps you track your progress and identify areas where you’re improving or still making mistakes.
Building these habits takes time, but they’ll save you from costly errors and rework down the road.
Develop Consistent Measuring Techniques
Consistency in your measuring approach eliminates errors that waste materials and compromise project quality.
You need reliable techniques that become second nature.
- Always use the same starting point – Whether it’s the end of your tape measure or a specific mark, stick to one reference point for every cut.
- Read measurements at eye level – Don’t angle down or up when reading numbers. Position yourself directly in front of the measurement marking.
- Double-check before cutting – Measure twice, cut once isn’t just a saying. Verify your measurement against your plan before making any cuts.
These habits prevent costly mistakes and guarantee your projects fit together perfectly every time.
Track Progress With Regular Practice
Because accurate wood measurement requires developing muscle memory and refined judgment, tracking your progress through regular practice guarantees that good habits stick and poor ones disappear.
You should mark improvement milestones weekly, noting measurement accuracy and technique consistency. Keep a simple log recording project outcomes and identifying recurring errors.
Practice measuring identical pieces repeatedly until precision becomes automatic. Schedule brief daily sessions focusing on specific skills like reading tape measures or marking cut lines cleanly.
Don’t skip practice days thinking they don’t matter – consistency builds reliability. Review your progress monthly, adjusting techniques based on documented results.
Join woodworking communities where you can share experiences and learn from others’ measuring journeys. Your dedication to regular practice transforms uncertainty into confidence, making you part of the skilled craftsman community you aspire to join.
Final Tips for Flawless Wood Cuts Every Time
When measuring wood repeatedly throughout a project, even experienced woodworkers can introduce cumulative errors that compromise the final outcome.
You’ll want to stay sharp and avoid these common pitfalls that derail precision work.
- Double-check your measurements – Measure twice, cut once isn’t just a saying. Verify every measurement against your plans before making any cuts.
- Use the right tools – Your combination square, tape measure, and marking gauge should be calibrated correctly. Dull blades create tearout and imprecise cuts.
- Maintain consistent technique – Always measure from the same reference point and use the same pressure when marking.
Your body position matters more than you think.
These habits separate amateur mistakes from professional results.
Conclusion
You’ve learned the essential techniques for accurate wood measurement. Remember, 90% of woodworking errors stem from poor measuring habits. Keep your tools sharp, mark clearly, and always double-check before cutting. With practice, these methods become second nature, ensuring perfect cuts every time.
