

Most people struggle with orbital sanders, causing uneven surfaces and wasted time. You can avoid these mistakes by understanding your tool’s basics before plugging it in. Proper preparation prevents common errors that frustrate beginners. Let’s explore the essential techniques that transform messy sanding into smooth, professional results you’ll actually want to show off.
Get to Know Your Orbital Sander Basics
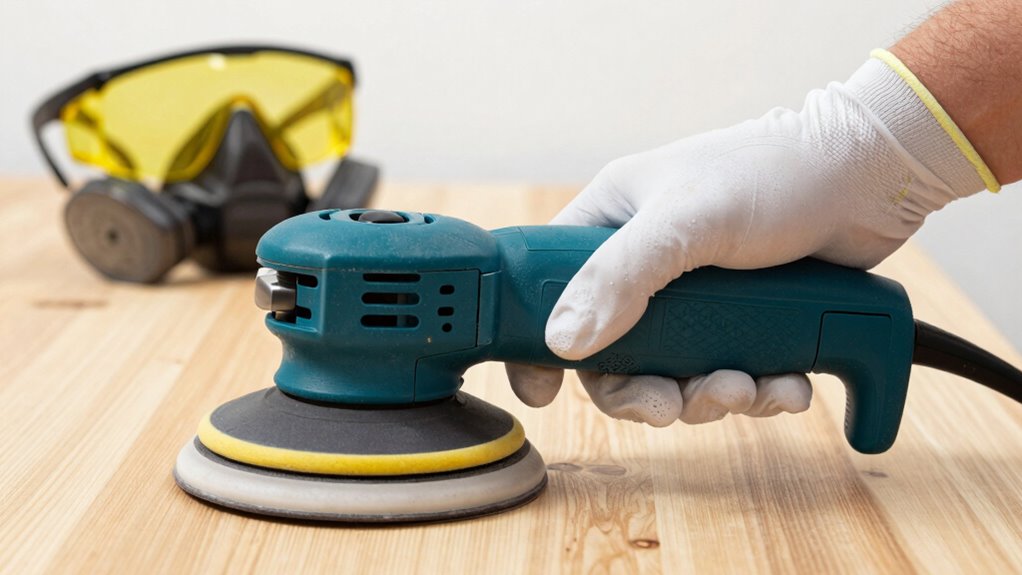
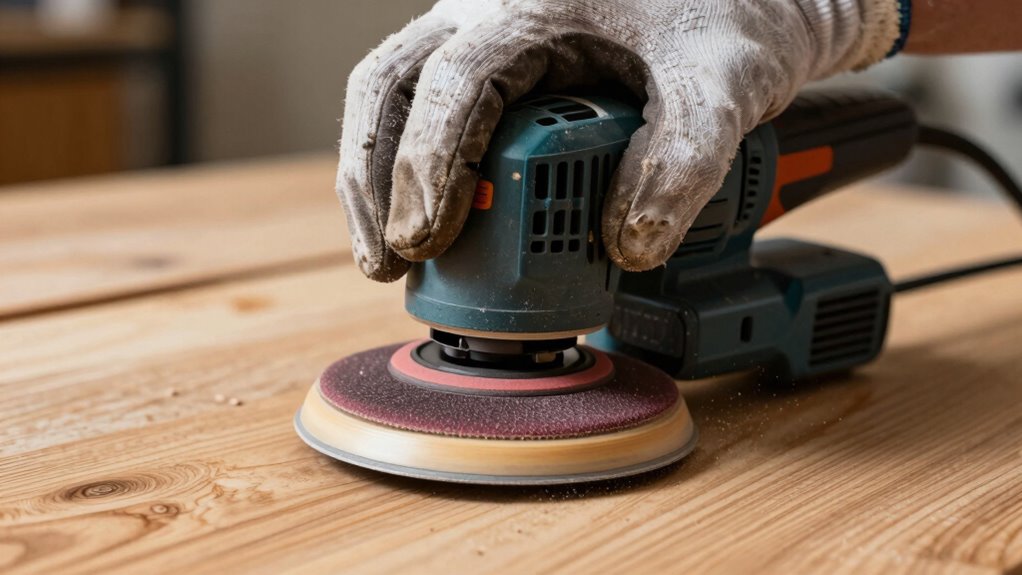
An orbital sander’s compact design makes it ideal for smoothing surfaces in tight spaces. You’ll find the rectangular pad moves in small circles while gliding across wood, drywall, or paint.
Hold the handle firmly with both hands for control. The trigger activates the motor that spins the sanding pad. Different grits of sandpaper accomplish various tasks – coarse for heavy material removal, fine for finishing work.
Check your sander’s variable speed settings to match the material you’re working with. Feel confident that your orbital sander’s random orbital motion prevents swirl marks.
You’re part of countless DIYers who’ve mastered this versatile tool. Practice makes perfect, and you’ll soon understand why professionals rely on orbital sanders for consistent results every time.
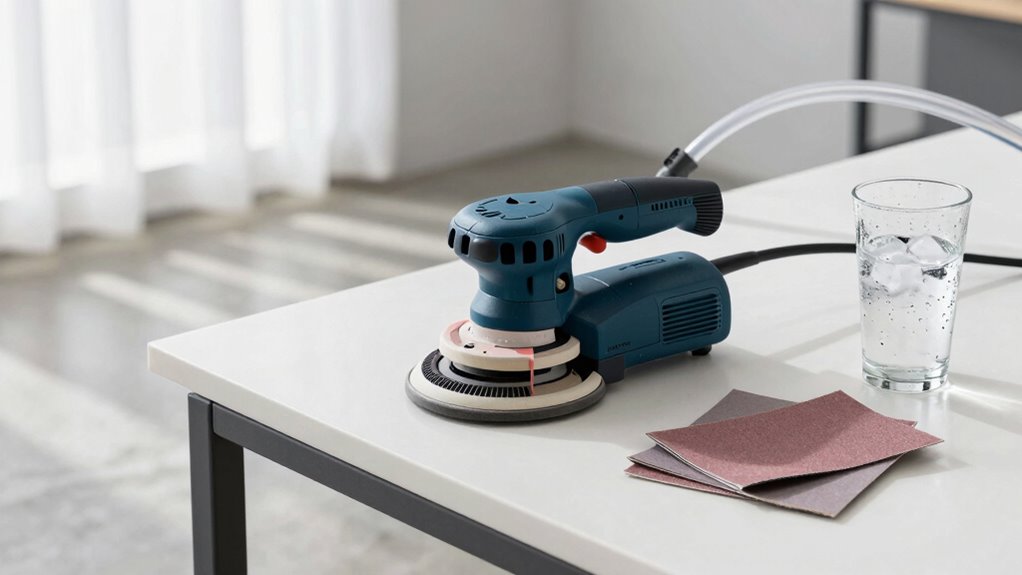
Prep Everything Before Turning It On
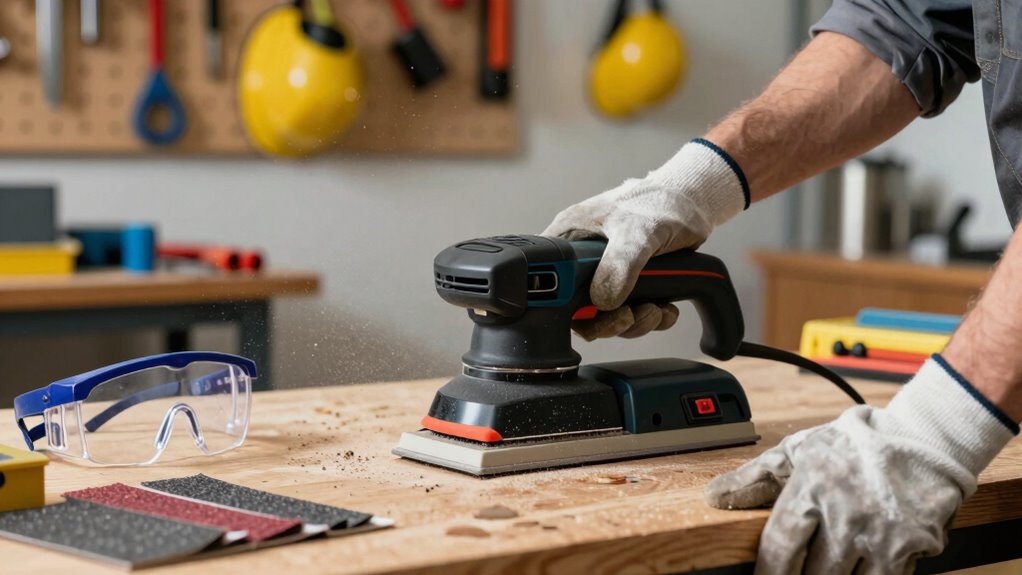
Before you flip the switch, make certain your workspace is ready for sanding. Clear away any debris, dust, or obstacles from your work area.
Position your orbital sander on a stable surface where you can easily reach it. Check that your dust collection bag or vacuum attachment is properly connected and functioning.
Guarantee adequate lighting so you can see what you’re working on clearly. Move any items that might get in the way or become damaged during sanding.
Open windows or doors for proper ventilation, since sanding creates airborne particles. Keep your safety equipment nearby, including safety glasses and a dust mask.
Having everything set up properly beforehand prevents interruptions and keeps you focused on getting smooth, professional results.
Start Right With the Proper Paper Grit
You need to choose the right grit for your project because starting with incorrect sandpaper can damage your material or create unwanted scratches.
Understanding how grit progression works helps you achieve smooth, professional results while avoiding common sanding mistakes. Selecting proper grit requires knowing your material type and desired finish, so don’t skip this vital step before turning on your sander.
Choosing The Right Grit
When you’re working with an orbital sander, selecting the appropriate grit paper makes all the difference in achieving professional results.
You’ll want to match grit to your specific task and material. For heavy material removal or rough surfaces, start with coarse grits like 60-80. These cut aggressively but leave deep scratches.
Medium grits ranging from 100-150 work perfectly for smoothing surfaces and removing scratches from coarser papers. Fine grits between 180-220 deliver smooth finishes ready for staining or painting. Extra fine grits above 240 create ultra-smooth surfaces.
Remember that harder materials like metal require finer grits initially, while softer woods accept coarser papers. Your project’s end goal determines your starting point.
Don’t overlook paper quality either.
Understanding Grit Progression
Starting with the proper paper grit prevents unnecessary work and delivers better results from the beginning.
You’ll want to work through grits systematically, moving from coarse to fine. Begin with 80-120 grit for heavy material removal or rough surfaces. Progress to 150-180 grit for smoothing and preparing surfaces. Finish with 220-320 grit for final smoothing before painting or staining.
Each grit should remove scratches from the previous one while creating a uniform surface. Don’t skip grits or rush the process.
Take time to feel the surface texture between each grit change. Proper grit progression guarantees smooth, professional results every time.
You’ll develop muscle memory and confidence as you practice this essential technique.
Proper Grit Selection Tips
Choosing the right starting grit makes all the difference in your sanding results. Start with 80-120 grit for rough surfaces or heavy material removal. Move to 150-180 grit for smoothing and preparing surfaces. Finish with 220-320 grit for that polished, professional look you want.
Match grit to your project demands. Coarse grits remove paint, rust, or heavy scratches quickly. Fine grits create smooth finishes for staining or painting. Don’t skip grits when progressing – it wastes time and creates uneven results.
Test your grit selection on scrap material first. You’ll avoid mistakes and build confidence knowing you’ve chosen correctly.
Hold Firm and Glide Smooth Without Rushing
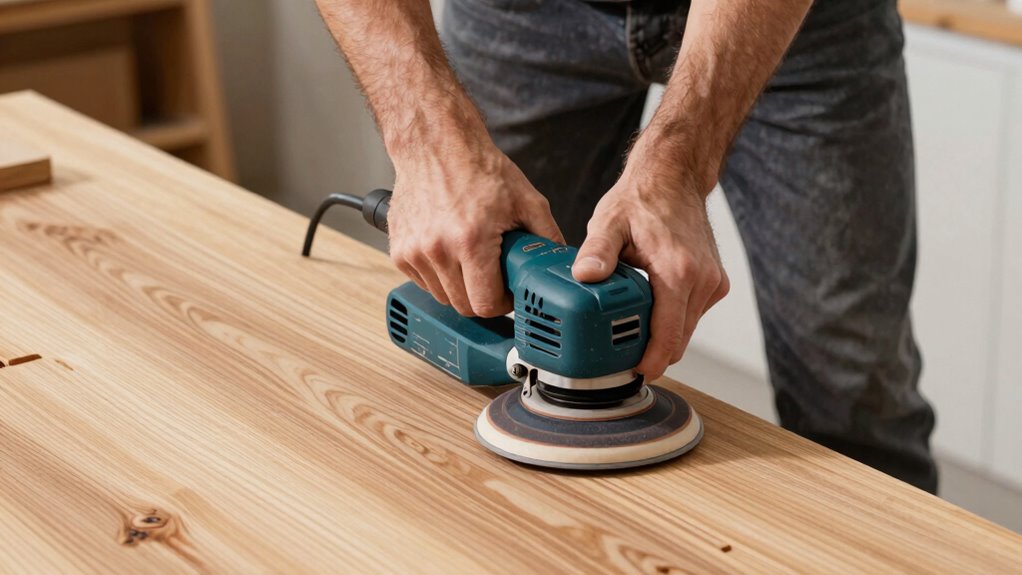
Keep your grip steady and let the sander do the work as you guide it across the surface. Don’t press hard or rush through sections. The orbital motion works best when you maintain consistent pressure and smooth movements. Keep your wrists firm but relaxed, allowing the tool’s vibration to work effectively.
Move the sander in straight lines, overlapping each pass slightly. Change direction occasionally to prevent gouging. Feel the surface respond beneath you, letting you become part of the process. Trust the machine’s rhythm rather than forcing your own pace.
Your hands should work together harmoniously, controlling the tool without fighting it. Glide steadily across wood grain, feeling resistance diminish as surfaces smooth.
This steady approach helps you achieve professional results while building confidence in your technique.
Skip These Frequent Sanding Slip-Ups Everyone Makes

You probably make these common sanding mistakes without realizing it.
Skipping proper technique leads to uneven surfaces and wasted time.
Let’s fix those errors so your orbital sander works better.
Common Sanding Mistakes
While sanding seems straightforward, many people make simple mistakes that ruin their finish or waste time. You might press too hard, thinking more pressure equals better results, but this creates uneven surfaces and burns through paper quickly.
Don’t skip dust collection – sanding dust clogs pores and creates messy cleanup later. Using wrong grit sequences confuses your project; jumping from coarse to fine leaves scratches behind.
You shouldn’t sand with the grain only on final stages; earlier cuts need cross-grain motion too. Never ignore your sander’s random orbit pattern – working against it causes swirl marks.
Forgot to check belt tension or worn pads? Expect poor contact and inconsistent results. These slip-ups separate amateur work from professional finishes you can be proud of.
Proper Orbital Technique
Master your orbital sander’s random motion rather than fighting against it. You’ll achieve better results when you work with the tool’s natural movement pattern.
Keep your grip light but steady, letting the sander glide smoothly across surfaces.
Don’t press too hard – let the machine do the work. Excessive pressure creates uneven spots and slows down progress.
Move the sander in slow, overlapping passes, maintaining consistent speed.
Keep the pad flat against your work surface throughout each stroke. Tilted angles cause gouging and swirl marks that ruin your finish.
Trust the orbital action to create uniform abrasion patterns.
Practice makes perfect, so spend time getting comfortable with your sander’s rhythm before tackling important projects.
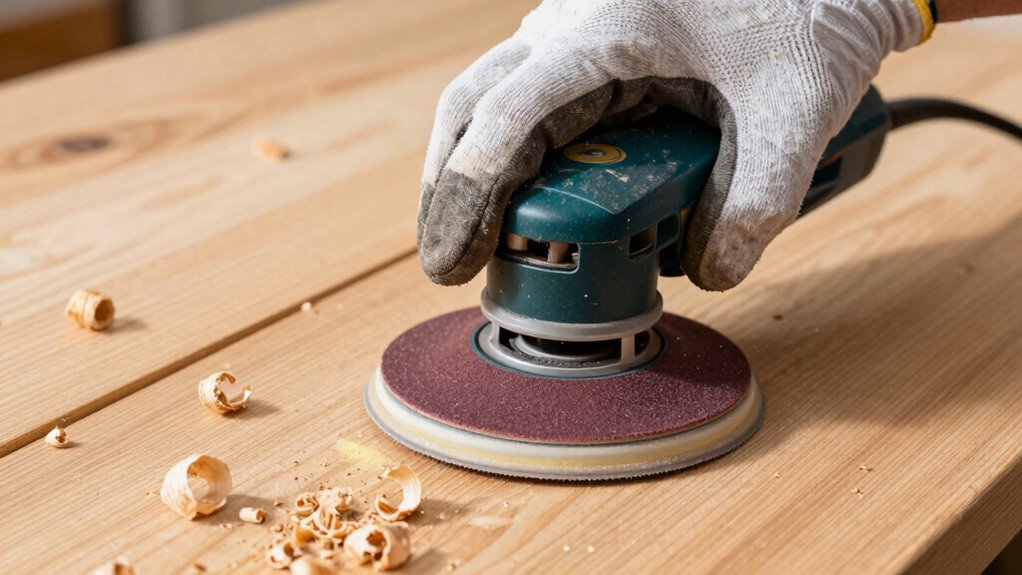
Swap Sheets When Smoothing Slows Down
When your orbital sander starts moving slower than usual, it’s time to change the sanding sheet. You’ll notice the motor straining or the sander hesitating during operation.
Don’t push harder – this damages both the tool and your workpiece. Stop immediately and check the sanding disc.
Worn sheets lose their cutting effectiveness quickly. The abrasive particles become smooth and clogged with debris. You’re fundamentally sanding with a useless disc.
Remove the old sheet by peeling it off carefully. Clean any residue from the backing pad before attaching a new sheet.
Always keep spare sanding sheets handy in various grits. Having fresh discs ready prevents project delays.
You’ll achieve better results and maintain consistent progress when you swap sheets promptly. Remember, quality work requires sharp tools.
Keep It Cool and Clean As You Go
Although your orbital sander might seem like it can handle continuous use, you’ll achieve better results by keeping the tool cool and clean throughout your project.
Stop every few minutes to wipe down the sander’s body and ventilation slots with a dry cloth. Dust buildup reduces airflow and causes overheating.
Clear debris from the sanding pad and surrounding areas regularly. This prevents clogging that affects performance and creates uneven finishes.
Check the power cord periodically for dust accumulation. A clean tool works more efficiently and lasts longer.
You’ll notice smoother operation and better sanding quality when you maintain cleanliness. Make cleaning part of your sanding routine, not an afterthought.
Your sander will thank you with consistent performance.
Stay Safe While Making Quick Work of Big Jobs

While orbital sanders speed up large projects considerably, you must prioritize safety to avoid accidents during extended use.
These powerful tools can cause serious injury if you don’t follow proper precautions.
Keep these essential safety tips in mind:
- Wear safety glasses to protect your eyes from flying debris
- Use a dust mask or respirator when sanding dusty materials
- Check that your workspace has adequate ventilation
- Never force the sander or apply excessive pressure
- Take regular breaks to prevent fatigue and maintain focus
You’re part of a community of craftspeople who value both efficiency and safety.
Following these practices guarantees you’ll complete your projects successfully while protecting yourself and others around you.
Conclusion
You’ve learned the basics, but here’s the truth: orbital sanders work best when you let them do the work. Don’t press hard—a light touch removes material faster and prevents burning. Keep moving steadily across surfaces, and watch smooth, even finishes appear like magic under your hands.
