

You probably already have a vision of your dream workshop, but turning that space into a functional woodworking area requires smart planning. Before you start buying tools or arranging equipment, you need to think critically about your actual needs and available space. What specific projects excite you most, and which tools will truly help you accomplish them? The difference between a cluttered garage and a productive workspace lies in how you answer these questions.
Decide What You’ll Build First
Before you start setting up your woodworking workshop, you should decide what projects you’ll tackle first. Choosing your initial builds helps you focus your tool purchases and workspace planning.
Start with simple projects like cutting boards, picture frames, or small shelves. These beginner-friendly projects build your confidence while teaching fundamental skills.
Consider what you actually need around your home – maybe a new coffee table or storage boxes. Don’t try to tackle complex furniture pieces right away. Your first projects should match your current skill level and available tools. Making this decision early prevents wasting money on unnecessary equipment.
Pick two or three starter projects that excite you. This approach keeps you motivated while developing essential woodworking habits. Your initial choices shape your entire workshop setup process.
Measure and Map Your Space
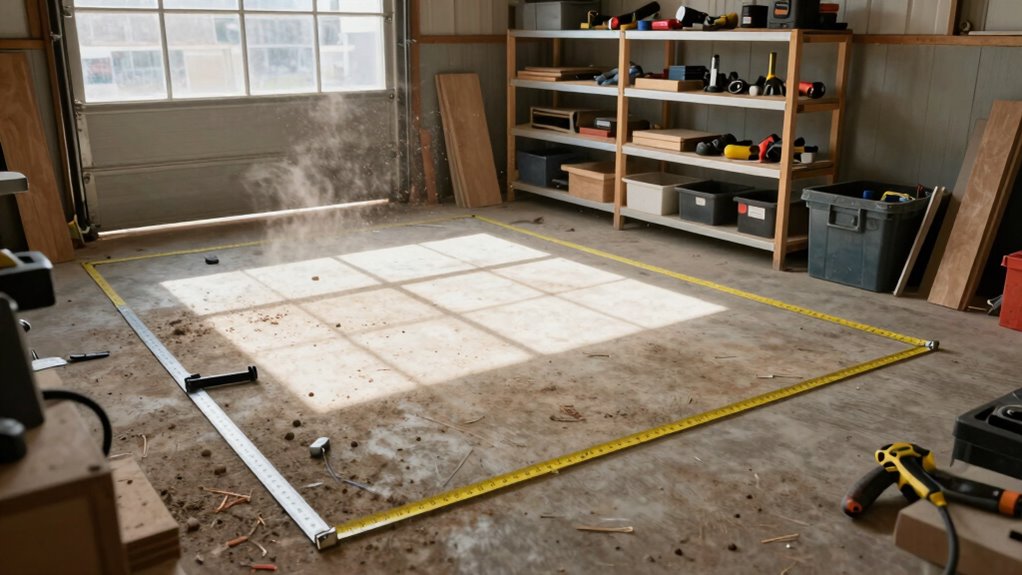
Once you’ve decided what projects to tackle first, you’ll need to measure and map your available workspace. Grab a tape measure, pencil, and paper to document everything accurately.
- Measure the length, width, and height of your designated area, noting any obstacles like pillars or vents.
- Sketch a basic floor plan on graph paper, marking doorways and window locations.
- Identify electrical outlets and lighting sources throughout the space.
- Note areas with good ventilation and natural light for finishing work.
Don’t forget to account for tool clearance zones and workflow patterns. You want enough room to move safely between workstations.
Consider how materials will flow through your space during projects. Mapping your workspace now prevents costly mistakes later when positioning heavy equipment.
Take your time with these measurements – they form the foundation for your entire workshop layout. Accuracy here guarantees your future projects run smoothly.
Budget Your Initial Tool Set

While you’re mapping your workspace dimensions, you’ll want to simultaneously consider what tools fit both your budget and immediate needs.
Start by listing essential tools you actually need, not everything you might want. Focus on quality over quantity – better to have five reliable tools than ten mediocre ones.
Set a realistic budget range, then research current prices at local suppliers and online retailers. Don’t forget to factor in sales tax and shipping costs.
Consider buying used tools from reputable sources; many woodworkers upgrade frequently, creating opportunities for affordable purchases. Prioritize tools that serve multiple functions.
Track your spending carefully throughout the process. Remember, you can always expand your collection later as skills develop and projects demand more sophisticated equipment. Stick to your planned budget initially.
Choose the 5 Must-Have Hand Tools for Beginners

Because you’re just starting out, choosing the right hand tools can feel overwhelming with so many options available.
Focus on these essential five tools that every beginner needs to build a solid foundation.
- Chisel set – Sharp, quality chisels handle detailed work and joints
- Hand saw – A crosscut or rip saw tackles most cutting tasks
- Block plane – Perfect for smoothing surfaces and trimming end grain
- Combination square – Measures angles, marks lines, checks corners
These tools cover measuring, cutting, and finishing tasks you’ll encounter regularly.
Start with quality pieces that’ll last years rather than cheap alternatives that’ll frustrate you.
You’ll join the woodworking community confidently knowing you’ve got the right basics.
Pick the Right Power Tools for Your Projects
You’ll need to identify which power tools match your project goals and skill level.
Start with essential tools like a circular saw, drill, and sander before expanding your collection.
Consider your budget carefully since quality tools often cost more but save money through years of reliable use.
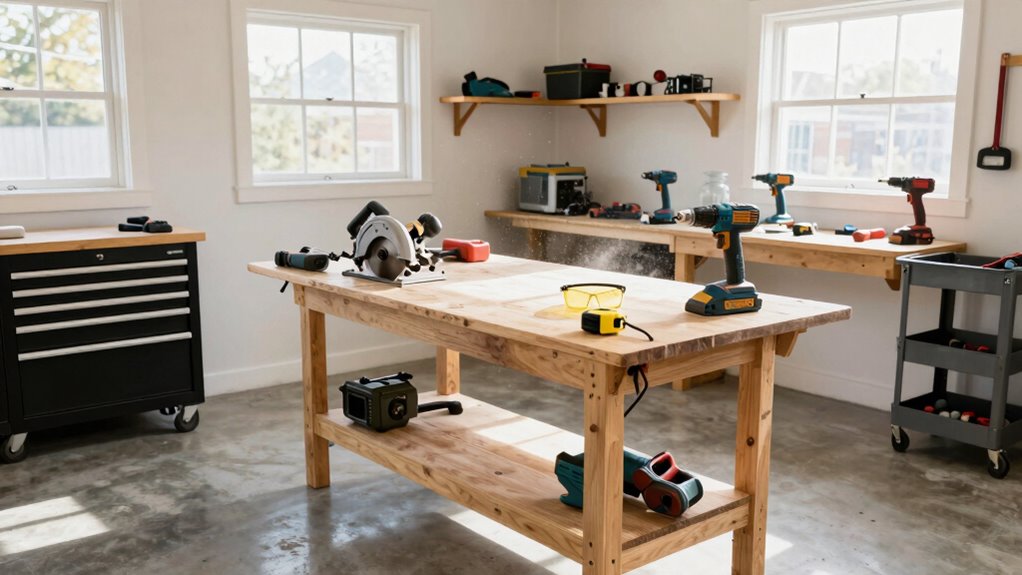
Essential Power Tools For Beginners
Choosing the right power tools makes all the difference when starting your woodworking journey.
You’ll build confidence and capability with these fundamental tools that handle most beginner projects effectively.
1. Circular saw – Cuts 板材 quickly and accurately.
You’ll use it for everything from rough cutting lumber to making precise crosscuts.
2. Power drill – Essential for driving screws and drilling holes.
Choose one with adjustable clutch settings for better control.
3. Random orbital sander – Smoothes surfaces efficiently.
You’ll appreciate how it removes material quickly while leaving minimal scratches.
4. Jigsaw – Makes curved and intricate cuts.
Perfect for cutting out shapes and creating detailed designs in your projects.
These four tools form your foundation toolkit.
Budget-Friendly Tool Selection Strategies
Three key strategies help you maximize your tool investment while building your woodworking capabilities.
First, prioritize versatile tools that handle multiple tasks rather than single-purpose gadgets. A quality drill press works for holes, sanding, and polishing.
Second, buy used tools from reputable sources. Check local woodworking clubs, online forums, and estate sales where experienced woodworkers sell reliable equipment at fraction of retail cost.
Third, start with essential power tools: circular saw, drill, and sander. You’ll accomplish most beginner projects with these basics. Avoid impulse purchases by making a list based on your planned projects. Research tool reviews and compare prices before buying.
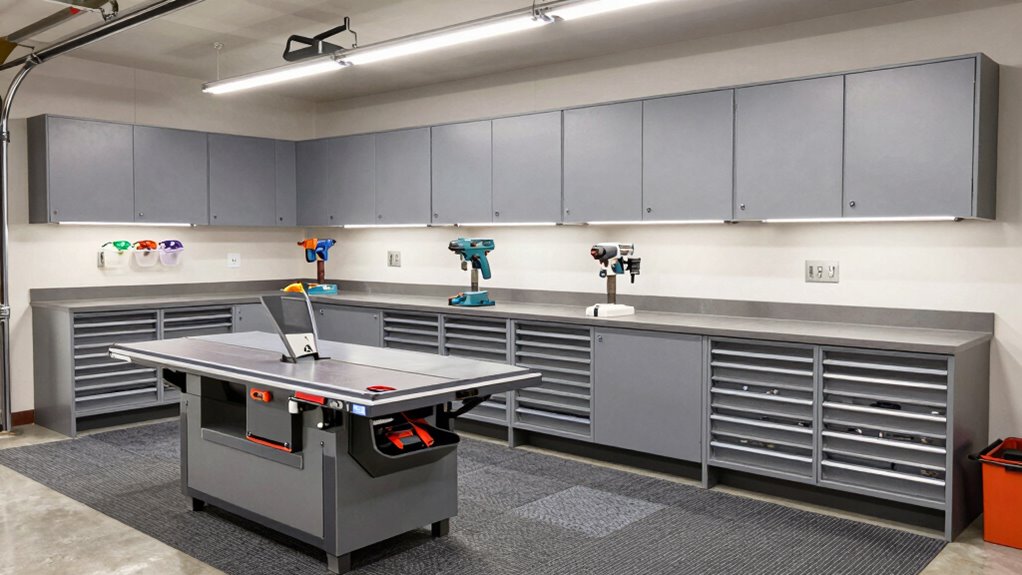
Plan Your Layout for Efficiency
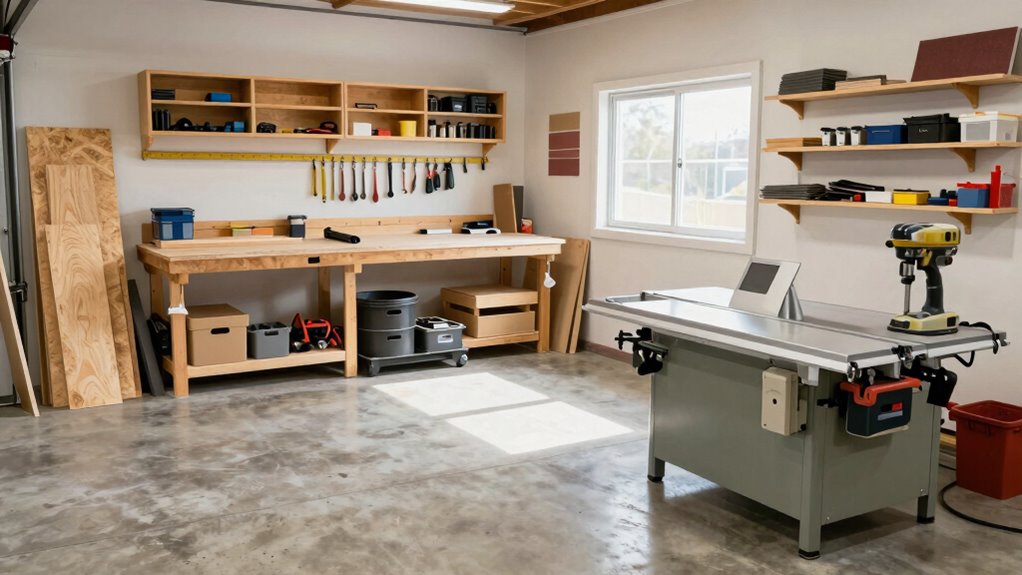
When setting up your woodworking workshop, careful planning of your layout will save you time and effort in the long run.
You’ll work smarter, not harder, when everything has its place.
- Create distinct work zones – Separate cutting, assembly, and finishing areas to prevent cross-contamination and streamline your workflow.
- Position frequently used tools within easy reach of your main workbench to minimize walking and maximize productivity.
- Ensure adequate lighting throughout your space, especially at workstations where precision matters most.
- Maintain clear pathways between zones to move materials safely and efficiently without obstacles.
Smart layout planning makes every project smoother.
You’ll spend less time searching and more time creating.
Place Tools to Minimize Risk of Injury
While you’re arranging your tools, place them strategically to reduce accident risks and create a safer working environment.
Keep sharp tools away from walkways where you might trip or bump into them. Position heavy machinery on solid, level surfaces to prevent tipping. Store cutting tools with blades facing away from you and others.
Place frequently used items within easy reach to avoid overreaching or awkward positioning. Keep your workspace clutter-free by returning tools to designated spots immediately after use.
Confirm adequate lighting covers all work areas, especially where precision cuts happen. Position power tools with cords routed safely to prevent tripping hazards.
Store chemicals and finishes in ventilated areas away from heat sources. Always maintain clear access to emergency exits and keep first aid supplies readily accessible.
Set Up a Pegboard & Drawer System for Hand Tools
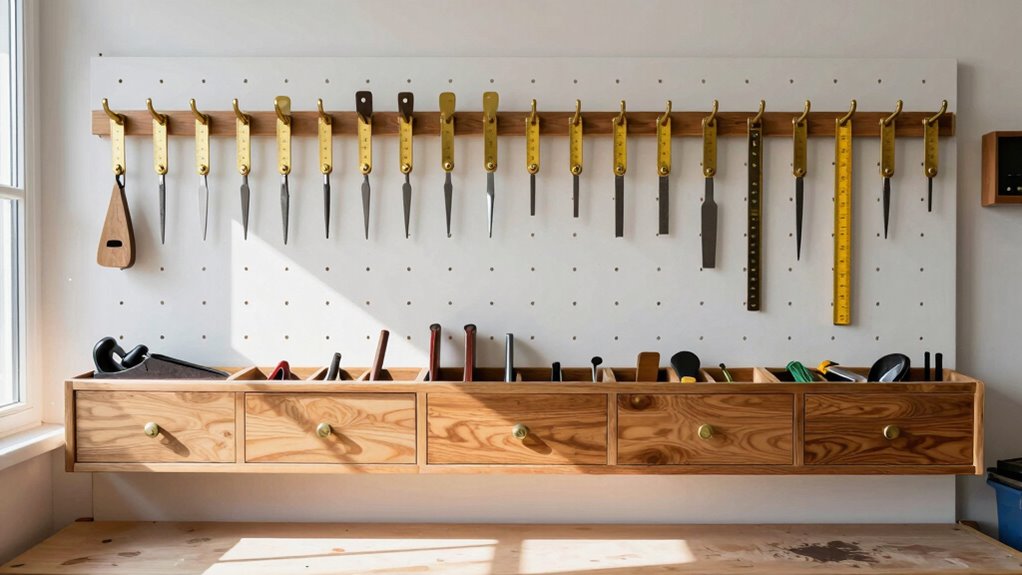
A pegboard and drawer system keeps your hand tools organized and easily accessible, so you can focus on your projects instead of hunting for misplaced tools.
This setup creates a professional workspace that reflects your commitment to craftsmanship.
- Choose durable pegboard – Select 3/4-inch plywood or commercial-grade pegboard that won’t sag under tool weight.
- Install at comfortable height – Mount pegboard 6-8 inches above your reach for easy tool removal.
- Use quality hooks and bins – Invest in sturdy metal hooks and plastic bins that won’t bend or break.
- Group tools logically – Arrange frequently used tools at eye level and organize by function or project type.
Your workshop deserves tools that are visible and ready when you need them.
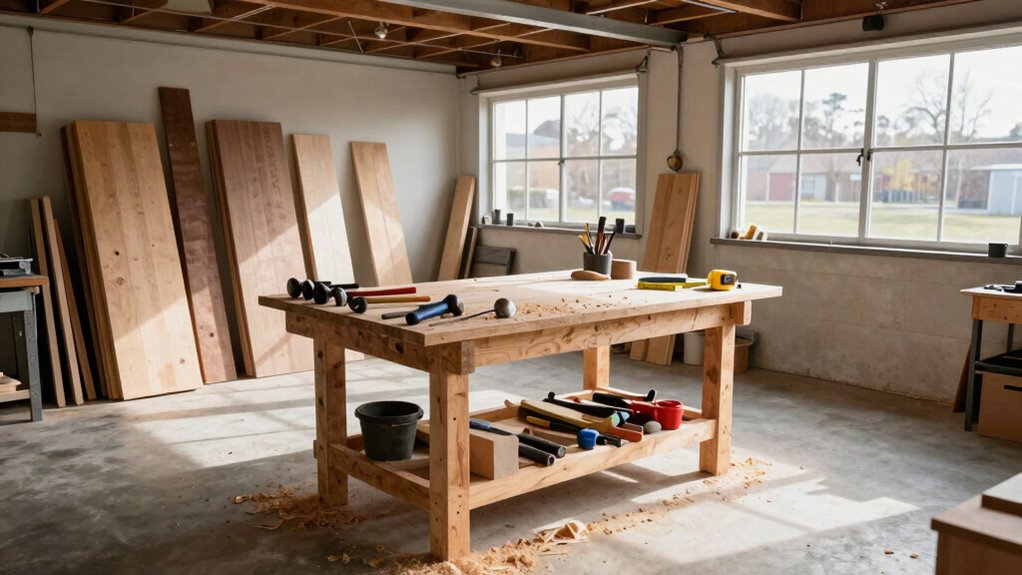
Get a Workbench That Works for You
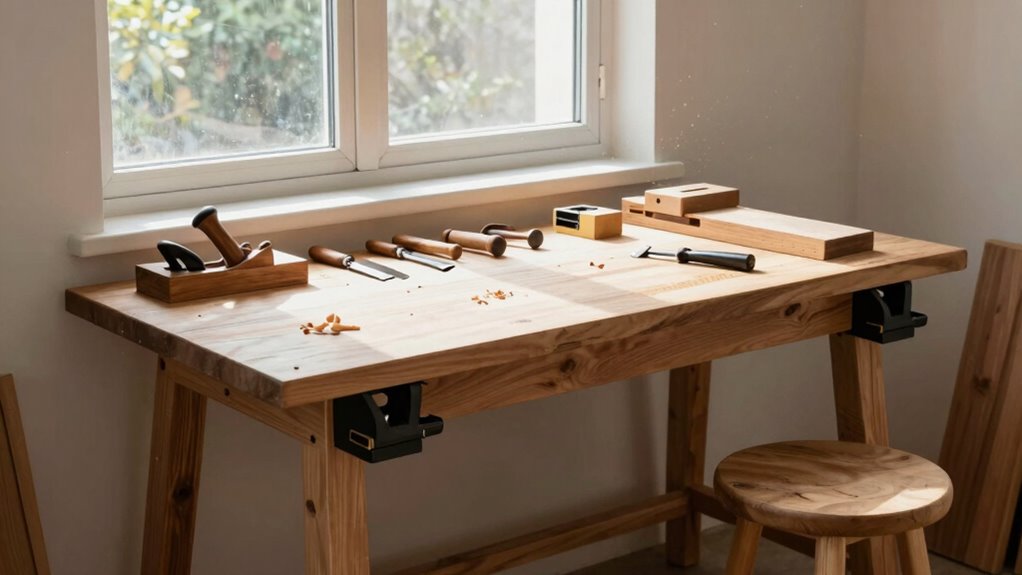
Your workbench serves as the foundation for every project you’ll build, so choosing the right one matters. You’ll want something sturdy enough to handle heavy work without wobbling.
Look for benches with adjustable height features so you can customize the setup to your comfort level. Consider your available space carefully – smaller workshops benefit from compact designs or portable options.
Don’t underestimate storage needs either; built-in drawers and shelves keep your workspace organized. Pay attention to the work surface material too. Hardwood tops provide durability and stability for precise work. Metal or particleboard alternatives work fine for basic projects.
Whatever you choose, make sure it feels solid when you lean on it. Test the stability before purchasing. Your workbench should feel like an extension of yourself, supporting your creativity and craftsmanship as you grow your skills.
Stack Lumber Safely Without Taking Over
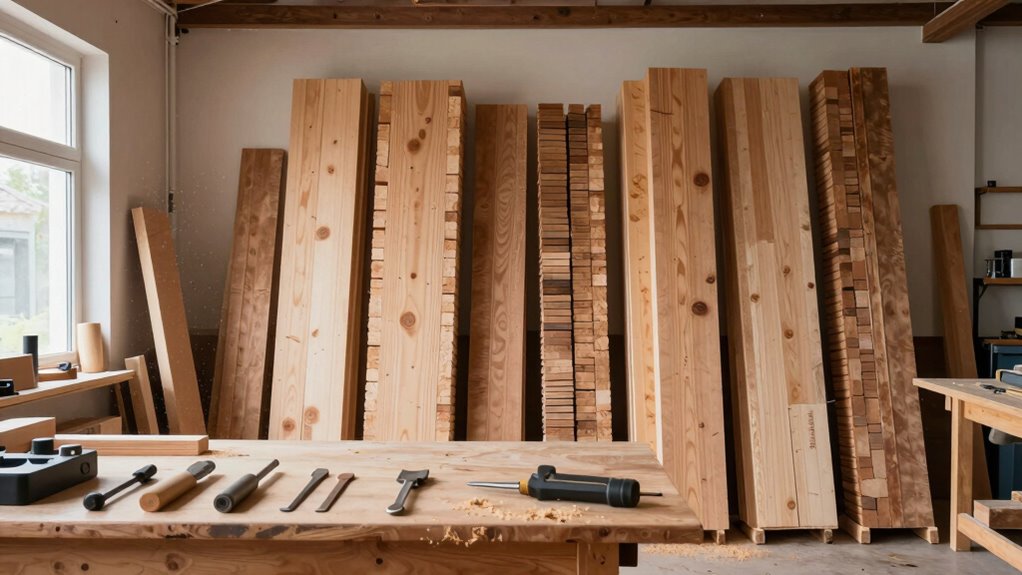
Proper lumber storage prevents waste and keeps your workshop organized without consuming every square foot.
You’ll maximize space while protecting your materials from damage and warping.
- Use vertical storage – Install wall-mounted racks or leaning stacks against walls to save floor space
- Keep boards separated – Place stickers or spacers between layers to allow air circulation and prevent sticking
- Store by size and frequency – Arrange commonly used pieces at eye level and group similar dimensions together
- Maintain dry conditions – Keep lumber away from moisture sources and use fans for ventilation
These methods create efficient storage that fits any workspace size.
Grow Your Tool Collection Gradually
You should start with basic hand tools like chisels, planes, and saws before adding power tools to your workshop.
This approach lets you learn fundamental woodworking techniques without overwhelming yourself or breaking the bank.
As your skills improve and your budget grows, you can gradually invest in power tools that match your specific project needs.
Essential Hand Tools First
Hand tools form the foundation of any effective woodworking workshop.
You’ll develop better skills and understanding when you start with these basics before moving to power tools.
1. Chisels – Invest in a quality set of 4-6 chisels ranging from 1/4″ to 1″ widths. They’re essential for cleaning joints and carving details.
2. Hand saws – A crosscut saw and rip saw handle most cutting tasks.
You’ll appreciate their precision and control.
3. Block plane – This versatile tool smooths surfaces and trims end grain perfectly.
4. Combination square – Measure angles, mark lines, check corners for squareness.
It’s indispensable for accurate work.
These tools teach you wood’s characteristics and grain direction.
You’ll build confidence and skill that power tools can’t provide.
Master these first, then expand your collection gradually.
Power Tools As Budget Allows
A circular saw becomes your first power tool priority, handling most cutting tasks efficiently. You’ll discover it cuts through plywood and lumber faster than hand tools, making your workshop productivity soar.
Don’t feel pressured to buy everything at once – power tools aren’t cheap, and you’re part of a community that grew slowly too. After the circular saw, consider a drill press for precise holes, then maybe a jigsaw for curved cuts. Each tool you add expands your capabilities while building confidence.
Join online forums where experienced woodworkers share budget-friendly tool recommendations. You’ll find others who started exactly where you’re now.
Keep Things Clean and Running Smoothly
Maintaining cleanliness and organization in your woodworking workshop isn’t just about appearances—it’s essential for safety, efficiency, and prolonging the life of your tools.
A clean space helps you work faster, reduces accidents, and keeps your equipment running smoothly for years.
- Sweep sawdust daily – Prevent buildup that can clog tools and create slipping hazards.
- Wipe down tools after each use – Remove resin, pitch, and moisture that cause rust and deterioration.
- Organize materials by type and size – Use shelves, bins, or racks so you always know where supplies are.
- Clean work surfaces regularly – Remove glue, finish drips, and debris that interfere with accurate measurements.
These habits become second nature quickly.
Your fellow woodworkers will respect your craftsmanship more when they see you value proper workshop maintenance. Cleanliness shows professionalism and pride in your work.
Use Basic Safety Gear Like Pros Do
Because you’re working with sharp blades and powerful machinery, protecting yourself properly isn’t optional—it’s mandatory for staying injury-free.
Start with safety glasses that block dust and flying debris from reaching your eyes. Don’t skip ear protection when using loud tools like table saws or routers. Invest in a good pair of work gloves that provide grip while handling rough materials.
Steel-toed boots protect your feet from falling objects and heavy machinery. Keep a dust mask or respirator handy for sanding and cutting operations. Wear fitted clothing without loose sleeves that could catch in moving parts.
Always have a first aid kit accessible. Remember, experienced woodworkers never compromise on safety gear—it’s what separates hobbyists from professionals who respect their craft.
Light Up Dark Corners and Cramped Spots
You need bright, flexible lighting to see what you’re doing in tight spaces and shadowy areas of your workshop.
Portable work lights and overhead task lighting help you illuminate specific spots where you need visibility most.
Battery-powered solutions give you the freedom to move light exactly where it’s needed without dealing with cords.
Portable Work Lights
Several portable work lights can transform your woodworking experience by eliminating shadows and illuminating tight spaces where natural light won’t reach.
You’ll wonder how you ever worked without them once you start using these essential tools.
- LED work lights provide bright, energy-efficient illumination that won’t overheat your workspace.
- Clamp-on lights attach directly to workbenches or tools for hands-free lighting exactly where you need it.
- Rechargeable battery-powered lights offer cordless flexibility for moving between projects.
- Flexible gooseneck lights bend and position precisely where shadows block your view.
These lights become your trusted companions, ensuring you can see every detail clearly.
You’ll work safer and produce better results when you can actually see what you’re doing.
Don’t underestimate how much proper lighting improves your craft.
Overhead Task Lighting
Overhead task lighting transforms those dark corners and cramped spots where portable lights can’t reach. You’ll want to install LED strip lights or small pendant fixtures directly above your workbench and in tight spaces.
Mount them securely to ceiling joists or wall brackets. Position lights so they eliminate shadows where you need visibility most. Choose fixtures with adjustable arms or swivel heads for flexible positioning.
Look for lights with high lumens output but low heat generation. Wire them properly using junction boxes and follow local electrical codes. Consider installing dimmer switches to control brightness levels.
Test different positions before making permanent installations. Good overhead lighting makes every project easier and safer. You’ll wonder how you ever worked without it.
Battery-Powered Solutions
While overhead lighting handles general workspace illumination, battery-powered solutions fill the gaps in dark corners and cramped spots where permanent fixtures won’t reach.
You need portable lighting that moves with your projects and adapts to your workflow.
- LED Work Lights: Grab rechargeable LED work lights with magnetic bases for quick attachment to metal surfaces and machinery.
- Headlamps: Wear headlamps when working in tight spaces like cabinets or drawers where hands-free lighting is essential.
- Portable Lanterns: Keep folding LED lanterns charged for versatile placement on sawhorses, benches, or floor areas.
- Clip-On Lights: Stock up on USB-rechargeable clip-on lights that attach directly to tools, vises, or lumber for targeted illumination exactly where you need it.
Start Simple and Expand as You Learn
When you’re starting out, don’t feel pressured to buy every tool at once. Begin with essential basics like a decent hand saw, block plane, chisels, and measuring tape. These fundamentals will teach you core skills without overwhelming your budget or workspace.
Focus on mastering simple projects first. Build confidence with basic cuts, joints, and finishes before moving to complex techniques. Your initial tools should handle 80% of beginner projects effectively.
As you gain experience, you’ll naturally identify which additional tools would benefit your specific woodworking style. Maybe you’ll discover you love carving, or perhaps joinery becomes your passion.
This gradual approach prevents buyer’s remorse and guarantees each purchase serves a genuine purpose. You’ll develop better skills, avoid clutter, and create a workshop that truly reflects your evolving needs and preferences.
Track What Works and What Doesn’t
You should track how each tool performs in your workshop setup and monitor the outcomes of your projects to identify what’s working well and what needs adjustment.
Keep notes on tool efficiency, accuracy, and reliability so you can make informed decisions about future purchases or replacements.
This feedback loop helps you refine your workspace and techniques as you gain experience.
Track Tool Performance
Everyone needs a system to track their tool performance, and yours should start with simple documentation. You’ll want to monitor how each tool behaves over time to prevent costly surprises and maintain consistent workflow quality.
- Record cutting speeds and feed rates for each tool type.
- Document blade sharpness indicators like tear-out or burning marks.
- Track maintenance schedules including oiling, cleaning, and calibration dates.
- Note performance changes such as increased noise, vibration, or inconsistent cuts.
Keep a small notebook or digital app nearby your workspace. Write down observations after each project session.
This helps you identify patterns early and plan maintenance before tools fail. You’ll feel more confident knowing your equipment’s history and capabilities.
Monitor Project Outcomes
Regularly tracking your project outcomes helps you identify successful techniques and problematic approaches before they become costly mistakes.
Keep a simple notebook or digital log documenting each project’s results, noting what joinery methods worked best and which ones failed. Record your material choices, finishing techniques, and assembly processes.
When you encounter issues like warping, poor fits, or finish problems, document the causes and solutions. This practice helps you build a personal reference library of proven methods.
You’ll develop confidence knowing which techniques consistently deliver quality results.
Share your findings with fellow woodworkers online or at local shops. Your documented successes become valuable learning tools for others starting their woodworking journey, creating connections within the community.
Conclusion
Think of your workshop as a growing tree—you start with strong roots (safety gear, basic tools), then gradually add branches (new equipment, skills). Each project teaches you what to keep and what to prune. Your space will evolve naturally, just like wood itself. Don’t rush the process; let your workshop grow alongside your craftsmanship, one smart decision at a time.
