

Nearly 60% of homeowners attempt DIY painting projects, yet most encounter frustrating mistakes that ruin their results. You can avoid these common pitfalls by following a systematic approach to room preparation, paint selection, and application techniques. Before you start, proper planning prevents peeling, streaking, and uneven coverage that plague amateur painters. Want to discover the essential steps that separate professional-looking results from disappointing attempts?
How to Prep Your Room for Painting
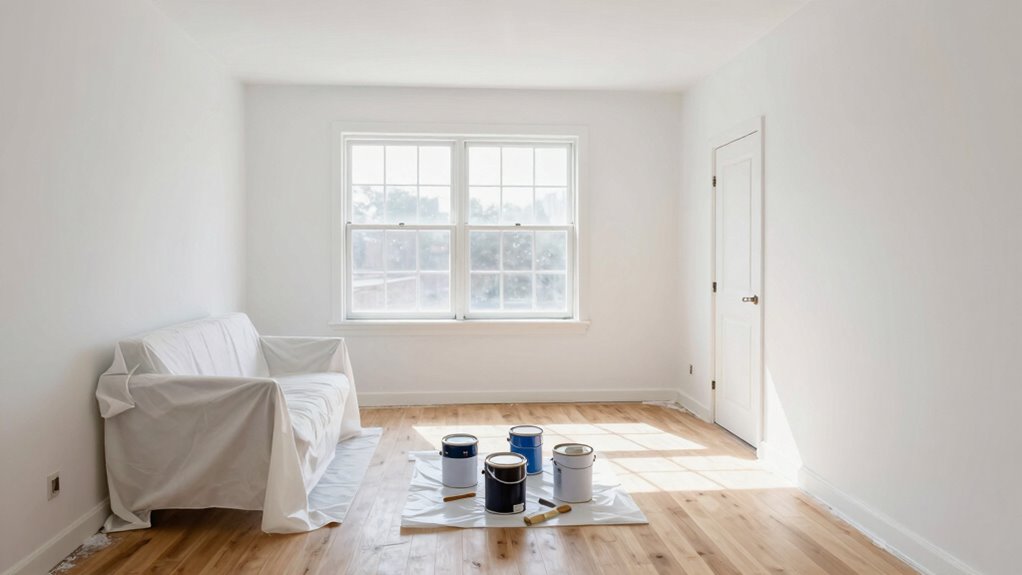
Before you begin painting, spend one full day preparing your room properly—this single step determines whether your paint job looks professional or amateur.
Start by removing all furniture or moving items to the room’s center and covering them with drop cloths. Take down wall hangings, outlet covers, and switch plates completely.
Clean walls thoroughly using a damp cloth to remove dust, grease, and debris that prevents paint adhesion. Fill any holes or cracks with spackle, let dry, then sand smooth.
Use painter’s tape to protect trim, windows, and door frames precisely. Cover floors completely with rosin paper or plastic sheeting, securing edges with tape.
Prime previously unpainted surfaces like new drywall or patched areas. Check that all surfaces are completely dry before proceeding.
Proper preparation creates the flawless base every successful paint job requires.
How to Choose Paint, Primer, and Tools
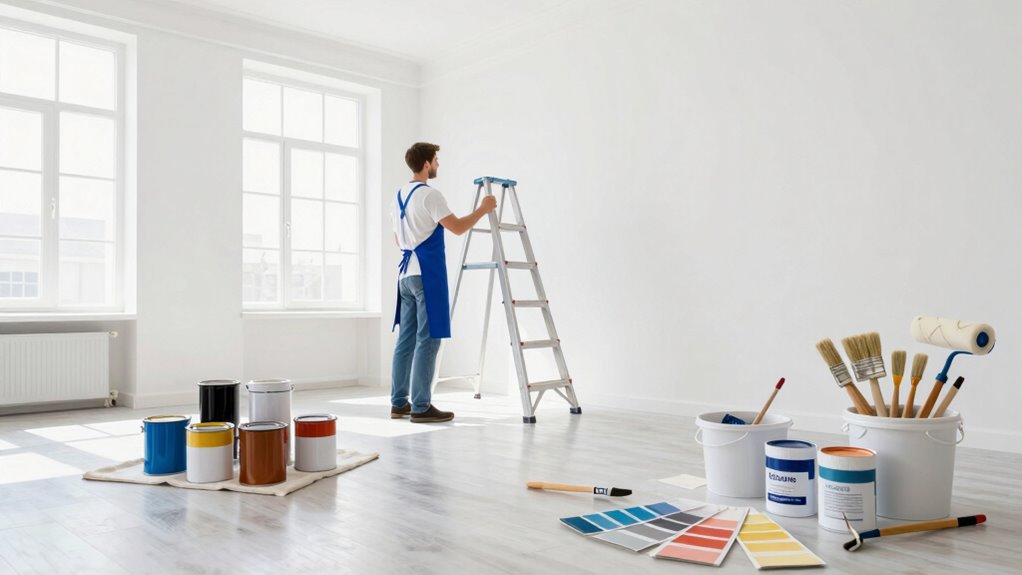
While you’ve properly prepped your room, selecting the right paint, primer, and tools becomes essential for achieving professional results.
You’ll want to choose paint based on your room’s function and lighting conditions. Glossy finishes work well in high-moisture areas like bathrooms, while flat finishes hide imperfections better.
Don’t skip primer, especially when covering dark colors or stains. It provides better adhesion and improves paint durability.
For tools, invest in quality brushes and rollers that match your paint type. Synthetic bristles work best with latex paint, while natural bristles suit oil-based paints.
Consider your roller nap thickness based on your wall’s texture. Medium-nap rollers work well for most smooth to moderately textured surfaces, ensuring you feel confident and prepared for your painting project.
Roller and Brush Techniques for Even Coverage
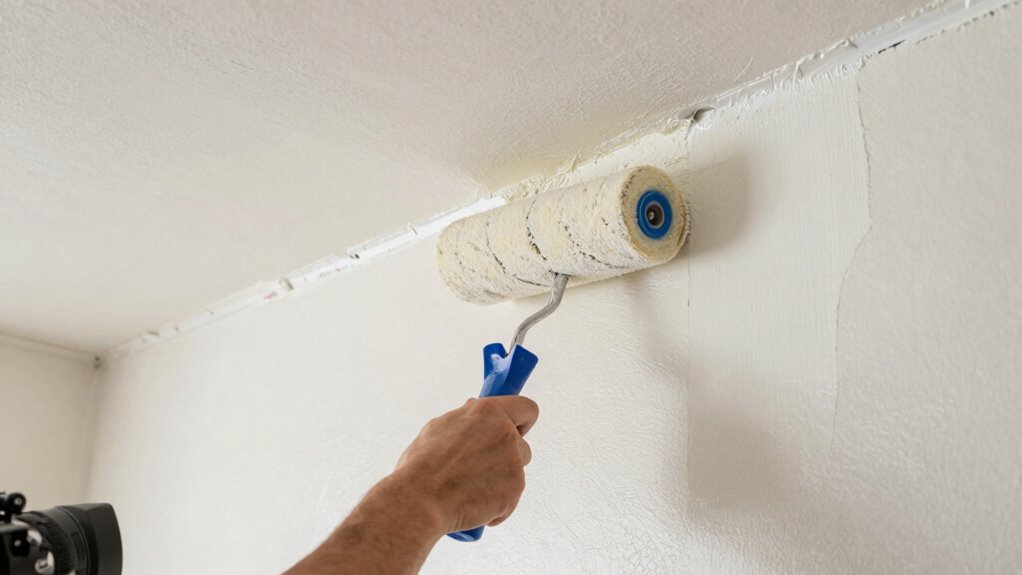
Since you’ve selected your paint, primer, and tools, mastering proper roller and brush techniques becomes essential for achieving smooth, even coverage without streaks or lap marks.
You’ll want to load your roller properly by dipping it fully into the paint tray, then rolling off excess on the ridges. Work in small sections, maintaining wet edges to prevent lap marks.
- Roller patterns matter: Use a “W” or “M” pattern for walls, then fill in gaps with vertical strokes
- Brush corners carefully: Cut in edges with steady, controlled strokes using angled brushes
- Maintain consistent pressure: Don’t press too hard; let the tools do the work
- Overlap each pass: Guarantee every stroke overlaps the previous one by half its width
How to Avoid Peeling, Streaking, and Other Mistakes
Proper roller and brush techniques help you achieve smooth coverage, but avoiding common paint problems requires additional attention to preparation and application habits.
You should always clean surfaces thoroughly before painting, removing dust, grease, and loose paint that causes peeling. Apply primer when switching between oil and latex paints or covering dark colors.
Maintain consistent pressure while rolling, working in small sections to prevent lap marks and streaking. Don’t overload your brush or roller with excess paint, which creates drips and uneven texture. Keep wet edges by overlapping each stroke slightly.
Allow proper drying time between coats, typically two to four hours. Check weather conditions if painting outdoors, avoiding humidity and direct sunlight that affect adhesion.
Test paint compatibility on small areas first, ensuring new paint bonds well with existing surfaces.
How to Clean Tools and Protect Your Paint Job
One essential step that many painters overlook is cleaning their tools immediately after finishing a project.
You need to act quickly while paint is still wet to prevent permanent staining and damage to brushes, rollers, and trays.
- Scrape excess paint into a container before cleaning to minimize waste
- Rinse brushes and rollers with warm water for latex paint or mineral spirits for oil-based paint
- Use mild soap to remove residual paint and clean thoroughly
- Store cleaned tools properly in a dry place to maintain their quality
Taking time to clean your tools properly protects your investment and guarantees they’re ready for your next project.
Clean tools also help maintain paint quality and prevent contamination.
Conclusion
You’ve got this! Remember Sarah’s kitchen transformation: she followed these steps religiously and ended up with a flawless finish that lasted years. Don’t rush the prep work—proper cleaning and taping prevent most mistakes. Choose quality paint and primer suited for your room’s lighting and purpose. Maintain steady pressure while rolling, let each coat dry completely, and clean your brushes immediately. Your patience and attention to detail will pay off with professional-looking results that make the effort worthwhile.
