

You need a laser level for precise wall installations, but setup mistakes can ruin your accuracy before you even start. Mounting the unit correctly and ensuring proper calibration are critical first steps that many contractors overlook. What’s the one mistake that causes the most alignment issues during drywall or cabinet installs?
Why Using a Laser Level Saves Time and Reduces Errors
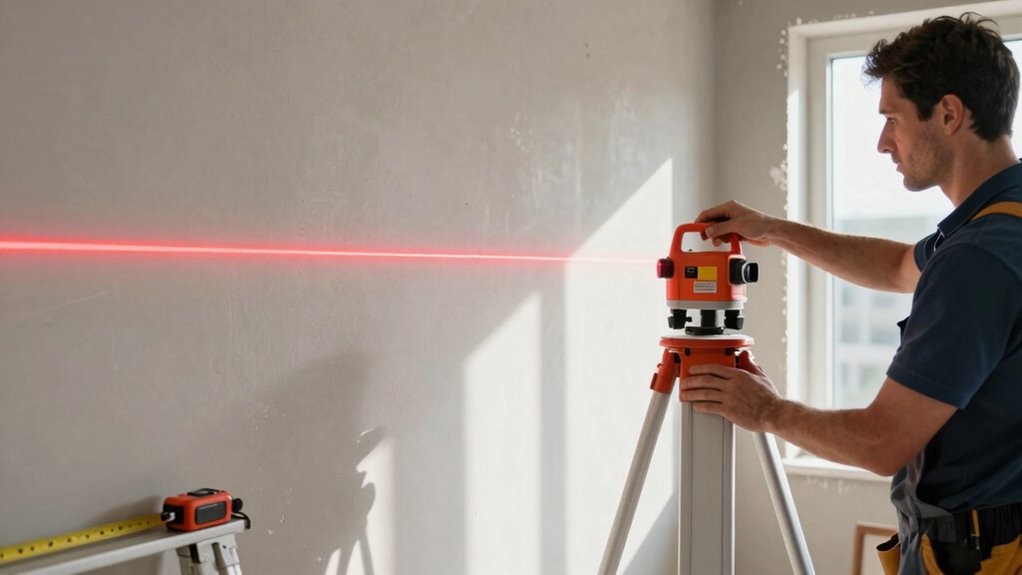
When you’re working on construction or renovation projects, a laser level eliminates the guesswork that often leads to costly mistakes.
You’ll achieve precise measurements consistently, reducing rework and material waste. Traditional methods using spirit levels and chalk lines require multiple people and constant verification.
A laser level lets you work faster while maintaining accuracy across large areas. You’re not just saving time during setup—you’re preventing expensive corrections later.
Professional contractors rely on laser levels because they deliver repeatable results. You’ll understand why once you’ve used one properly.
The technology removes human error from measurement transfers and guarantees your installations align perfectly.
You’re working smarter, not harder. That’s why experienced builders consider laser levels indispensable tools.
You’ll appreciate the difference immediately.
Essential Tools You Need Before Starting

Before you begin using a laser level, gather these essential tools to secure accurate setup and operation.
You’ll need a quality stud finder to locate wall studs and avoid hollow spots. A magnetic mount or tripod provides stable positioning.
Keep a tape measure handy for verifying distances and marking reference points. You’ll require a pencil or marker for making precise marks on surfaces.
A spirit level guarantees your laser base remains perfectly horizontal. Don’t forget safety glasses to protect your eyes from direct laser exposure.
Have a clean cloth available for wiping dust off the laser lens. Finally, make certain you’ve got fresh batteries installed.
These tools create your foundation for professional results. Without proper preparation, even advanced laser levels won’t deliver the precision you’re seeking.
Step-by-Step Setup of Your Laser Level
Now that you’ve gathered all the necessary tools, setting up your laser level requires careful attention to detail. First, install fresh batteries and verify proper alignment by checking the bubble vial.
Turn on the device and select your desired laser mode—horizontal, vertical, or cross-line pattern. Allow the unit to self-level automatically, listening for the calibration beep indicating proper orientation.
Verify the laser’s accuracy by rotating it 180 degrees and confirming beam consistency. Adjust the sensitivity settings if working outdoors or in bright conditions. Check that all locking mechanisms engage properly.
Test the laser’s range by projecting lines across your workspace. Fine-tune the beam intensity using the control dial until you achieve crisp, visible lines.
Document your setup parameters for future reference.
Mount the Laser on a Tripod or Wall
You’ll need to secure your laser level on either a tripod or wall mount for accurate readings.
Make sure the mounting surface is stable and the height settings are adjustable to accommodate different project requirements.
Always engage the locking mechanism to prevent accidental movement during operation.
Stable Mounting Surface
A stable mounting surface is essential for achieving accurate laser level results. You must verify your tripod or wall mount won’t shift during use. Uneven floors or shaky surfaces create unreliable reference lines.
Your laser’s precision depends entirely on mounting stability. Choose solid, rigid surfaces that won’t vibrate when touched. Concrete walls work better than drywall for mounting.
If using a tripod, extend legs evenly and lock them securely. Avoid mounting on soft materials or unstable structures. Check that your setup doesn’t wobble when you make adjustments.
A firm mounting surface eliminates errors caused by movement or settling. You’ll achieve professional results when your laser remains perfectly stationary throughout the entire installation process.
Adjustable Height Settings
Mounting your laser level at the correct height guarantees accurate measurements and reduces the need for constant adjustments.
You should position the device at your working eye level or the standard 5-foot mark for most wall installations. Adjustable tripods let you fine-tune vertical placement within seconds. Extend the center column gradually while keeping the bubble vial centered.
Wall-mounted units require shimming behind the base plate until the laser sits perfectly level. Don’t overlook height calibration features built into premium models. These allow micro-adjustments when working on uneven surfaces.
Check that your laser’s beam remains consistent across different height settings. Professional installers always verify their mounting height matches project specifications before beginning any layout work. Proper height setup eliminates guesswork during critical alignment tasks.
Secure Locking Mechanism
Once you’ve established the proper height using your adjustable tripod or wall mount, securing the laser level becomes your next priority.
Tighten the mounting bracket’s locking screws firmly, but don’t over-tighten and strip the threads. Most professional-grade lasers feature quick-release clamps that engage with audible clicks. You’ll feel solid resistance when properly secured.
Double-check that the laser sits flush against the mounting surface without any wobble or play. The locking mechanism should hold your investment steady during extended use.
Test the stability by gently tugging on the unit after mounting. If movement occurs, your locking mechanism needs adjustment.
Professional installers always verify their setup before proceeding with any layout work.
Ensure Your Laser Level Is Perfectly Aligned
Before you begin any project, you’ll want to verify your laser level’s alignment to confirm accurate results. Proper calibration prevents costly mistakes and guarantees professional-grade installations every time.
You should check three critical components:
- Level vial bubbles – Adjust until perfectly centered
- Laser beam accuracy – Test against known straight edge
- Mounting bracket stability – Tighten all connection points
Misaligned equipment creates skewed reference lines that compromise your entire installation.
Take time to fine-tune your device before starting work. Most quality laser levels include built-in calibration adjustments. Consult your manufacturer’s specifications for precise adjustment procedures.
Remember that temperature changes and transport vibration affect alignment. Regular verification keeps your tool performing effectively. You’re not just confirming accuracy—you’re maintaining the standards that separate professionals from amateurs. Your reputation depends on these details.
Choose Between Horizontal and Vertical Laser Lines
Most laser levels offer both horizontal and vertical line projection capabilities, and selecting the appropriate orientation depends entirely on your specific application.
You’ll want to choose horizontal lines when installing wall-mounted cabinets, picture frames, or any fixtures requiring consistent height across a room.
Vertical lines become essential for aligning door frames, baseboards, or wallpaper seams that need straight up-and-down placement.
Consider your project’s primary alignment needs before making your selection.
Horizontal modes work best for tasks involving level measurements across distances, while vertical modes excel at plumb applications.
Some projects may require both orientations sequentially, so don’t overlook models offering dual-line capabilities.
Your choice directly impacts installation accuracy and overall project quality.
Project Reference Lines Across Your Space
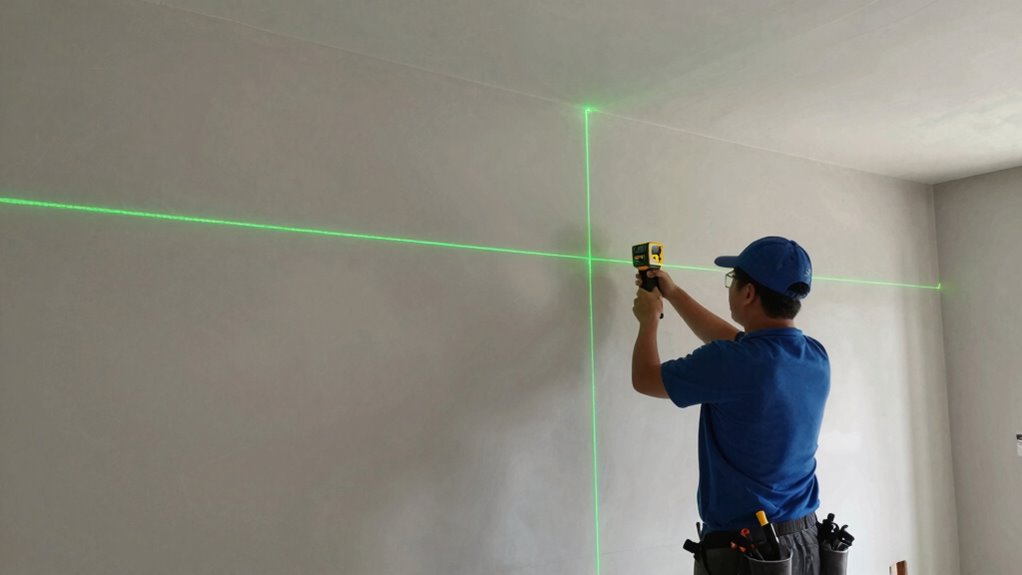
You’ll establish horizontal reference lines by positioning your laser level at the desired height and projecting the beam across your workspace.
Next, you’ll create vertical alignment marks by rotating the laser head or using a separate vertical beam function to guarantee plumb lines throughout your project area.
Finally, you’ll set up cross-reference points where horizontal and vertical lines intersect to create accurate grid coordinates for precise measurements.
Establishing Horizontal Reference Lines
Horizontal reference lines serve as your foundation for consistent elevation marks across any project space.
You’ll establish these critical baselines using your laser level’s horizontal beam function, ensuring every mark maintains identical height measurements throughout your installation area.
Position your laser level on a stable surface approximately 32 inches from your starting wall. Activate the horizontal beam and adjust until the line appears perfectly level across your work zone.
- Scan the laser beam across your entire workspace to identify any irregularities or obstacles
- Mark intersecting points where the beam crosses structural elements like studs or corners
- Verify line accuracy by checking multiple locations with your tape measure
These reference lines become your trusted guide, eliminating guesswork and ensuring professional results that meet industry standards.
Creating Vertical Alignment Marks
While establishing horizontal references provides your baseline elevation, creating vertical alignment marks guarantees consistent positioning across your entire project space.
You’ll need to project plumb lines from your laser level’s vertical plane onto walls at regular intervals. Position the laser level so its beam creates perfectly perpendicular references to your floor layout. Mark these vertical intersections clearly with pencil dots every 8 to 12 inches along wall lengths requiring alignment verification.
Don’t forget corners where two walls meet; establish marks on both surfaces simultaneously for accuracy. These vertical references become critical when installing cabinets, trim work, or any wall-mounted fixtures requiring precise positioning throughout multiple sections.
Take time ensuring each mark aligns properly before proceeding further into your installation process.
Setting Up Cross-Reference Points
After establishing your vertical alignment marks, project reference lines across your space by setting up cross-reference points that intersect with your existing layout marks.
You’ll create a grid system that guarantees accuracy throughout your installation area.
- Mount your laser level at the intersection point and activate the horizontal beam to create a consistent reference line across the entire wall surface.
- Position receivers at key intervals where your vertical marks meet the horizontal beam, guaranteeing they’re perfectly aligned with your initial layout points.
- Verify intersections by checking that all cross-reference points align with your original marks, adjusting as needed to maintain precision.
This systematic approach gives you confidence that every measurement and installation point will be perfectly coordinated.
You’re now ready to tackle any wall installation with professional accuracy.
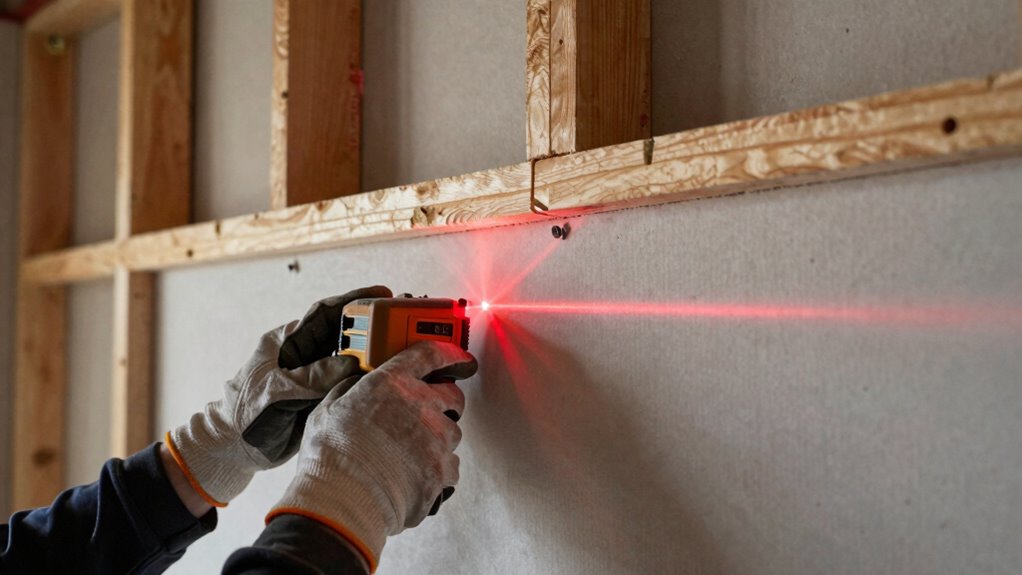
Mark Stud Locations With Laser Precision
Locate your wall studs accurately by sweeping the laser level’s beam across the surface to reveal their exact positions.
You’ll see the beam create visible lines where it hits the wall, making stud locations obvious through slight variations in reflection and texture. Mark these positions immediately with pencil ticks or painter’s tape.
Work methodically from one corner to the other, ensuring complete coverage. Don’t rely solely on electrical outlet placement for stud identification.
Use your laser level’s horizontal and vertical beams simultaneously for maximum accuracy. Take multiple passes if necessary, double-checking each marked location.
You’re creating a reliable reference system that’ll guide every subsequent installation step. These precise marks become your foundation for perfectly aligned shelves, cabinets, and fixtures.
Your laser level transforms guesswork into professional-grade accuracy.
Check Wall Studs With Your Laser Level
Why bother checking wall studs with your laser level when you can simply assume their positions? You shouldn’t rely on assumptions when structural integrity matters.
Your laser level verifies stud placement quickly and accurately, eliminating guesswork that leads to costly mistakes.
Use your laser level to:
- Scan vertically along wall surfaces, watching for beam deflection that reveals stud locations
- Confirm existing markings align with actual stud positions before drilling or anchoring
- Identify warped or shifted studs that deviate from standard 16-inch spacing
Checking each stud saves time later when hanging heavy fixtures or mounting equipment.
Trust your measurements, not your instincts. Professional installers always verify stud placement because assumptions cause crooked mounts, stripped screws, and dangerous installations.
You belong in that professional category when you take these extra thirty seconds to check properly.
Align Drywall Sheets Using Laser Guides

You’ll need to set up your laser level properly before marking accurate reference lines on the wall.
Once your laser beam is level and stable, use it as a guide to align each drywall sheet precisely.
This method guarantees tight joints and eliminates guesswork during installation.
Set Up Laser Level Properly
Setting up your laser level correctly guarantees accurate alignment when hanging drywall sheets. You need a stable, level surface to position your laser base. Check that the battery is fully charged before starting your work.
- Place the laser level on a solid, vibration-free surface away from air vents and direct sunlight.
- Adjust the tripod legs until the bubble vial shows perfect level alignment.
- Rotate the laser 360 degrees to verify consistent beam projection across all wall sections.
Don’t rush this setup phase. Taking time to establish proper laser positioning saves hours of correcting misaligned drywall later. Your laser’s accuracy depends entirely on correct initial placement.
Verify the level’s calibration according to manufacturer specifications before each use. Professional drywall hangers always double-check their laser setup because there’s no room for error when sheets meet seams.
Mark Reference Lines Accurately
A laser level’s primary function is projecting consistent reference lines that guide accurate drywall alignment.
You’ll want to mark these lines precisely where your drywall sheets need to align. Position your laser level horizontally across the wall area, guaranteeing it’s perfectly level.
Project the beam onto the wall and use a pencil to mark the line at multiple points along the beam’s path. These reference marks become your installation guide.
Make sure your marks are visible but not so heavy that they obscure the laser line. Check that your reference lines extend across the entire wall width.
You should mark both vertical and horizontal lines to create a grid pattern. This systematic approach assures every drywall sheet aligns perfectly with your laser guides, creating seamless joints and professional results.
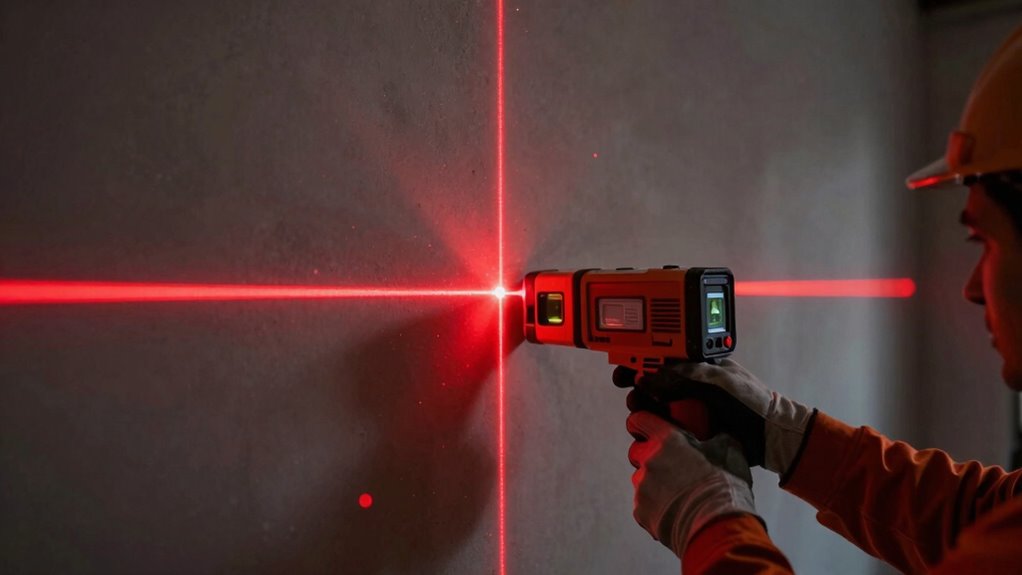
Align Sheets With Laser Beam
One key step involves positioning each drywall sheet so its edges align directly with the projected laser lines.
You’ll achieve precise alignment by matching the sheet’s vertical edges to the red laser beam, guaranteeing perfect straightness across your wall installation.
- Hold the drywall sheet against the wall and adjust its position until both vertical edges run parallel to the laser line.
- Check that the sheet’s top and bottom edges align with any horizontal laser references you’ve marked.
- Use a helper to steady the sheet while you verify alignment from multiple angles.
This method eliminates guesswork and guarantees professional results.
Your sheets will fit seamlessly together, creating that clean, crisp look you want. Proper alignment prevents crooked installations and reduces the need for costly corrections later.
Install Cabinets and Shelves Accurately
When you’re installing cabinets and shelves, ensuring they’re perfectly level and aligned requires precise measurement techniques that a laser level makes effortless.
You’ll want to establish your reference line first, then mark corresponding points on each wall where cabinets will sit.
Position your laser level at one end and project the beam across the installation area. Use a pencil to mark where the laser hits each stud or mounting point. These marks become your installation guide, ensuring everything lines up correctly.
Don’t eyeball measurements—let the laser do the work. Check each cabinet’s level marks before securing them to the wall.
This method eliminates guesswork and gives you professional results every time.
Avoid These 5 Common Laser Level Setup Mistakes
You must set your laser level at the correct mounting height to guarantee accurate measurements across your work area.
Always check that the surface you’re placing the laser on is perfectly level and stable before beginning any alignment work.
Don’t overlook your battery level – a weak battery will compromise the laser’s accuracy and reliability during critical setup phases.
Incorrect Mounting Height
Mounting your laser level at the wrong height can compromise accuracy and create significant measurement errors that undermine your entire project.
You’ll find yourself fighting against skewed reference lines that wreak havoc on wall installations. When you set your laser too high or too low, you’re fundamentally building in systematic errors that compound throughout your work.
Your finished walls won’t align properly with existing structures, creating gaps and misalignments that professionals avoid.
- You position the laser above your intended work zone, forcing you to constantly bend or stretch measurements
- You mount too low, creating awkward sighting angles that distort horizontal references
- You fail to account for ceiling height variations, resulting in inconsistent beam projection across large areas
Smart installers establish consistent mounting heights that match their typical working range. This approach eliminates guesswork and guarantees every measurement references the same accurate plane.
Uneven Surface Placement
Placing your laser level on uneven surfaces introduces critical alignment errors that compromise measurement accuracy across your entire project.
You’ll notice immediate drift in your laser lines, creating misleading reference points that sabotage your wall installation. Uneven positioning causes the internal pendulum mechanism to work overtime, leading to inconsistent beam projection.
Your reference lines won’t remain parallel to the floor, resulting in skewed measurements throughout your workspace.
Always check surface levelness before setup – use a spirit level or built-in bubble vial to verify stability. Don’t trust visual assessment alone; uneven surfaces fool the eye easily.
Invest in adjustable tripods or leveling bases that compensate for minor irregularities. Your laser’s accuracy depends entirely on stable, flat foundation support.
Ignore this, and you’re fundamentally working against yourself.
Battery Level Neglect
Dead batteries render even the most expensive laser level useless, halting your project progress and forcing costly delays.
You can’t afford to neglect this basic maintenance step when precision matters. Always check your battery status before starting any installation work.
Laser levels consume power rapidly during extended use, especially when operating multiple beam functions simultaneously.
- Visual indicators: Modern laser levels feature LED displays showing exact battery percentages, not vague low warnings.
- Automatic shutoff: Your device will suddenly terminate mid-project when voltage drops below operational thresholds.
- Inconsistent beam strength: Weak batteries cause flickering lasers and reduced visibility across job sites.
Smart contractors install fresh alkaline batteries every eight hours of continuous use.
Rechargeable lithium options provide longer runtime but require monitoring charge cycles.
Professional-grade lasers often include battery backup systems preventing unexpected shutdowns during critical wall installations.
How to Project Lines Around Obstacles and Corners
When you encounter obstacles or corners that block your laser level’s direct line of sight, you’ll need to use indirect projection methods to maintain accuracy.
Position your laser at a 45-degree angle to the obstacle, creating a reference point on the opposite wall. Use a straightedge or rod to extend this line around the obstruction.
For inside corners, place the laser on one wall and mark the intersection point, then transfer this measurement to the adjacent wall.
Outside corners require you to project from both sides, guaranteeing lines meet precisely at the corner edge.
Always double-check your measurements by reversing the process. Mastering these techniques guarantees professional results even in challenging spaces.
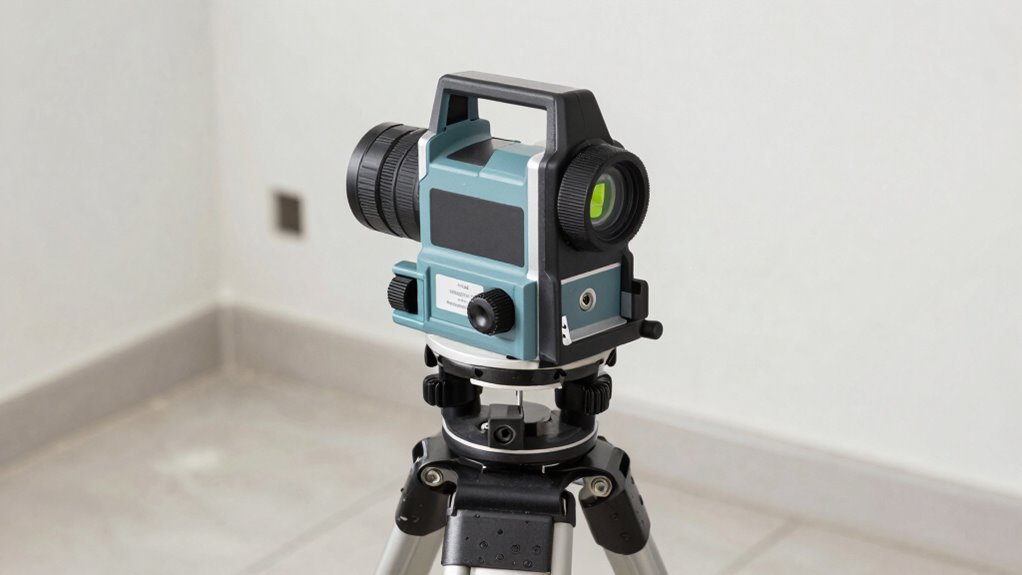
Keep Your Laser Level Calibrated for Precision
Even after mastering obstacle navigation, your laser level’s accuracy depends on proper calibration to maintain precision across all projects.
You should regularly check your device’s calibration because even minor deviations compound into significant errors over longer distances.
- Perform weekly calibration checks by creating test lines on walls and measuring distances between multiple points to verify consistency
- Clean the lens and housing before each use, removing dust, debris, or moisture that could affect laser projection accuracy
- Store your laser level properly in its case when not in use, avoiding extreme temperatures or humidity that cause internal component shifts
You’ll notice when calibration drifts through inconsistent line projections or measurements that don’t align with previous work.
Don’t skip this step—your project’s precision depends on it.
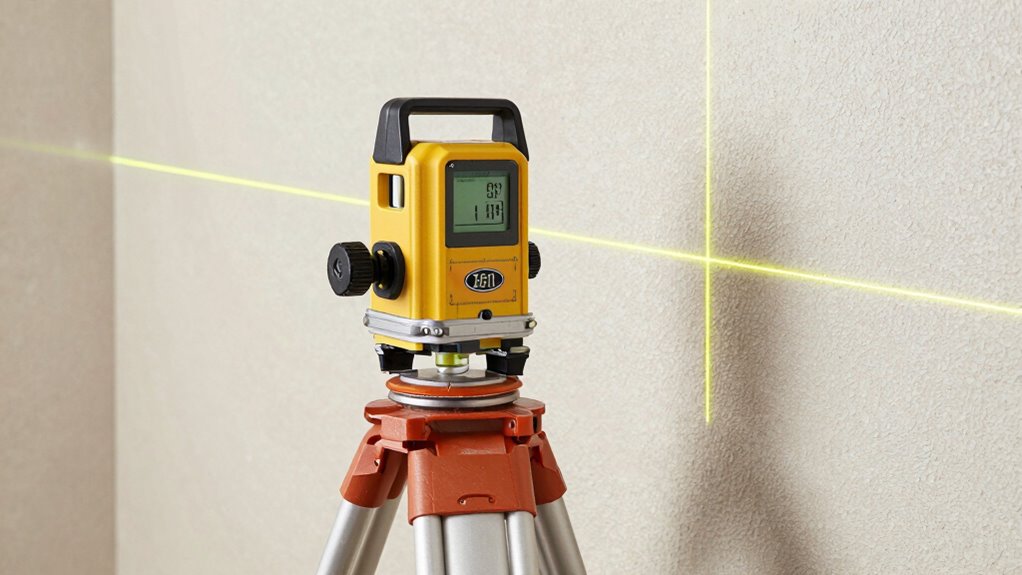
Use These Tips for Better Laser Line Visibility in Any Light
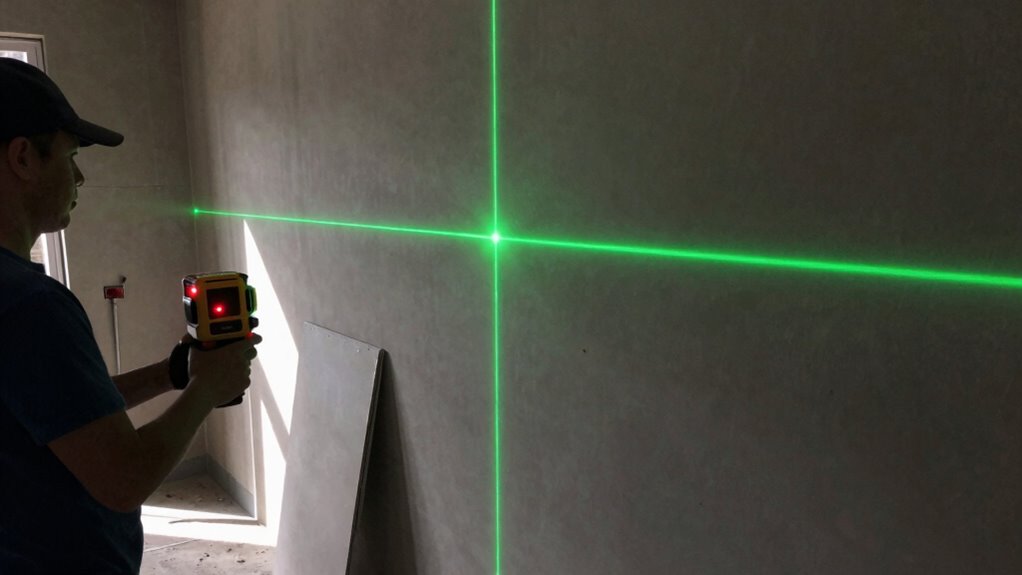
Several factors affect laser line visibility across different lighting conditions, so you’ll need to adjust your approach based on ambient light levels.
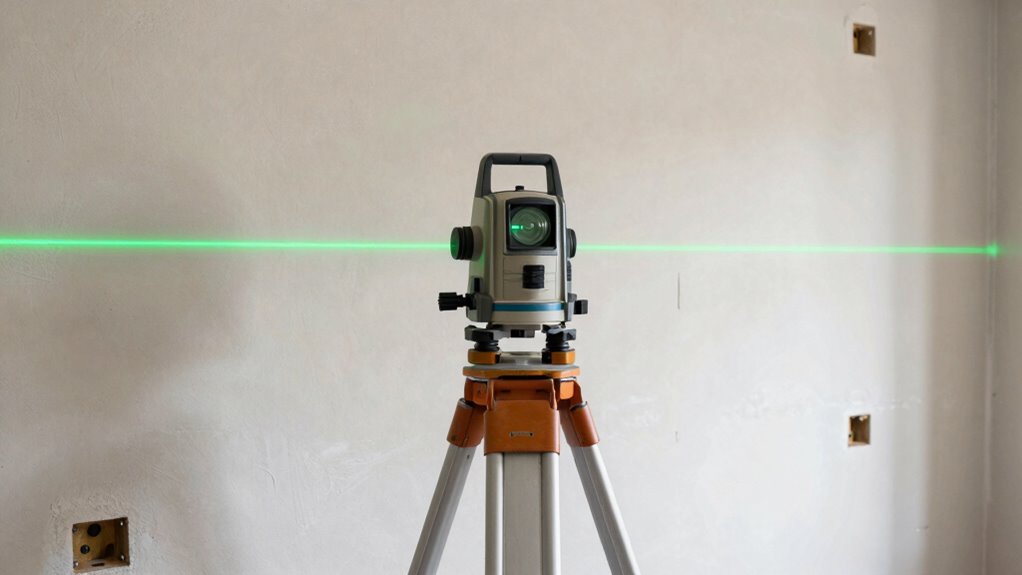
Bright sunlight washes out red laser lines, making them nearly invisible. Switch to green laser lines when working in direct sunlight since green wavelengths travel further and appear brighter to your eyes.
Indoors, dim competing light sources to enhance contrast. Position yourself perpendicular to windows or bright fixtures that might create glare.
Use laser detectors or receivers for extreme distance work where naked eye visibility becomes challenging. Clean your laser’s lens regularly with appropriate cloth to maintain maximum brightness output.
Adjust laser pulse modes when ambient light fluctuates throughout your workday. Remember that higher quality lasers typically produce more visible lines across varying conditions.
Test visibility from multiple angles before beginning layout work.
Conclusion
You’re standing in your workspace, laser level mounted and perfectly calibrated, beams slicing through the air like surgical tools. The wall ahead transforms into a grid of precise reference points, each mark a demonstration of careful setup and technical expertise. With your laser’s guidance, every installation becomes a masterclass in accuracy—no guesswork, no crooked lines, just professional results that speak for themselves.
