

Nearly 90% of gardeners lose seed viability within six months due to improper storage techniques. You’re about to discover the critical mistakes that sabotage seed storage efforts. Your future harvest depends on mastering these fundamental practices today.
Start With Seed Readiness Basics
Before you begin storing seeds, you’ll want to make certain they’re properly dried and ready for long-term preservation.
Harvest seeds when plants have fully matured and pods or fruits have dried naturally on the stem.
Test seed moisture by biting a few samples – they should crack rather than bend.
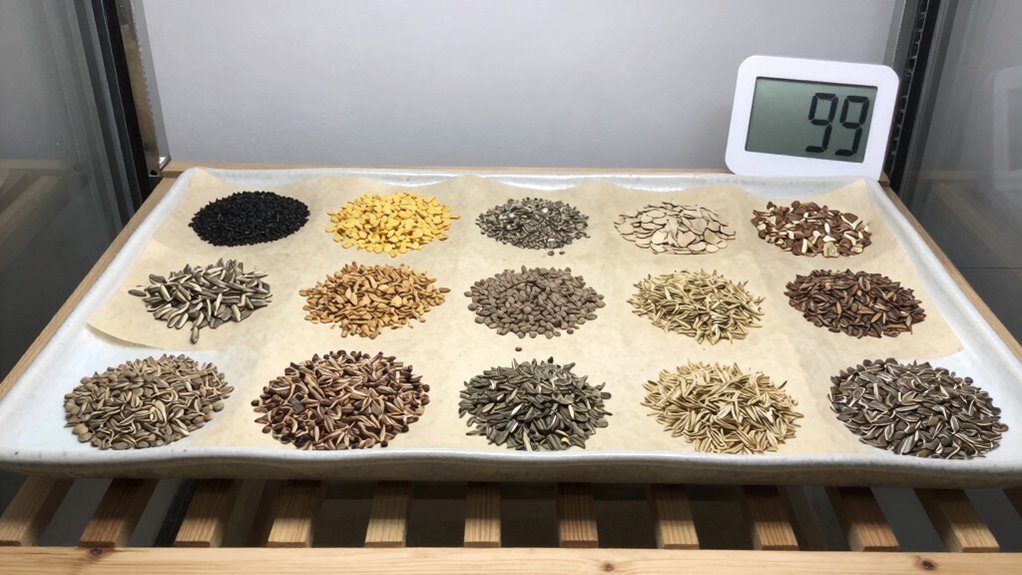
Spread seeds in single layers on paper towels or screens, allowing air circulation for one to two weeks.
Store in cool, dry locations away from direct sunlight.
Check seeds regularly for moisture buildup or mold growth.
Properly dried seeds feel hard and brittle, indicating they’ve reached ideal moisture levels for storage.
Your careful attention to these basics guarantees successful germination when you’re ready to plant.
Clean Seeds Thoroughly Before Storage
Remove any remaining plant debris, dirt, or pulp from your dried seeds to prevent mold and bacterial growth during storage.
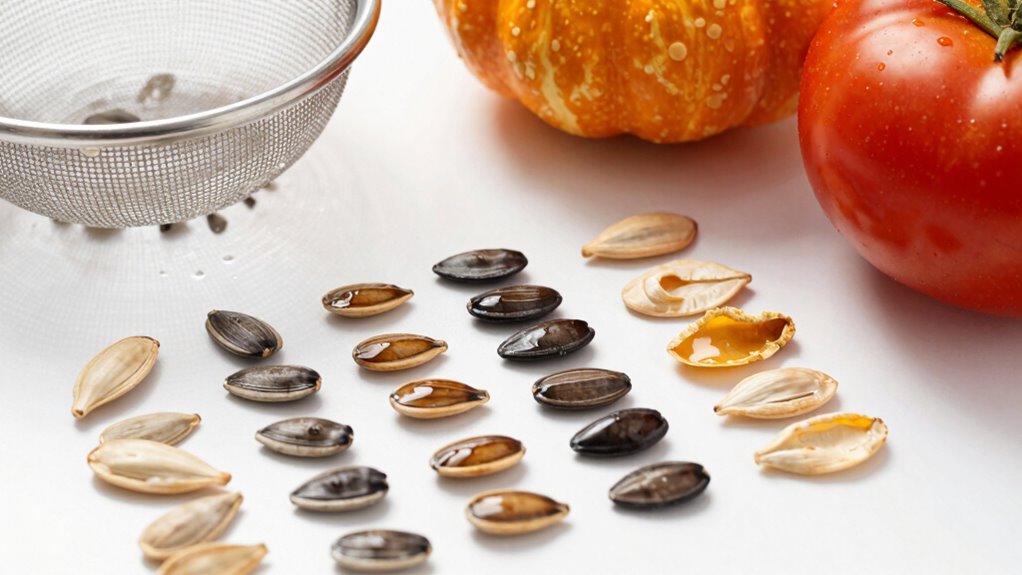
Use a fine mesh sieve or colander to separate seeds from chaff and broken pieces. For sticky residues, gently rub seeds between your fingers or use a soft brush.
Don’t use water at this stage since moisture triggers germination.
Winnow seeds by pouring them between containers in front of a fan to remove lightweight debris.
Inspect each seed carefully, discarding damaged or discolored ones that won’t store well.
Clean seeds promote better preservation and higher germination rates. This vital step protects your investment and maintains seed viability.
Proper cleaning creates ideal conditions for successful storage and future planting.
Dry Seeds Completely to Prevent Mold
You must dry seeds thoroughly using proper techniques like air circulation and low heat to eliminate moisture that causes mold growth.
Store your completely dried seeds in ideal containers such as airtight glass jars or moisture-proof bags that maintain their dry state.
Monitor moisture levels regularly with a hygrometer to guarantee your seeds remain viable throughout storage.
Proper Drying Techniques
Proper seed drying requires immediate attention after harvest to prevent mold and guarantee long-term viability.
You must spread seeds in a single layer on clean paper towels or screen trays. Choose a well-ventilated area away from direct sunlight. Maintain consistent airflow using fans if needed.
Check seeds daily, removing any that show signs of moisture or damage. Test dryness by biting a few seeds – they should crunch easily without leaving moisture on your teeth. Larger seeds need more time than smaller ones.
Don’t rush this process; properly dried seeds shouldn’t feel soft or pliable. Rotate trays occasionally for even drying. Remove any debris, chaff, or broken seeds throughout the process.
Your future garden success depends on taking time to do this right now.
Ideal Storage Containers
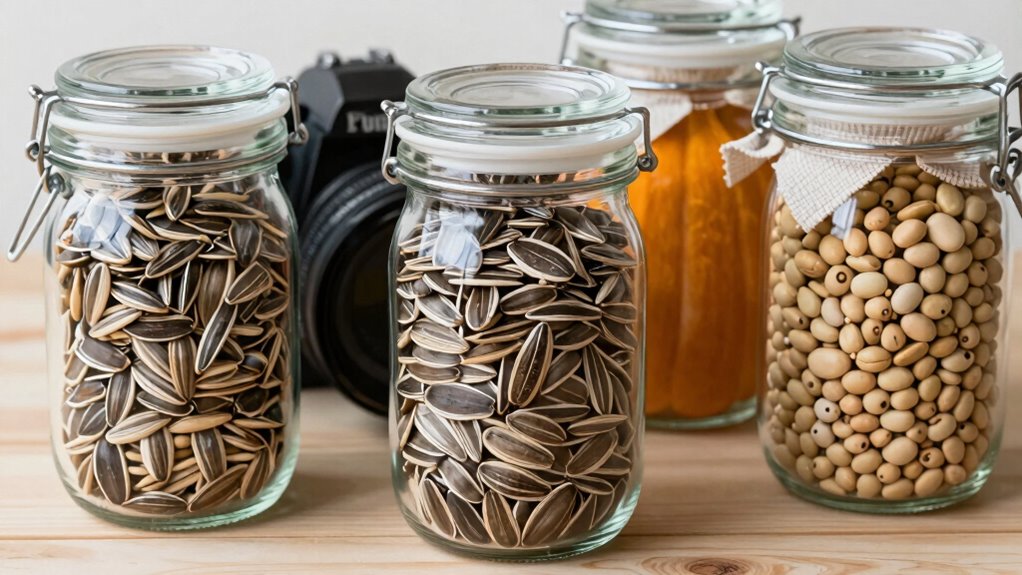
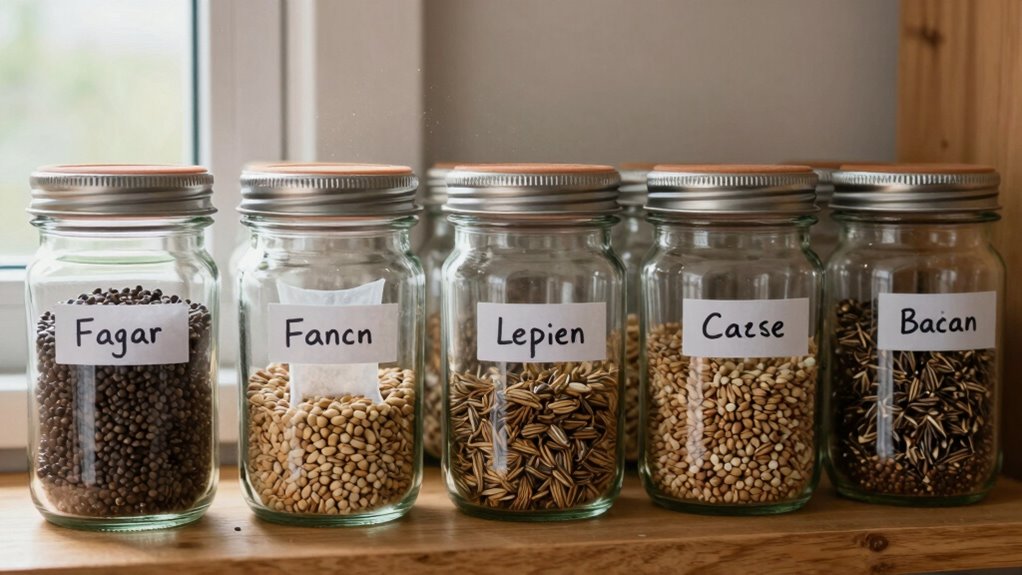
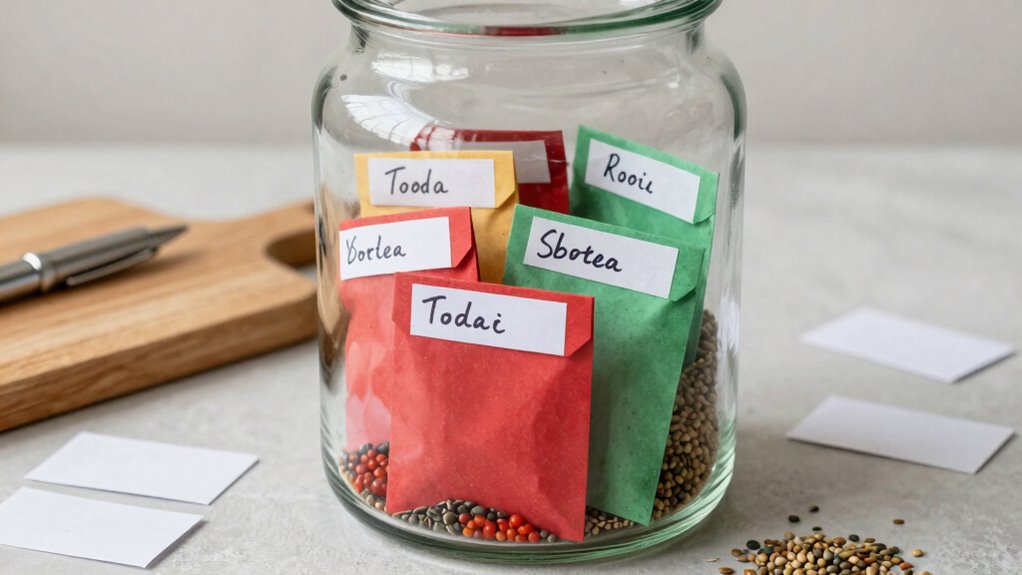
Glass jars with tight-fitting lids become essential storage solutions for properly dried seeds. You should always choose containers that create an airtight seal to prevent moisture infiltration.
Mason jars work exceptionally well because they’re designed for long-term food storage. Metal containers with gaskets also provide excellent protection, but avoid containers that rust easily.
Plastic containers aren’t ideal since they’re permeable to moisture and odors. You’ll want to label each container clearly with the seed type and collection date.
Dark-colored or opaque containers help protect seeds from light damage. Store containers in cool, dark locations away from temperature fluctuations.
Always guarantee seeds are completely dry before sealing them inside containers. Proper container selection directly impacts your seeds’ viability and longevity.
Monitoring Moisture Levels
One critical step in seed preservation involves guaranteeing seeds are thoroughly dry before storage to prevent mold growth and maintain viability.
You must monitor moisture levels carefully because even slight dampness can trigger devastating mold growth that destroys entire seed collections.
Check seeds regularly using these methods:
- Use a moisture meter or silica gel packets to track humidity levels in storage containers
- Examine seeds monthly for soft spots, discoloration, or musty odors indicating moisture problems
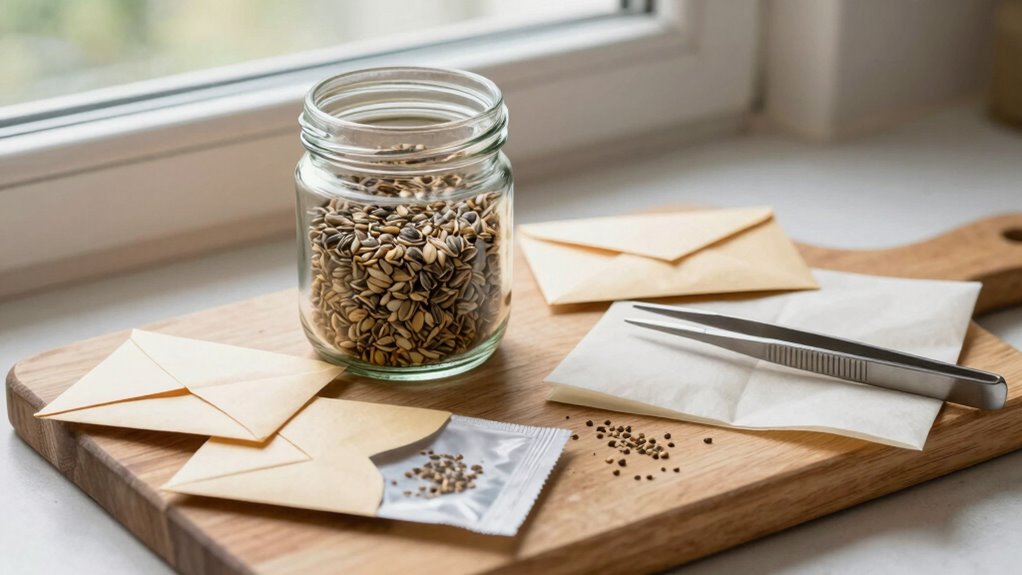
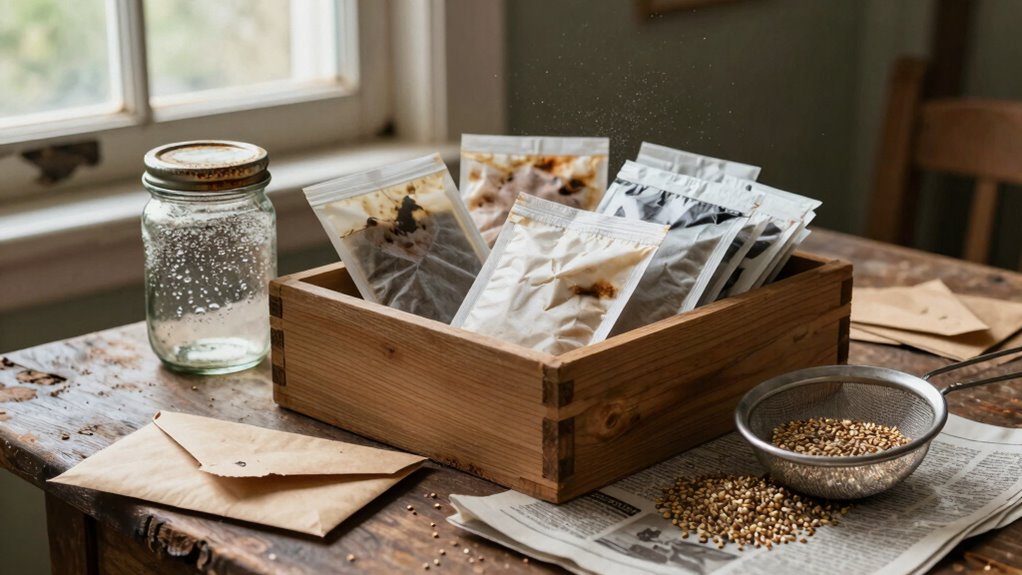
- Store seeds in breathable paper envelopes or mesh bags rather than plastic containers that trap moisture
Proper drying prevents wasted effort and guarantees successful germination when you’re ready to plant.
Don’t skip this essential monitoring step.
Keep Humidity Low During Drying
Why should you worry about humidity levels when drying seeds? High humidity prevents proper moisture removal, causing seeds to retain excess water that leads to mold, rot, and reduced viability.
You need to maintain humidity below fifty percent during the drying process.
Choose dry, well-ventilated areas away from moisture sources. Basements and garages often have high humidity, making them poor choices. Instead, select upper rooms or spaces with consistent low humidity readings.
Monitor conditions actively using hygrometers placed near your drying seeds. Don’t rely on guesswork. Check readings multiple times daily, especially during weather changes.
Position fans strategically to promote air circulation, but avoid direct airflow that might blow dust onto seeds. Create gentle, consistent air movement that pulls moist air away from your seed-drying area.
Use Airtight Containers Only
You must use airtight containers to prevent moisture and oxygen from reaching your seeds, which dramatically extends their viability period.
These containers block humidity fluctuations that can ruin your seed collection, while also keeping out pests and contaminants that compromise storage quality.
Proper container selection means choosing materials like glass jars with tight-fitting lids, metal cans with secure seals, or specialized vacuum-sealed bags designed for long-term food storage.
Airtight Container Benefits
Airtight containers preserve seed viability by blocking moisture, oxygen, and pests that degrade storage life.
You’ll maintain higher germination rates when you store seeds in properly sealed containers.
- Moisture control: Airtight seals prevent humidity from penetrating storage, stopping premature germination and mold growth that destroys seed batches
- Oxygen reduction: Limiting air exposure slows oxidation processes that naturally degrade seed embryos over time
- Pest prevention: Rodents, insects, and larvae can’t penetrate sealed containers, protecting your seed investment from destruction
You’re joining experienced gardeners who understand that proper storage containers make the difference between successful planting seasons.
These protective barriers guarantee your saved seeds remain viable until next planting time.
Proper Seed Storage Methods
Proper seed storage methods rely heavily on the airtight container benefits you’ve already learned about. Containers with secure seals create the moisture-free, oxygen-limited environment that seeds need to remain viable for extended periods.
You should always label containers with seed type and collection date. Store them in cool, dark locations away from temperature fluctuations. Basements, pantries, or dedicated storage rooms work well.
Don’t forget to include desiccant packets inside containers to absorb excess moisture. Check stored seeds monthly for signs of pest damage or moisture buildup. Remove any compromised seeds immediately to prevent contamination.
Maintain consistent storage conditions year-round. Your future garden success depends on these careful storage practices.
Remember that different seed types may require slightly varied approaches, but airtight containment remains your foundational principle for preserving seed viability effectively.
Choose Cool, Dark Storage Spaces
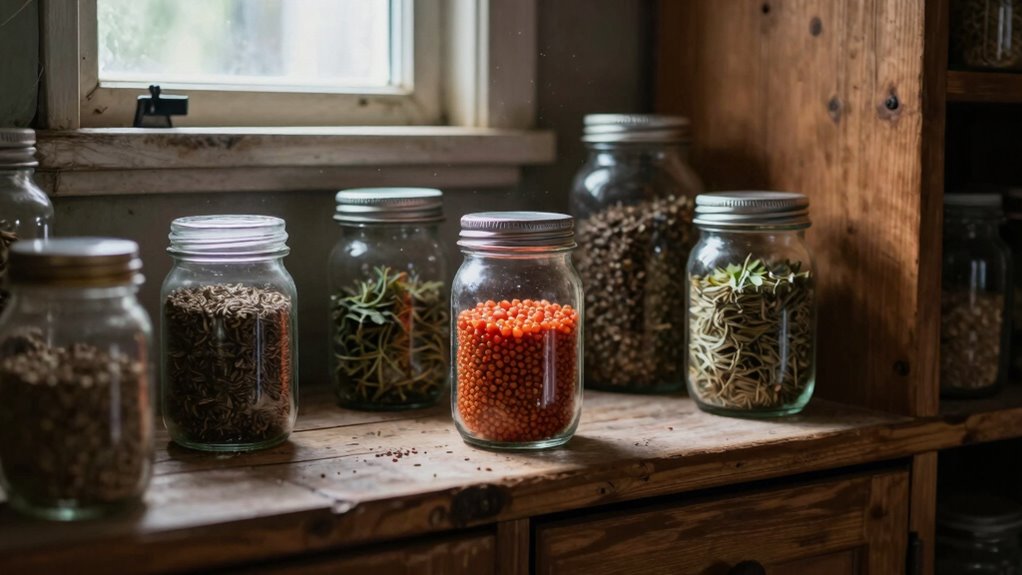
While many gardeners focus on collecting quality seeds, storing them in warm, exposed areas can quickly degrade their viability and shorten their lifespan. You need cool, dark spaces that maintain consistent temperatures between 32-41°F.
Basements, root cellars, or interior closets work well, provided they stay dry and dark. Heat and light exposure destroys germination rates rapidly.
- Basement shelves: Use moisture-proof containers on stable, elevated surfaces away from water sources.
- Refrigerator storage: Keep seeds in airtight containers within produce drawers for humidity control.
- Closet spaces: Choose interior rooms without exterior walls or windows to minimize temperature swings.
Darkness prevents premature germination while cool temperatures slow metabolic processes that age seeds prematurely.
Your future garden’s success depends on protecting seed viability through proper storage choices today.
Maintain Optimal Freezer or Fridge Temps
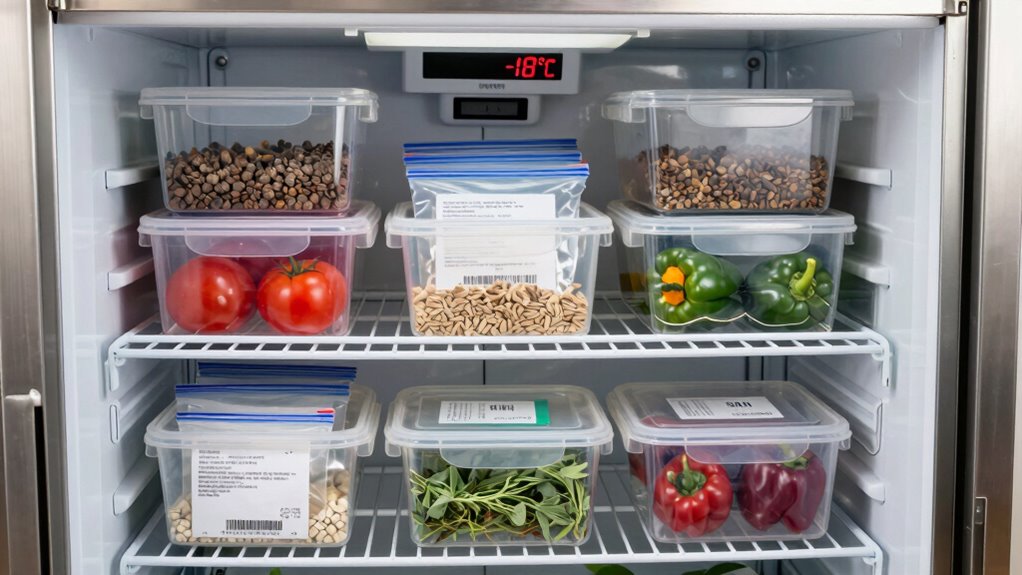
Because seeds respond so dramatically to temperature fluctuations, you must maintain consistent freezer or fridge settings to preserve their viability over time.
Set your freezer between zero and ten degrees Fahrenheit for long-term storage. For refrigerators, keep temperatures between thirty-two and forty-five degrees. Avoid placing seeds near the door where temperatures vary most. Check your appliance’s thermometer regularly, as digital displays can malfunction.
Don’t repeatedly open the storage area, since warm air exposure reduces seed lifespan. Invest in a separate thermometer to verify actual temperatures match your settings. Power outages pose significant risks, so consider backup power solutions.
Stable temperatures prevent premature germination and maintain dormancy. Your seeds deserve stable conditions, just like professional seed banks use. Regular monitoring guarantees your investment in quality seeds pays off when planting season arrives.
Sort by Seed Type and Crop Needs
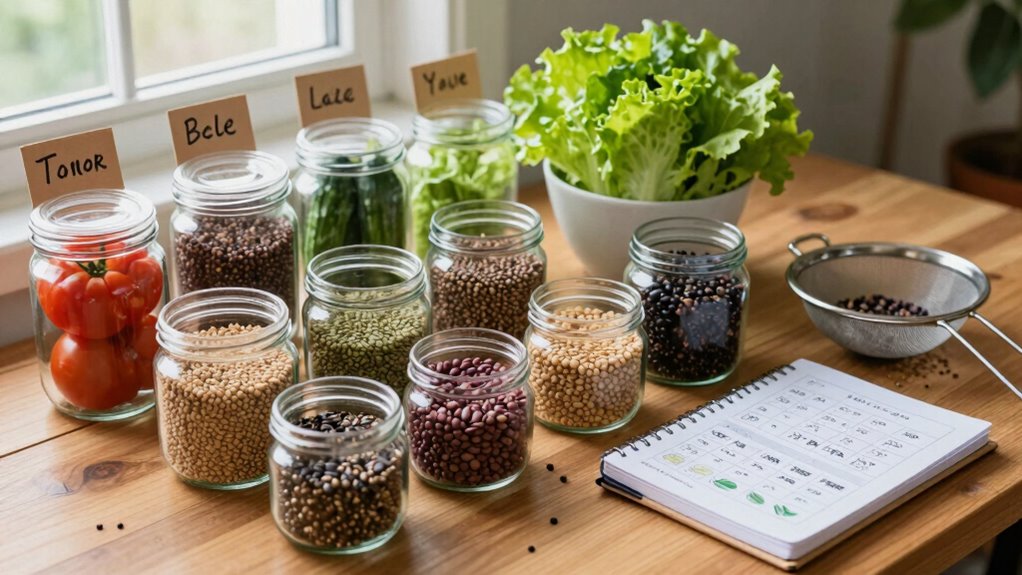
You must sort seeds by their specific storage requirements since vegetable seeds like tomatoes and peppers need different humidity levels than flower seeds such as marigolds or zinnias.
Herb seeds including basil and cilantro have unique longevity factors that require separate consideration from your main seed collection.
Proper sorting guarantees each seed type maintains its viability throughout storage.
Vegetable Seed Storage Needs
How do different vegetable seeds respond to storage conditions? You’ll find that each type demands specific care to maintain viability.
Store seeds in cool, dry places with consistent temperatures between 32-41°F and humidity below 50%. Proper storage prevents deterioration and guarantees successful germination next season.
- Label everything clearly with seed type, collection date, and storage location to avoid confusion later
- Use airtight containers like glass jars or sealed plastic bags with desiccant packets to prevent moisture damage
- Rotate stock regularly by using older seeds first and replacing them every 2-5 years depending on variety
Different vegetables require varied approaches. Tomato seeds last 4-6 years, while onion seeds only survive 1-2 years.
You belong in this gardening community when you master these essential storage techniques.
Flower Seed Preservation Methods
Flower seed preservation requires understanding each variety’s unique storage demands to maintain viability across seasons.
You must sort seeds by type: annuals like marigolds and zinnias store well in cool, dry conditions for two to five years. Perennials such as echinacea and black-eyed Susan need similar treatment but last three to four years. Biennials like foxglove require stratification before storage.
Label everything clearly with variety names and collection dates. Use airtight containers like glass jars or sealed plastic bags. Add silica gel packets to absorb moisture. Store in consistently cool locations around fifty to sixty degrees Fahrenheit.
Check periodically for pests or moisture buildup. Remove any compromised seeds immediately to prevent spreading damage to healthy batches.
Herb Seed Longevity Tips
Proper herb seed storage depends on understanding each variety’s specific longevity requirements and environmental needs.
You must sort herbs by their seed type and crop characteristics to maximize viability. Different herb families demand distinct storage approaches. Annual herbs like basil and cilantro require different conditions than perennial varieties such as thyme or oregano.
Cool-season crops including parsley need cooler storage temperatures compared to warm-season favorites like basil.
- Biennial herbs such as parsley and caraway need stratification and cooler storage around 32-40°F with consistent moisture levels.
- Hardy perennials like rosemary and thyme store best in freezer conditions for up to three years when properly dried.
- Delicate annuals including basil and cilantro maintain viability longest in refrigerated storage with silica gel packets.
Monitor your seed inventory regularly and label everything clearly.
Label Everything Clearly
When storing seeds for long-term viability, you must label everything clearly to avoid confusion later. Use waterproof markers or labels on all containers, including variety names, harvest dates, and planting instructions.
Don’t rely on memory alone – you’ll forget vital details within months. Create a simple numbering system for large collections, maintaining a master list for reference. Include germination rates if known, plus any special storage requirements.
Write legibly and use permanent ink that won’t fade. Label both the container and lid separately, ensuring identification even if one gets lost. Store duplicate labels inside containers as backup.
Your future self will thank you for this small but essential step that prevents costly mistakes and maintains your seed collection’s integrity.
Spot These Seed-Saving Mistakes Early
While you’re collecting and storing seeds, you’ll want to identify common errors that can doom your efforts before they even begin.
Don’t let months of careful work unravel because of preventable mistakes that compromise seed viability.
- Harvesting too early: You collect seeds before they’ve fully matured, resulting in poor germination rates. Wait until seeds are completely dry and brown on the plant.
- Ignoring moisture content: You store seeds without properly drying them first, leading to mold growth and spoilage. Always guarantee seeds are bone dry before storage.
- Using improper containers: You choose containers that don’t protect against moisture and pests. Stick to airtight glass jars or sealed plastic containers with desiccant packets.
Test Stored Seeds Before Planting Season
Unless you’ve stored seeds under ideal conditions, don’t assume they’re still viable come spring planting time. Temperature fluctuations, humidity, and time degrade seed quality greatly. You need to test germination rates before committing garden space.
Use the damp paper towel method: place ten seeds between moist towels in a sealed bag. Keep them warm, around seventy degrees. Check daily for sprouting. Calculate your success rate after one week.
For older seeds or uncertain storage conditions, test twenty seeds instead. Record results carefully. If germination falls below eighty percent, plant seeds more densely or purchase fresh ones.
Don’t skip this vital step. Your garden’s success depends on reliable seed viability testing upfront.
Conclusion
Store seeds properly by cleaning, drying, and sealing them in airtight containers. Keep humidity low, label everything clearly, and test viability before planting. Sort by type, maintain cool temperatures, and avoid common mistakes. These steps guarantee successful seed storage for next season’s garden.
