

You might be surprised how easy it is to start composting right where you live. With just a few simple supplies and a corner of your apartment, you can turn kitchen scraps into nutrient-rich soil. Forget the backyard—your indoor space can handle this waste reduction method effectively. Curious about which bin works best for small areas?
Start Composting Right in Your Apartment
You can start composting right in your apartment with just a few simple supplies and minimal space.
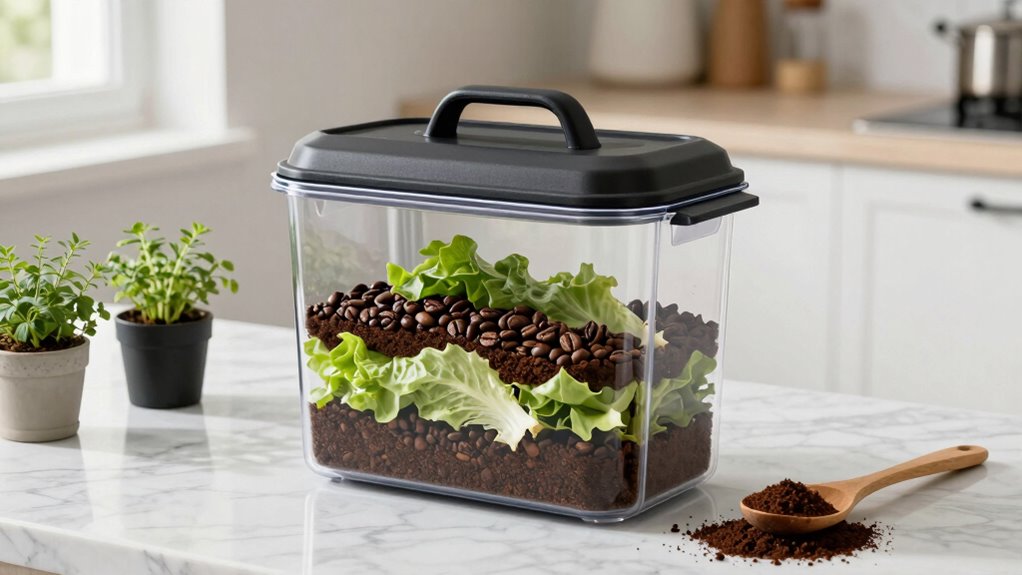
You’ll need a small container with a lid, some soil, and organic waste like fruit peels and coffee grounds. Place your container in a corner or under your sink where it won’t bother anyone.
Add your kitchen scraps daily, covering them with soil to prevent odors. Keep the mixture moist but not soggy. You’re creating nutrient-rich compost for plants while reducing waste.
Your neighbors probably already compost too, making this a community-friendly habit. Small spaces shouldn’t stop you from contributing to something bigger.
You’re joining thousands who compost in apartments successfully. Start today with whatever container fits your lifestyle.
Pick the Best Indoor Composting Method
You’ll need to choose between three main indoor composting methods that work well in apartments.
Consider a vermicomposting bin if you have space for worms, or opt for a bokashi system that ferments scraps quickly.
A tumbler composter offers easy mixing and faster results for those with slightly more room.
Choose Vermicomposting Bin Size
One essential decision when starting vermicomposting involves selecting the right bin size for your indoor setup.
You’ll want a bin that fits comfortably in your available space while accommodating your household’s food waste production. For most small apartments or households, a 14-18 gallon bin works perfectly. This size handles kitchen scraps from 2-4 people without overwhelming your living area.
Measure your designated spot beforehand – bins need adequate height for proper aeration. Consider stackable designs if floor space is limited. Your worm population needs room to thrive, so avoid overcrowding. A properly sized bin prevents odors and maintenance issues.
Select Bokashi Fermentation System
While vermicomposting bins work well for many households, bokashi fermentation systems offer a compact alternative that fits easily into small kitchens or closets.
You’ll appreciate how these systems use beneficial microbes to break down food scraps quickly without odors. The process works in tight spaces because it doesn’t require turning or large amounts of bedding material.
Look for bokashi systems with tight-fitting lids and drainage spouts to manage liquid byproducts. You’ll want to empty the liquid every few days to prevent smells.
The fermented waste breaks down completely within two weeks, making it ideal for busy lifestyles.
Consider purchasing extra fermentation bran to maintain optimal conditions. This simple addition keeps your system running smoothly while producing nutrient-rich material for outdoor composting or gardening projects.
Use Tumbler Composter Design
Although tumbler composter designs require more space than bokashi systems, they offer faster decomposition through efficient aeration and mixing mechanisms.
You’ll turn waste into nutrient-rich compost within weeks instead of months. These systems work by rotating chambers that continuously mix materials while introducing oxygen. You simply add kitchen scraps and yard waste, then spin the drum every few days.
The tumbling action prevents odors and attracts fewer pests than traditional piles. Compact models fit balconies or small patios perfectly.
You’re joining thousands who’ve discovered how easy tumbling makes composting. Don’t let space concerns stop you – these efficient systems maximize your small area’s potential while producing garden gold faster than you’d imagine possible.
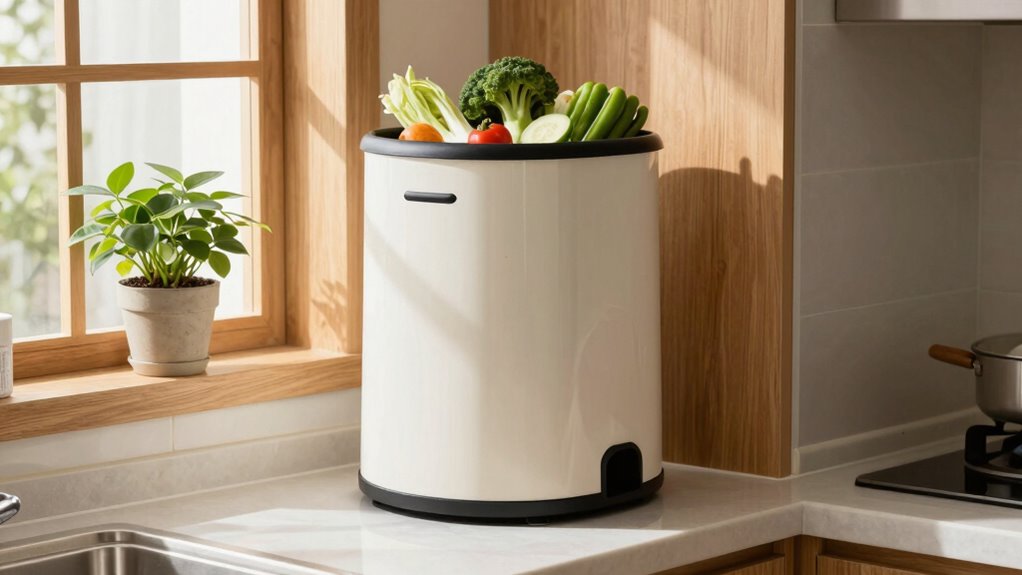
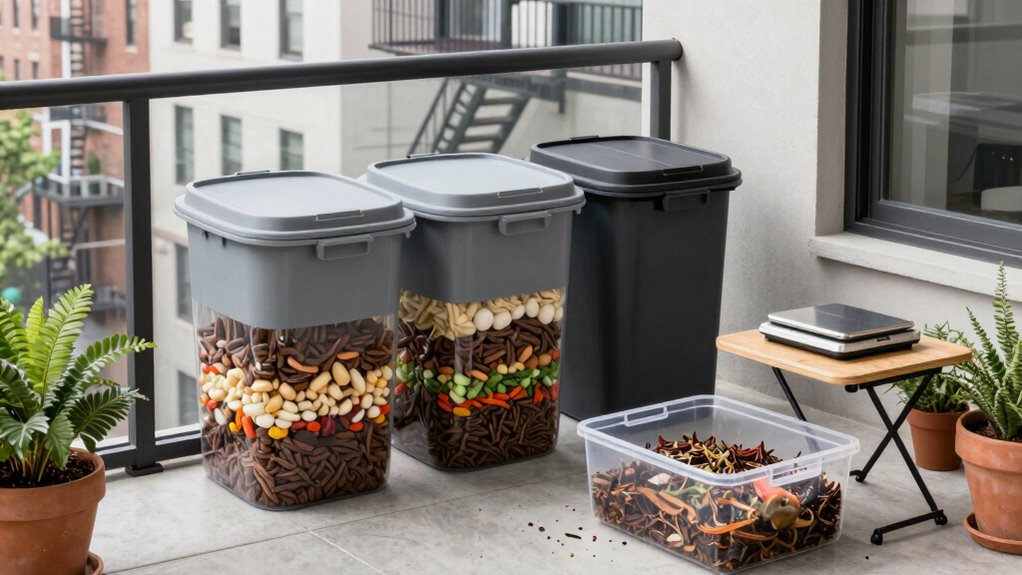
Choose a Compact Compost Bin That Fits
You’ll want to contemplate compact bin options that maximize your available space without sacrificing functionality.
Space-saving designs like stackable bins or those with built-in ventilation work well for small apartments or crowded kitchens.
These bins should fit comfortably in your chosen location while still allowing room for daily use and maintenance.
Compact Bin Options
Several compact compost bin options work well for small spaces and urban gardening setups.
You can choose from countertop bins that fit under your sink, making daily scraps easy to collect. Look for bins with tight-fitting lids to control odors and keep pests away.
Rolling bins work great if you have a small balcony or patio space. Tumbler bins let you mix compost easily without taking up much ground space.
Stackable bins maximize your vertical space while keeping everything contained. Consider worm bins if you want to compost indoors year-round.
Plastic bins are lightweight and affordable, while wooden options blend better with outdoor decor. Choose bins with drainage holes to prevent water buildup.
Measure your available space first, then pick a size that fits your household’s waste production.
Space-Saving Designs
One compact compost bin that fits your space constraints can transform how you manage kitchen scraps.
You’ll discover that small balconies, tiny kitchens, and cramped apartments all accommodate effective composting solutions.
Consider stackable bins that maximize vertical space while minimizing footprint. You’ll find compact tumblers perfect for patios, fitting neatly against walls or railings. Indoor worm bins work excellently under sinks, converting food waste quietly.
Look for models with tight-fitting lids that won’t emit odors in confined spaces. You’ll appreciate bins designed specifically for urban living – they’re discreet yet functional.
These containers often feature charcoal filters and drainage systems suitable for indoor use.
You’ll join countless urban dwellers successfully composting in minimal spaces, proving that environmental responsibility doesn’t require a backyard.
Small spaces produce big results when you choose the right system.
Set Up Your First Worm Compost Bin

Setting up your first worm compost bin requires careful preparation to create the right environment for your worms. Choose a plastic container with drainage holes and ventilation slits.
Line the bottom with shredded newspaper, then add moistened coconut coir or aged compost as bedding. Your worms need darkness, so cover the bin with a lid or damp cloth.
Start with red wigglers, adding roughly one pound per square foot of bin space. Feed them fruit scraps, coffee grounds, and vegetable peels buried beneath the bedding. Avoid meat, dairy, and oily foods that attract pests.
Keep the bin in a cool, shaded spot where temperatures stay between 55-77°F. Check moisture levels regularly, misting when bedding feels dry.
Harvest finished compost every three months by moving contents to one side and adding fresh bedding to the other.
Use Bokashi Fermentation at Home
While traditional composting relies on aerobic decomposition, bokashi fermentation offers a faster, odor-controlled alternative that you can easily implement at home. You’ll need a bokashi bucket system and bran inoculated with beneficial microbes.
Layer food scraps with the bran, pressing down firmly to remove air pockets. The fermentation process takes just two weeks, producing a pickle-like material that doesn’t smell rotten. You’re fundamentally pickling your kitchen waste instead of letting it decompose openly.
The compact bins fit perfectly under sinks or in small apartments. After fermentation, bury the contents in soil or add to your outdoor compost pile. This method handles meat, dairy, and cooked foods that traditional composting prohibits.
You’re joining a growing community of urban composters who’ve discovered this space-saving solution.
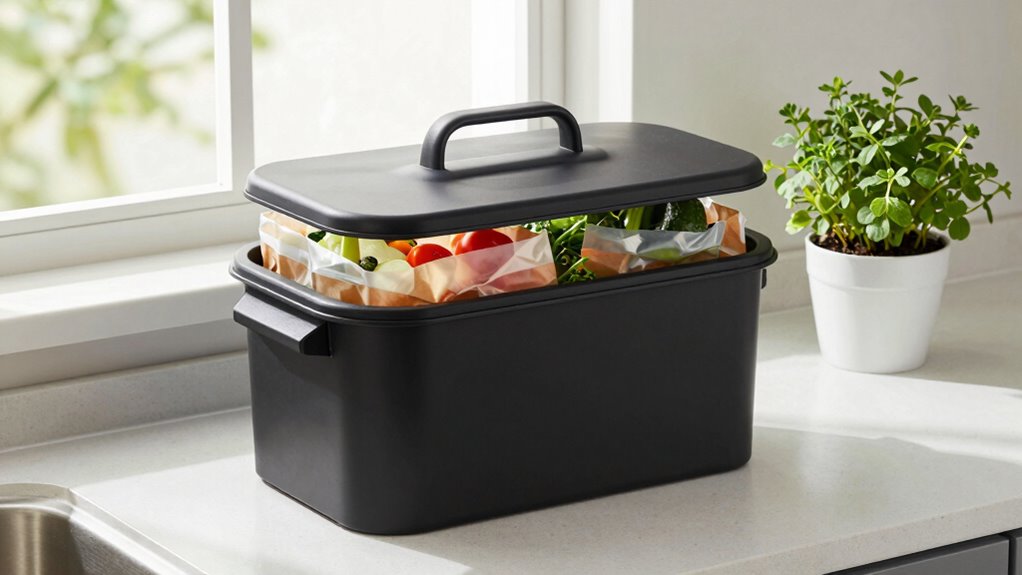
Skip the Dirt: Compost Without Soil Contact?
Composting doesn’t require direct soil contact, making it accessible even for apartment dwellers or those with limited outdoor space. You can use specialized bins, tumblers, or even modified trash cans to contain your compost materials.
These systems work by creating the right conditions for decomposition through proper aeration, moisture control, and temperature management.
Your kitchen scraps break down effectively without touching soil. Simply layer organic waste with carbon materials like shredded paper or dry leaves in your chosen container.
Turn the mixture regularly to introduce oxygen, which speeds up decomposition. Monitor moisture levels – your pile should feel like a damp sponge.
Small-space composting connects you to sustainable living practices regardless of where you live.
You’re part of a growing community that’s reducing waste while creating nutrient-rich soil amendment for plants.
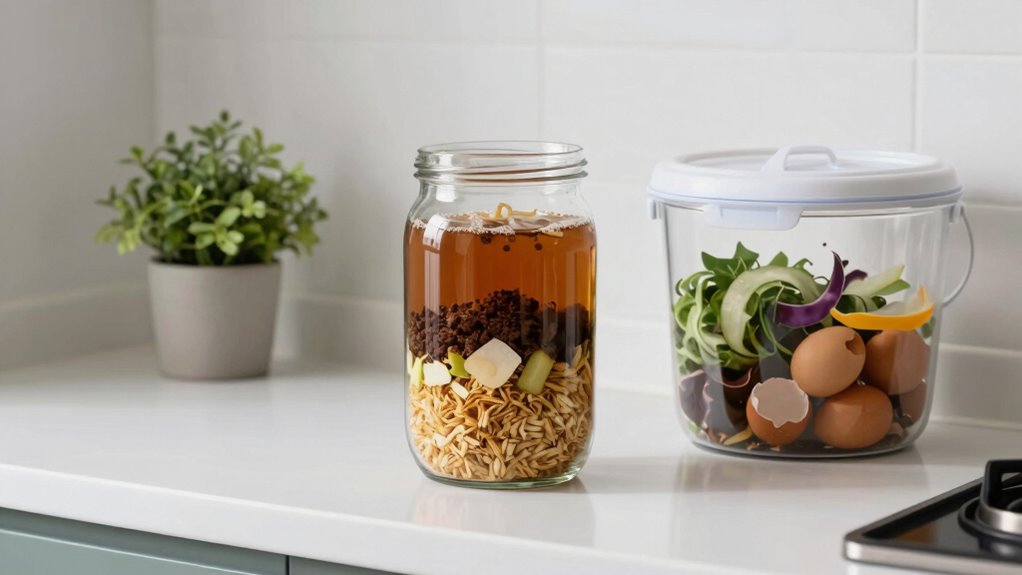
Only Compost These Kitchen Scraps
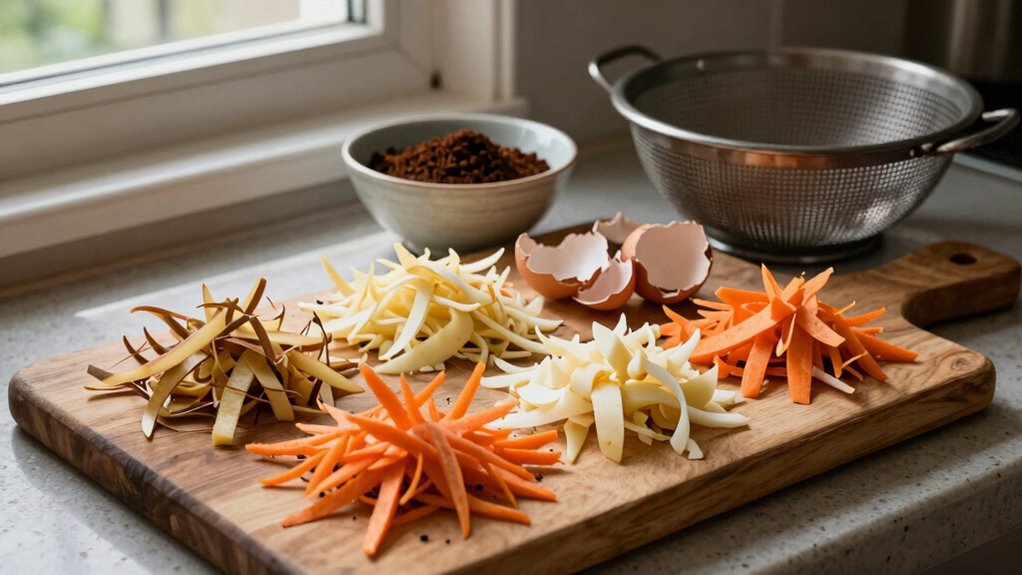
You should only add certain kitchen scraps to your compost pile to avoid attracting pests or creating odors.
Stick to fruit peels, vegetable trimmings, coffee grounds, and eggshells. These items break down easily and won’t cause problems in your small space setup.
Avoid meat, dairy, and oily foods completely. They attract unwanted animals and create messy situations.
Citrus peels and onion scraps are okay in small amounts, but don’t overload your pile with them.
Chop everything into small pieces to speed decomposition.
Banana peels, apple cores, carrot tops, and herb stems work perfectly. Tea bags without staples decompose well too.
Stop Odors Before They Begin
You can prevent smelly compost by choosing the right container and maintaining a regular turning schedule.
A well-ventilated bin with a tight-fitting lid controls odors better than open piles or sealed containers.
Turn your compost every few days to aerate it and keep decomposition happening efficiently.
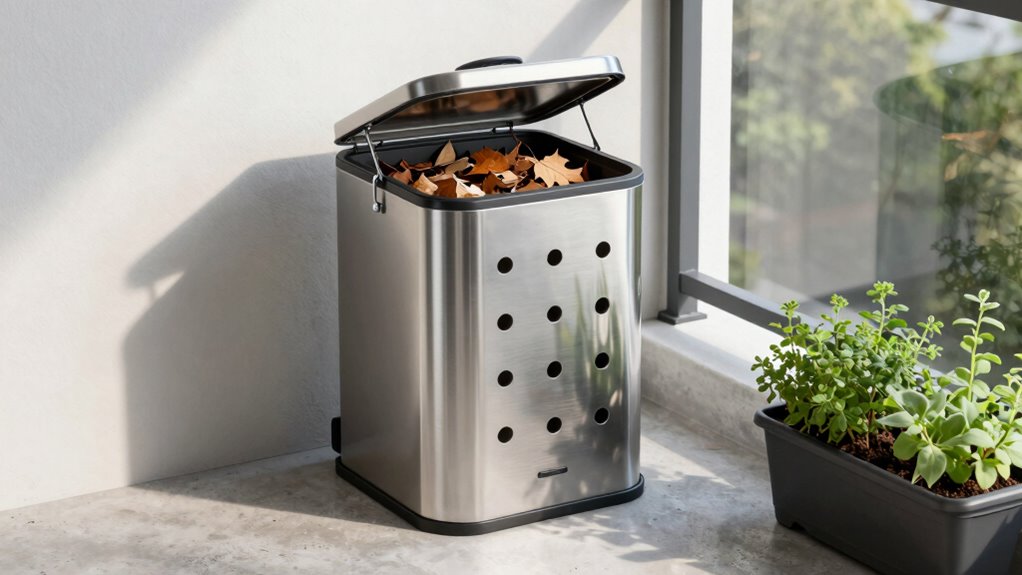
Proper Container Selection
Choosing the right container prevents odors from developing in the first place.
You need breathable materials like wood or plastic with adequate ventilation holes. Avoid metal containers that trap moisture and create anaerobic conditions. Select containers with tight-fitting lids to control airflow while preventing pests.
Your bin should fit your available space perfectly – don’t overcrowd small areas. Consider stackable options that maximize vertical storage. Drill holes in solid containers for proper aeration.
Choose containers made from durable, weather-resistant materials that won’t degrade quickly. Dark-colored bins work better in cooler climates since they absorb heat naturally.
Make sure your container has drainage holes to prevent liquid buildup that causes foul smells. Proper container selection creates the foundation for successful small-space composting.
Regular Turning Schedule
While proper container selection sets the foundation for odor-free composting, maintaining a regular turning schedule prevents smells from developing altogether.
You should turn your compost pile every three to five days using a pitchfork or compost aerator. This simple action introduces oxygen that keeps aerobic bacteria happy and anaerobic odor-causing bacteria at bay.
Don’t let your pile sit stagnant – regular turning breaks up compacted materials and distributes moisture evenly. If you notice unpleasant smells, you’re not turning enough.
Weekly turning works for most small-space composters. Set phone reminders if you’re forgetful. Your neighbors will thank you, and your compost will decompose faster.
Consistency matters more than perfection.
Balance Moisture and Aeration Naturally

Maintaining proper moisture levels keeps your compost pile active and odor-free. You should aim for the consistency of a damp sponge. If it’s too dry, add water gradually while mixing.
Too wet? Incorporate dry materials like shredded paper or cardboard. Aeration happens naturally when you turn your pile regularly, but you can boost it by adding coarse materials like small twigs or straw. These create air pockets throughout the mix.
Check moisture weekly by squeezing a handful; three to four drops of water should appear. Your compost community depends on this balance – too much water creates anaerobic conditions that smell terrible and slow decomposition.
Proper moisture and aeration keep beneficial microbes working efficiently, producing nutrient-rich compost faster while keeping your neighbors happy.
Fix Common Indoor Composting Mistakes
If you’re composting indoors, don’t let common mistakes derail your efforts. Stay connected to your composting community by avoiding these frequent errors that frustrate many beginners.
Keep your compost bin from becoming a smelly nightmare by following these essential tips:
- Don’t add meat, dairy, or oily foods – these create odors and attract pests that you definitely don’t want in your living space.
- Turn your pile regularly – neglecting aeration creates anaerobic conditions that smell terrible and slow decomposition.
- Maintain proper moisture levels – your compost should feel like a damp sponge, not a soggy mess or bone dry.
You belong in this sustainable living journey, and mastering these basics keeps your indoor composting successful.
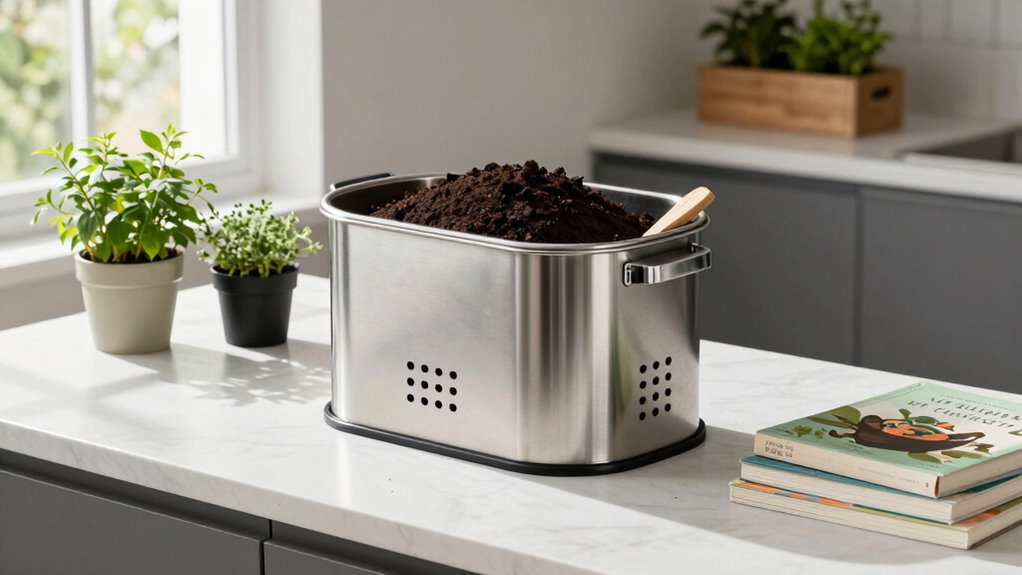
Put Finished Compost in Planters
One key step transforms your finished compost from storage to soil enhancement.
You’ll want to mix it directly into your planters when the time’s right. Don’t overload your containers – a handful per plant works well. Your herbs and vegetables will thank you for this nutrient boost.
Space-conscious gardeners should scoop compost gradually, storing excess properly until needed. Blend it with existing potting soil rather than replacing it completely. This approach prevents over-fertilization while maximizing your compost’s benefits.
Remember that less often means more when feeding your plants. Watch how they respond and adjust accordingly.
You’re joining countless urban gardeners who’ve discovered how small-space composting creates thriving container gardens everyone can enjoy.
Shop for Low-Cost Compost Gear
You can find affordable compost bins at hardware stores or online that’ll save you money while keeping your compost contained.
Look for budget-friendly kitchen scrapers that make collecting food waste quick and easy.
Don’t overlook inexpensive outdoor tools like pitchforks and shovels that’ll help you turn and manage your compost pile effectively.
Affordable Compost Bins
Several affordable compost bins make starting your composting journey budget-friendly. You don’t need expensive equipment to begin turning kitchen scraps into garden gold.
- Plastic storage bins cost under $20 and fit perfectly in small apartments or balconies.
- Wire mesh bins provide excellent airflow and cost around $30 for basic models.
- DIY wooden pallet bins use recycled materials and cost virtually nothing.
These budget-friendly options work just as well as expensive commercial bins. Your small space shouldn’t prevent you from joining the composting community.
Choose containers that match your living situation and comfort level. Start simple and upgrade later when you’re ready.
Budget-Friendly Kitchen Scrapers
While plastic storage bins and wire mesh options handle your outdoor composting needs, don’t overlook the importance of efficient kitchen tools that make collecting scraps effortless.
You’ll want a sturdy kitchen scraper that fits your counter space without breaking your budget. Look for simple plastic or bamboo scrapers under five dollars online or at discount stores. These tools help you quickly gather food remnants from plates and cutting boards.
Choose compact designs that store easily in drawers or hang conveniently near your sink. Avoid expensive gourmet options; basic models work perfectly for daily scraping tasks.
Consider repurposing old credit cards or plastic lids as makeshift scrapers until you’re ready to invest. Your future compost pile will thank you for capturing every vegetable peel and coffee ground efficiently.
Inexpensive Outdoor Composting Tools
Once you’ve gathered your kitchen scraps with budget-friendly tools, it’s time to focus on outdoor composting equipment that won’t strain your wallet.
You don’t need expensive gear to start breaking down organic matter effectively.
Look for these affordable essentials that’ll help you join the growing community of urban composters:
- Plastic storage bins – Modify with drill holes for airflow and lid ventilation
- Garden forks – Essential for turning compost piles and aerating materials
- Burlap sacks – Perfect for containing compostables and allowing proper decomposition
These basic tools create a foundation for successful small-space composting.
You’re joining thousands who’ve discovered how simple outdoor composting can be.
Your neighbors might even ask for tips once they see your thriving setup.
Start small, stay consistent, and watch your organic waste transform into garden gold.
Do It Cheaply if You’re on a Budget
Why spend money on expensive composting equipment when you can start with materials you already have? Use a simple plastic container with holes drilled for air circulation. Old buckets, storage bins, or even large yogurt containers work perfectly.
Collect kitchen scraps like vegetable peels, coffee grounds, and eggshells. Add dry materials such as shredded newspaper, cardboard, or dead leaves to balance moisture. Turn your pile weekly with a fork or spoon you already own. Keep it moist but not soggy.
Small containers fit easily under sinks or on balconies. You’re joining thousands who compost successfully without fancy gear. Your community likely offers free resources too. Check local Facebook groups or neighborhood apps where people share composting tips and containers they’re giving away.
Expand Your Indoor System Later
Although you can start composting with a simple container, expanding your system later helps you manage more organic waste. As your household waste increases, you’ll want options that fit your growing needs without overwhelming your space.
Consider these expansion strategies:
- Add a second bin to alternate between active composting and curing phases.
- Upgrade to a larger container or multi-tier system for better airflow.
- Incorporate worm composting with a small vermicomposting kit.
Expanding gradually lets you maintain manageable portions while increasing capacity. You’re not obligated to start big – many successful composters begin with basic setups and grow their systems naturally.
The key is planning for growth from day one, so you’re never stuck with overflowing containers.
Conclusion
Congratulations, you’ve mastered the ancient art of turning garbage into garden gold without leaving your apartment. Your neighbors will marvel at your magical soil production while you save the planet one banana peel at a time. Who needs outdoor space when you’ve got indoor composting superpowers?
