

You’ve probably stared at that drywall hole wondering how contractors make repairs look invisible. The secret isn’t magic—it’s methodical preparation and the right technique for each hole size. Before you grab any tools, you need to understand exactly what you’re dealing with. Let’s start by identifying your hole type and properly preparing your workspace.
Identify Hole Size and Prep Your Workspace
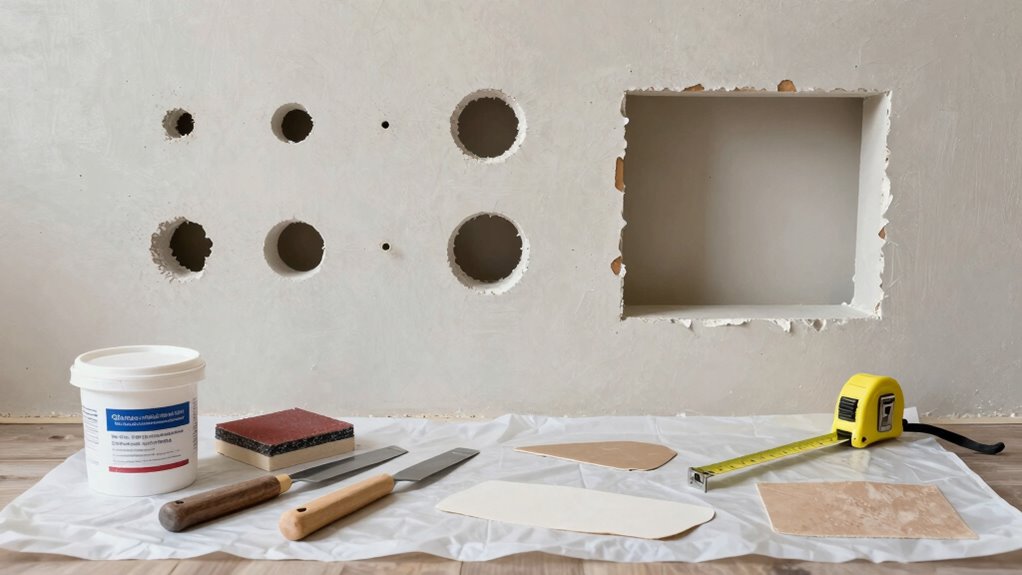
Before you begin repairing drywall holes, you’ll need to assess the damage and prepare your work area properly. Measure your hole’s diameter or length and width to determine its classification. Small holes are under two inches, while larger ones require different techniques.
Clear the area below your work zone—lay down drop cloths to catch debris and protect flooring. Turn off electricity to nearby outlets and switches for safety. Gather your tools: utility knife, drywall saw, measuring tape, pencil, and safety glasses.
Remove any loose drywall pieces around the hole’s perimeter using your utility knife. Clean dust and debris from the area. Guarantee adequate lighting so you can see your work clearly. Mark your repair boundaries lightly with pencil if needed.
Fix Small Drywall Holes Easily
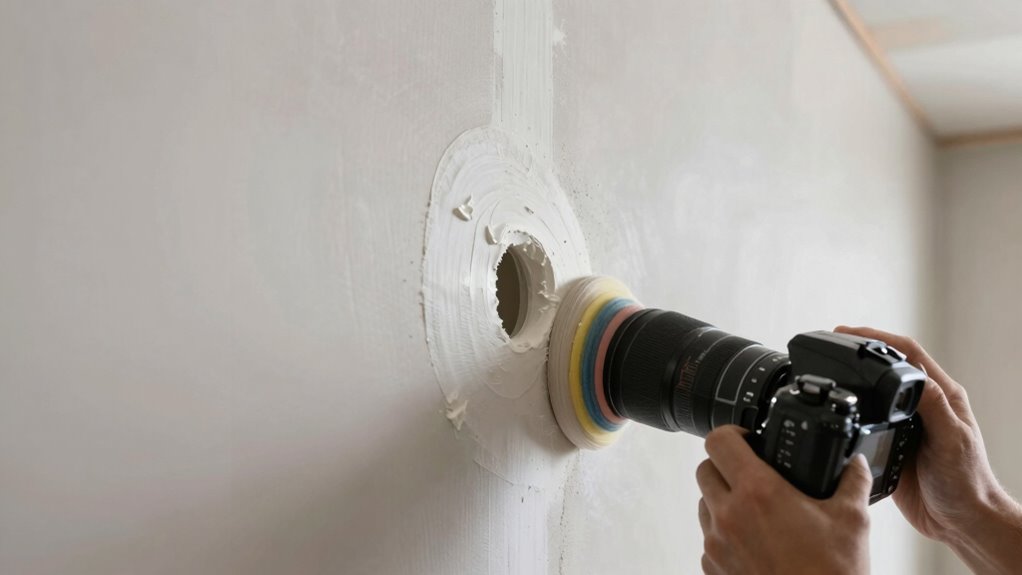
Small holes measuring under two inches can be repaired quickly using basic drywall patching techniques. You’ll need joint compound, a putty knife, and optionally, mesh patch for larger small holes.
Start by cleaning debris from the hole with your knife. Apply joint compound directly into the hole using the knife, pressing firmly to fill completely. For holes near half-inch diameter, press mesh patch over the wet compound.
Cover the entire area with compound, feathering edges thinly. Let dry according to package directions.
Sand lightly until smooth and flush with surrounding wall. Prime before painting to guarantee proper adhesion and color matching.
This simple repair makes you look like a pro.
Support Medium Holes With Wood or Drywall Clips
You’ll need to install wooden backing or drywall clips when medium-sized holes require additional support.
These backing materials provide anchor points for your repair patch and prevent future cracking.
Proper installation guarantees your drywall repair remains durable and structurally sound.
Wooden Backing Installation
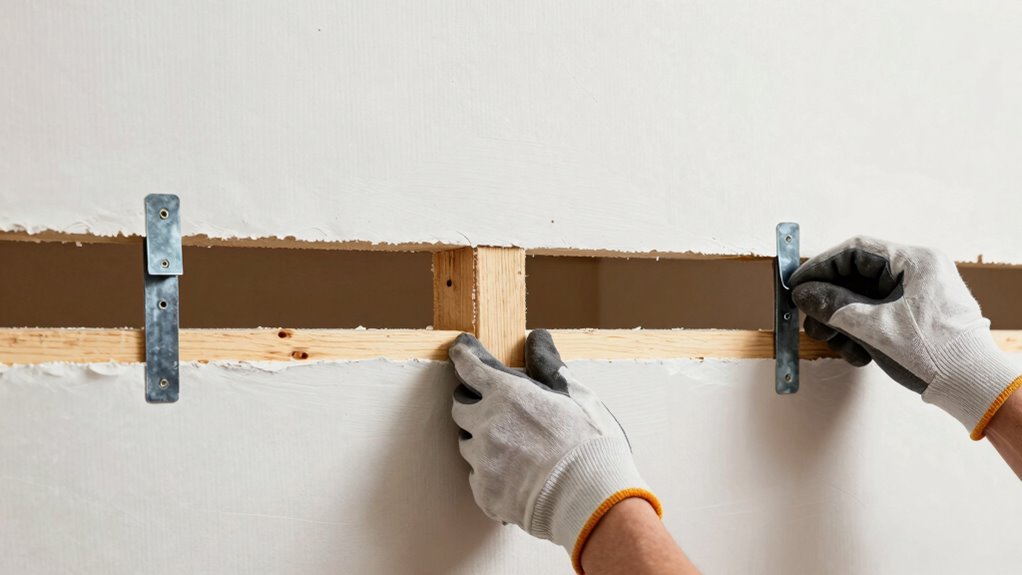
Medium holes require additional support behind the drywall to properly anchor your repair materials.
You’ll need to install wooden backing blocks that span the hole’s diameter plus two inches on each side. Cut wood pieces slightly larger than your hole, then feed them through the opening until they’re flush against the backside. Use a flashlight to verify proper positioning.
Secure the wood by driving screws through the drywall into the backing at multiple points around the hole’s perimeter. Make certain your screws penetrate at least one inch into the wood. This backing provides essential support for your patching compound and new drywall piece.
Without proper backing, your repair will lack structural integrity and may crack or sag over time. Check that your backing sits perpendicular to the hole’s edge for the best support.
Drywall Clip Application
Drywall clips provide an alternative support method when wooden backing isn’t feasible for medium-sized holes.
You’ll need to select metal or plastic clips designed specifically for drywall repair. Position the clip behind the hole’s edge, ensuring it sits flush against the drywall surface. Secure the clip using drywall screws driven through pre-drilled holes in the clip’s flanges. The clip’s wings should grip firmly against the backside of the drywall.
Once installed, you’ll have a stable base for patching compound. Apply joint compound over the hole, embedding mesh tape for additional strength. Allow the compound to dry completely before sanding smooth.
This method gives you professional results when wood backing won’t work.
Replace Large Sections With a New Drywall Piece
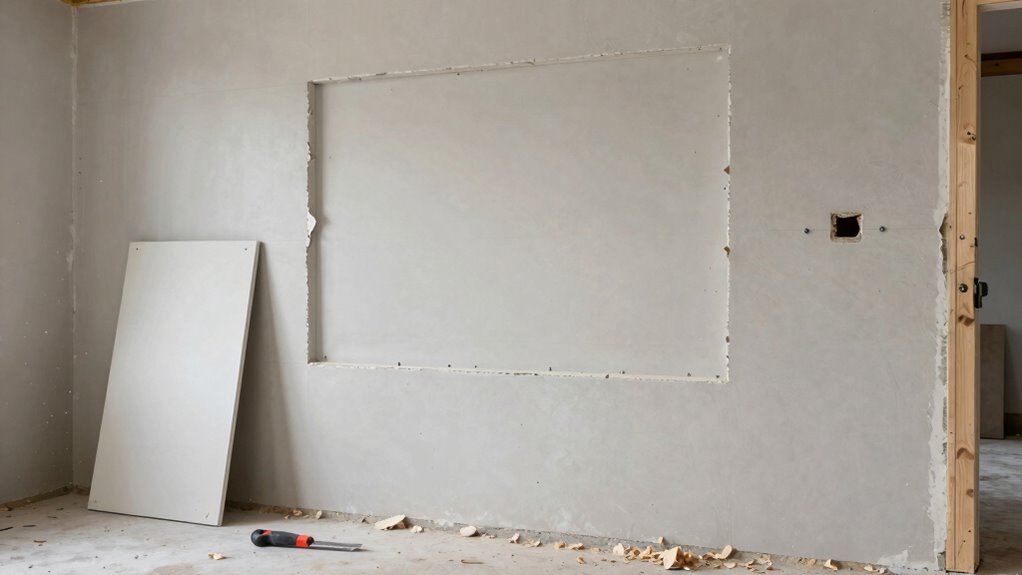
Large holes or damaged sections require cutting out the affected area and installing a fresh drywall piece. You’ll need a reciprocating saw or drywall saw to make clean cuts around the damaged section. Cut toward the center of the hole to avoid enlarging it unnecessarily. Remove any loose debris and vacuum the area thoroughly.
Measure the opening carefully and cut your replacement drywall piece slightly larger than the hole. Position the new piece into place and check for proper fit. Secure it using drywall screws spaced approximately twelve inches apart. Drive screws at least one inch from edges to prevent cracking.
Confirm the new piece sits flush with existing drywall surfaces. You’re creating a solid foundation for professional repairs that blend seamlessly with your walls.
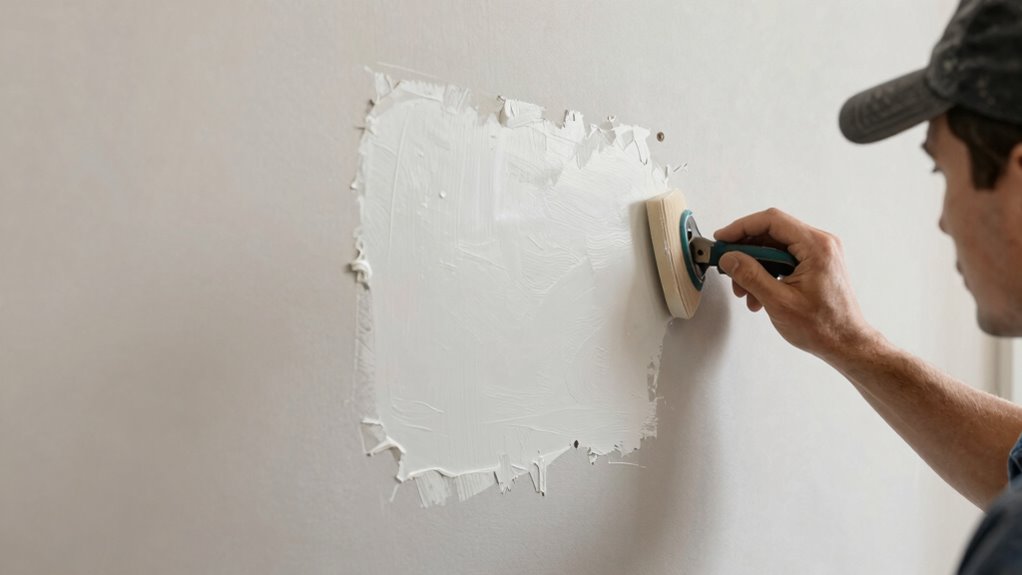
Smooth It Out With Joint Compound and Sanding
Apply joint compound over the repaired area to create a seamless finish that matches your existing wall surface.
You’ll achieve professional results by following these essential steps:
- Apply compound in thin layers – Build up coverage gradually with a 6-inch drywall knife, letting each coat dry completely before adding the next layer.
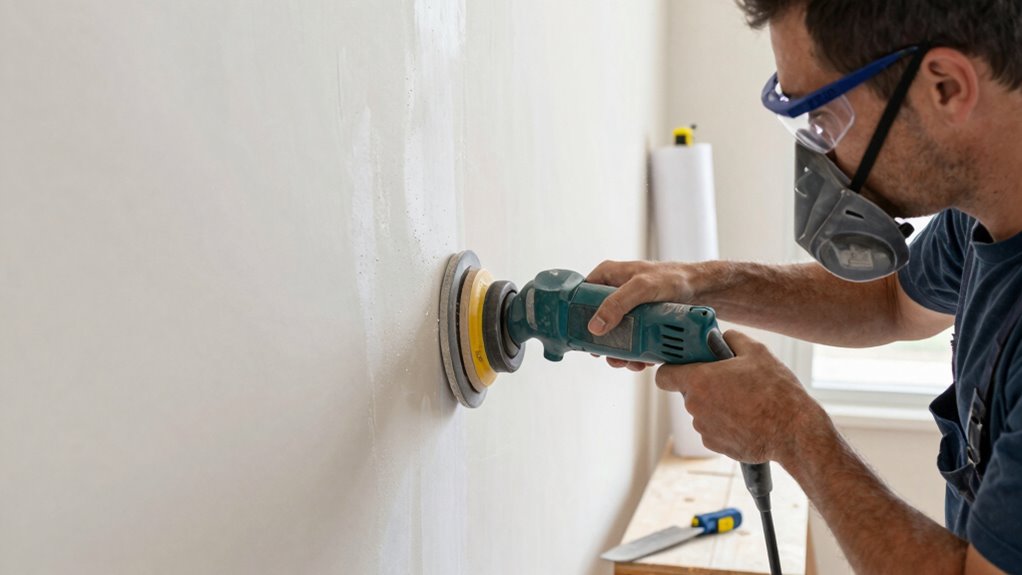
- Sand between coats – Use 120-grit sandpaper to smooth dried compound, removing any ridges or high spots that could show through paint.
- Feather the edges – Blend compound outward from the repair center, creating a gradual shift that won’t be visible after painting.
- Final sanding preparation – Sand lightly with 220-grit paper for a smooth surface that perfectly matches your wall’s texture.
Prime and Paint to Match Your Wall Seamlessly
Once you’ve sanded the joint compound smooth, you’re ready to prime and paint for a flawless finish.
Apply primer directly over the patched area using a small brush or roller, working in thin, even coats. Let each coat dry completely before applying the next. Primer guarantees better paint adhesion and prevents patchy spots.
Match your wall’s existing paint color and sheen exactly. Test paint in an inconspicuous area first.
Apply paint in small sections using consistent pressure and overlapping strokes. Feather the edges where your patch meets the existing wall. Allow complete drying between coats.
Two thin coats typically work better than one thick coat. Your repair should now blend seamlessly with the surrounding wall surface.
Conclusion
You’ve got this down pat—fixing drywall holes is like conducting a symphony, where each tool plays its part. Just like a musician hitting the right notes, you’ve learned to measure twice, cut once, and smooth things over with precision. With these skills, you’re not just patching walls, you’re building confidence for bigger projects.
