

You’re ready to turn your kitchen scraps into garden gold, but unsure where to start. Building a compost bin doesn’t require advanced skills or expensive materials. With basic tools and a weekend afternoon, you can create a system that reduces waste while producing nutrient-rich soil amendment. Let’s explore the essential steps that make composting accessible to everyone.
Why Everyone Should Build a Compost Bin
Building a compost bin is one of the most impactful steps you can take to reduce household waste while creating nutrient-rich soil for your garden.
You’ll divert organic materials from landfills, where they’d otherwise produce methane, a potent greenhouse gas. Your compost transforms kitchen scraps and yard waste into garden gold, reducing your reliance on chemical fertilizers.
You’re joining a growing community of eco-conscious gardeners who understand that small actions create meaningful change. Composting connects you to natural cycles, giving you tangible proof of your environmental impact.
You’ll save money on soil amendments while improving your garden’s productivity. Your family benefits from healthier plants and vegetables grown in rich, living soil.
You become part of the solution to climate change, one compost pile at a time.
Gather Essential Tools and Materials
Before you start constructing your compost bin, you’ll need to gather the right tools and materials.
Having everything ready makes the building process smooth and efficient.
- Wooden pallets or lumber – You’ll need four pallets or wooden boards to create the bin’s structure. Pallets work great because they’re often free and already the right size.
- Hammer and nails or drill – Choose whichever you’re more comfortable using. A drill speeds up the process, but a hammer works perfectly fine.
- Wire or hinges – These connect the pallets together, creating a sturdy enclosure that holds your compost materials securely.
- Chicken wire or hardware cloth – This prevents pests from accessing your compost while allowing proper airflow circulation.
Gather these items before starting construction.
Find the Ideal Spot for Your Bin
You’ll want to choose a location that’s easily accessible year-round, so consider placing your bin near your garden but away from direct foot traffic.
Check that the soil drains well to prevent waterlogging, and make certain the spot gets partial sun exposure to help break down materials efficiently.
These factors will guarantee your composting process runs smoothly from start to finish.
Find The Perfect Location
Choosing the right spot for your compost bin can make or break your entire composting system. You need a location that works efficiently while fitting seamlessly into your outdoor space.
- Sunlight exposure – Place your bin in partial shade to prevent materials from drying out too quickly while maintaining proper decomposition temperatures.
- Accessibility – Choose a spot you can easily reach year-round, even in winter, so you’ll actually use your compost system consistently.
- Distance considerations – Position the bin at least three feet from your house to avoid potential odor issues while keeping it close enough for regular maintenance.
- Surface conditions – Select level ground that won’t become muddy or waterlogged, ensuring your bin stays stable and functional through all seasons.
Check Soil Drainage
Since your compost bin’s success depends on proper moisture management, checking soil drainage becomes essential when selecting the ideal location.
You need well-draining soil that won’t create waterlogged conditions. Test drainage by digging a twelve-inch hole and filling it with water. If water drains within an hour, the site works perfectly.
Standing water indicates poor drainage that will ruin your composting efforts. Avoid low spots where water collects naturally. Look for slightly elevated areas that drain quickly after rainfall.
Your chosen spot should allow excess moisture to escape while maintaining adequate humidity levels. Good drainage prevents anaerobic conditions that cause foul odors and slow decomposition.
Check multiple locations before deciding. Soil that drains too quickly also causes problems, so find the sweet spot.
Proper drainage guarantees your compost bin functions effectively throughout all seasons.
Consider Sun Exposure
Proper drainage sets the foundation for your compost bin’s success, but sun exposure plays an equally important role in maintaining ideal decomposition conditions.
You need to find the perfect balance of sunlight and shade for ideal results.
- Partial sun exposure works best – aim for 4-6 hours of morning sunlight daily.
- Avoid full shade locations that stay cold and slow decomposition processes.
- Steer clear of intense afternoon sun which dries materials too quickly.
- Consider seasonal changes in sun patterns when selecting your spot.
Your bin should receive enough warmth to activate decomposers without overheating.
Morning sun provides gentle heat while allowing afternoon cooling.
Too much shade creates cold, soggy conditions that stall breakdown.
Excessive sun bakes nutrients away.
Find that sweet spot where nature’s rhythm supports your composting goals perfectly.
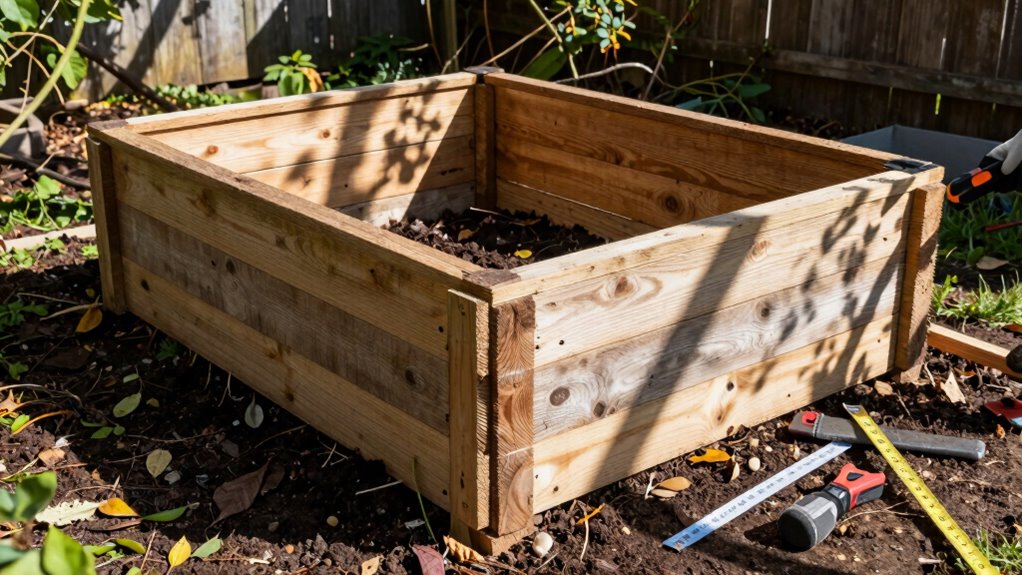
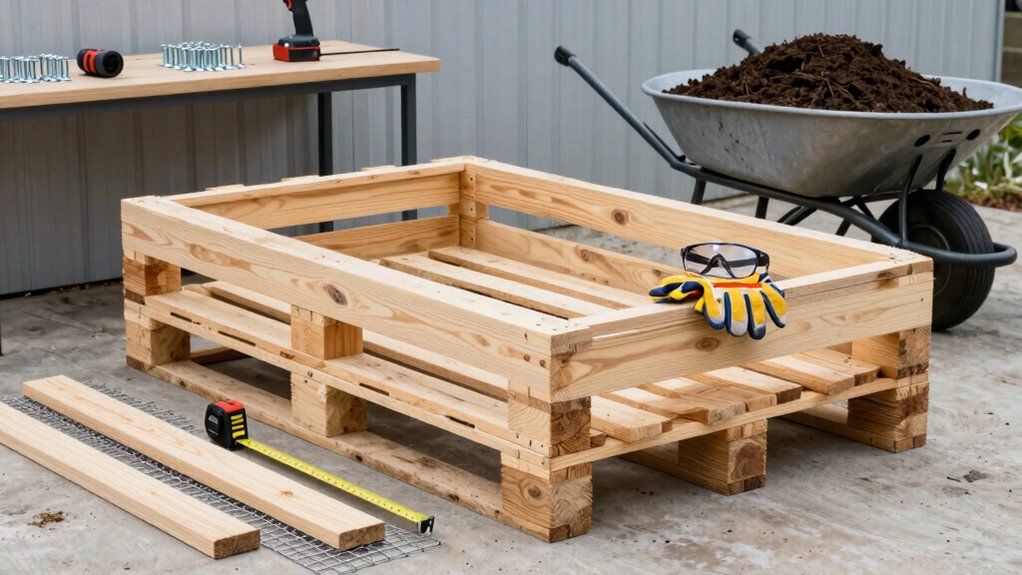
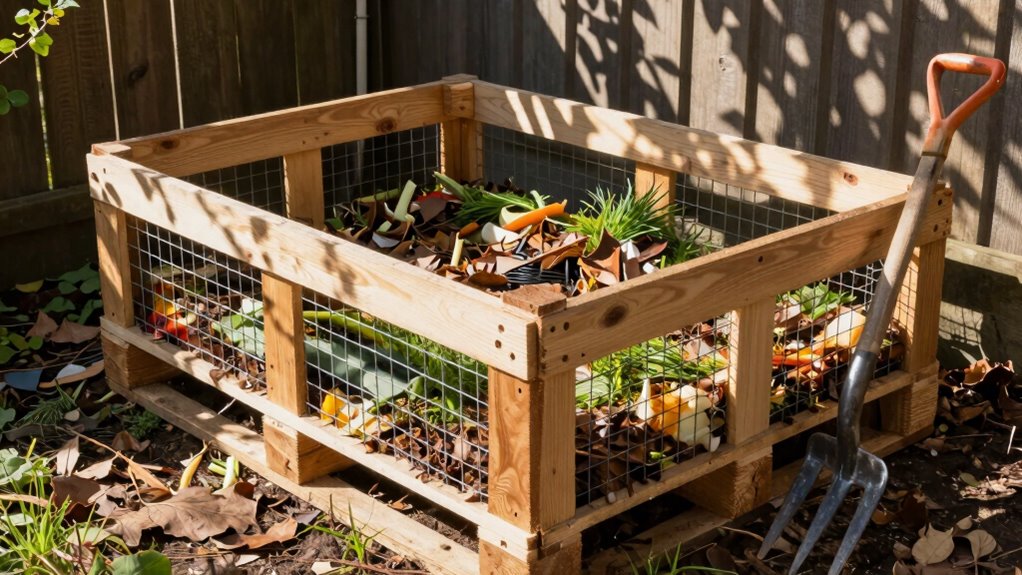
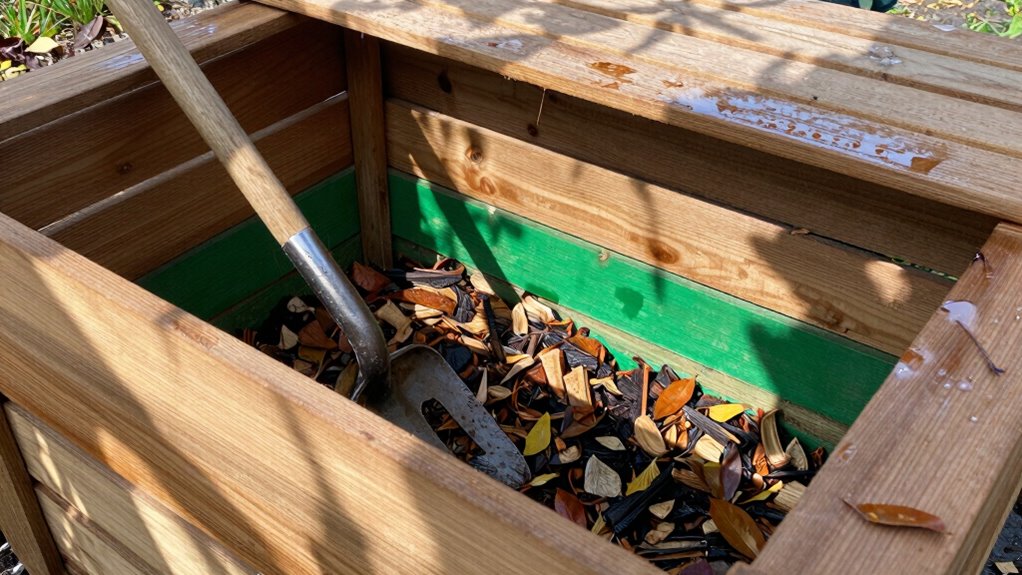
Start With a Basic Pallet Compost Bin
Building a basic pallet compost bin requires just four wooden pallets and some simple hardware. You’ll need galvanized screws or bolts to secure the corners together.
Start by standing one pallet upright and attaching another to its side, forming an L-shape. Continue adding remaining pallets until you’ve created a square enclosure. Don’t forget to leave gaps between slats for proper airflow.
Position your bin directly on soil so worms and beneficial microbes can access your compost pile. This design works perfectly for beginners because it’s sturdy, inexpensive, and easy to assemble.
You’ll feel proud knowing you’ve built something functional while joining the growing community of home composters making a positive environmental impact.
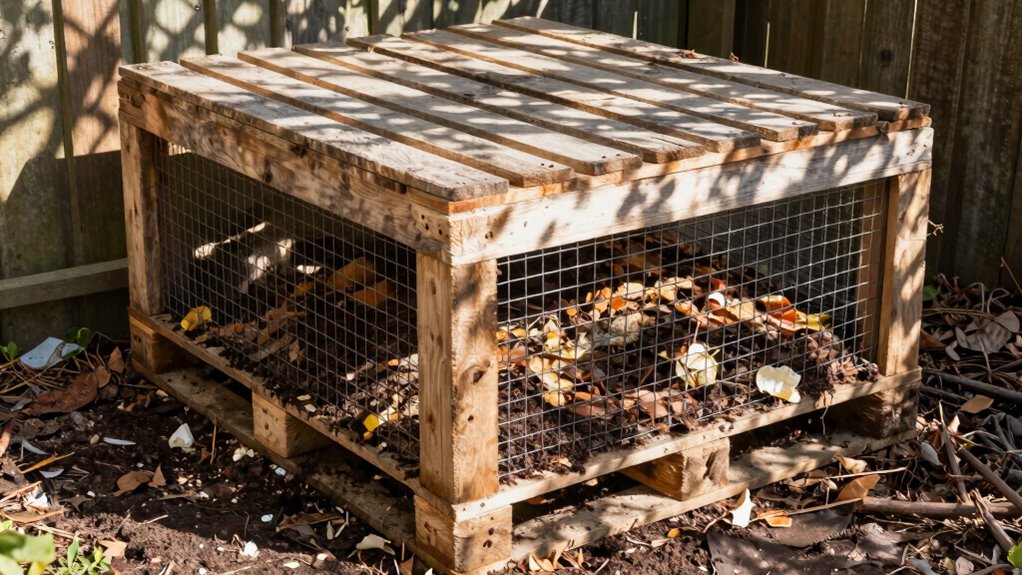
Try an Easy Wire Mesh Composter
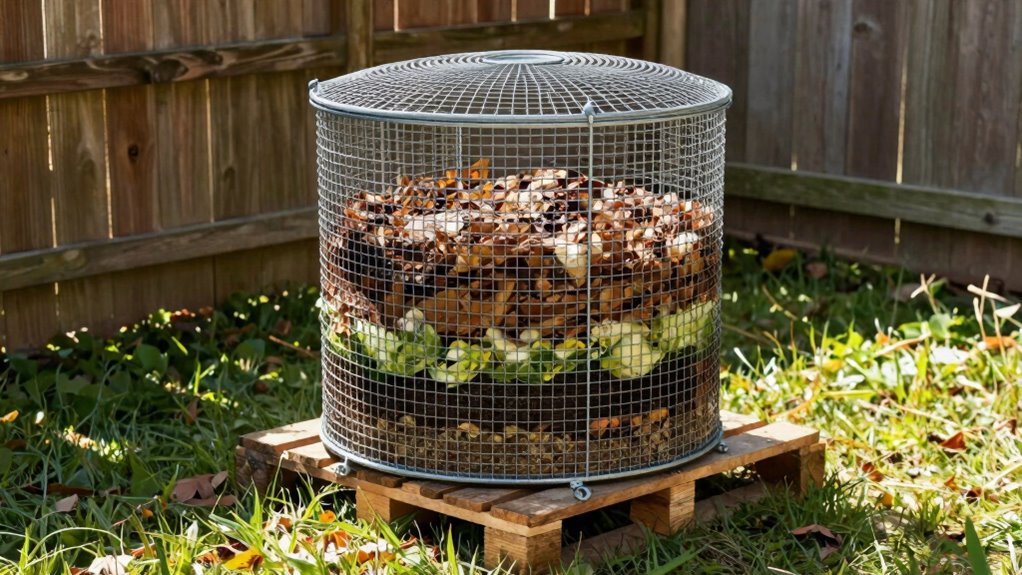
You can build a simple wire mesh composter by forming chicken wire into a cylinder and securing it with zip ties or wire.
This setup requires minimal materials and tools while providing excellent airflow for your compost pile.
Keep the mesh tight and add sturdy stakes to prevent the structure from collapsing under the weight of decomposing materials.
Easy Wire Mesh Setup
While wire mesh composters might seem like a simple solution, they offer an effective way to start composting without investing in expensive equipment.
You’ll find this setup surprisingly efficient for beginners.
- Choose your location – Pick a spot with good drainage and partial shade, away from your house foundation.
- Cut the wire mesh – Measure and cut a 5-foot tall by 16-foot long section of hardware cloth or wire mesh.
- Form the circle – Bend the mesh into a circle roughly 5 feet in diameter and secure the ends with wire or zip ties.
- Add your first materials – Start with coarse materials like twigs at the bottom, then alternate green and brown layers.
This basic setup works immediately and costs pennies compared to commercial bins.
Maintenance Tips
Although your wire mesh composter requires minimal upkeep, following these maintenance tips will keep your system running efficiently and odor-free.
You should turn your compost pile every two weeks to aerate it properly. Add water when materials look dry, keeping everything moist but not soggy. Balance green materials like vegetable scraps with brown items such as leaves or paper.
Cover fresh additions with existing compost to prevent odors and pests. Check that your mesh remains intact and secure around the base. Remove any large, undecomposed pieces that don’t break down properly.
Monitor temperature regularly; your pile should feel warm but not hot. Trim back any vegetation growing around your composter’s perimeter.
These simple steps guarantee you’ll produce rich, finished compost while avoiding common problems that frustrate beginners.
Build a Small-Space Bin With Plastic Containers
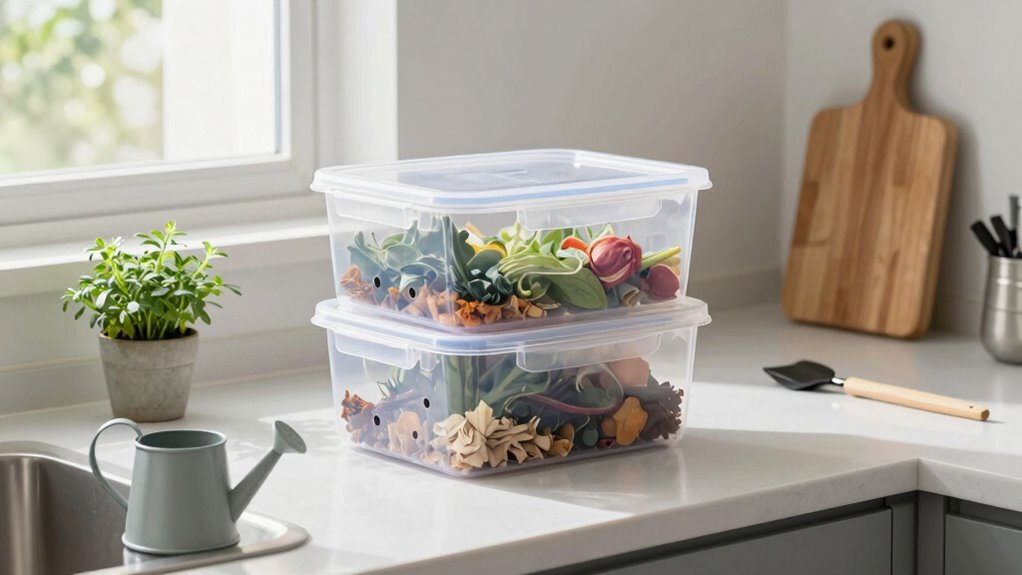
One simple approach to composting in limited spaces involves repurposing plastic containers into a compact bin system.
You’ll create an efficient composting solution that fits seamlessly into your small space.
- Choose two identical plastic storage containers with tight-fitting lids, ensuring they’re large enough for your composting needs.
- Drill holes throughout both containers for aeration – poke holes in sides, bottom, and lid using a drill or sharp tool.
- Stack containers vertically with the perforated lid facing up, allowing air circulation while containing odors effectively.
- Add compostable materials in layers between the containers, maintaining proper moisture levels for ideal decomposition.
This system works perfectly for apartments, balconies, or small yards where space is limited.
Know What You Can (and Can’t) Compost
Understanding what materials work best for your small-space compost bin is just as important as building the right container system.
You’ll want to add nitrogen-rich “green” materials like vegetable scraps, coffee grounds, and fresh grass clippings. Balance these with carbon-rich “brown” materials such as dry leaves, cardboard, and newspaper.
Avoid meat, dairy, oily foods, and pet waste entirely. These create odors and attract pests. Don’t include diseased plants, weeds with seeds, or treated wood products either.
Stick to fruit and vegetable peels, eggshells, tea bags, and yard trimmings. Paper products break down well when torn into small pieces.
Keep compostables moist but not soggy. Master this balance and you’ll create rich, nutrient-dense compost that transforms your garden soil.
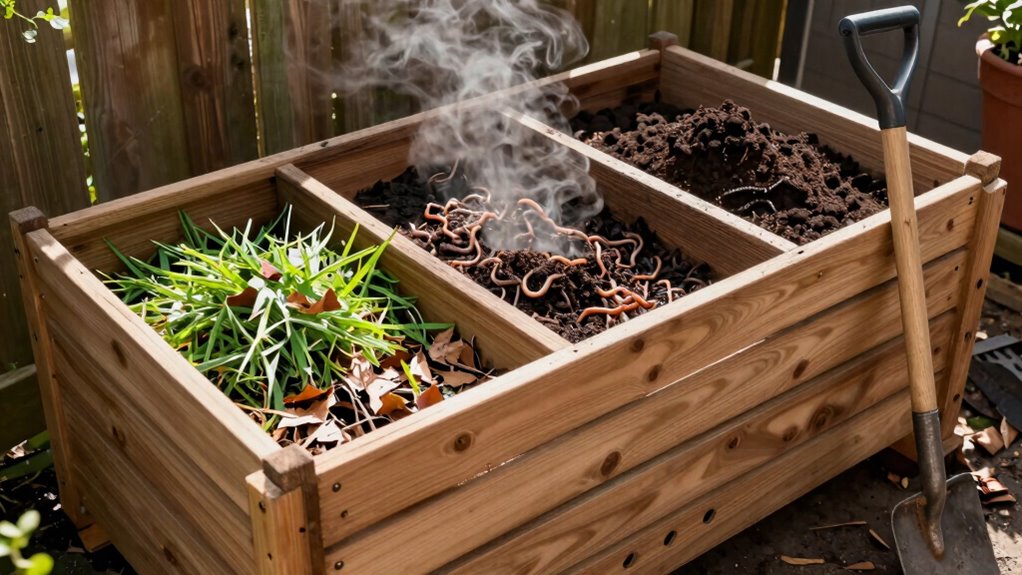
Layer Your Compost for Faster Results
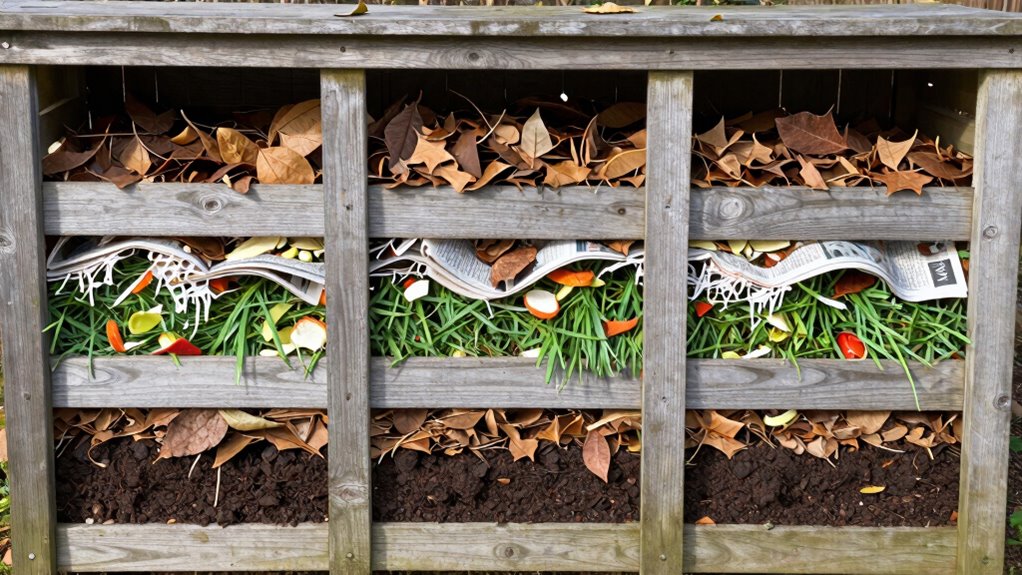
You should start your compost layers with green materials like kitchen scraps and grass clippings.
Then add brown materials such as dried leaves and cardboard on top.
Mixing these layers thoroughly creates the ideal balance for decomposition.
This alternating pattern speeds up the composting process considerably.
Green Materials First
Start by adding your nitrogen-rich green materials as the foundation layer in your compost bin. This base layer kickstarts the decomposition process and creates the perfect environment for your compost community.
- Kitchen scraps – Add fruit peels, vegetable trimmings, and coffee grounds
- Fresh grass clippings – Use recently mowed lawn waste for quick nitrogen boost
- Plant trimmings – Include soft garden waste like pulled weeds and pruned leaves
- Manure – Incorporate from herbivores like rabbits, horses, or chickens
These green materials provide essential nitrogen that feeds decomposing microorganisms.
You’re creating something valuable together with your community garden neighbors.
Layer these materials evenly, maintaining consistent moisture levels.
Your green foundation guarantees faster breakdown and richer end results that’ll make your garden thrive.
Brown Materials Second
After establishing your nitrogen-rich green foundation, it’s time to balance your compost with carbon-heavy brown materials.
You’ll create harmony between nitrogen and carbon, which accelerates decomposition naturally. Add dry leaves, straw, cardboard, or newspaper in a layer roughly three inches thick.
These materials provide structure and absorb excess moisture from greens below. Brown materials also introduce beneficial microorganisms that break down organic matter efficiently.
Make sure your browns cover the entire surface evenly. Don’t worry about perfect distribution – nature will mix everything eventually.
Your compost pile needs this carbon foundation to prevent odors and maintain proper airflow. Remember, successful composting means creating community between different materials.
You’re building an ecosystem where everything belongs and contributes to the final product.
Mix Layers Thoroughly
Combine your green and brown layers to create the ideal environment for rapid decomposition. Mixing materials thoroughly accelerates the composting process considerably.
- Alternate thin layers – Stack greens and browns in 2-3 inch layers throughout your bin.
- Blend contents – Use a pitchfork to mix existing layers before adding new material.
- Maintain balance – Keep roughly equal volumes of green and brown materials.
- Turn regularly – Aerate the pile weekly by mixing from bottom to top.
Proper layering creates airflow channels essential for decomposition.
You’re not just building a pile – you’re creating a thriving ecosystem. Each mix introduces oxygen, speeding up breakdown. Your compost will heat up faster when layers blend properly.
This method prevents anaerobic conditions that cause odors. Master this technique and you’ll belong among confident composters who consistently produce rich, dark soil amendment.
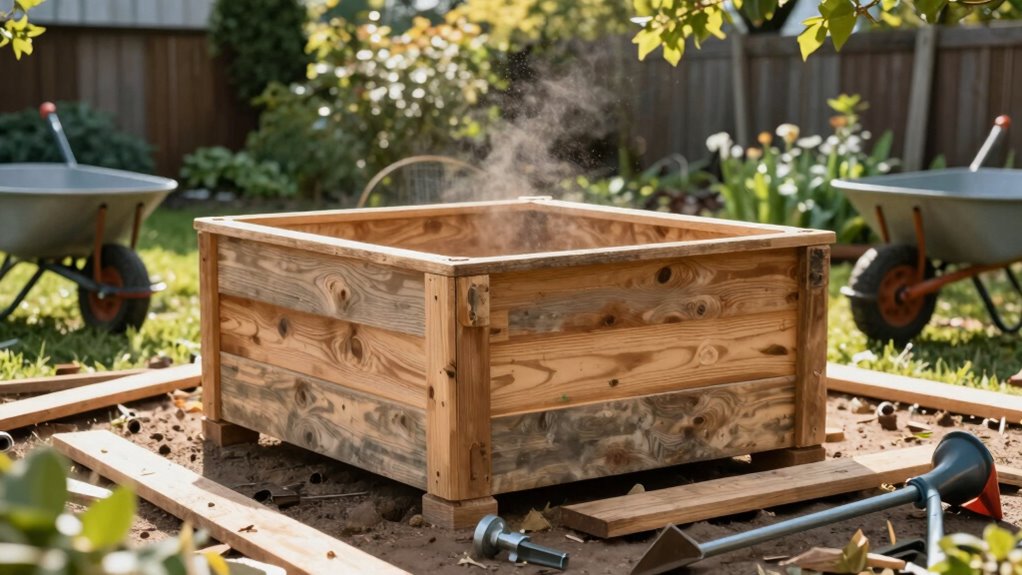
Maintain Proper Aeration and Moisture
Proper aeration and moisture levels are essential for successful composting, so you’ll need to monitor these conditions regularly.
Turn your compost pile every two weeks with a pitchfork to introduce oxygen. Add water when materials feel dry, aiming for dampness similar to a wrung-out sponge. Too much moisture creates anaerobic conditions that smell terrible.
Poke holes throughout your pile using a broom handle if turning isn’t feasible weekly. Cover finished sections while leaving active areas exposed. Check moisture by squeezing handfuls – drips mean too wet, crumbles indicate too dry.
Your microorganisms need breathability and hydration to break down organic matter efficiently. Master these basics quickly become second nature as part of your routine maintenance tasks.
Keep monitoring weekly without fail until decomposition occurs properly within recommended timeframes consistently.
Fix Smelly or Slow Compost Problems
You’ll need to identify what’s causing your compost to smell or slow down.
Check if you’ve added too much nitrogen-heavy material like food scraps or grass clippings.
Adjust the balance by adding more brown materials like dried leaves or shredded paper to fix these common problems.
Identify Odor Sources
When your compost bin starts emitting foul odors, identifying the source quickly prevents the problem from worsening. You need to pinpoint what’s causing the smell to take corrective action.
- Rotten egg smell indicates anaerobic conditions from poor aeration or excess moisture.
- Ammonia odor means too much nitrogen-rich green materials like food scraps.
- Sour milk stench signals overly wet conditions without proper drainage.
- Garbage-like funk points to meat, dairy, or pet waste contamination.
Recognizing these specific odors helps you understand exactly what’s wrong with your compost system. Each smell tells you something different about the balance and conditions inside your bin.
Don’t ignore these warning signs – they’re your compost’s way of communicating that something needs attention.
Adjust Compost Balance
If your compost bin smells bad or decomposes too slowly, adjusting the balance of materials fixes these common problems.
You need the right mix of green and brown materials. Green materials include food scraps, grass clippings, and coffee grounds. Brown materials consist of dried leaves, straw, and paper.
When your compost smells, you probably have too many greens and not enough browns. Add more dried leaves or shredded paper to absorb excess moisture.
If decomposition moves too slowly, you lack nitrogen-rich greens. Add fresh grass clippings or vegetable scraps. Turn your pile regularly to aerate it.
Maintain a ratio of roughly three parts brown to one part green material. This balance creates ideal conditions for decomposition.
How Often Should You Turn Your Pile?
How often should you turn your compost pile? This question puzzles many beginners, but mastering this timing creates better compost and stronger community gardening bonds.
You’ll want to turn your pile based on these key factors:
- Temperature matters – When your pile heats up considerably, it’s time to turn. You’re providing oxygen that keeps decomposition active.
- Moisture levels – If your pile feels too wet or starts smelling, turning helps redistribute moisture evenly throughout.
- Material breakdown – Turn when you notice materials aren’t breaking down uniformly. This mixes different decomposition stages.
- Seasonal adjustments – Warmer months require more frequent turning than cooler periods.
Regular turning accelerates decomposition while preventing unpleasant odors that might disturb neighbors.
Fast-Track Your Finished Compost
Turning your compost pile regularly sets the stage for faster decomposition, but you can accelerate the process even more with specific techniques.
Shred your materials into smaller pieces before adding them – this increases surface area and speeds breakdown considerably. Maintain proper moisture levels by keeping your pile as damp as a wrung-out sponge. Add nitrogen-rich greens like vegetable scraps and coffee grounds alongside carbon-heavy browns such as dried leaves.
Layer materials strategically, alternating between wet and dry components. Consider adding finished compost or garden soil to introduce beneficial microorganisms that jumpstart decomposition. Monitor temperature regularly, as heat indicates active microbial activity.
Cover your pile during heavy rains to prevent nutrient leaching. These methods work together synergistically, creating ideal conditions that transform your organic waste into garden gold much faster than passive composting approaches.
Tell When Compost Is Ready to Use
When should you harvest your compost? You’ll know it’s ready when it transforms into dark, crumbly soil that smells earthy and fresh. Don’t rush this process – your plants will thank you for waiting.
- Check the texture – Finished compost should feel like moist potting soil, not chunky or slimy.
- Smell the difference – It should have a pleasant, forest-floor aroma rather than sour or ammonia-like odors.
- Look for uniformity – Original materials should be unrecognizable, fully decomposed into rich humus.
- Test the temperature – Mature compost matches ambient air temperature, indicating microbial activity has stabilized.
Your compost bin community depends on proper timing for the best results.
Boost Garden Health With Homemade Compost
While building your compost bin requires patience and attention to detail, the rewards you’ll reap from using homemade compost far outweigh the initial effort.
You’ll transform kitchen scraps and yard waste into garden gold that feeds your plants naturally. Homemade compost improves soil structure, retains moisture, and provides essential nutrients your garden craves.
You’re not just reducing waste—you’re creating a sustainable cycle that benefits your entire growing space. Your plants will respond with vigorous growth, better disease resistance, and improved flavor.
You’ll save money on commercial fertilizers while contributing to environmental health. The rich, dark compost you produce becomes your garden’s secret weapon, fostering stronger root systems and more abundant harvests.
You’re joining countless gardeners who’ve discovered this simple, rewarding practice.
Conclusion
You’ve learned the simple steps to build your first compost bin. Don’t believe the myth that composting is complicated or smelly – it’s not. Your kitchen scraps can transform into garden gold within months. Start today with basic materials, follow these proven methods, and watch your garden flourish while reducing waste. The truth is: anyone can compost successfully.
